Easy Watermelon Craft for Kids
Looking for an easy watermelon craft for kids? This fun summer activity is a creative way for children to make a colorful watermelon craft using simple supplies and lots of imagination. Perfect for preschool, kindergarten, and elementary-aged kids, this easy watermelon craft brings together creativity, fine motor practice, and summer fun all in one activity.
Whether you’re planning a summer theme, fruit lesson, classroom art center, or just looking for a boredom buster during warm weather, this watermelon craft is simple to set up and fun to personalize. Kids can add extra seeds, silly faces, glitter, or creative details to make every watermelon unique.
One of the best things about this watermelon craft for kids is that it encourages creativity while still being easy enough for a wide range of ages to enjoy.
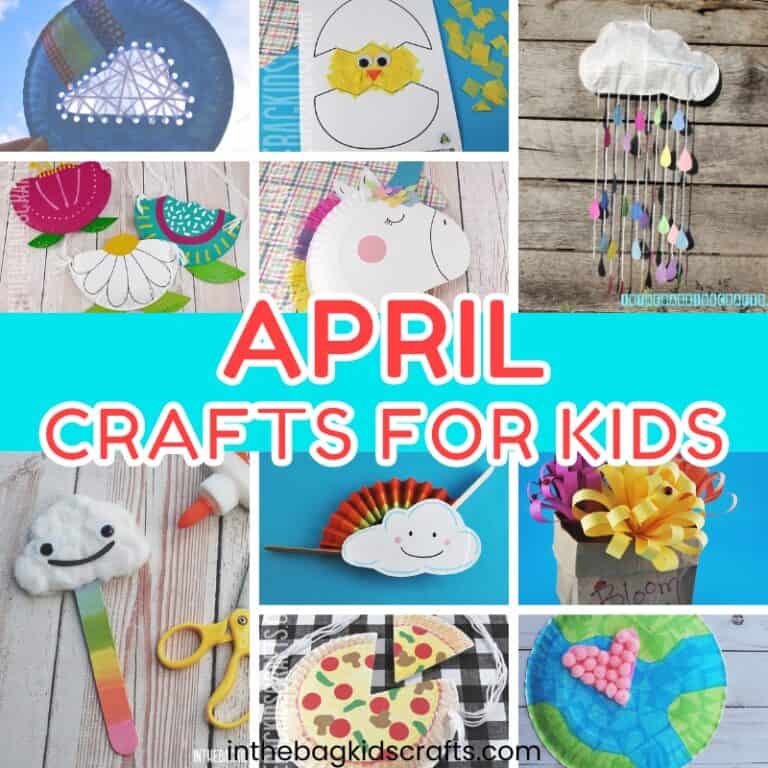
More Watermelon Craft Fun
Skills This Craft Builds
- Fine motor skills
- Scissor skills
- Hand-eye coordination
- Creativity
- Following directions
Best Ages for This Craft
Preschoolers
Simple with adult support.
Kindergarteners
Great for practicing cutting and assembly.
Elementary Kids
Fun for independent creativity.
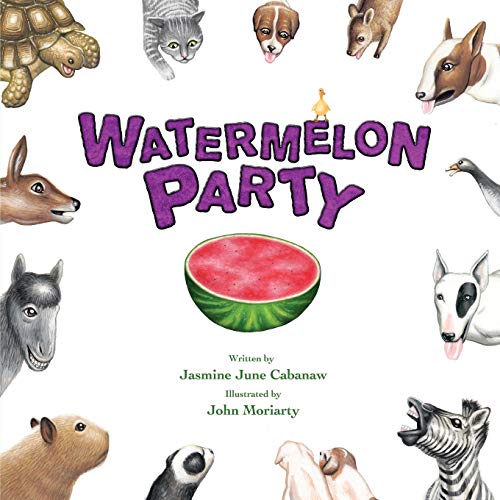
Summer Books to Pair with this Craft!!!


SUPPLIES FROM THE BAG
- At least 26 Clothespins
- 2 Medium pompoms
- 2 Q-tips
- Hot pink or red paint
- Dark green paint
- Light green paint
- Black paint
- Paper plate
- Elmer’s glue
- Scissors
- Newspaper
*These supplies will make 2 coasters.
We’re so glad to have you here at In the Bag Kids’ Crafts! Our mission is to help you make crafting with your kiddo a habit using fun, easy ideas with supplies you already have on hand.
Be sure to visit the “Fill Your Bag” page for our go-to supply list—we use it for every project to keep crafting simple, affordable, and mess-free. No extra store runs, no missing pieces—just grab your bag and start creating!
Want to make it even easier? Check out our quick shopping list on Amazon and Walmart to stock up on everything we love.
And if you use our printables, don’t miss our Favorite Printing Essentials list. We’ve found a reliable, no-hassle printer that won’t leave you dealing with constant issues or dried-out ink—plus all the extras you need so you can print and craft without the frustration.
INSTRUCTIONS
Step 1
- Take the springs out of all of the clothespins

Step 2
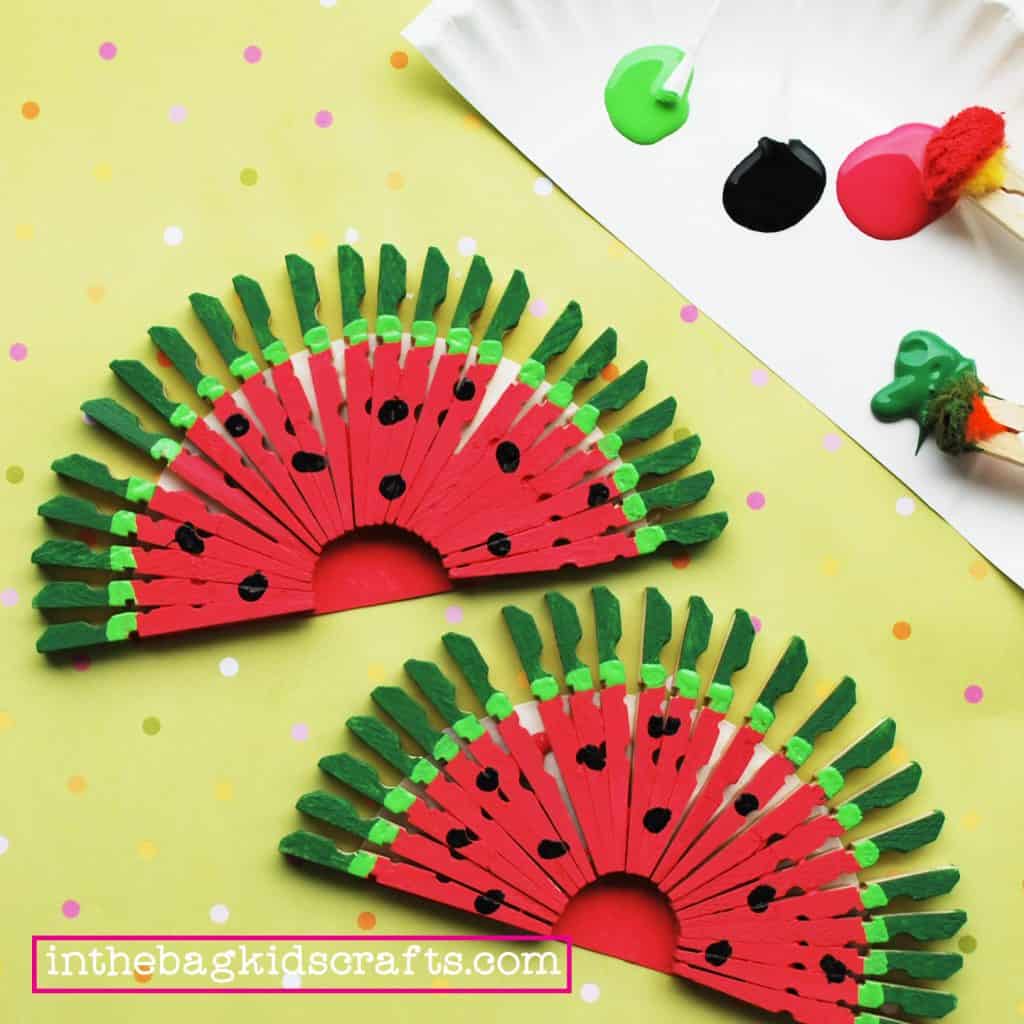
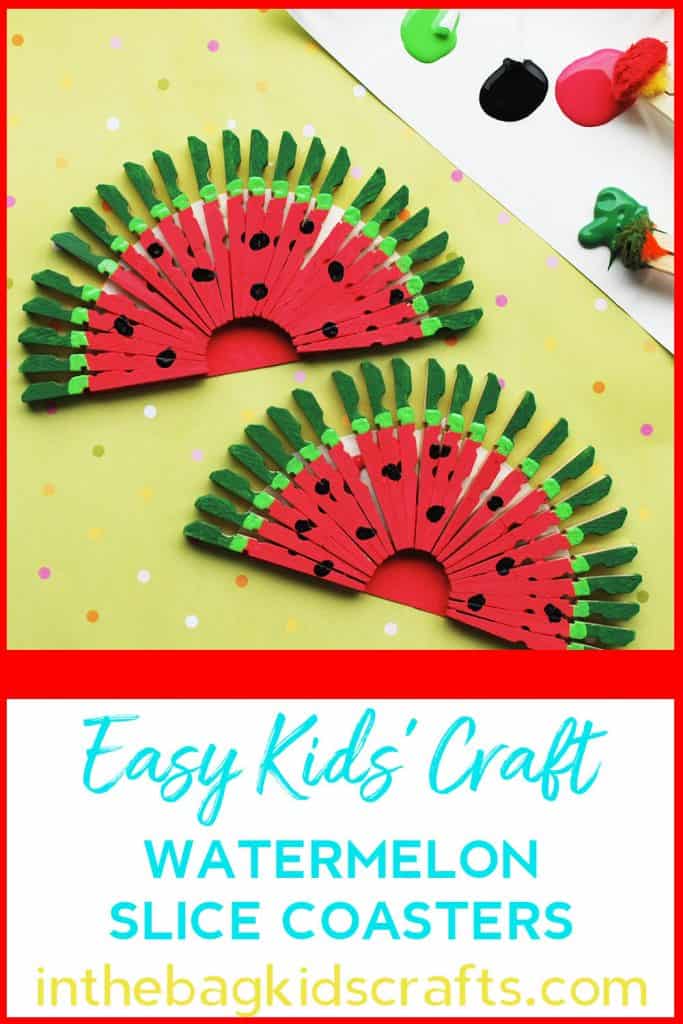
- Cut the center out of the paper plate so that you have a circle that is approximately 4 inches in diameter-through the center
- Then cut the circle in half

Step 3
- Put a generous layer of glue on one of the paper plate 1/2 circles
- Immediately place the clothespins-24 pieces-as pictured below
- Repeat this process for the second coaster
- Allow the glue to dry thoroughly before moving onto the next step
- *You may notice that we did not paint the 1/2 circle first. So, some white will show through. If you want to, you can paint the 1/2 circle hot pink, letting it dry completely, before putting the clothespins in place

A foundational skill for so many every day activities is something called “crossing midline”. Imagine an invisible line going vertically through the center of the body. When a body matures, we spontaneously reach across that line, moving one side of the body into the space of the other side. For example, when we read we will reach across to turn the page, plus our eyes cross the midline. When we through a ball, we often end up reaching across that middle line. Pay attention, you probably reach across this line hundreds of times per day without giving it a second thought. You can learn more about crossing midline HERE and find another activity HERE.
Often little ones who are struggle with motor skills have not yet developed this skill and may need a little nudge. A great way to do that is just by setting up a repetitive activity to encourage this. This is how it is done…If your child prefers using his/her right hand, place the clothespin pieces on the left. For lefties, place the pieces on the right. Then encourage him/her to reach across the body to pick up each piece. You will notice that if your kiddo struggles with this skill, he/she will want to reach with the hand closest to the items. Encourage him/her to reach across. I say things like “give lefty a break; use righty” or “no thank you, lefty, we dont need you right now” or even gently hold the hand that I do not want them to use.
Step 4
- Now for the painting…Pinch each of the pompoms with a clothespin to form “paint brushes”
- Place the coasters onto the newspaper and squeeze out a little hot pink and dark green paint
- Paint with these colors and allow them to dry
- Squeeze out a little light green and black paint
- Use the q-tips to add the light green stripe and then the black seeds
- Allow the paint to dry thoroughly without using for drinks-probably did not need to tell you that
Watermelon Craft Variations
Smiling Watermelon
Add googly eyes and a silly smile.
Rainbow Watermelon
Try unexpected colors for creativity.
Mini Watermelon Craft
Make tiny watermelon slices for decorations.
Glitter Watermelon
Add sparkle for extra summer fun.
If you enjoyed making this watermelon kids craft, Pin it to your favorite board!

FAQ about this Watermelon Craft for Kids???
Construction paper or cardstock.
Absolutely!
Yes—easy prep and kid-friendly.