Awesome Paper Watermelon Craft
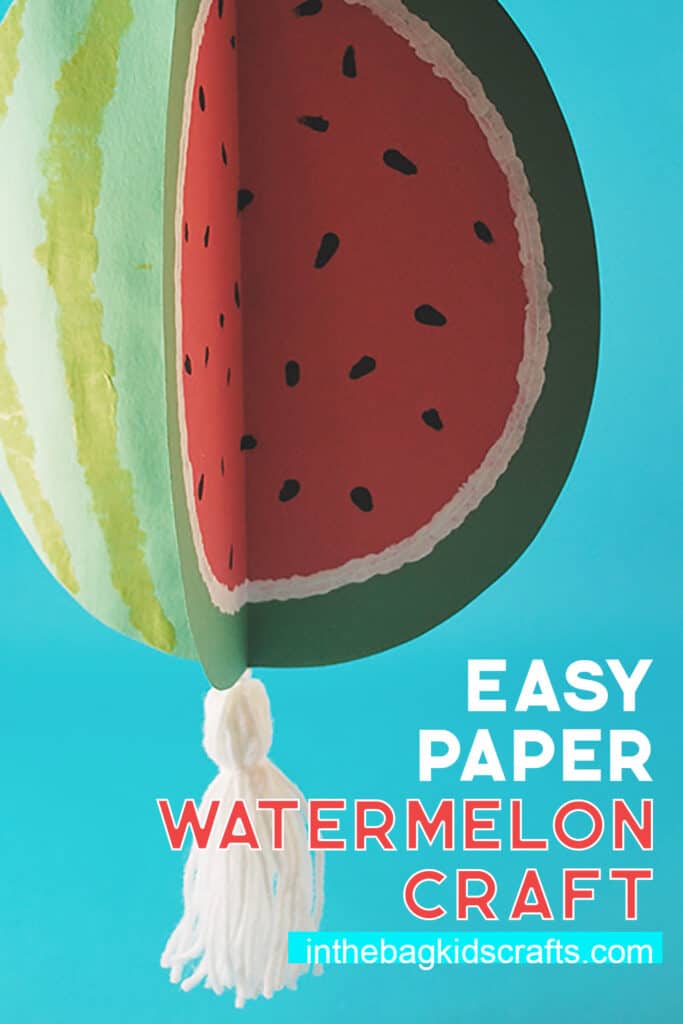
What says summer better than picnics and watermelon? This paper watermelon craft is such a fun and simple way to celebrate the season. You can hang it in any room of the house for a little colors. Or make a bunch and hang them from the trees at your next cookout. Cutting the large ovals make this a great preschool watermelon craft as they practice some basic cutting skills. It is okay if they are not exactly the same. Let them try and be as independent as possible.
Save this Paper Watermelon Craft for later. Pin it to your favorite Pinterest board…
All activities require adult supervision. By using this site, you are agreeing to our terms of use. This post contains affiliate links, which means if you make a purchase through these links, I may receive a small commission at no extra cost to you. Click here to read my full disclosure policy.
SUPPLIES FROM THE BAG
- 4 Pieces green construction paper
- 1 Piece red construction paper
- Scissors
- Glue stick
- Paper plate
- White, black and dark green paint
- Q-tips
- White yarn
- Watermelon Craft Template
Have you used our master list of craft supplies to fill up your bag yet? It’s just 27 basic items (most of which you probably already have in your house) that can be used over and over again in different combinations for the most amazing crafts. We use it to make everything that you see here…hundreds of crafts and counting. Try this approach to make crafting with your kids so…much…easier!
Step 1: Cut Out the Watermelon Craft
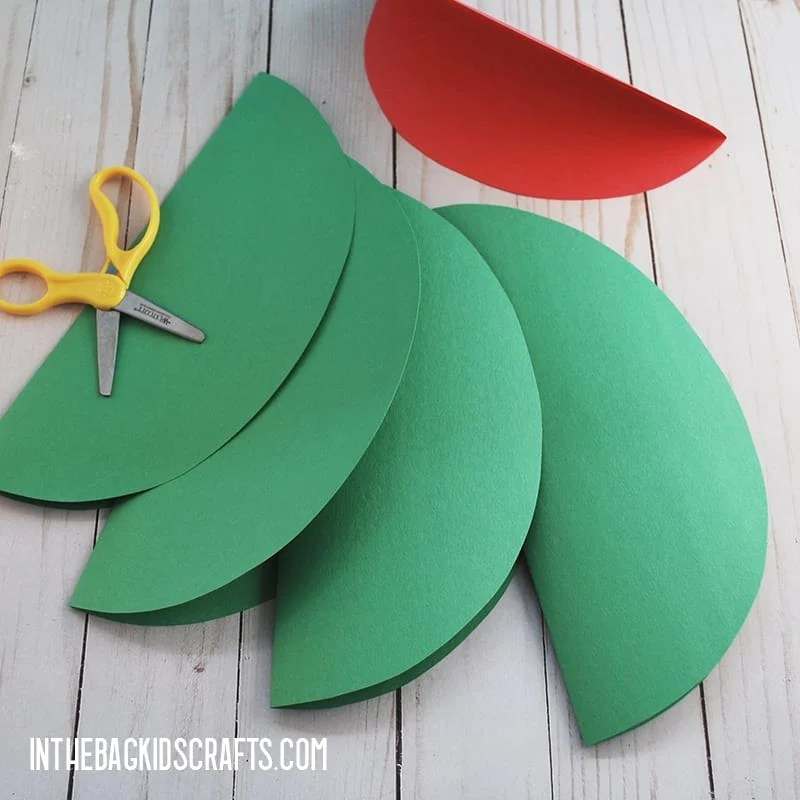
- Fold the 4 pieces of green construction paper in half length-wise.
- Print the watermelon craft template to use as a guide to cut out your watermelon shapes.
- Place the straight section on the fold and cut out your watermelon. Repeat this for each of the 4 pieces of green construction paper.
- Now fold the red piece of construction paper in half length-wise and use the small half circle on the watermelon template to cut out the shape. Again, place the flat section on the fold and cut out the inside of your watermelon.
Step 2: Decorate the Outside
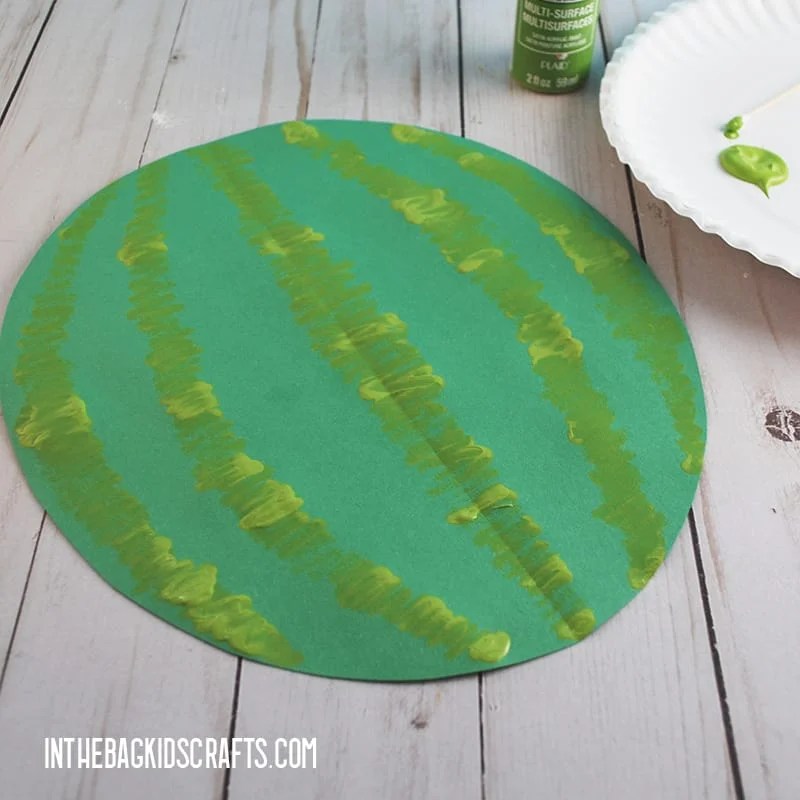
- Take 3 of the cut out green watermelon shapes.
- Squeeze a bit of green paint onto the paper plate.
- Then use the q-tip to make wiggly lines like you see on the outside of a watermelon. You can use the photo as an example.
Step 3: Decorate the Inside
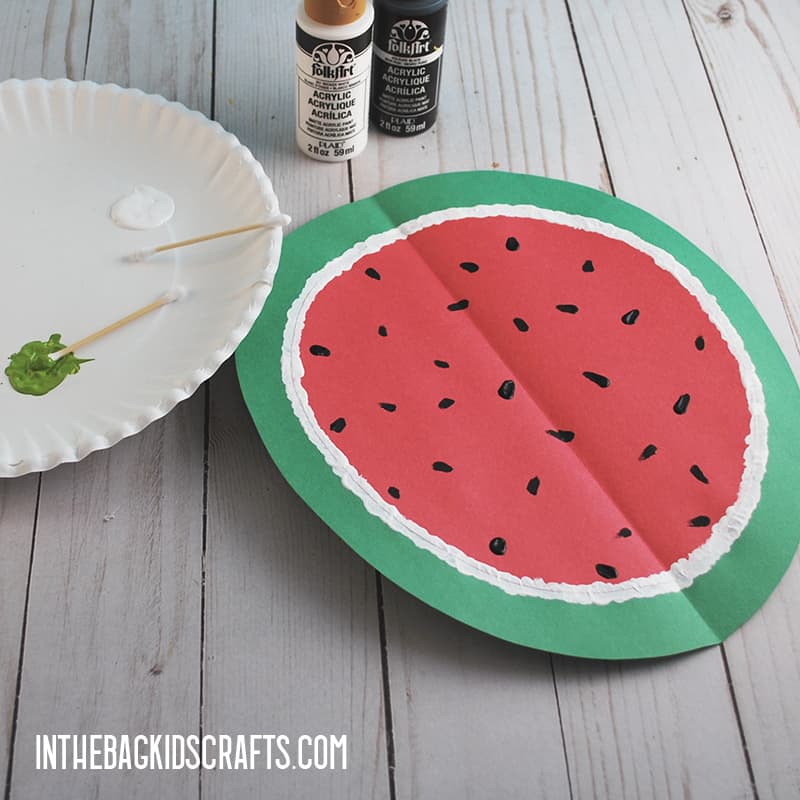
- Now take the last green cut out watermelon that you did not decorate and use the glue stick to adhere the red oval on top. This is the inside of your watermelon craft.
- Then squeeze out a little white and black paint onto the paper plate.
- Use a q-tip or your fingertip to add seeds.
- Finally, use a q-tip to add some white to separate the red inside of the watermelon from the green rind.
Step 4: Make a Tassel
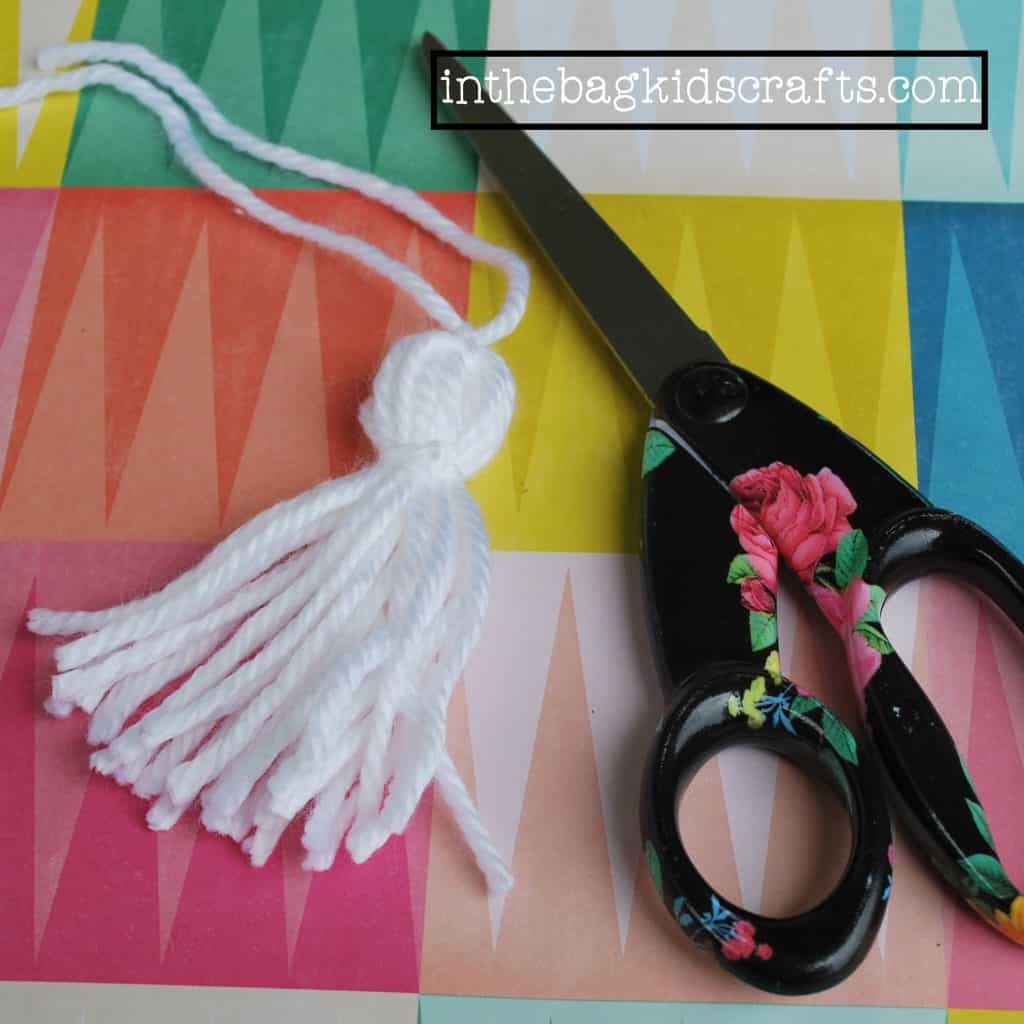
- To make a simple yarn tassel, you can start with a cut out square of paper plate about 5″ wide or use the palm of your hand.
- Wrap the yarn around around your hand (or square of cardboard) about 10-15 times.
- Then slide the wrapped yarn off of your hand (or cardboard)
- Cut another piece of white yarn approximately 1 yard long. You want it to be long enough so that when doubled it will will come out the top with enough length to be a hanger.
- Slide the cut piece of yarn through the center of the wrapped yarn and tie a double knot. You should be left with nice long doubled yarn that will eventually go through the center of the hearts and a hanger on the top.
- Cut one more piece of white yarn approximately 8 inches long and tie it around your bundle of yarn, just below the tied off top. Make a double knot.
- Now cut the bottom of the loops and trim to even it out.
Step 5: Put the Paper Watermelon Craft Together
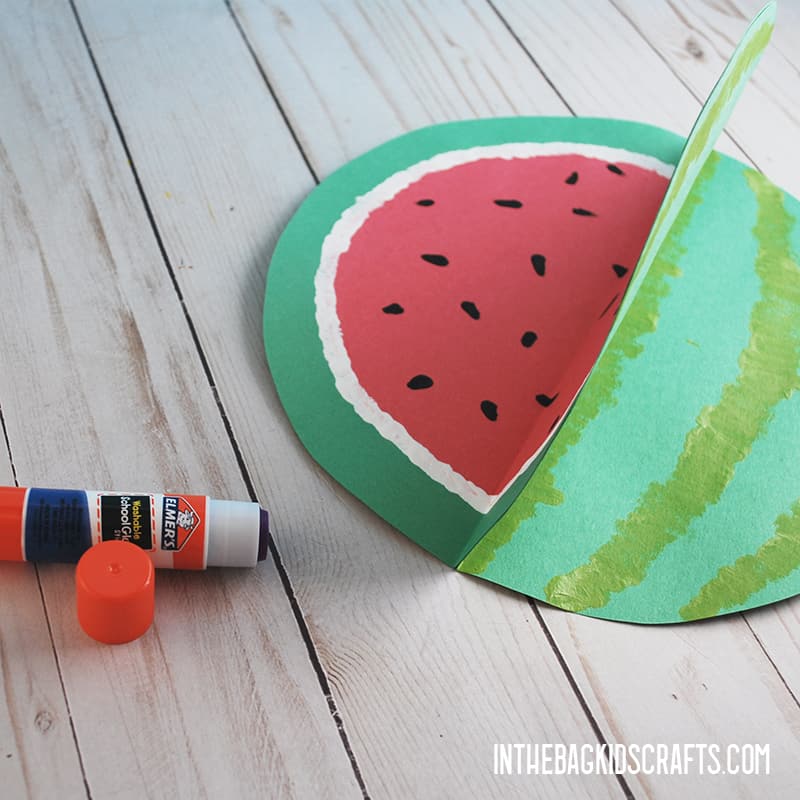
- Use the glue stick to glue together the halves of 2 of your painted watermelon pieces.
- Keep adding the watermelon pieces but do not connect the final 2 sides just yet.
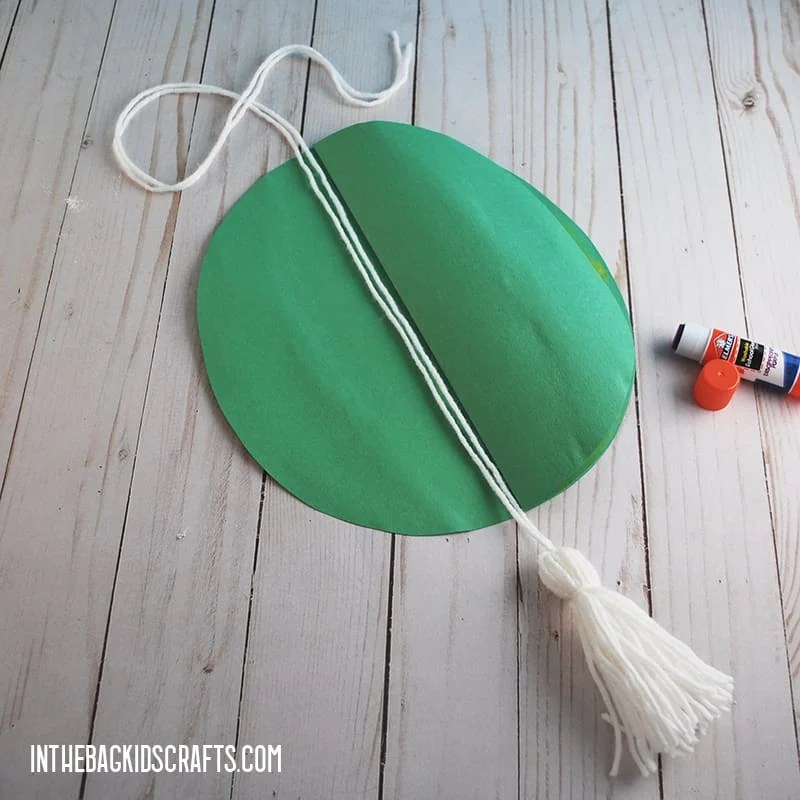
- Once you have put all of the pieces together but have not glued the last 2 sides together, lay the long string of the tassel inside of the center of the paper watermelons.
- Then glue the last 2 sides together. You can move the tassel as needed so that it is the right length and rests in the center.
Check out these watermelon themed books to go with your craft…


Save this Preschool Watermelon Craft for later. Pin it to your favorite Pinterest board…
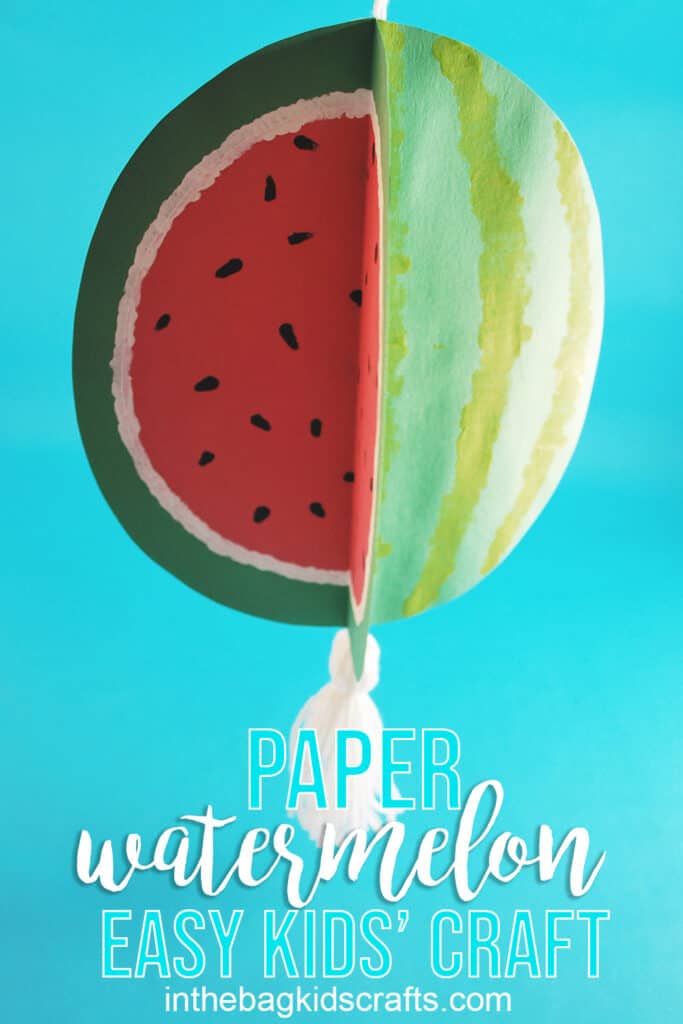
Now that you know how to make these paper watermelon crafts, what will you do with yours? And maybe you have an idea for making it even better…go for it! This is your craft, and you should make it your own. Maybe you want to write something on yours or give it a smiley face? Just do it! Enjoy the process of making your watermelon art and craft.
Happy Crafting!
XO Joy