Bird Nest Craft Activity
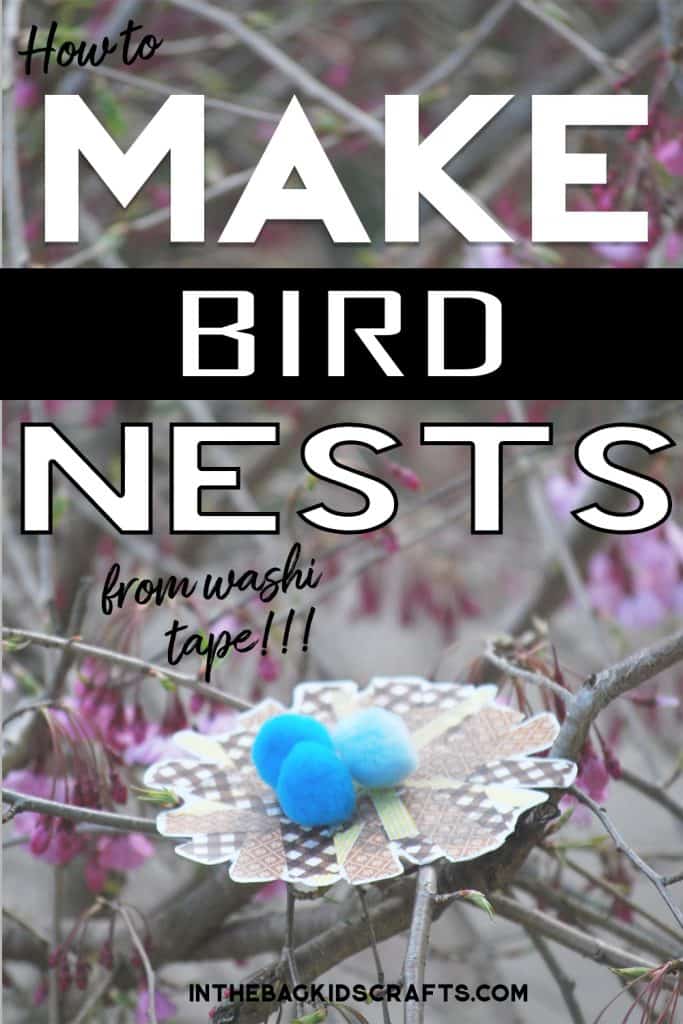
All day long I have been working from home, blessed to have a job during this crazy time of isolation. But the down side is that I didn’t have a chance to enjoy this amazing day. Spring is actually finally here (at least for a few days since they are calling for snow by the ends of the week here in western PA…SNOW…in…APRIL…) So, I got to work on my second job (the one that let’s me craft with all of you…LOVE IT!) to make this adorable bird nest craft activity using my favorite craft supply…washi tape.
Then I stepped outside my front door to take some pictures of my new creation in what I thought would just be the branches of the small tree out front…and to my TOTAL JOY, there were blossoms on the tree! Not only that but I discovered that the previous owners had planted tulips…my favorite flower!!! They are blooming now. And then there is a lovely white blossoming something or other at the corner of the house. I hope that you are taking in the small blessings today too. Life is good!
SUPPLIES FROM THE BAG
- Paper plate (9-inch coated)
- Washi tape (brown and yellow patterns)
- Scissors
- 3-4 Medium blue pompoms
- Elmer’s glue
Option 2 supplies needed:
- Large yellow pompom
- Scraps of orange construction paper
- 2 Small googly eyes
Step 1: Washi tape
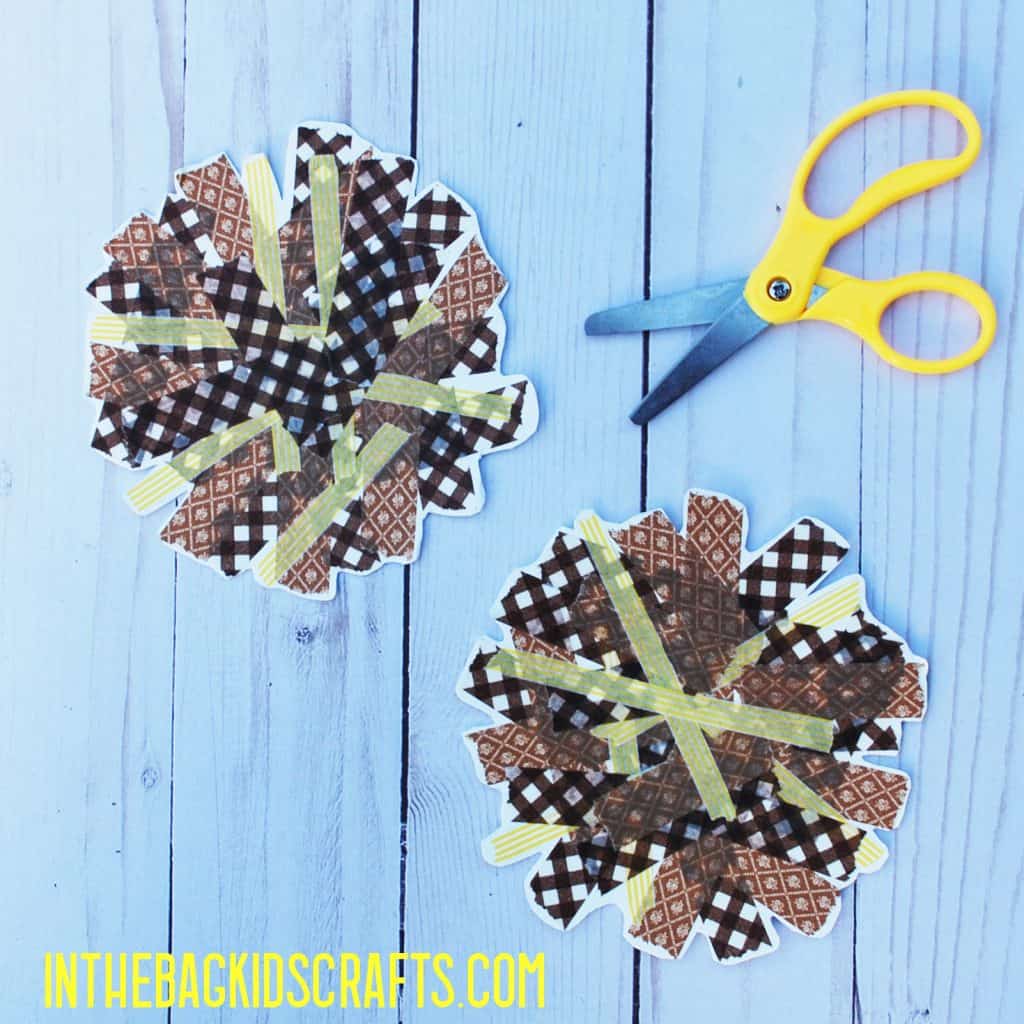
- Fill the center of the plate with criss crossed washi tape to make the nest
- Just tear pieces off and randomly place
- *If you do not have washi tape, just cut little strips of brown toned and yellow paper and glue in place with a glue stick.
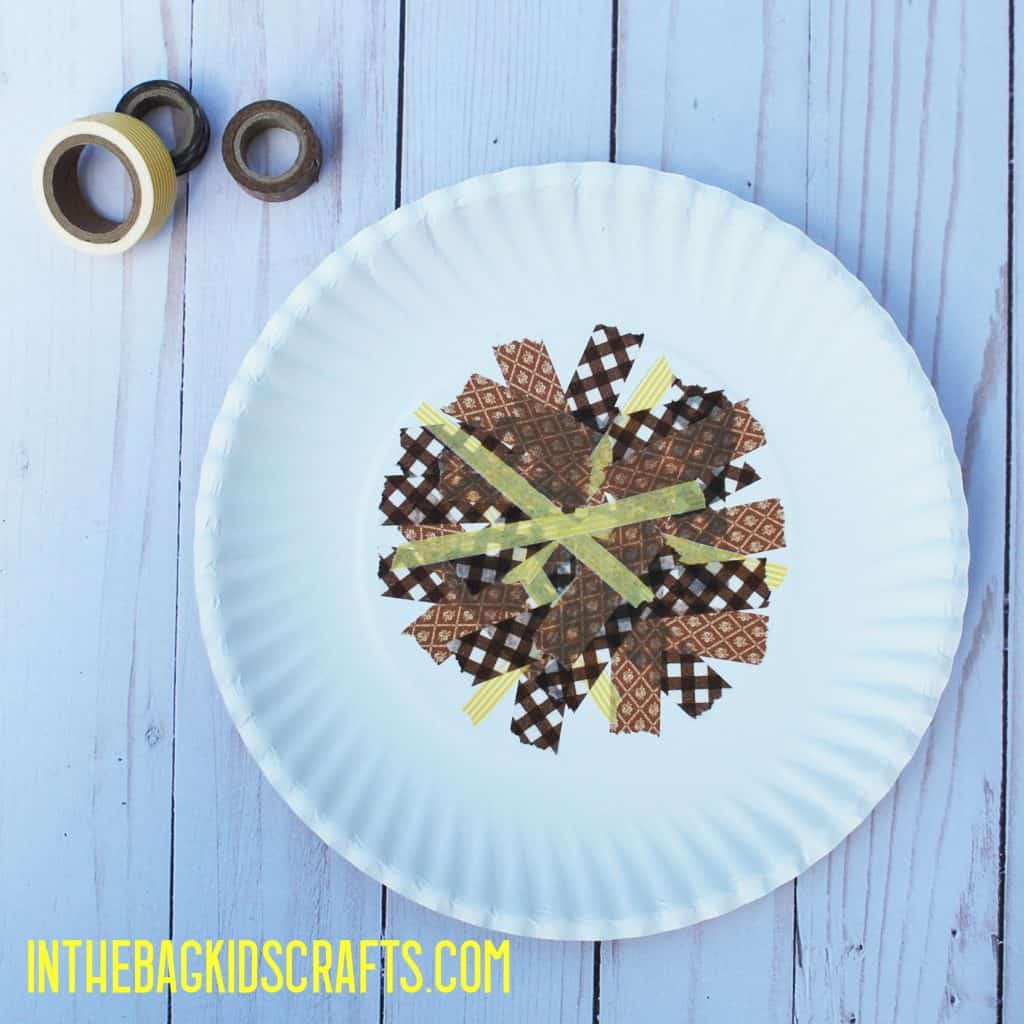

This washi tape activity is great for working on fine motor skills. Encourage your child to use a tip pinch (tip of index finger opposed to tip of thumb). Get those little fingers moving. And tearing the paper is a way to promote bilateral coordination, a precursor to using scissors.
Step 2: Cut
- Trim around the outside of the washi tape nest
- You can cut out the details, like in the example or just cut a circle around the outside
Step 3: Add the details
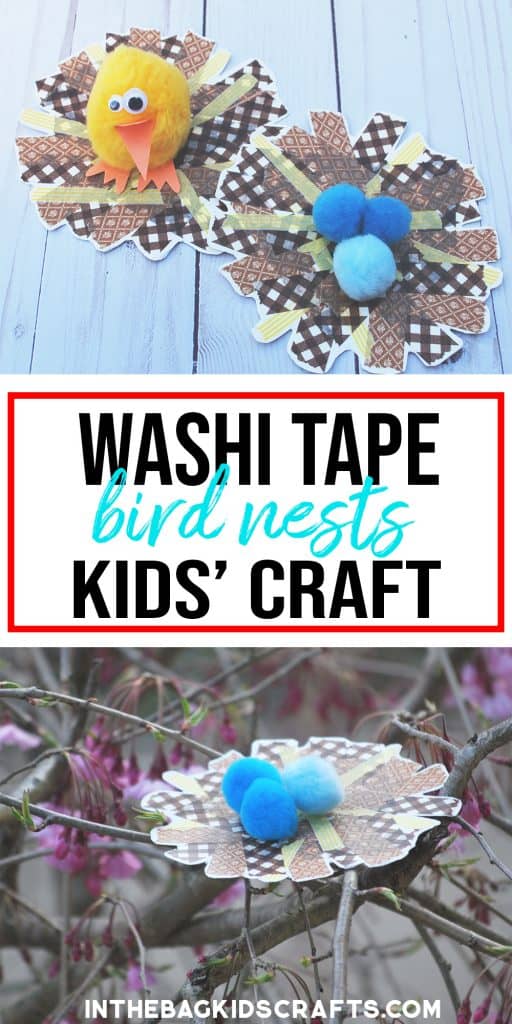
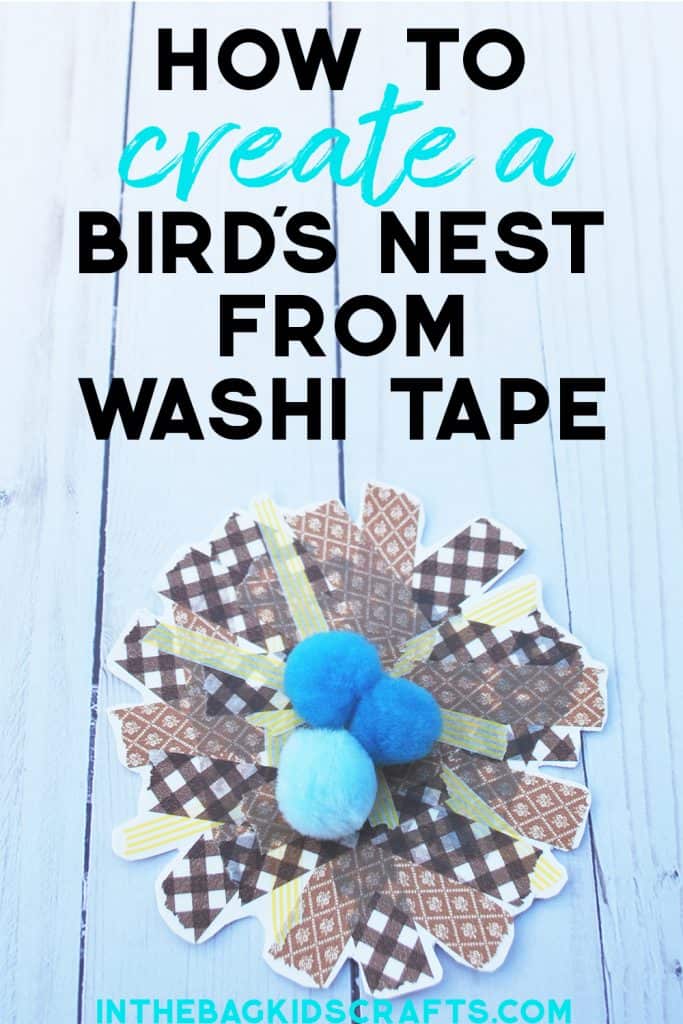
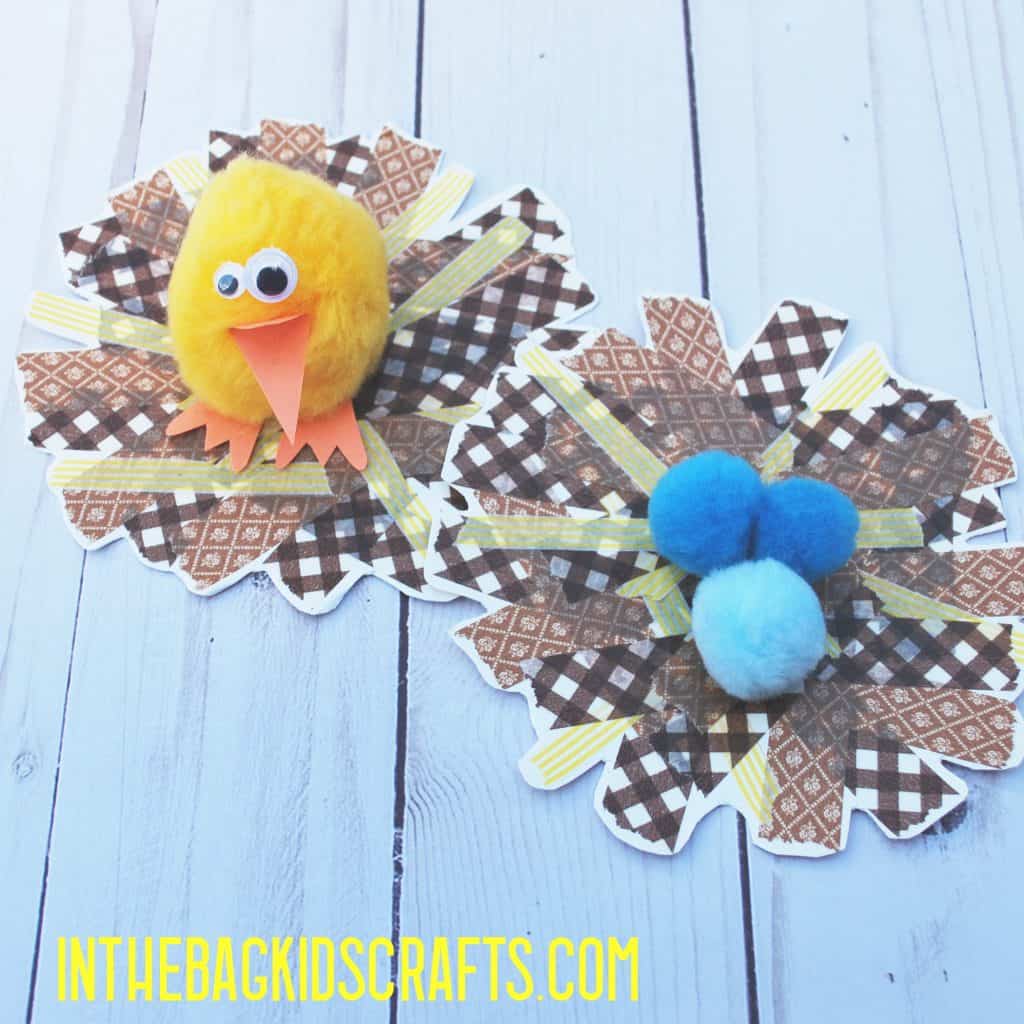
- For the nest with little robin eggs, just glue 3-4 blue pompoms in the center of the nest
- For the nest with the little chick, cut a small beak and feet out of orange construction paper scraps and glue in place. Then add some googly eyes. Now place the bird in the center of the nest and secure with glue.
Happy Crafting!
Love,

Save this craft for later…Pin it to your favorite Pinterest board…
