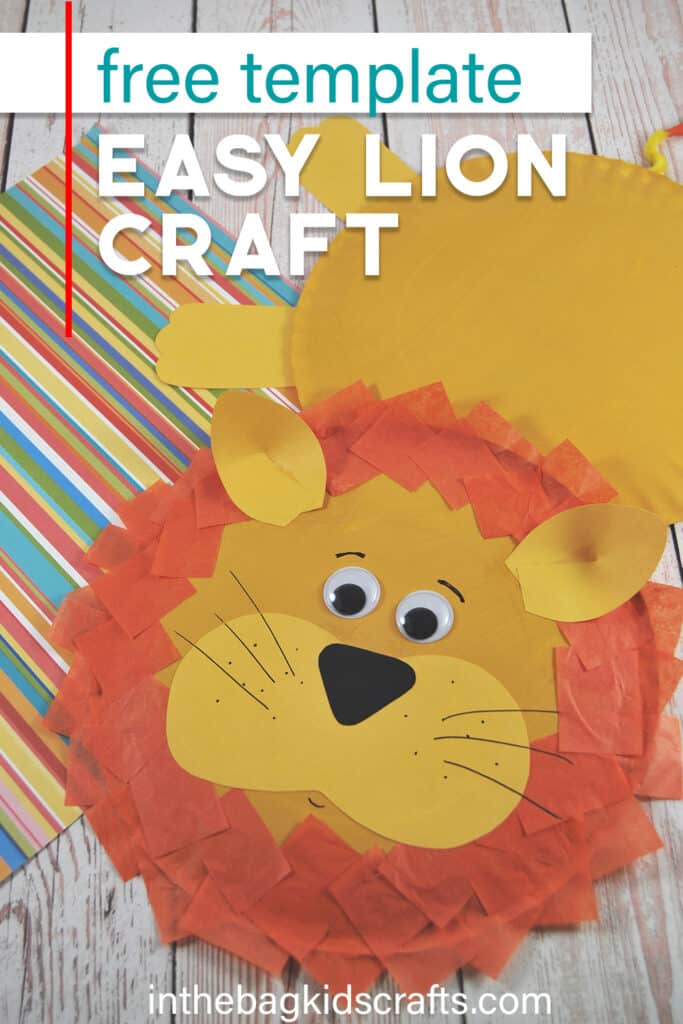
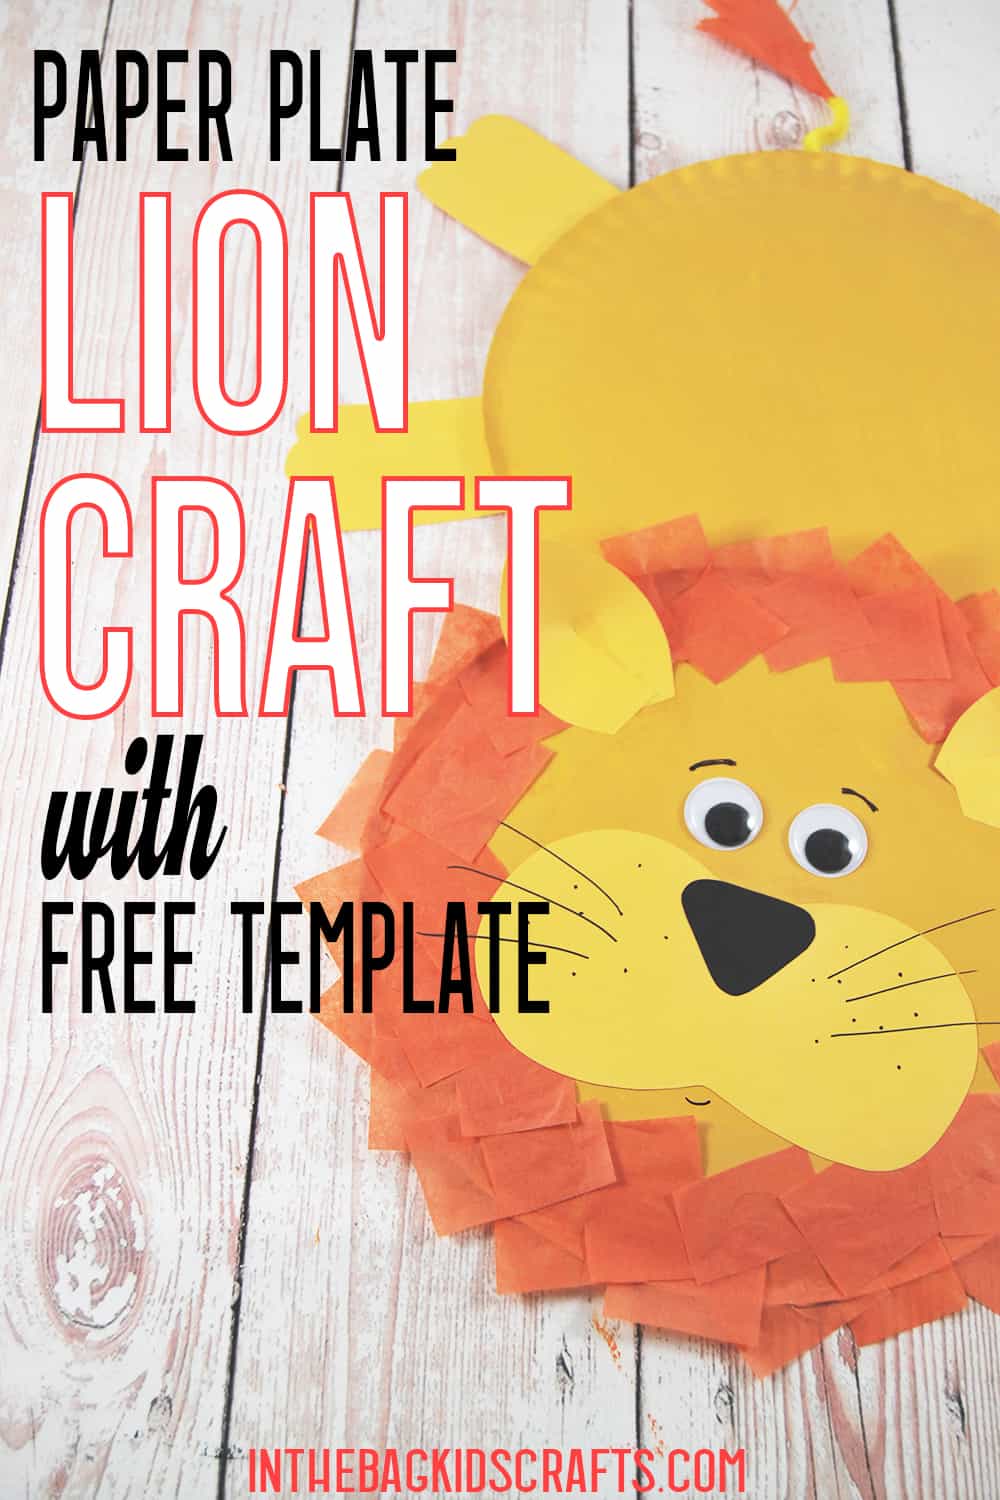
Paper Plate Lion Craft (with FREE Template)
If your little one is an animal lover, they’re going to have so much fu making this paper plate lion craft! Thanks to the free printable template, this craft is not only fun, but easy peasy too! It’s perfect for kids of all ages (yes, even younger children like preschoolers and kindergarteners with some adult assistance!)
And if you like making this lion craft, you’re also going to love making these wild animal crafts; paper lion, printable lion craft and this tiger craft.
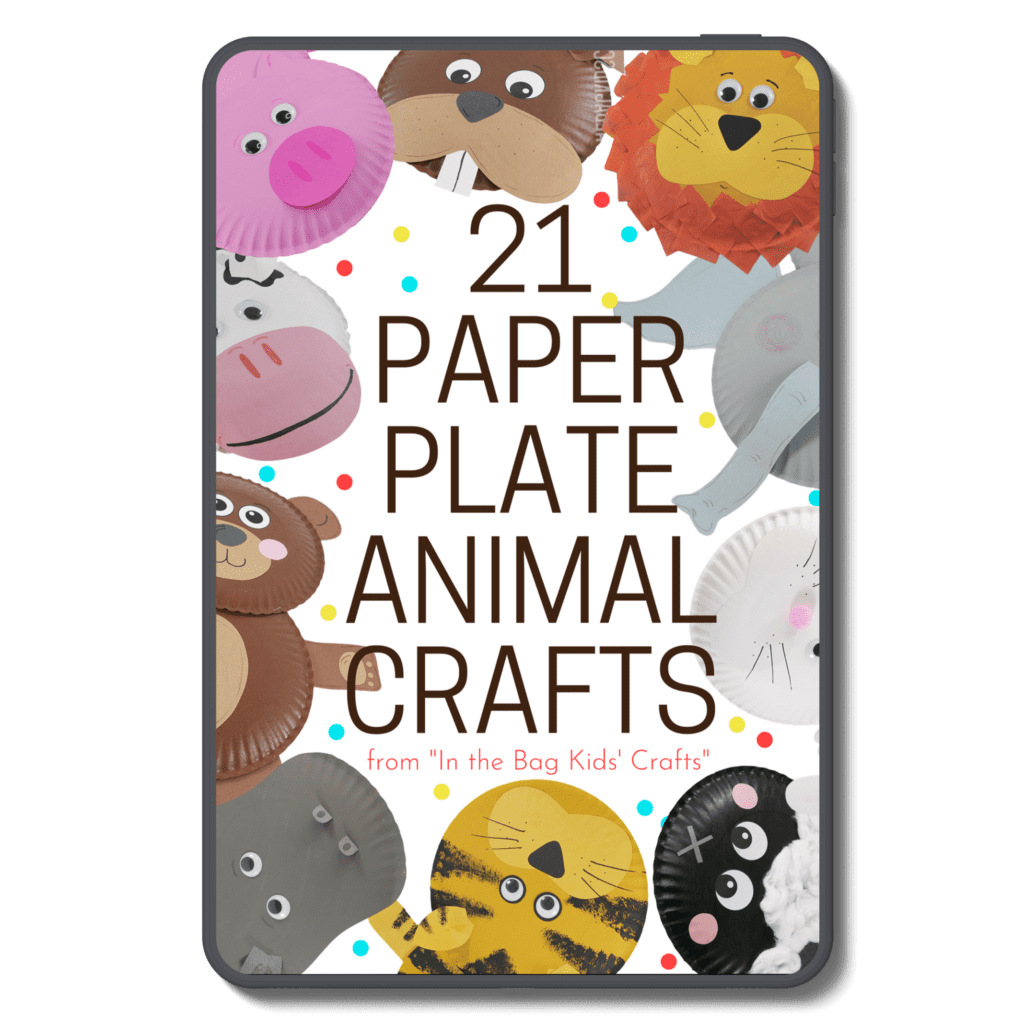
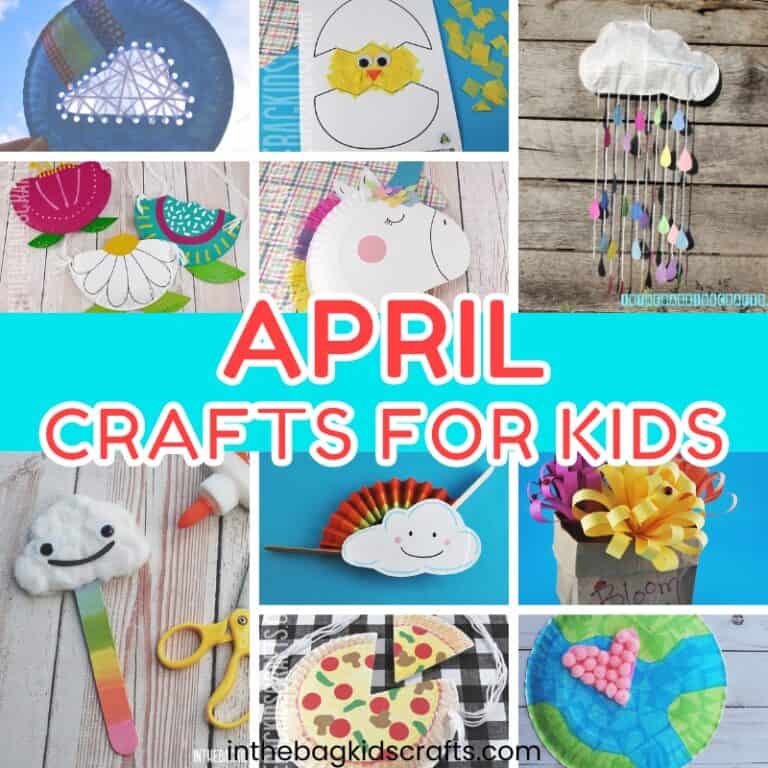
You’re Going to Want to Make EVERY SINGLE Paper Plate Animal Craft in this Collection with Your Kids…
Save this Fun Lion Craft for later. Pin it to your favorite Pinterest board…
Check out this easy kids craft tutorial
All activities require adult supervision. By using this site, you are agreeing to our terms of use. This post contains affiliate links, which means if you make a purchase through these links, I may receive a small commission at no extra cost to you. Click here to read my full disclosure policy.
CRAFT SUPPLIES FROM THE BAG
- 2 Paper plates (9-inch coated)
- Yellow gold paint
- Newspaper
- Pompom
- Clothespin
- Scissors
- Construction paper
- Glue stick
- Googly eyes (or printable paper eyes)
- Markers
- Scotch tape
- Yellow pipe cleaner
- Orange tissue paper squares
- Lion craft template
Crafting with your kids is supposed to be FUN! It shouldn’t just be just another thing on the to do list. But I know that having to prep for hours and running to the store for supplies…again…can make it feel like a chore. That’s why we stick to a master list of craft supplies that we use for every single craft project on this site and in our shop. Fill your bag and craft along!
How to Make a Paper Plate Lion Craft
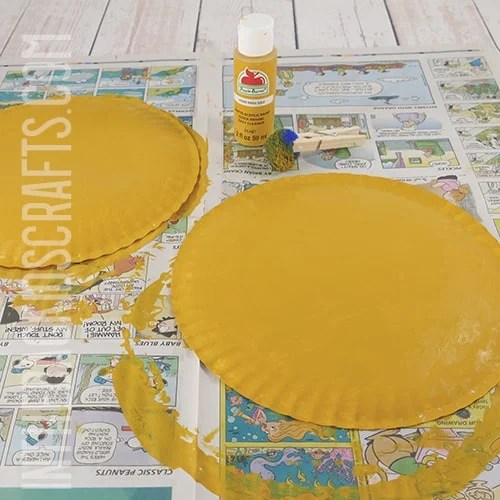
Step 1: Paint the Plates
- Lay out newspaper on your crafting surface to make for an easy cleanup later.
- Pinch a pompom with a clothespin to form a “paint brush”.
- Place the 2 plates on the newspaper, bottom side up.
- Then paint the plates golden yellow.
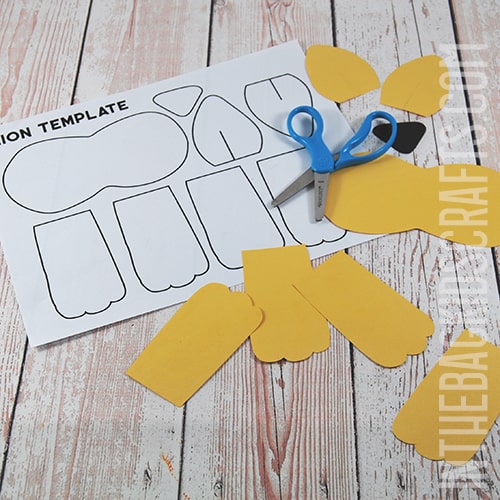
Step 2: Use the Free Printable Lion Craft Template
- Download and print the lion craft template.
- Use the free printable template to cut out all of the parts for your lion craft.
- Cut out 2 ears, 4 legs and the snout from the yellow construction paper.
- Cut the nose from black construction paper.
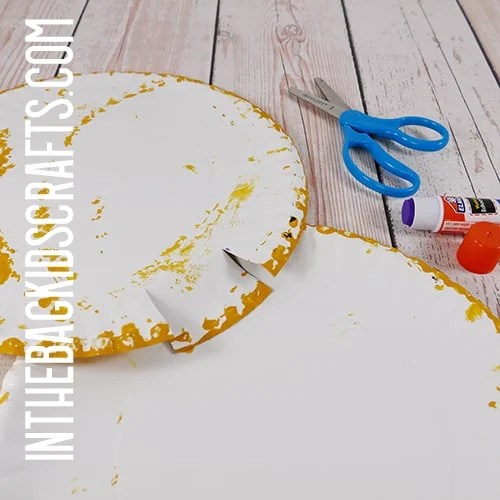
Step 3: Build the Lion’s Body
- Once the paint has dried, cut a flap into one of the paper plates about 2 inches wide and an inch deep, at the top of the body of your lion.
- Fold the flap up and cover it in glue using your glue stick.
- Overlap the 2 plates by a couple of inches and attach with the tab, forming the head and body of your lion craft.
- Press firmly and hold until the glue takes hold.
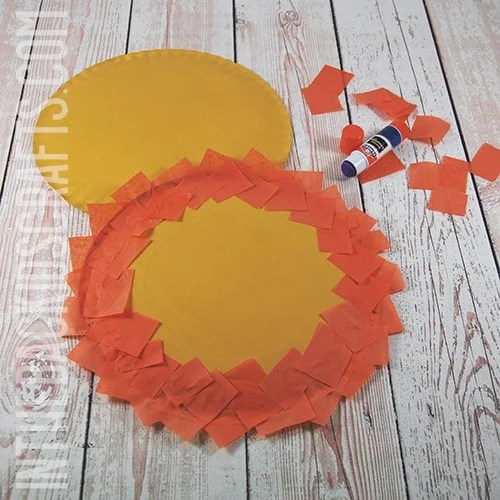
Step 4: Add the Lion’s Mane
- Use your glue stick to first create a circle of orange tissue paper squares around the outside of the lion’s head, hanging over the edge and at varying angle to mimic the mane.
- Add a second circle of orange tissue paper squares inside that one.
Step 5: Assemble your Lion
- Now glue on the 4 legs, pressing firmly so that the glue takes hold.
- Glue the nose onto the snout and put the snout onto the lion face.
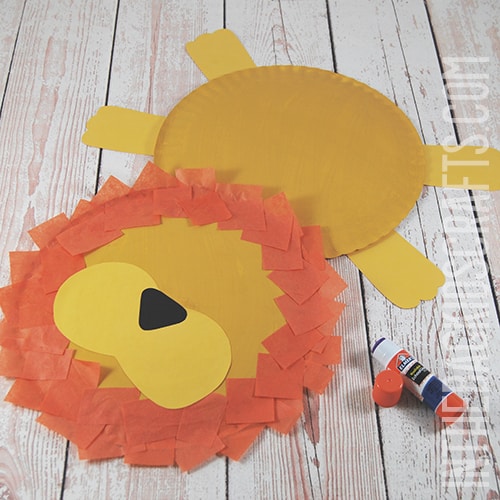
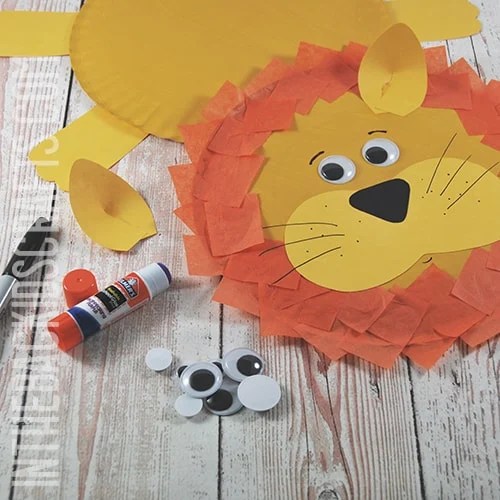
Step 6: Complete the Lion’s Face
- Put the googly eyes (or printable paper eyes) in place.
- Cut a slit in each of the ears, about an inch in the center bottom.
- Over lap the sides of the ear slightly at the fold and secure with your glue stick. Do this for each of the ears.
- Then glue the ears in place.
- Use your black Sharpie marker to add whiskers and other details.
Step 7: Give Your Lion Craft a Tail
- Cut a yellow pipe cleaner in half.
- Layer pieces of orange tissue paper around one end of the pipe cleaner.
- Then snip it to look like the hair on the tail.
- Tape the tail in place on the under side of your paper plate lion craft.

Now that you know how to make this king of the jungle craft, it’s time to make it your own. We stuck to traditional colors and design, but you can make your lion craft look however you like. Make the mane rainbow colors or paint the body pink with green polka dots. Perhaps you’ll make him some other jungle animals for friends. The only limit is your imagination.
What paper plate is best for making this lion craft?
For all of our crafts on this site, we use coated paper plates. They hold up better when painted and simply easier to work with. However, do note that because they are coated, paint, markers and crayons do not easily adhere to the top side of the plate. That’s one of the reasons we turn the plate over to the bottom.
When making this lion craft, we used the 9-inch sized plates. Though there are a few crafts here that call for a 6-inch paper plate.
Here’s even more fun lion craft ideas:
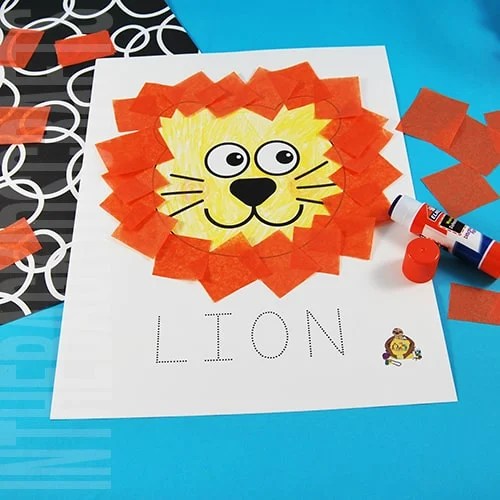
Printable Lion Craft
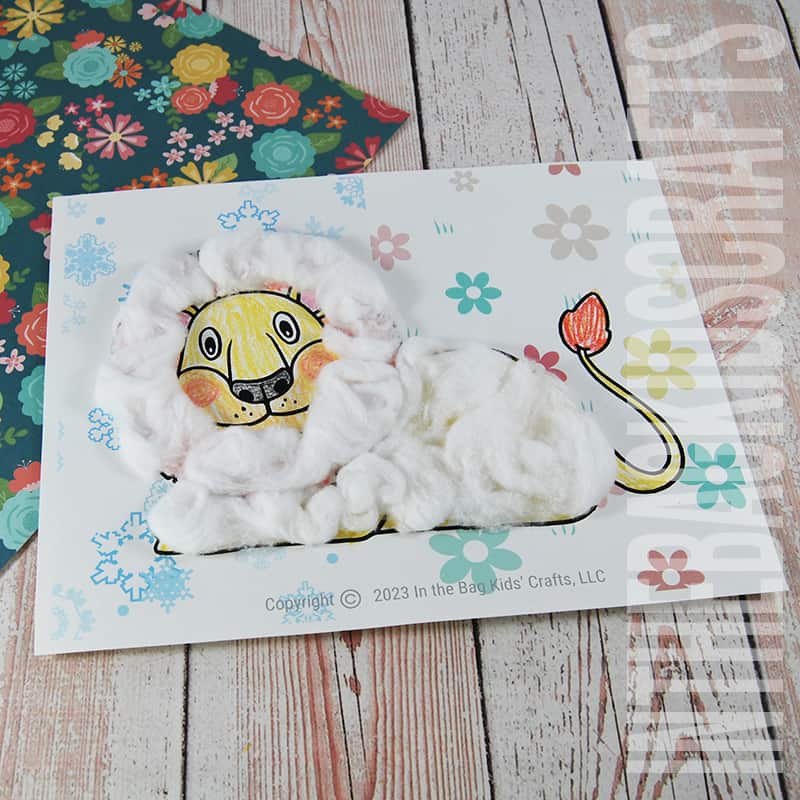
Easy Paper Lion Craft

March Lion to a Lamb Craft Printable
Circus Lion Craft

Save this fun craft for later. Pin it to your favorite Pinterest board…