Fox Craft (with FREE Template)
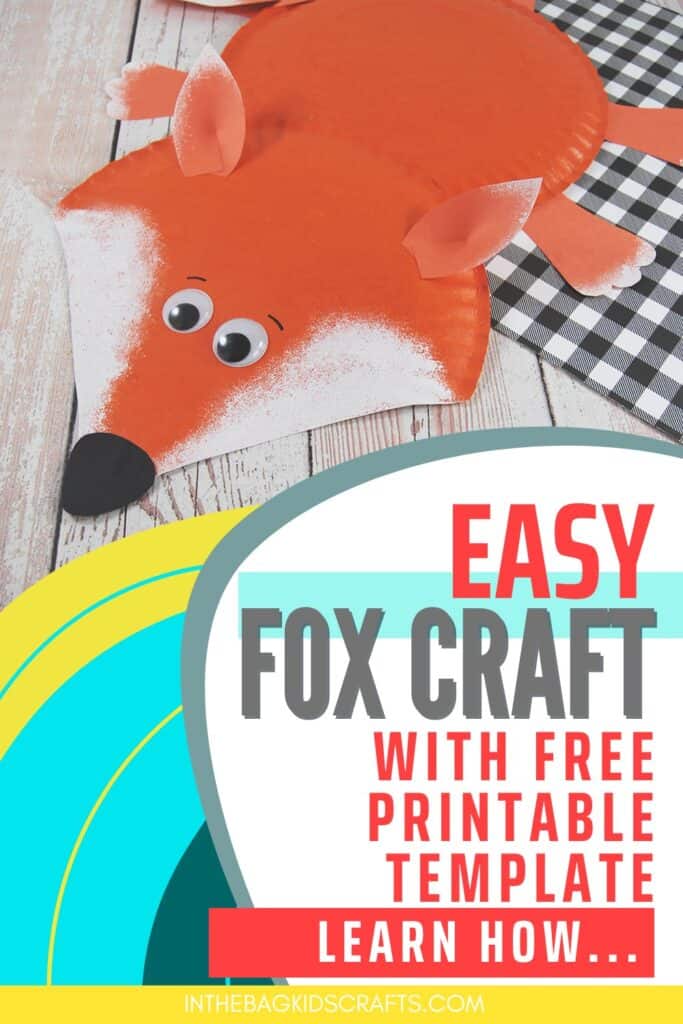
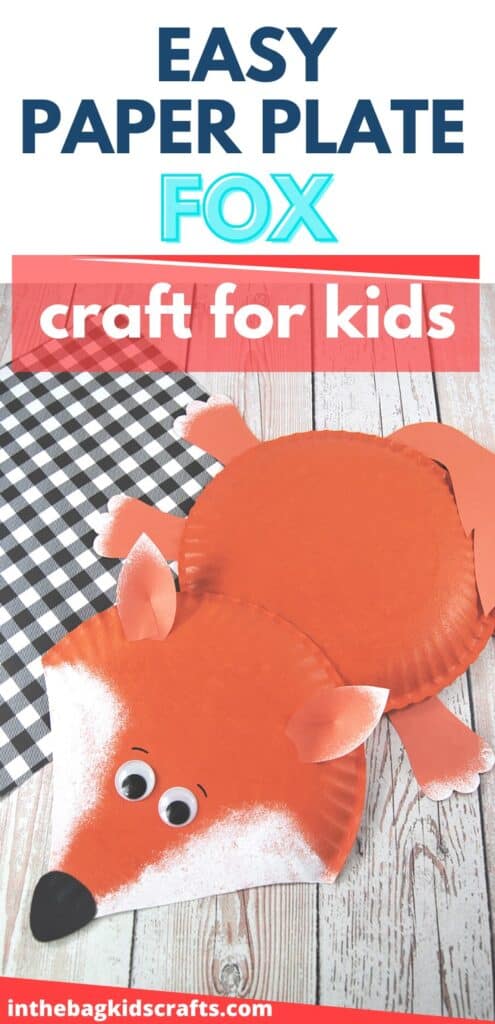
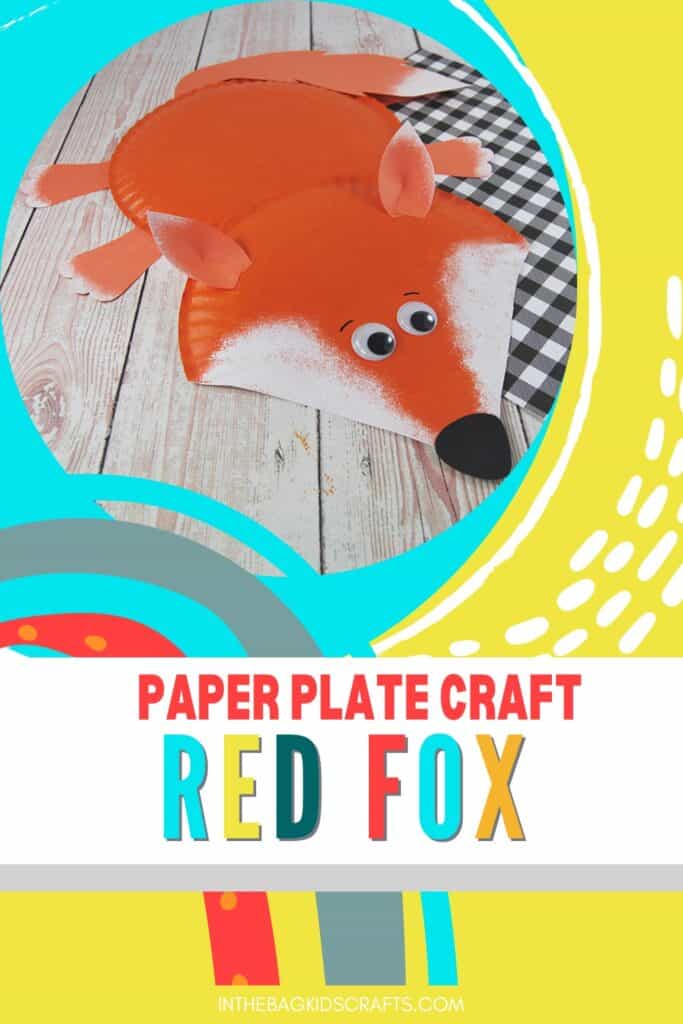
This sweet fox craft starts with a couple of paper plates and turns into something that your child will be so proud that they made. I used paint for the body and head of the fox, but if you want to skip the mess, feel free to use crayons or markers in stead. Your fox craft will still turn out adorable. A white crayon will even show up on the orange paper for the perfect details on the tail and ears.
If you enjoy making this fox craft, you’re also going to love making this fox mobile, these large woodland animal paper fans, and these adorable paper lantern forest animals.
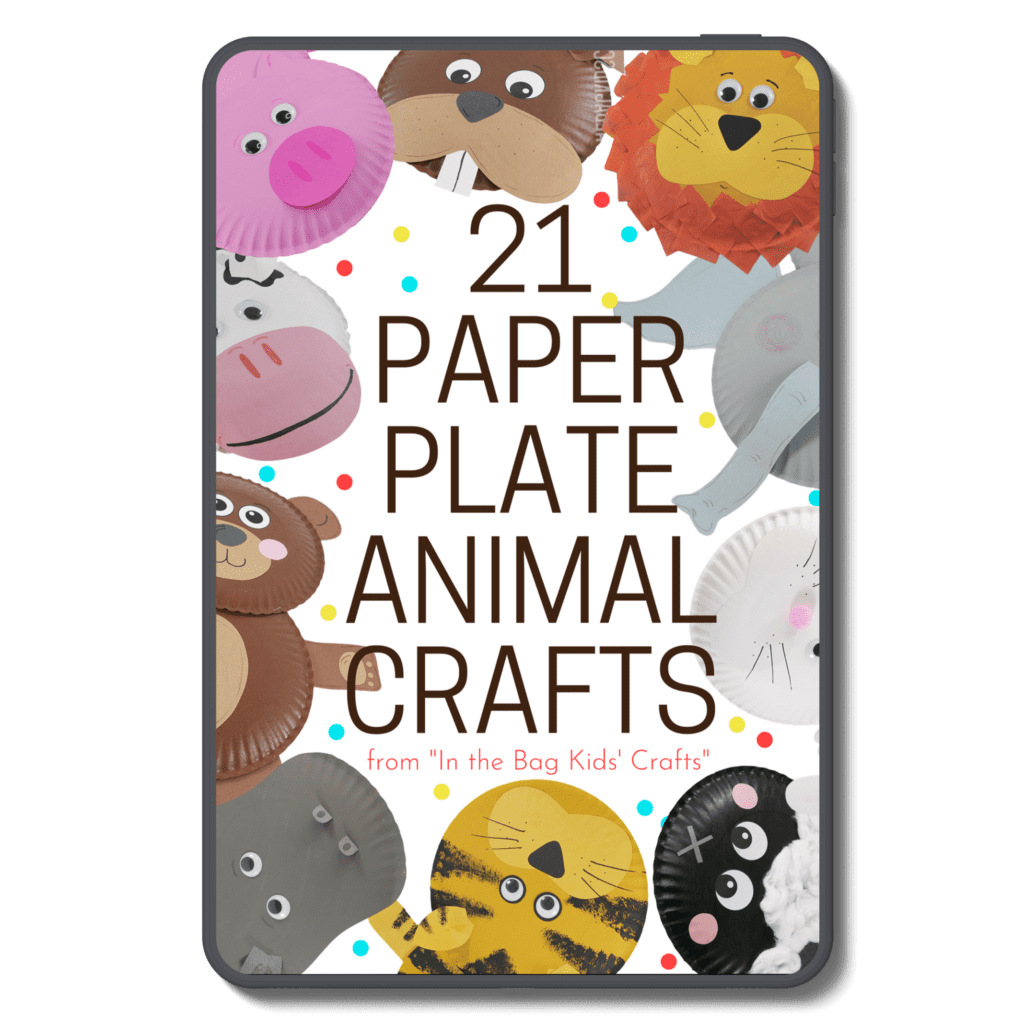
You’re Going to Want to Make EVERY SINGLE Paper Plate Animal Craft in this Collection with Your Kids…
Fun Facts about Foxes
Foxes are absolutely amazing animals. Here are a few fun facts that you should know:
- Foxes live in underground dens and raise their little ones for about 7 months.
- They have a strong smell, almost like a skunk.
- Their hearing is amazing.
- Foxes are a lot like cats and are extrememly playful.
- They can make about 40 sounds, including screaming like an owl.
You can learn more about foxes at Easy Science for Kids.
All activities require adult supervision. By using this site, you are agreeing to our terms of use. This post contains affiliate links, which means if you make a purchase through these links, I may receive a small commission at no extra cost to you. Click here to read my full disclosure policy.
SUPPLIES FROM THE BAG
- 2 Paper plates (9-inch coated)
- Newspaper
- Orange and white paint
- Pompoms
- Scissors
- Glue stick
- Googly eyes (or paper eyes if you prefer)
- Orange construction paper
- Black Sharpie marker
- Fox craft template
Making crafts with your kids should be fun and simple…not more work or one more thing on the “to do” list. By using our approach of filling your bag (using our master list of craft supplies) just once so that you’re ready to make anything on this site or in our shop, you’ll return the fun to crafting with your kids.
Save this Forest Animal Craft for later. Pin it to your favorite Pinterest board…
How to make a Fox Craft
Step 1: Prepare the Body
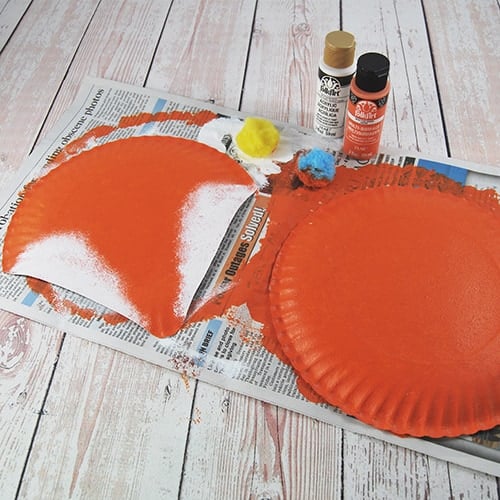
- Lay out some newspaper on your crafting surface.
- Shape one of the paper plates so that it looks like the head of a fox by cutting a triangle with slightly curved sides into the bottom half.
- Place both plates onto the newspaper bottom side up.
- Paint the plates orange using pompoms and tap paint white highlights on the side of the face.
If you do not want to mess with paint, simply use crayons or markers for this step instead.
Step 2: Use the Free Fox Craft Template
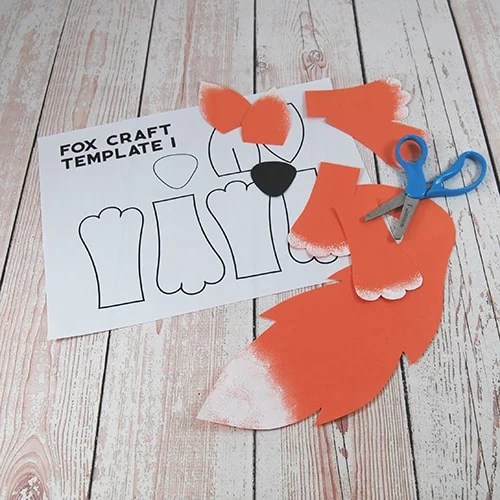
- Download and print the fox craft printable.
- Cut out all of the parts for your fox out of orange construction paper, except for the nose, which will be black.
- Optional: Tap paint white accents onto the tops of the paws, ears and tail. *You can also do this with white crayon instead.
Step 3: Put the Body Together
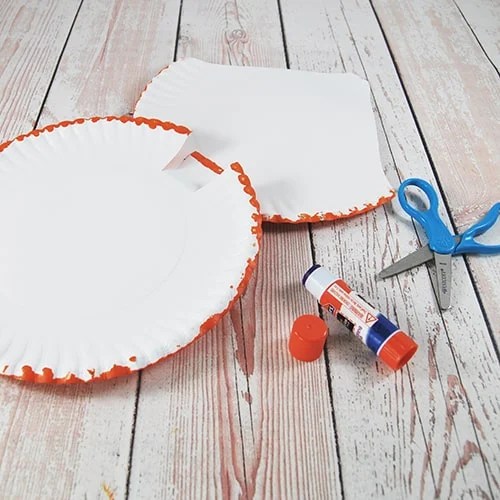
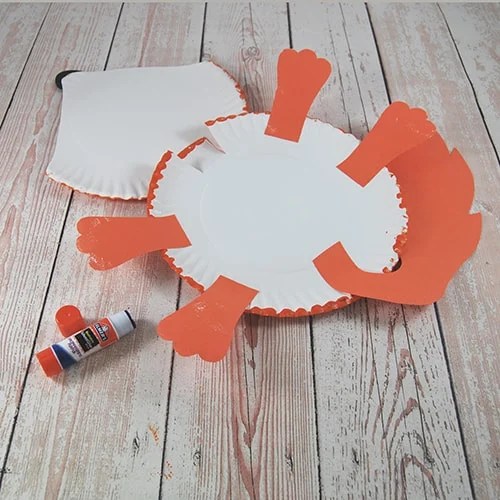
- Cut a tab, about 1″ wide, into the paper plate that will be the body of your fox.
- Generously apply glue stick onto the tab and attach the head.
Step 4: Make the Fox Face
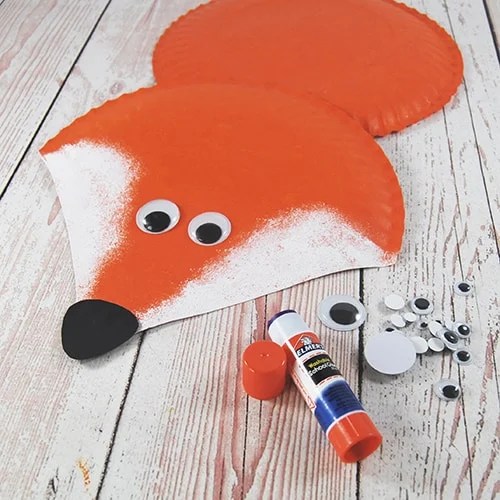
- Use the glue stick to attach the nose to your fox at the very tip of his face.
- Add the googly eyes.
Step 5: Assemble the Parts
- Use the glue stick to apply all of the legs to your fox craft.
- Then add the tail. You can have it curve around the body (as pictured) or snip off the end and have the tail come straight out from the body of your fox.
- Press firmly to all of the parts so that the glue takes hold.
Step 6: Add the Ears to Your Woodland Animal Craft
- Take one of the cut out ears of your fox and overlap the 2 sides at the slit. Secure with some glue.
- Glue the ear in place.
- Repeat this process for the other ear.
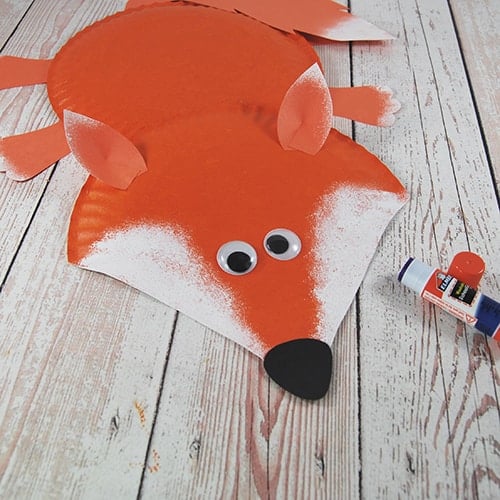
Now that you know how to make this fox craft, it’s time to really make it your own. I modeled this one after the classic red fox, but you should use your creativity to make your fox look however you want. Maybe you want to make it an arctic fox or a black fox…or a rainbow striped fox with purple ears. The only limit is your imagination.
Make Your Fox a Friend with this Turtle Craft Video
Save this Paper Plate Craft for later. Pin it to your favorite Pinterest board…
