Caterpillar Paper Craft (with FREE Template)
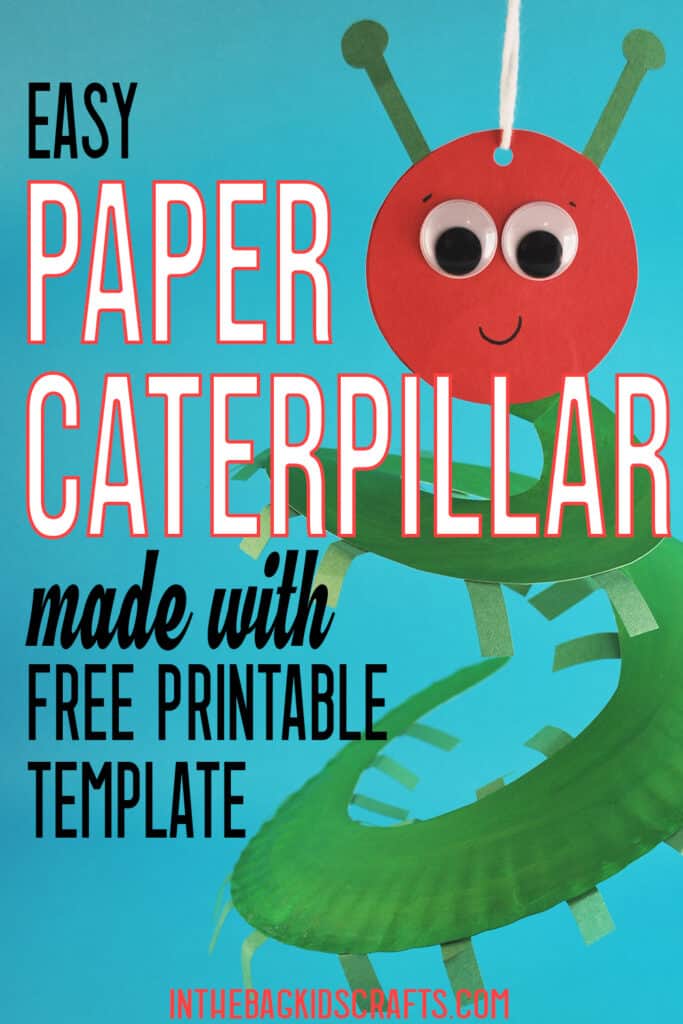
This caterpillar paper craft is so simple to make, using the free printable template. Who knew that you could turn a simple paper plate into something so totally adorable. And if you like this insect craft, you may also like these bug crafts and this cicada craft too. If you have preschoolers, I am sure that you noticed how similar this paper caterpillar craft looks like The Very Hungry Caterpillar. It would pair perfectly with a preschool lesson plan around the book.

Save this Caterpillar Paper Craft for later. Pin it to your favorite Pinterest board…
All activities require adult supervision. By using this site, you are agreeing to our terms of use. This post contains affiliate links, which means if you make a purchase through these links, I may receive a small commission at no extra cost to you. Click here to read my full disclosure policy.
SUPPLIES FROM THE BAG
- Paper plate (9-inch coated)
- Newspaper
- Clothespin
- Medium pompom
- Green paint
- Green and red construction paper
- Scissors
- Glue stick
- Black Sharpie marker
- 2 Large googly eyes
- Single hole punch
- White yarn
- Caterpillar craft template
Have you filled your kids’ craft bag yet using our master list? If you have, then you already have everything you need to make this cute caterpillar craft. Not only that, you have everything you need to make any of the hundreds of crafts on this site. Seriously, just think of the time you will save running back and forth to the store or spending hours preparing advanced projects that your kids will lose interest with in about 30 seconds because you already did most of the crafting. (Know what I mean?)
Step 1: Caterpillar Painting
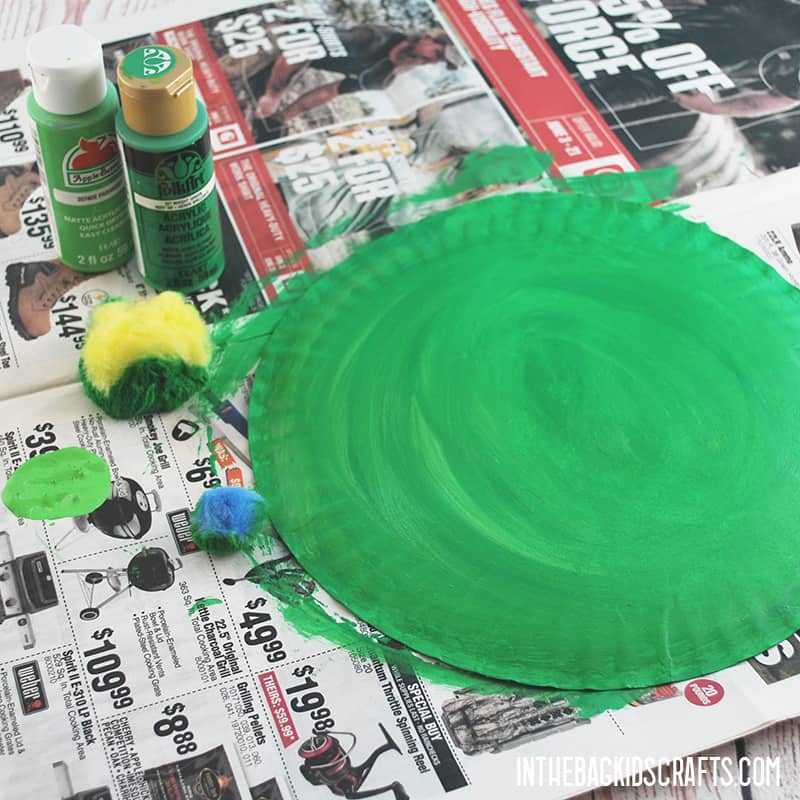
- Cover your work surface with newspaper and squeeze out a little green paint.
- Pinch the pompom with the clothespin to form a “paint brush”.
- Paint the front of the plate and let it dry.
- Then turn it to the other side and paint it green too.
- Set it aside to give it time to dry.
Step 2: Use the Caterpillar Craft Template
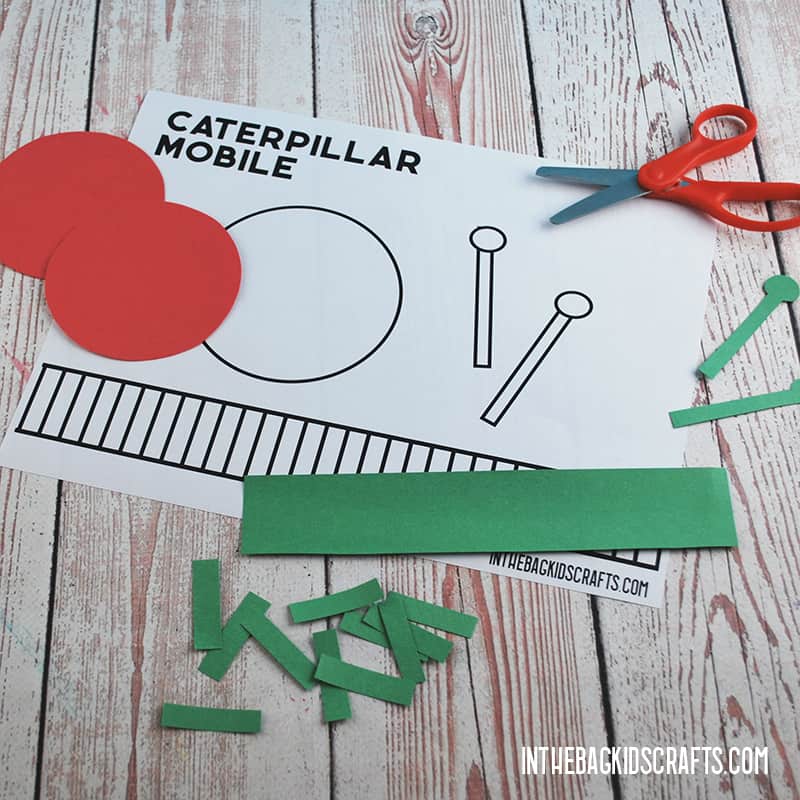
- Print the caterpillar craft template
- Then cut out the pieces using the green and red construction paper (or all green if you prefer). You can do this by placing the rough cut out pieces on top of the paper and then cutting them out together OR by cutting out the template, tracing it and cutting it out.

For little ones learning to use scissors, snipping pieces off of the strip of green paper to make the caterpillar’s legs is the perfect way to practice early scissor skills. It is perfectly alright if the pieces are not equal or perfect. Let them be as independent as possible. You will likely need to help with cutting out the circles. Either cut them out beforehand or cut with your kiddo using a hand over hand approach. Go nice and slow. And, no matter what, be encouraging and praise even the slightest of effort. It is about the process, not the finished product.
Step 3: Cut the Paper Plate
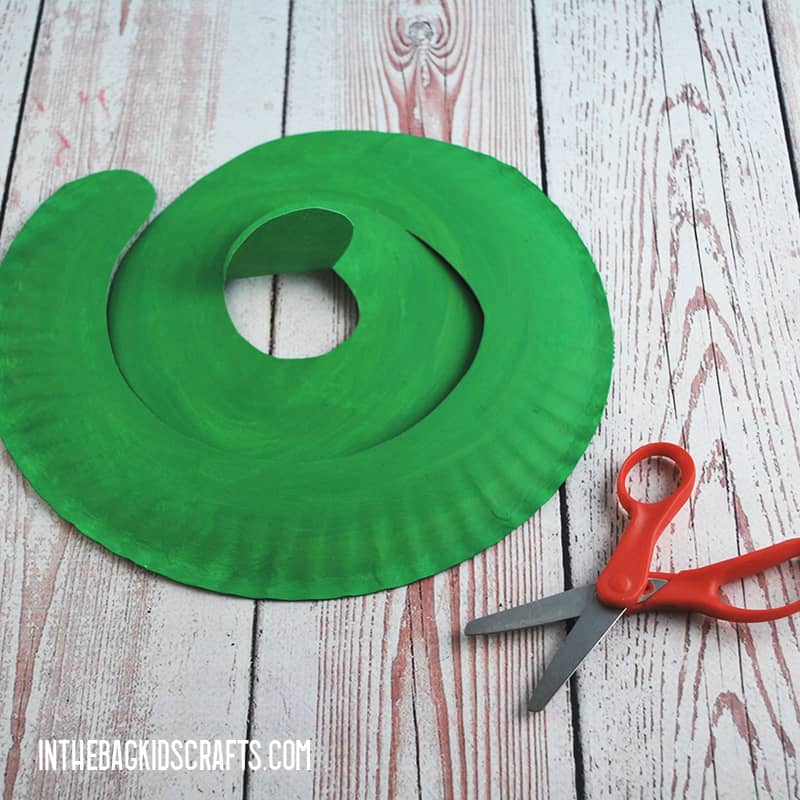
- Now that the paint has dried, cut the plate into a spiral. *If you are working with preschoolers, this will be a step that you will need to either do ahead (even before the painting in step 1) or help with, depending on the scissor skills of the child you are crafting with.
- Round off the end and the other sharp edges.
- Then fold the center section up.
Step 4: Put Together This Caterpillar Art and Craft for Preschool
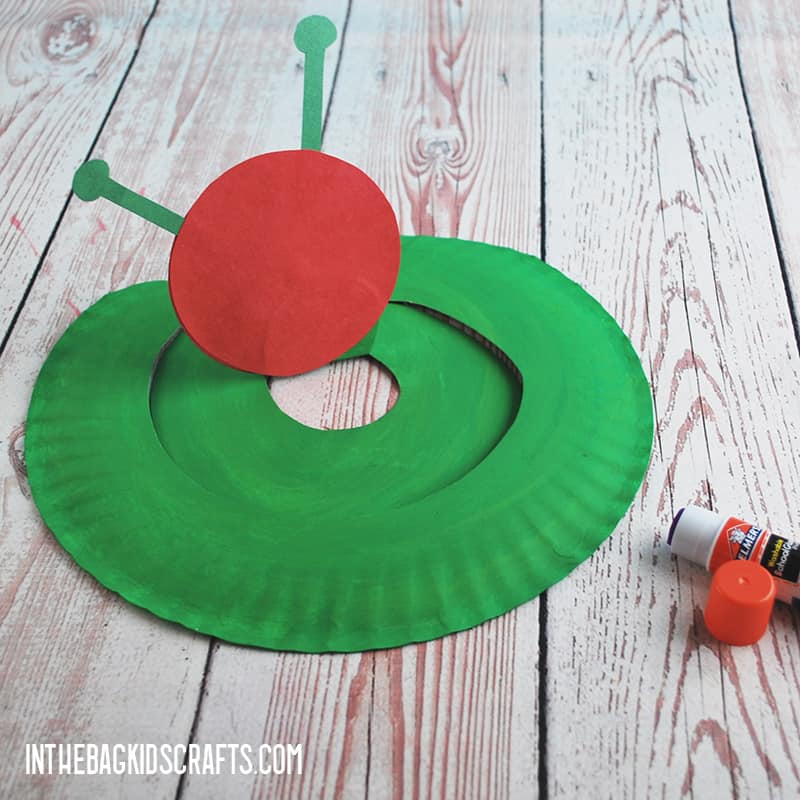
- Use the glue stick to place the antennae onto one of the red circles.
- Then put glue all over the other circle.
- Sandwich the 2 red circles, with the antennae pointing up, onto the tab that you folded up in the middle of the spiraled paper plate.
- Press firmly and give the glue a minute to set up.
Step 5: Add the Caterpillar Legs
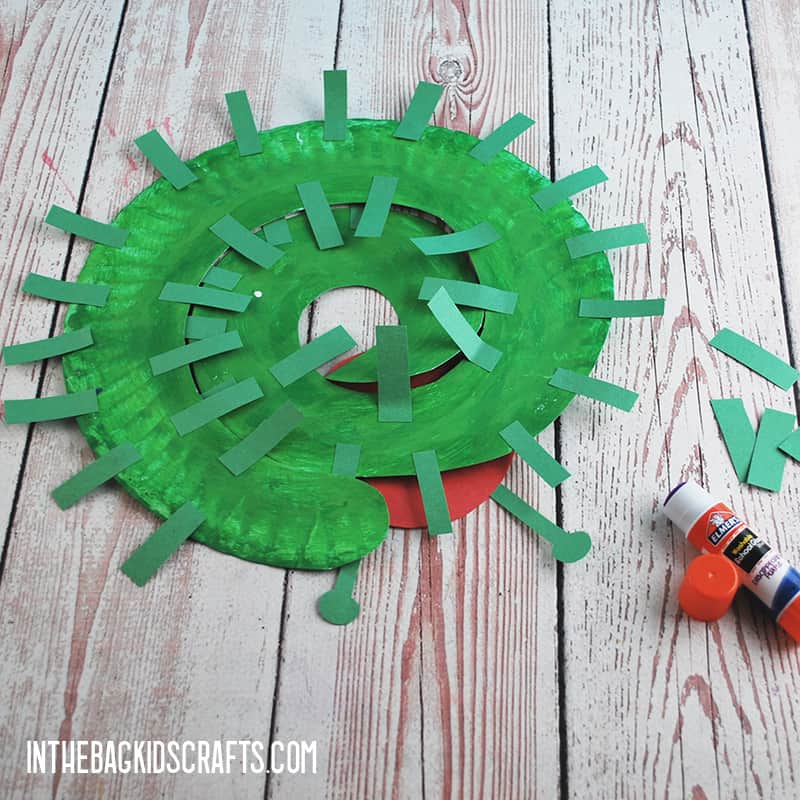
- Now it’s time to add all of those caterpillar legs that you cut out.
- Glue around one of the edges of the spiraled paper plate and place legs at intervals.
- Repeat this on the other side of the caterpillar.
- Once the glue has set up a little, go around and slightly bend the legs of your caterpillar.
Step 6: Add Details to the Caterpillar Art and Craft
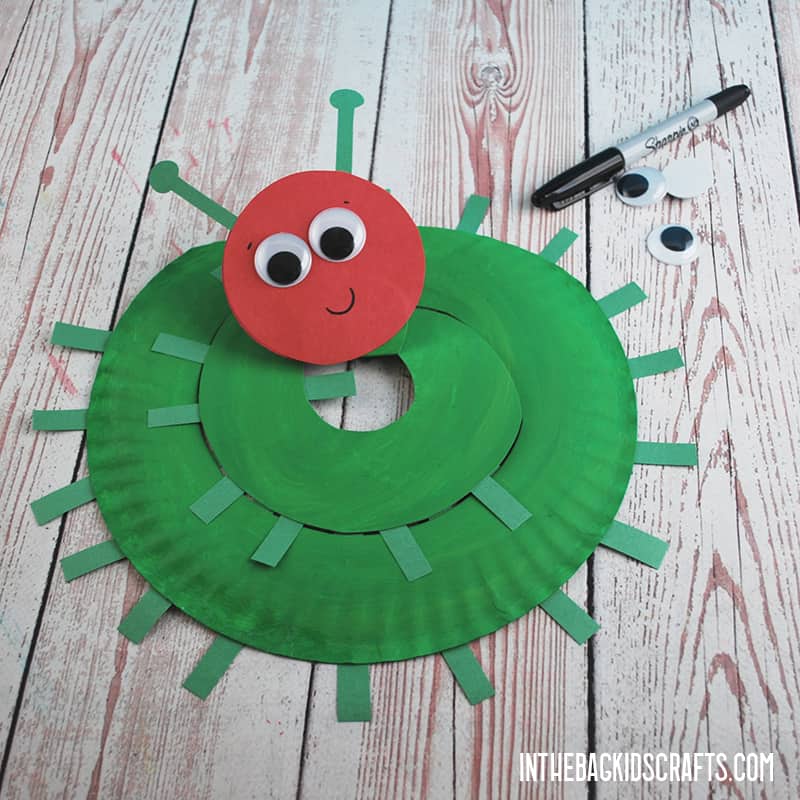
- Let’s give the caterpillar a cute little face.
- First, put the large googly eyes in place.
- Then use the black Sharpie marker to add a smile and any other details your like.
Step 7: Give Your Caterpillar Craft a Hanger
- Use the single hole punch to put a hole in the top of the caterpillar’s head.
- Then cut a piece of white yarn about 12 inches long.
- Lace it through the hole and tie the end to form a hanger.
Save this Caterpillar Craft Idea for later. Pin it to your favorite Pinterest board…
Who knew you could make such a cute caterpillar craft with paper plates? We did! And now you do too. Prep the plates ahead of time by cut the spirals first, and this will be a great preschool caterpillar craft. Make a day of it with caterpillar themed snacks, stories and games. You could even decide to get butterfly eggs to begin watching how they hatch, form a chrysalis and turn into butterflies.
