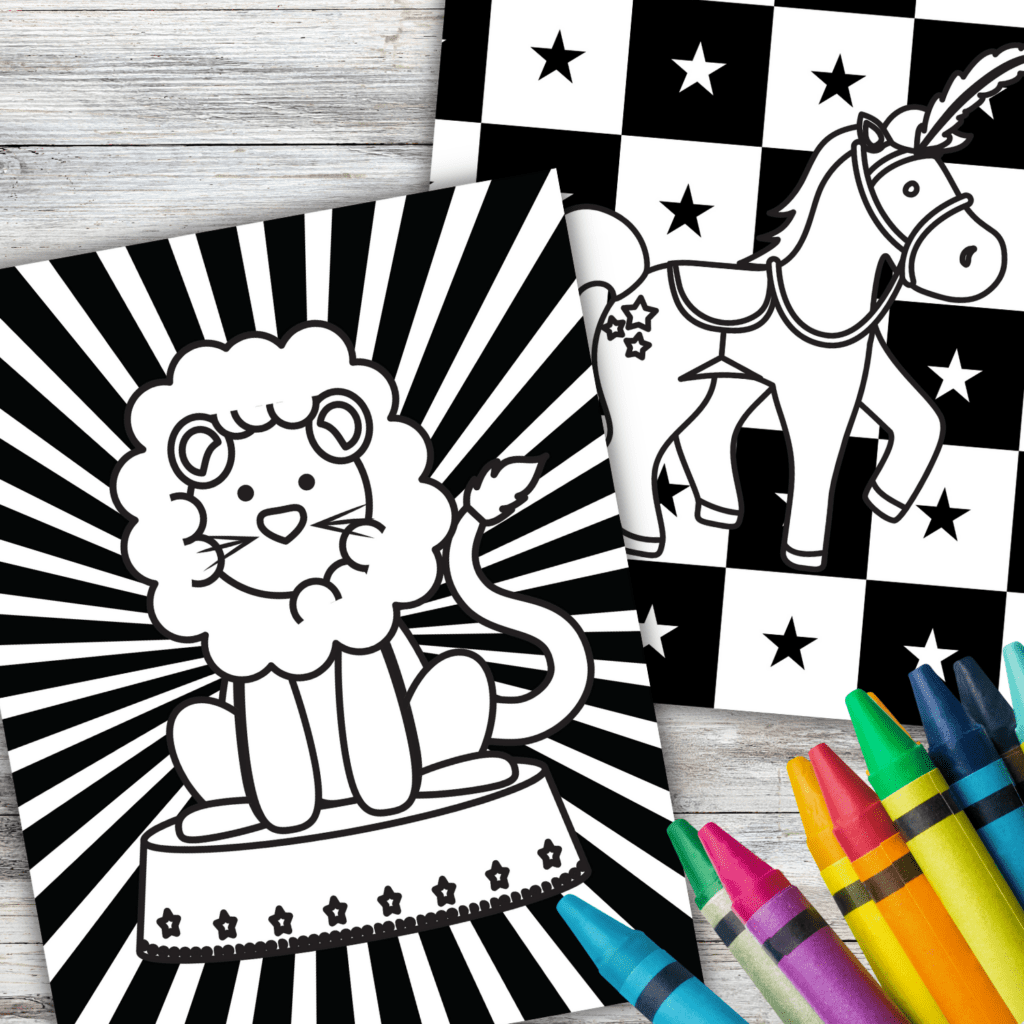
DIY Circus Themed Crafts for Kids (Free Printable)
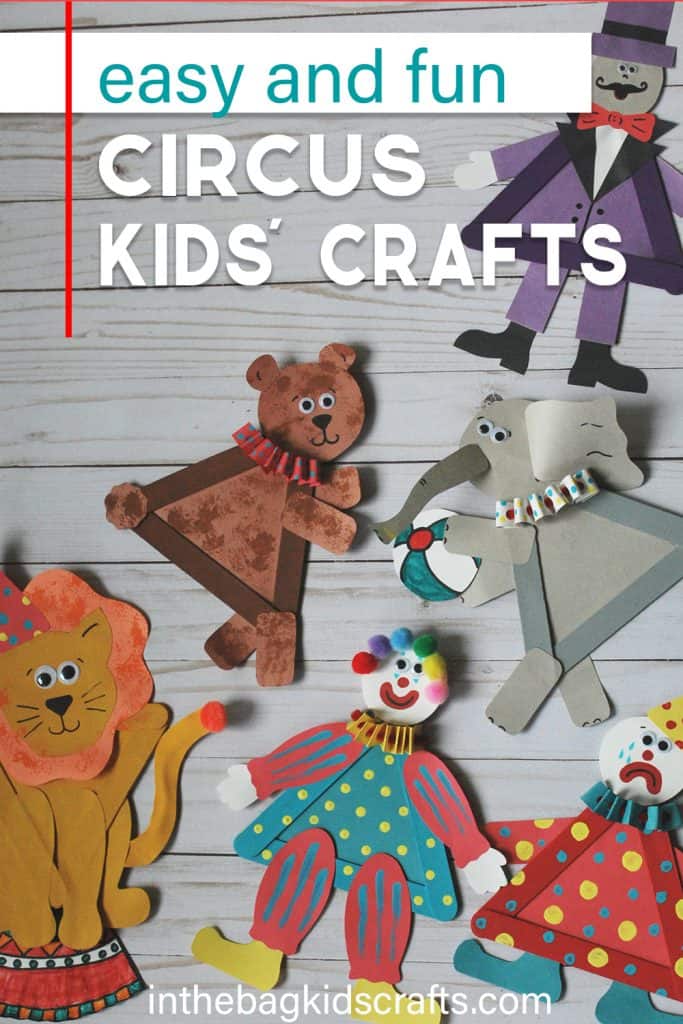
These circus themed paper crafts are so much fun to make and even more fun to play with when they are done! Yours should take on your own personality…after all, a circus is bright and colorful and unique (just like you!). You can also add an extra popsicle stick as a handle to each to turn it into a puppet! THEN PUT ON A SHOW!

As always, these crafts are being made with supplies that are on the MASTER LIST that is used for every single project on this site! And these supplies fit into one bag (get it…”In the Bag” kids’ crafts) that you can pull at any time…anywhere. This approach to crafting leaves you with tons of options for creativity but takes away the obstacles of mess, tons of prep and no time. You’re welcome…now get to making things with your kids! I promise you that you will not regret it.
Check out this fun video craft tutorial
Save this fun craft for later! Pin it to your favorite Pinterest board..
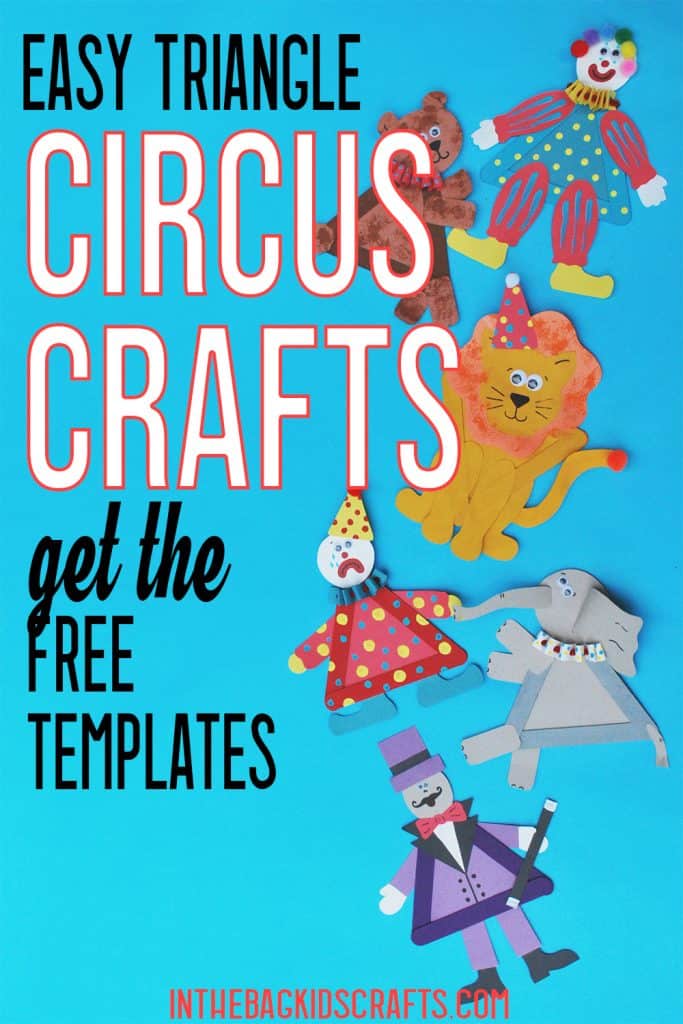
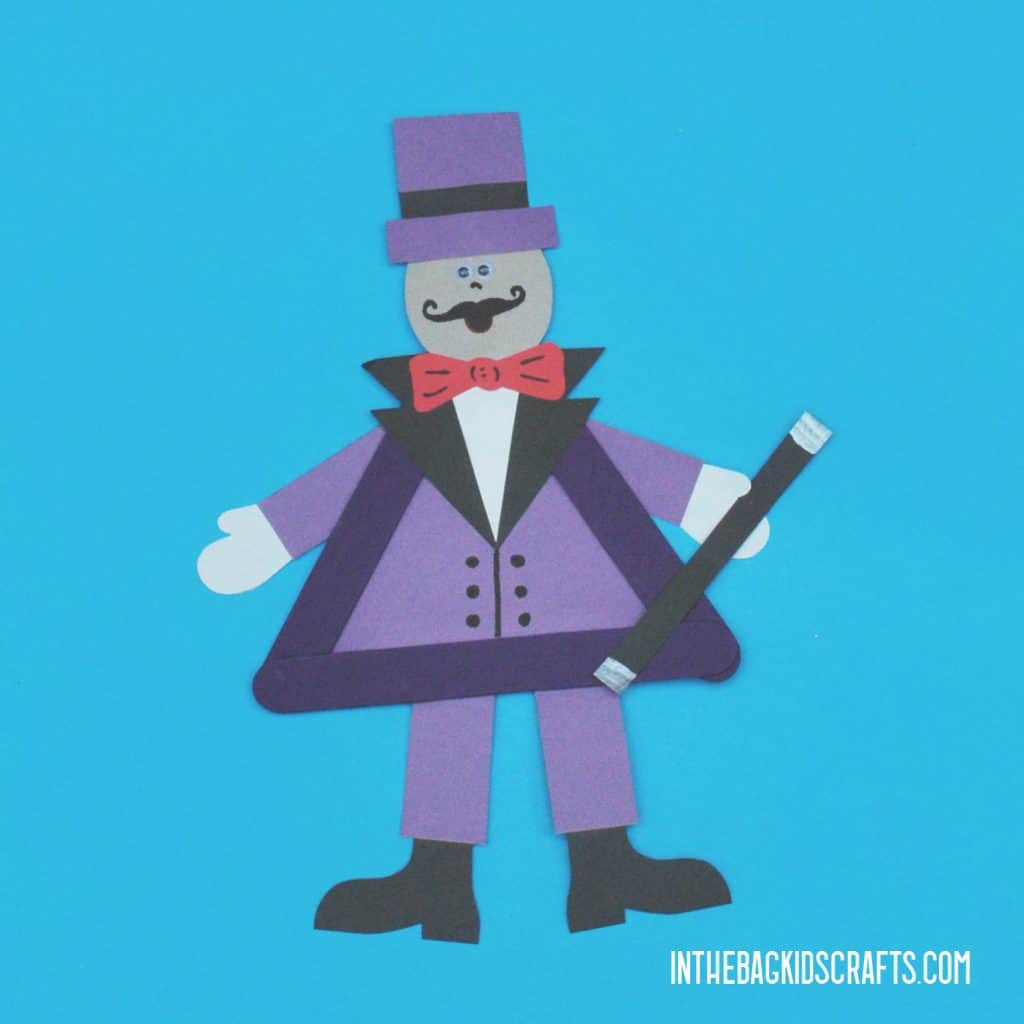
How to Make a Circus Ringmaster Craft
CRAFT SUPPLIES FROM THE BAG
- Purple construction paper
- Scraps of white, red, black and gray construction paper
- Scissors
- 3 Large popsicle sticks
- Elmer’s glue
- Glue stick
- Purple paint
- Newspaper
- Markers
- Black Sharpie marker
- Clothespin
- Medium pompom
Step 1: Make a Triangle
- Use the Elmer’s glue to make a triangle from the 3 large popsicle sticks.
- Give the glue plenty of time to dry.
*You may want to make several triangles at once and let them dry overnight. Then just keep them in your bag ready to go. You will be ready to make all of these circus crafts for kids. And there are LOTS of other crafts on this site that start with a triangle popsicle stick frame. And you will love then ALL!
Step 2: Paint
- Place your triangle frame on the newspaper and squeeze out a little bit of purple paint.
- Pinch the medium pompom with the clothespin to form a “paint brush”
- Now paint the frame purple and set it aside to give it time to dry.
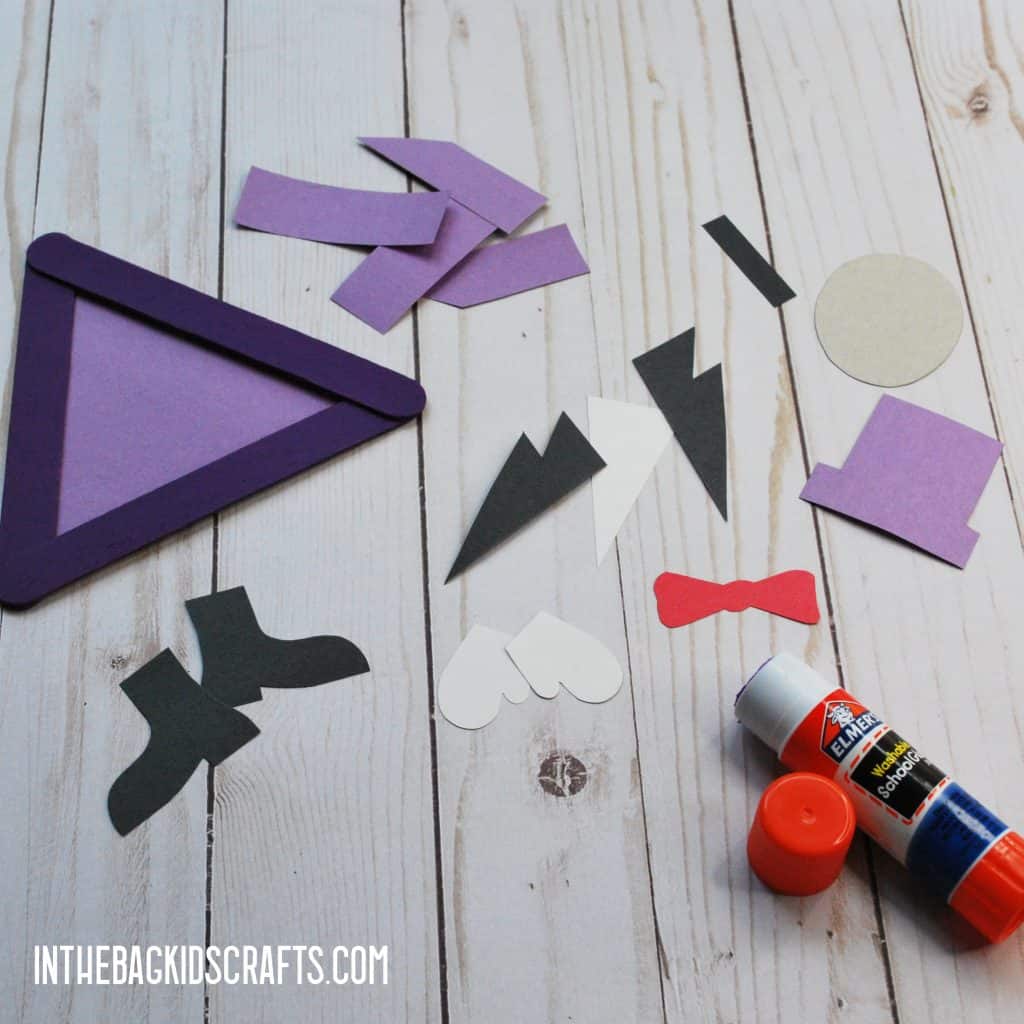
Step 3: Cut out the Pieces
- Print the FREE template or draw your own designs.
- Cut out the parts of your Ring Master character as pictured below
- Use the glue stick to attach all of the components of the Ring Master
Step 4: Add the Details
- Glue the eyes in place
- Draw on your ring master’s face (I gave mine a twirly mustache, but you should make him look however you want!)
- Draw on details as you would like. Or cut small pieces out of construction paper and glue the in place, like a band for the hat or a wand for conducting the show.
How to Make a Sad Clown
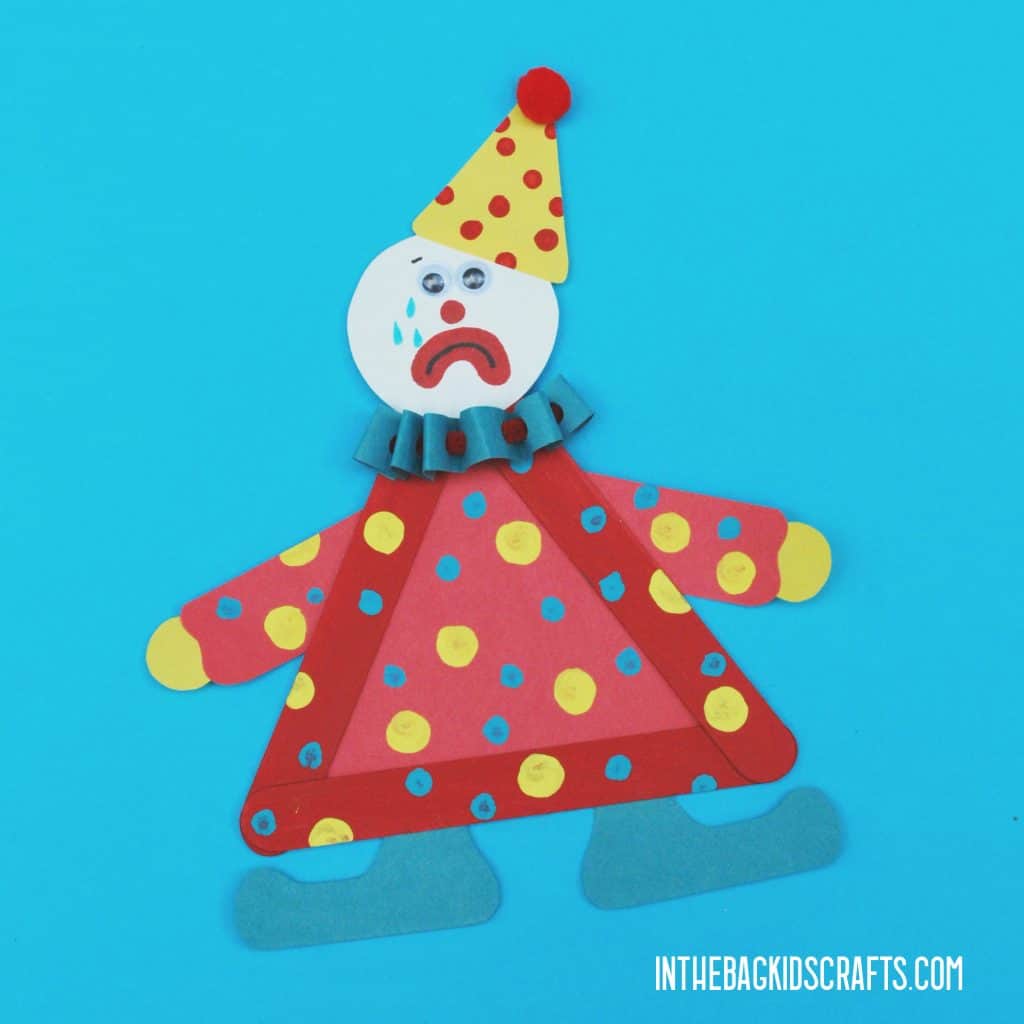
SUPPLIES FROM THE BAG
- 3 Large popsicle sticks
- Elmer’s glue
- Red, yellow and aqua paint
- Newspaper
- Clothespin
- Medium pompom (any color)
- Glue stick
- Scissors
- Q-tips
- Red construction paper
- Scraps of white, aqua and yellow construction paper
- Small pompom for hat
- Half a pipe cleaner
- Tape
- Markers
- 2 Small googly eyes
- Hole punch
Step 1: Make a Triangle
- Use the Elmer’s glue to make a triangle from the 3 large popsicle sticks.
- Give the glue plenty of time to dry.
*You may want to make several triangles at once and let them dry overnight. Then just keep them in your bag ready to go. You will be ready to make all of these circus crafts for kids. And there are LOTS of other crafts on this site that start with a triangle popsicle stick frame. And you will love then ALL!
Step 2: Paint
- Place your triangle frame on the newspaper and squeeze out a little bit of red paint.
- Pinch the medium pompom with the clothespin to form a “paint brush”
- Now paint the frame red and set it aside to give it time to dry.
*Move the triangle a couple of times as it is drying to decrease the chance that it will stick to the newspaper.
Step 3: Cut out the Pieces
- Print the FREE template or draw your own designs to complete the clown
- Cut out the parts of your circus clown as pictured below
- Use the glue stick to attach all of the components of the sad clown
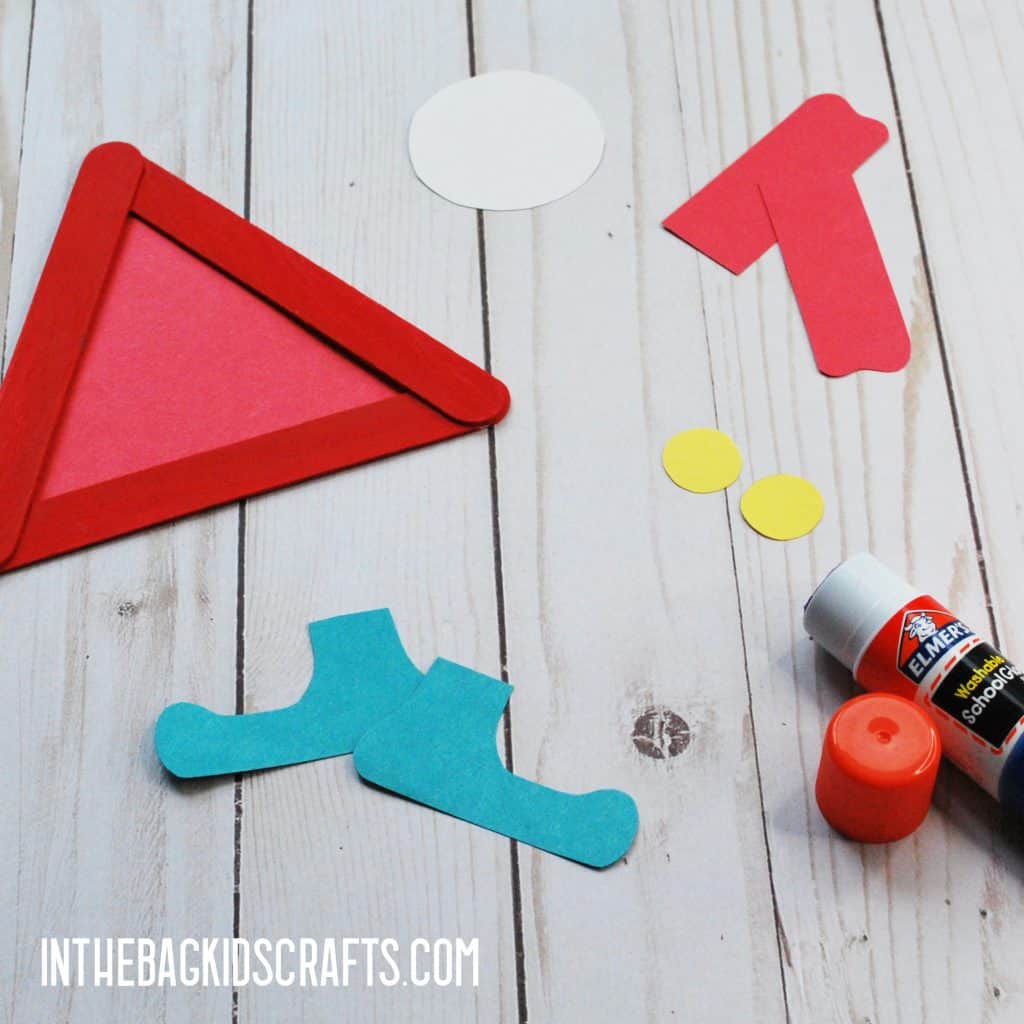
Step 4: Add the Details
- Use the q-tips to paint polka dots onto your clown’s outfit.
- Draw on the clown face and glue the googly eyes in place.
- Make a pointy hat for your clown out of a scrap of red construction paper, paint on some polka dots and add a puff at the top.
- Finally, give your clown a puffy collar by folding a strip of aqua (or color of your choice) construction paper in an accordian style and punching a hole in the middle. Then lace a pipe cleaner through the holes to form the collar. Bend it into a small arch, place it on your clowns neck and wrap the ends around the back of your character. Use tape on the back to secure it into place.
How to Make a Happy Clown
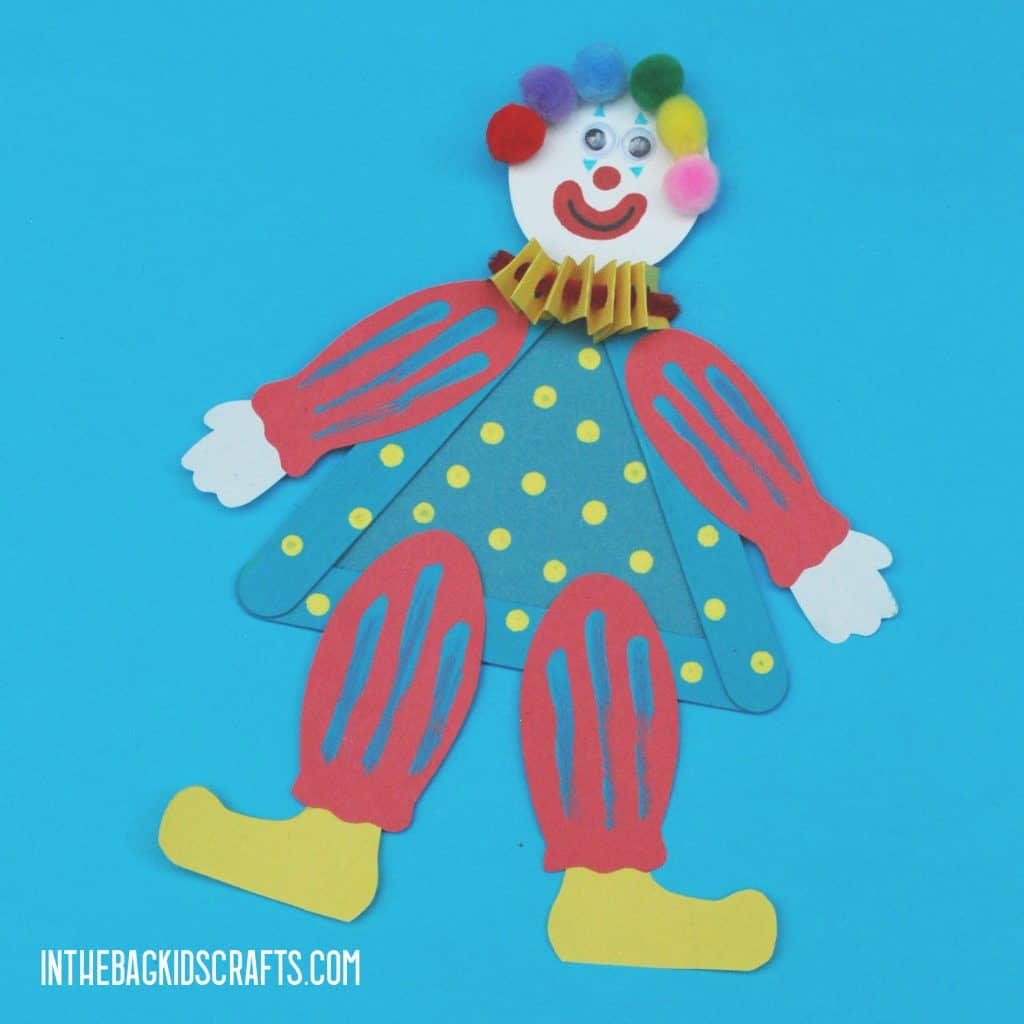
SUPPLIES FROM THE BAG
- 3 Large popsicle sticks
- Elmer’s glue
- Newspaper
- Aqua and yellow paint
- Clothespin
- Medium pompom
- Q-tips
- 2 Small googly eyes
- Glue stick
- Scissors
- Half a pipe cleaner
- Aqua construction paper
- Scraps of white, red and yellow construction paper
- Small pompoms in rainbow colors (6)
- Hole punch
- Markers
- Tape
Step 1: Make a Triangle
- Use the Elmer’s glue to make a triangle from the 3 large popsicle sticks.
- Give the glue plenty of time to dry.
*You may want to make several triangles at once and let them dry overnight. Then just keep them in your bag ready to go. You will be ready to make all of these circus crafts for kids. And there are LOTS of other crafts on this site that start with a triangle popsicle stick frame. And you will love then ALL!
Step 2: Paint
- Place your triangle frame on the newspaper and squeeze out a little bit of aqua paint.
- Pinch the medium pompom with the clothespin to form a “paint brush”
- Now paint the frame aqua and set it aside to give it time to dry.
*Move the triangle a couple of times as it is drying to decrease the chance that it will stick to the newspaper.
Step 3: Cut out the Pieces
- Print the FREE template or draw your own designs to complete the clown
- Cut out the parts of your circus clown as pictured below
- Use the glue stick to attach all of the components of the happy clown
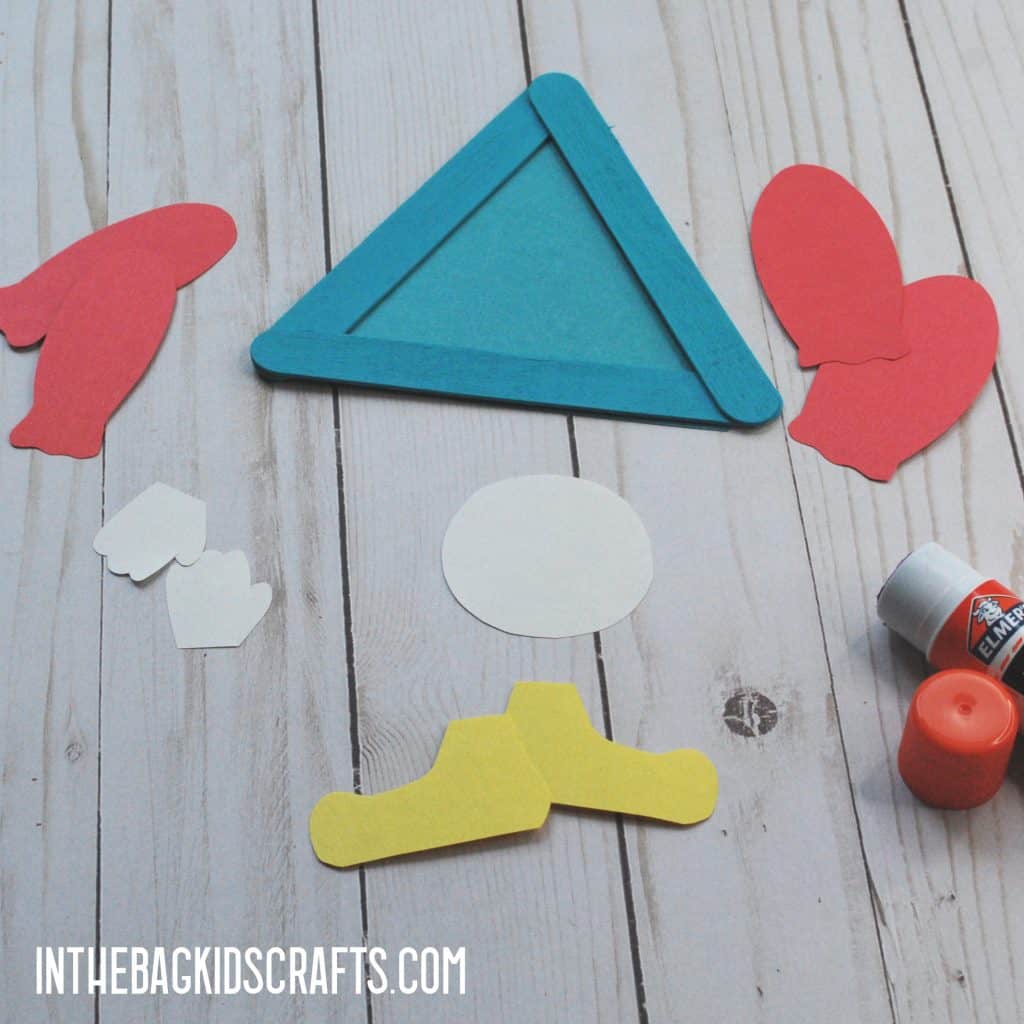
Step 4: Add the Details
- Use the q-tips to paint polka dots and stripes onto your clown’s outfit.
- Draw on his/her face and glue the googly eyes in place.
- Glue the small rainbow pompoms on your clowns head to form the hair.
- Finally, give your clown a puffy collar by folding a strip of aqua (or color of your choice) construction paper in an accordian style and punching a hole in the middle. Then lace a pipe cleaner through the holes to form the collar. Bend it into a small arch, place it on your clowns neck and wrap the ends around the back of your character. Use tape on the back to secure it into place.
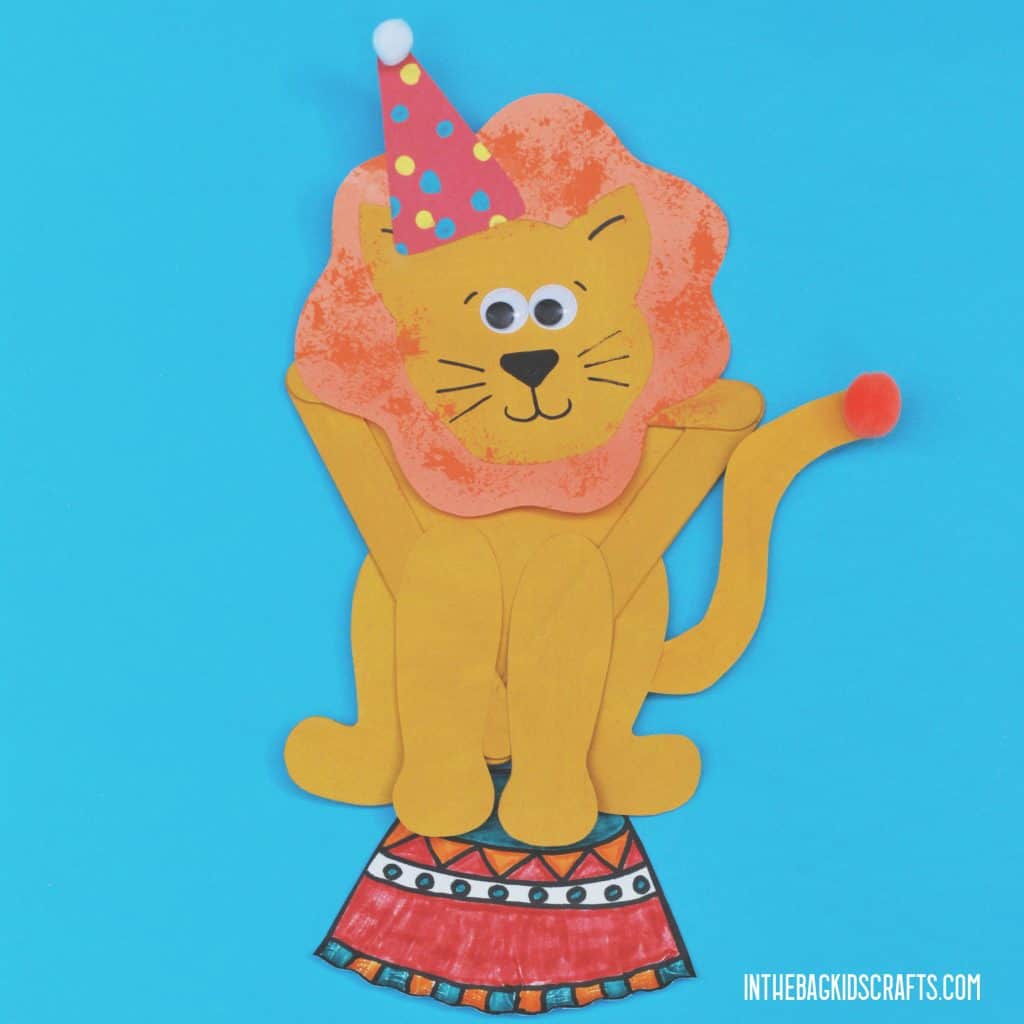
How to Make a Circus Lion
SUPPLIES FROM THE BAG
- 3 Large popsicle sticks
- Elmer’s glue
- Yellow and orange paint
- Newspaper
- Clothespin
- Medium pompom (any color)
- 2 Medium googly eyes
- Glue stick
- Scissors
- Yellow and orange construction paper
- Scrap of red construction paper
- Q-tips
- Yellow and aqua paint
- Half a pipe cleaner (any color)f
- Small white and orange pompom
- Tape
- Black Sharpie marker
Step 1: Make a Triangle
- Use the Elmer’s glue to make a triangle from the 3 large popsicle sticks.
- Give the glue plenty of time to dry.
*You may want to make several triangles at once and let them dry overnight. Then just keep them in your bag ready to go. You will be ready to make all of these circus crafts for kids. And there are LOTS of other crafts on this site that start with a triangle popsicle stick frame. And you will love then ALL!
Step 2: Paint
- Place your triangle frame on the newspaper and squeeze out a little bit of yellow paint.
- Pinch the medium pompom with the clothespin to form a “paint brush”
- Now paint the frame yellow and set it aside to give it time to dry.
- Since my paper did not match the paint that I wanted to use, I also painted some paper to use so that it would coordinate better.
*Move the triangle a couple of times as it is drying to decrease the chance that it will stick to the newspaper.
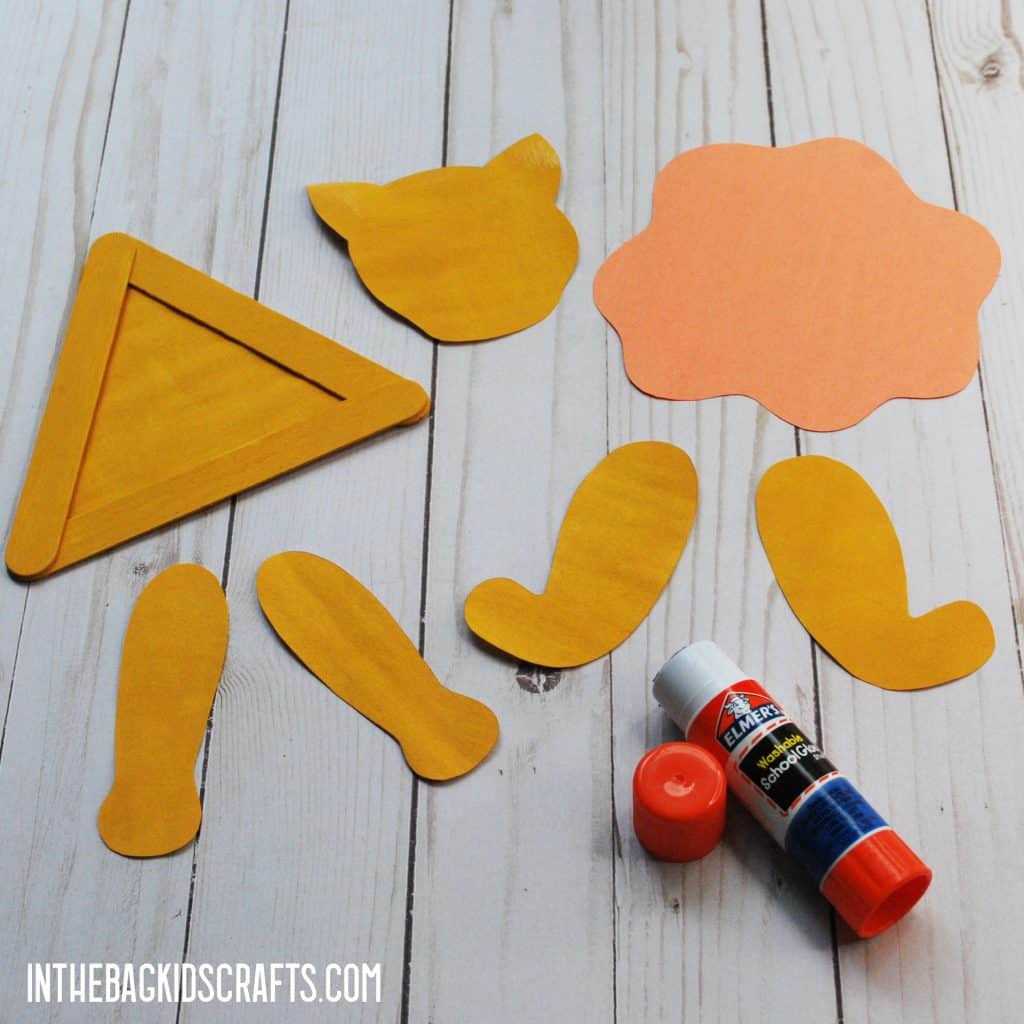
Step 3: Cut out the Pieces
- Print the FREE template or draw your own designs to complete the circus lion
- Cut out the parts of your lion as pictured below
- Use the glue stick to attach all of the components of the circus lion
Step 4: Add the Details
- Glue the googly eyes in place and draw on the lion’s face.
- Cut out a small red triangle and use the q-tips to paint on some dots. Then glue a small pompom at the end to make the lion’s circus hat.
- Use the glue stick to place the hat in place on the lion’s head.
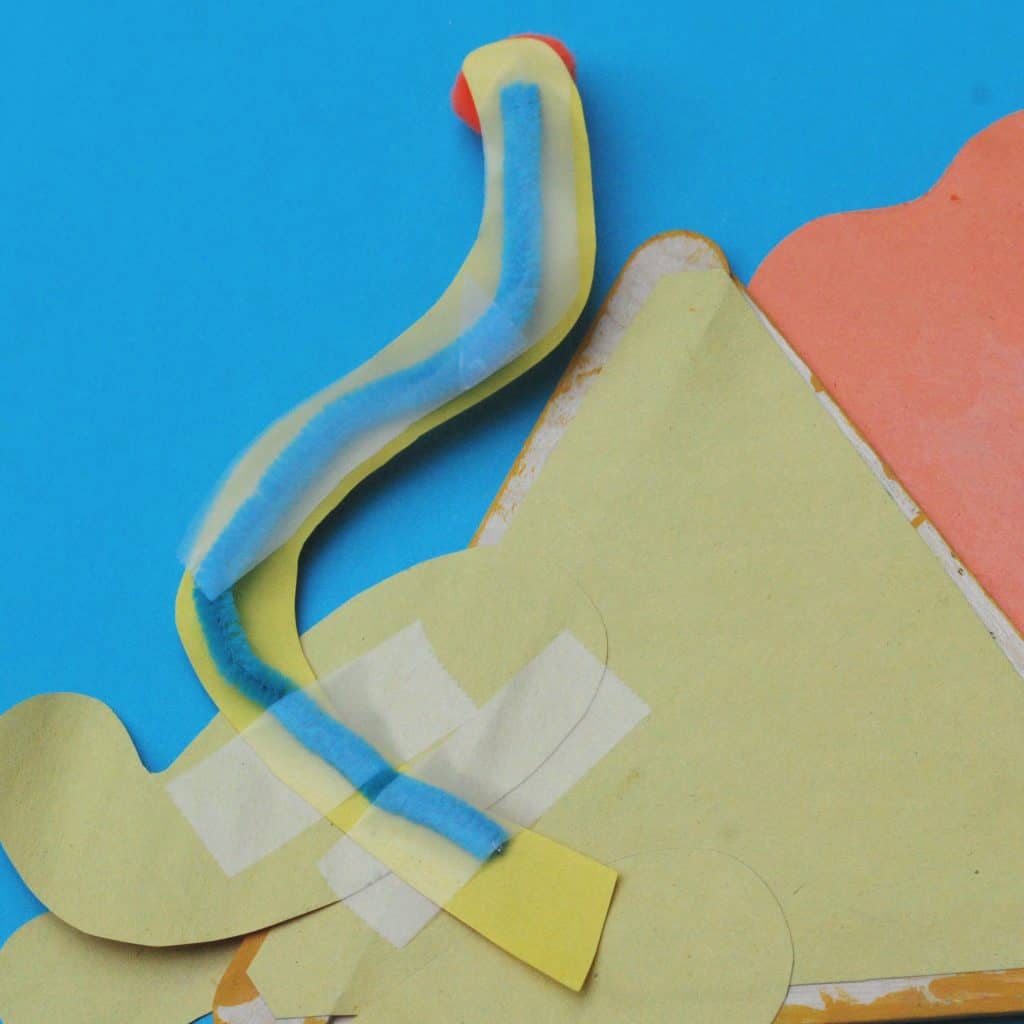
- Slightly curve the half pipe cleaners and tape it onto on a piece of yellow construction paper (matching the lion). Then trim around the pipe cleaner to form the tail. Tape it into place as pictured.
- Glue small orange pompom onto the end and allow the glue to dry.
*If you would like to also make a TIGER for your circus, you can use this same template and just leave out the lion’s mane. Then use paint or markers to draw on the tiger’s stripes.
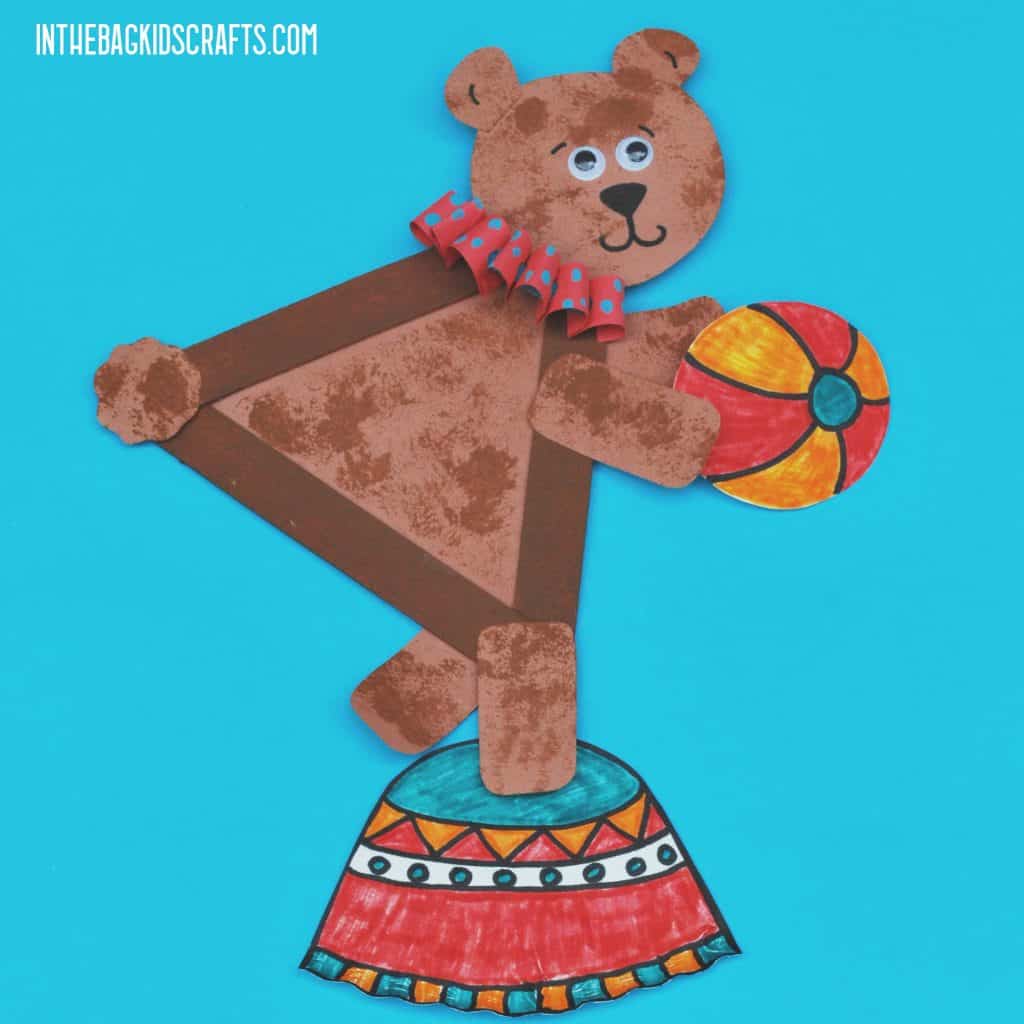
How to Make a Circus Bear
SUPPLIES FROM THE BAG
- 3 Large popsicle sticks
- Brown paint (2 shades)
- Newspaper
- Clothespin
- 2 Medium pompoms
- Elmer’s glue
- Glue stick
- Scissors
- Brown construction paper
- 2 Small googly eyes
- Scrap of red construction paper
- Q-tips
- Aqua paint
- Black Sharpie marker
- Tape
- Hole punch
Step 1: Make a Triangle
- Use the Elmer’s glue to make a triangle from the 3 large popsicle sticks.
- Give the glue plenty of time to dry.
*You may want to make several triangles at once and let them dry overnight. Then just keep them in your bag ready to go. You will be ready to make all of these circus crafts for kids. And there are LOTS of other crafts on this site that start with a triangle popsicle stick frame. And you will love then ALL!
Step 2: Paint
- Place your triangle frame on the newspaper and squeeze out a little bit of brown paint. Choose a brown paint that is closest to the color of the brown construction paper that you are using.
- Pinch the medium pompom with the clothespin to form a “paint brush”
- Now paint the frame brown and set it aside to give it time to dry.
*Move the triangle a couple of times as it is drying to decrease the chance that it will stick to the newspaper.
Step 3: Cut out the Pieces
- Print the FREE template or draw your own designs to complete the dancing circus bear
- Cut out the parts of your bear as pictured below
- Use the glue stick to attach all of the components of the circus bear
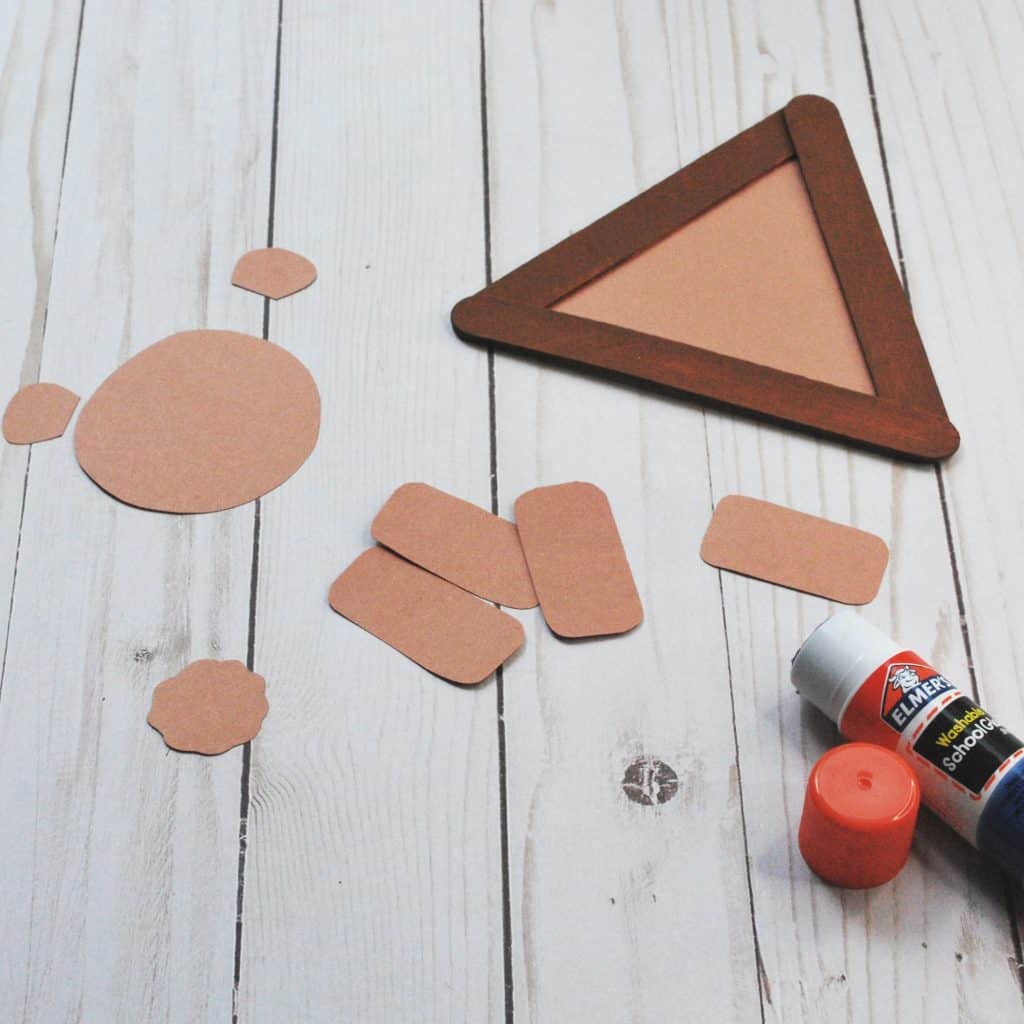
Step 4: Add the Details
- Place the put together circus bear back onto the newspaper and squeeze out a little bit of the slightly darker paint.
- Pinch the medium pompom with the clothespin to make your “paint brush” and tap it into your dark brown paint.
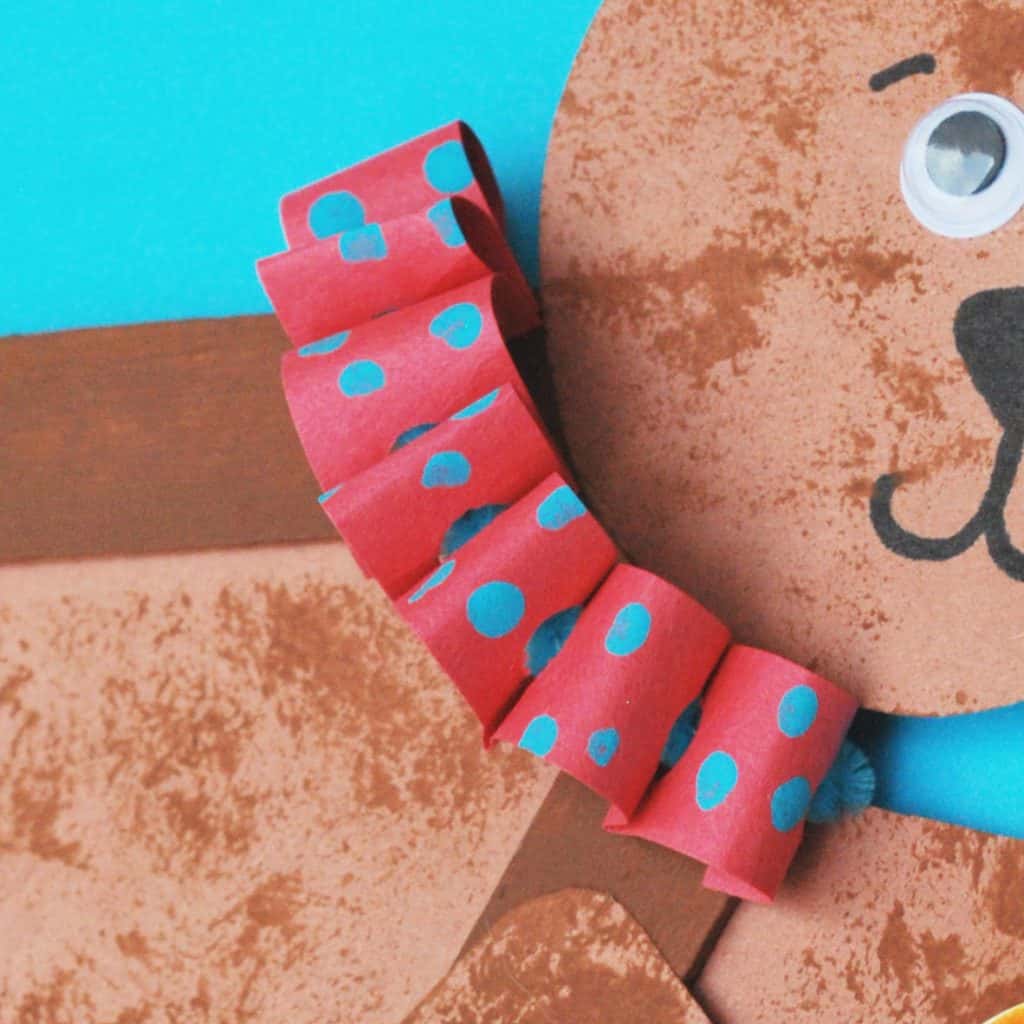
- Then tap the paint onto your bear to make his “fur”.
- Once the paint is dry, glue on the eyes and draw the bear’s face
- Finally, give your bear a puffy circus collar by folding a strip of red (or color of your choice) construction paper in an accordian style and punching a hole in the middle. Then lace a pipe cleaner through the holes to form the collar. Bend it into a small arch, place it on your clowns neck and wrap the ends around the back of your character. Use tape on the back to secure it into place. I also used the q-tips to dot on a little paint for polka dots.
How to Make a Circus Elephant
SUPPLIES FROM THE BAG
- 3 Large popsicle sticks
- Elmer’s glue
- Newspaper
- Gray paint
- Clothespin
- Medium pompom
- Gray construction paper
- Scissors
- Glue stick
- Black Sharpie marker
- Scrap of white construction paper
- Half of a pipe cleaner
- Tape
- Hole punch
- 2 Small googly eyes
*Remember that if you do not have gray, just mix up some black and white paint. This is a great time to give your child a little lesson in what happens when various colors are mixed.
Step 1: Make a Triangle
- Use the Elmer’s glue to make a triangle from the 3 large popsicle sticks.
- Give the glue plenty of time to dry.
*You may want to make several triangles at once and let them dry overnight. Then just keep them in your bag ready to go. You will be ready to make all of these circus crafts for kids. And there are LOTS of other crafts on this site that start with a triangle popsicle stick frame. And you will love then ALL!
Step 2: Paint
- Place your triangle frame on the newspaper and squeeze out a little bit of gray paint.
- Pinch the medium pompom with the clothespin to form a “paint brush”
- Now paint the frame gray and set it aside to give it time to dry.
Step 3: Cut out the Pieces
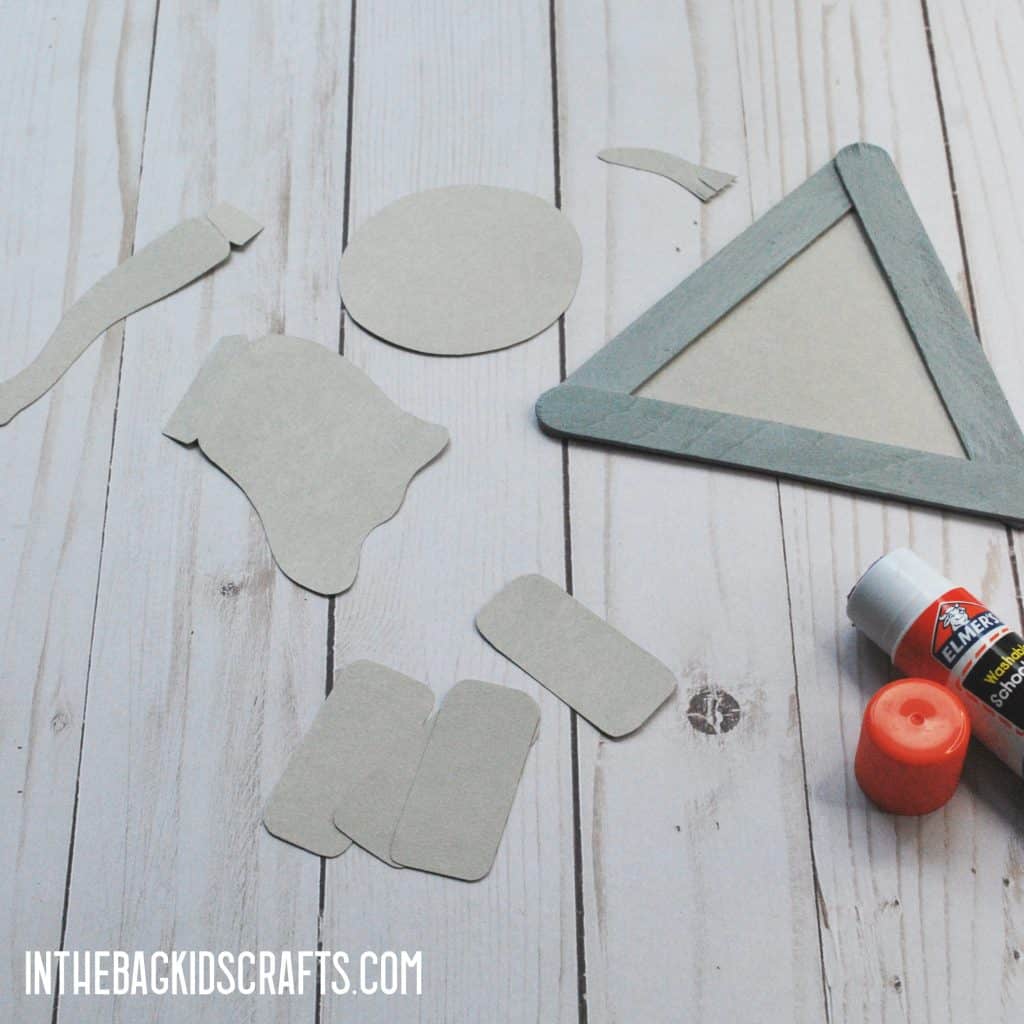
- Print the FREE template or draw your own designs to complete the circus elephant
- Cut out the parts of your elephant as pictured below
- Use the glue stick to attach all of the components of the circus elephant
Step 4: Add the Details
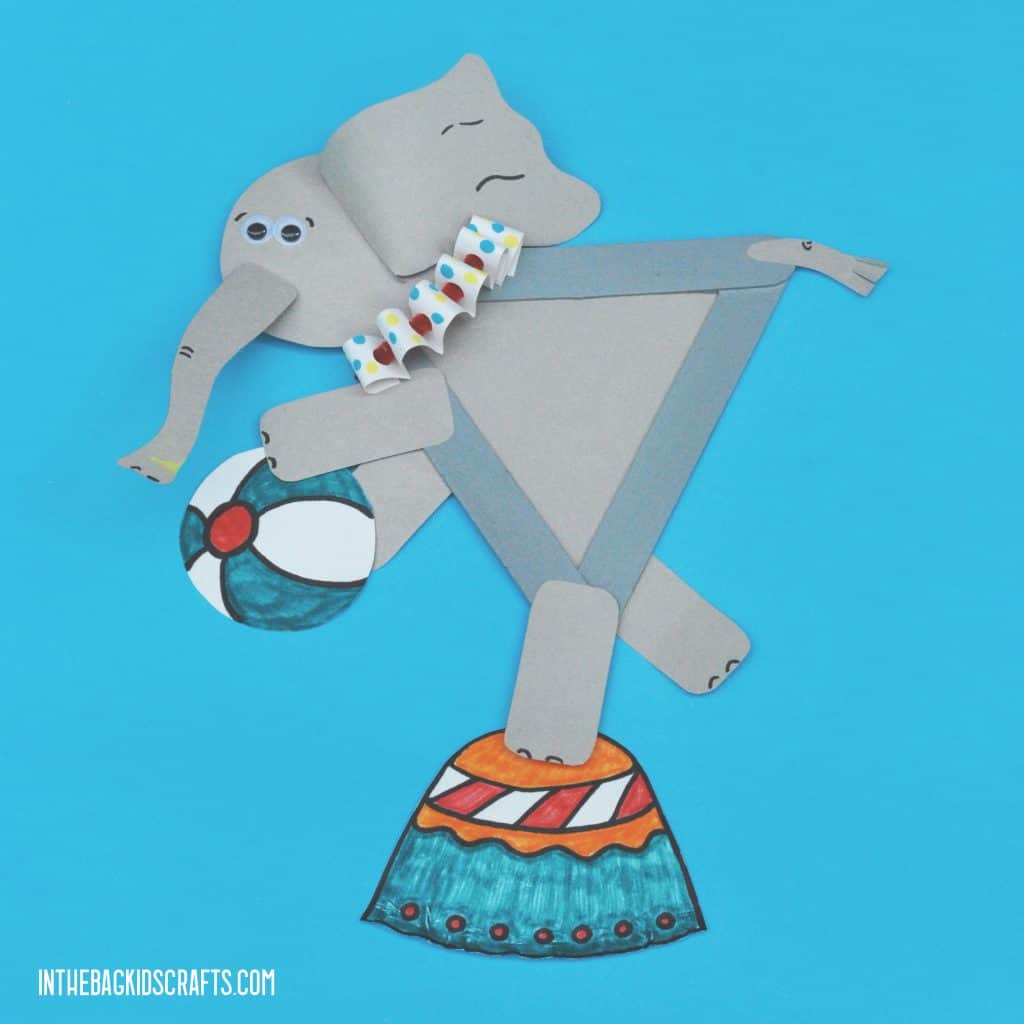
- Fold back the tabs on the elephant’s trunk and ear
- Snip the end of the elephant’s tail to add a little bit of “hair”
- Glue the elephant’s eyes in place and draw on details as desired.
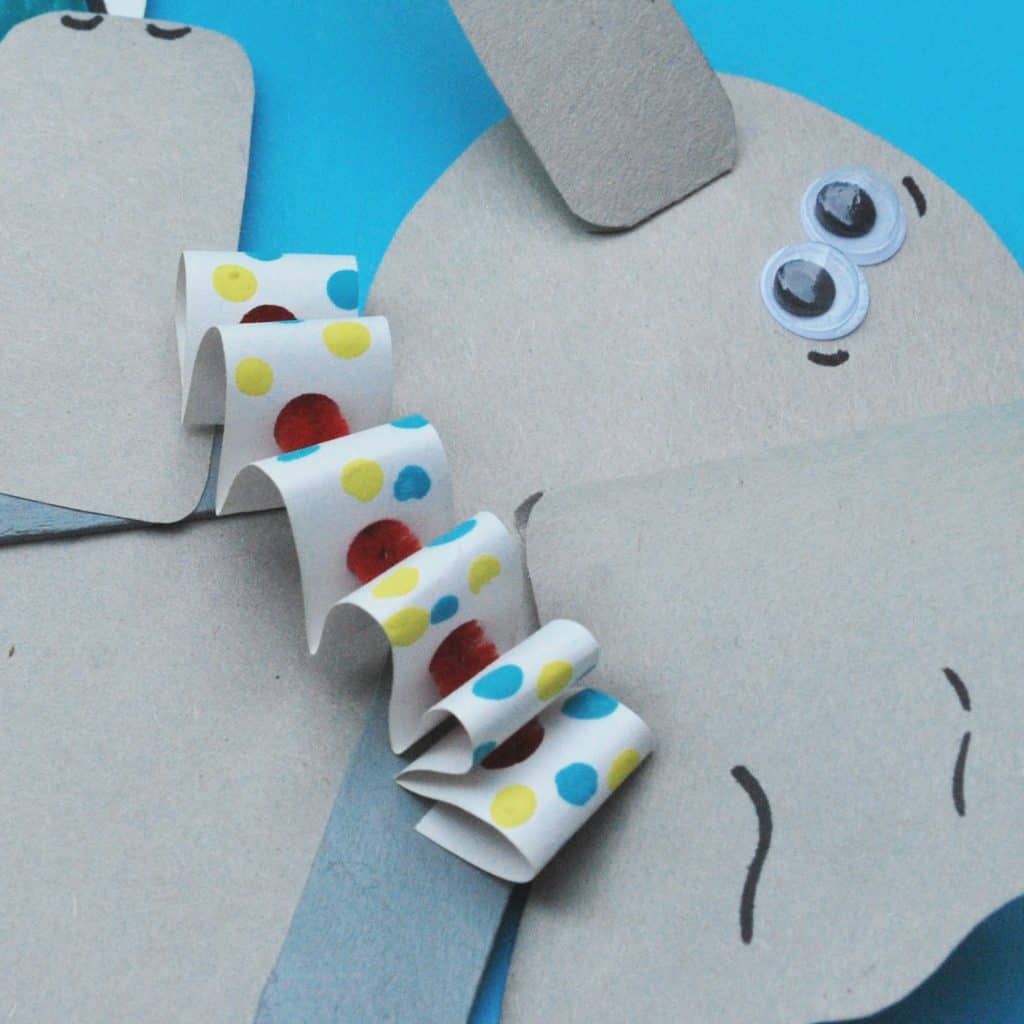
- Finally, give your elephant a puffy circus collar by folding a strip of white (or color of your choice) construction paper in an accordian style and punching a hole in the middle. Then lace a pipe cleaner through the holes to form the collar. Bend it into a small arch, place it on your clowns neck and wrap the ends around the back of your character. Use tape on the back to secure it into place. I also used the q-tips to dot on a little paint for polka dots.
Optional: Make Some Accessories
You probably noticed that in the pictures, the circus characters are holding beach balls, and the animals are sitting on podiums. These were simply made by cutting out some basic shapes and then decorating them with markers. You can make any accessories for your circus that you think would be fun…try a parasol for the dancing bear or spinning plates for the elephant to hold or how about a little car for the clowns to drive. The possibilities are endless. I cannot wait to see what you make! Share in the comments or email me at hello@inthebagkidscrafts.com
Tips for making these circus crafts
These crafts can be made by kids of all ages. For little ones, just precut the pieces and guide them through the process of putting them in place. I have never met a kid yet who doesn’t love to paint and glue.
If you really don’t want to get the paint out, just use crayons or markers to add color to the popsicle sticks. We don’t have these in our bag, but you can also use paint sticks.
What else can I do with these circus crafts?
Add a stick handle to each of the characters to turn them into puppets. The put on a puppet show!
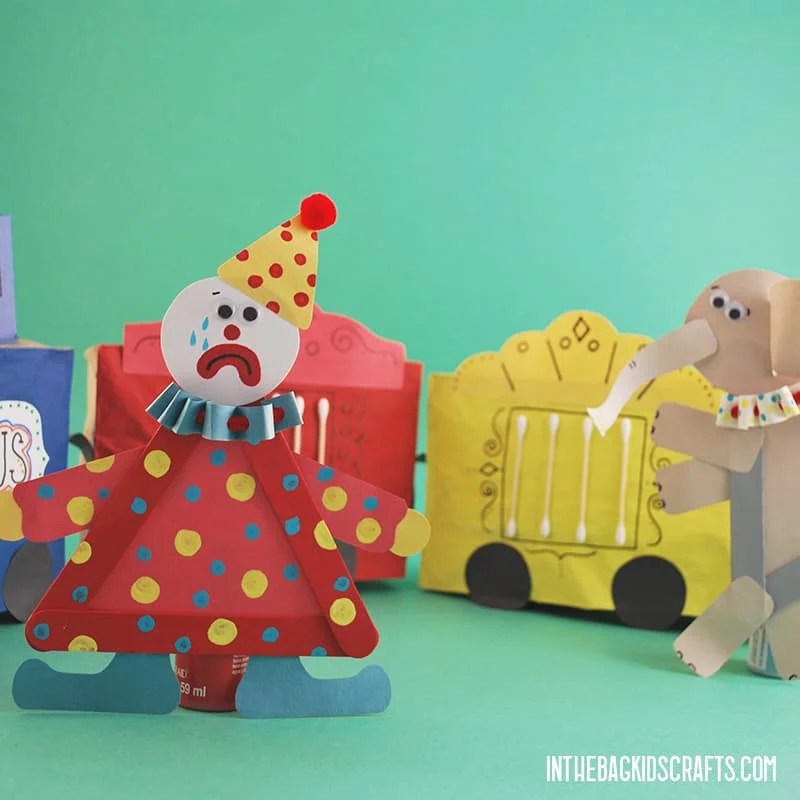
You can also add a simple stand from paper in the shape of a triangle so that the circus characters stand up. Place them in a scene and combine them with the circus train craft.
Here are even more circus craft ideas for you to try:
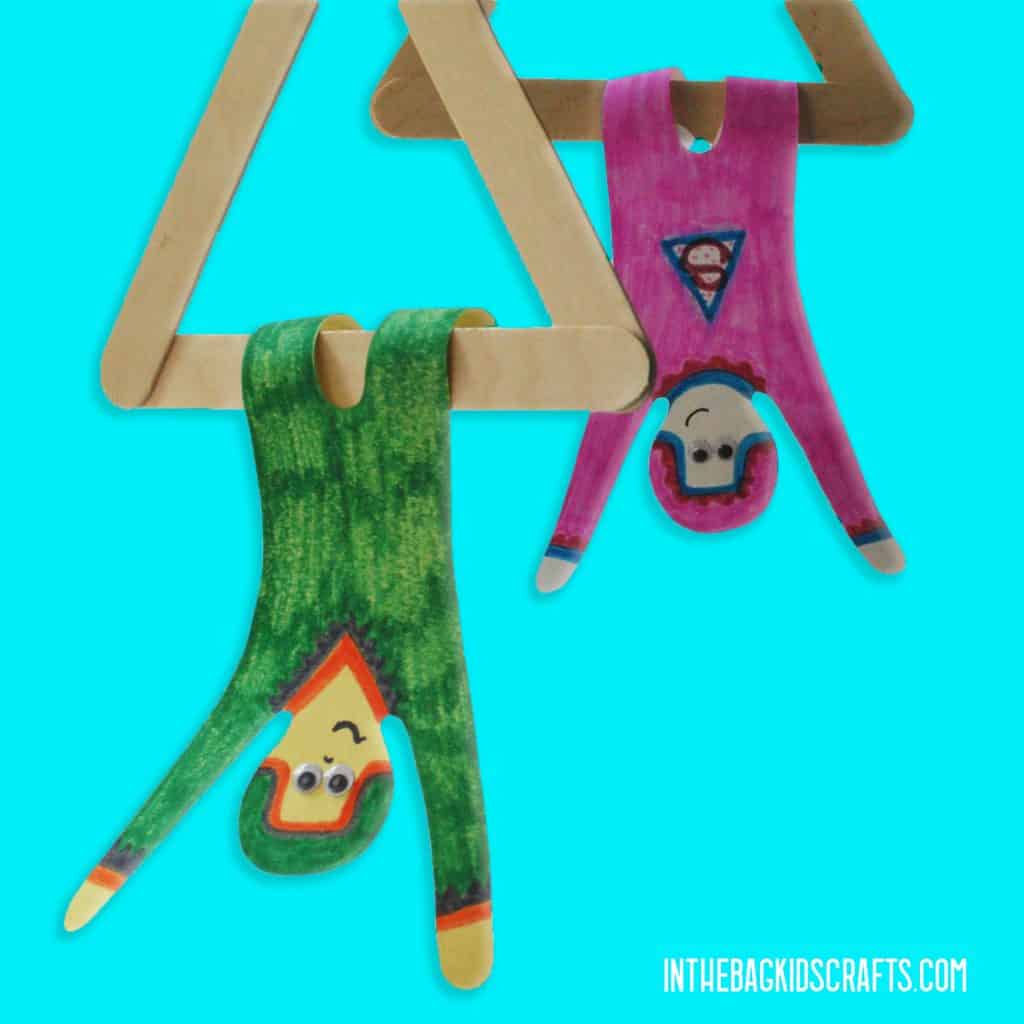
Flying Acrobats Craft
Circus Train Craft
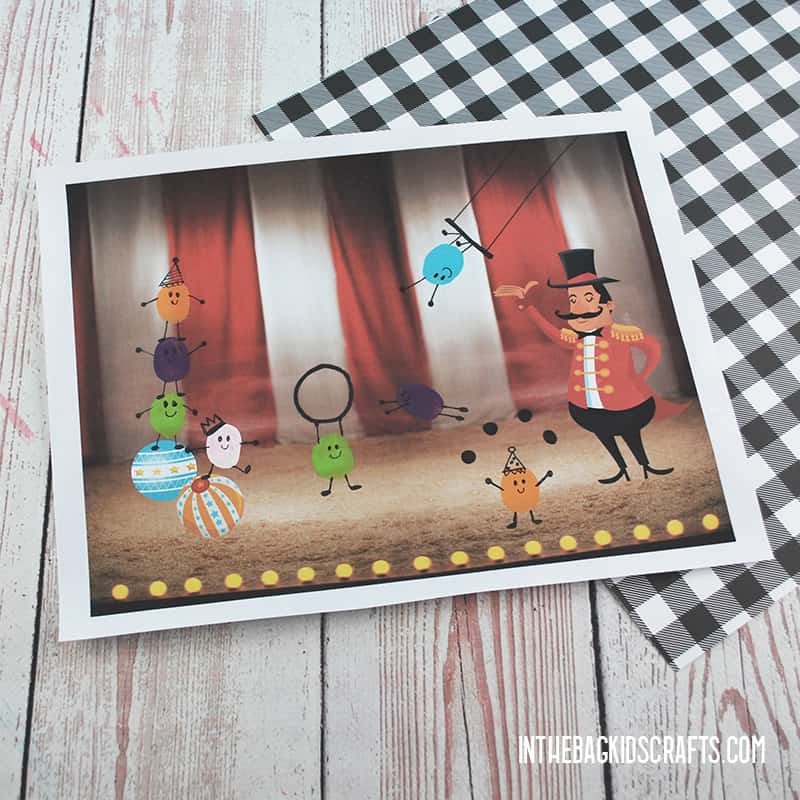
Fingerprint Circus Craft
Printable Circus Coloring Pages
Save these circus crafts for kids for later! Pin it to your favorite Pinterest board…
