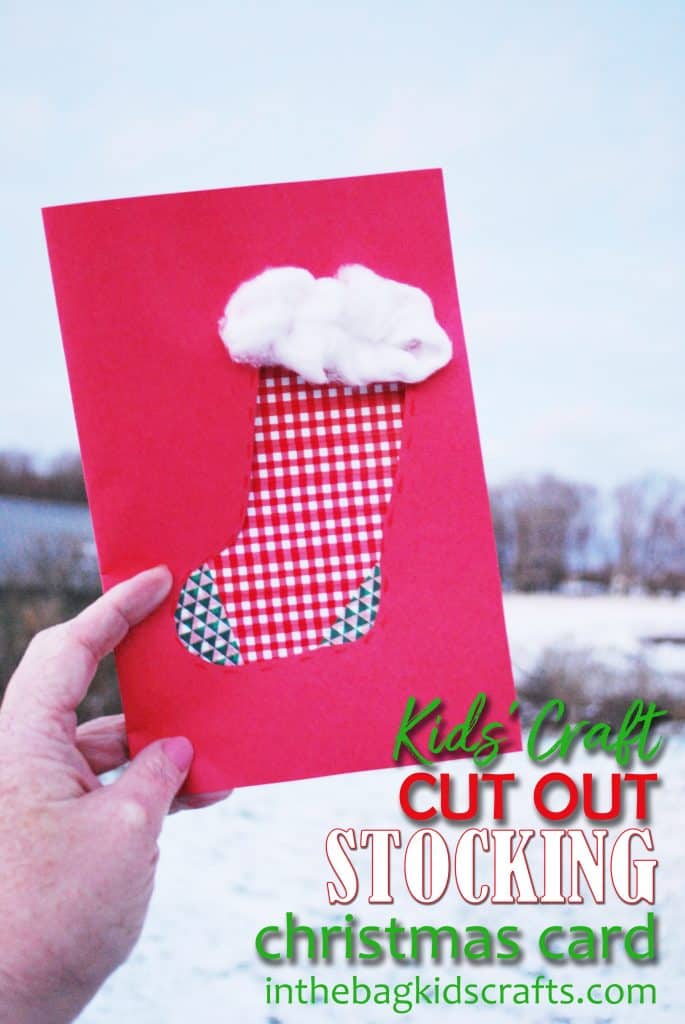
Christmas Stocking Card
Presenting the third the 12 DAYS OF CHRISTMAS CARDS series. I love making and giving cards. They are like little works of art from the heart. And your kids will be so proud of making this Christmas Stocking Card themselves. Just imagine their smile as they give it to someone they love. Can you see it now…priceless!!! You will never be sorry that you took time to make something with your child. Trust me.
SUPPLIES FROM THE BAG
- Red construction paper
- White construction paper
- Markers
- Elmer’s glue
- Glue stick
- Scissors
- Cotton
- 2 Christmas patterned washi tape
- Pencil
It is my dream to see parents all over the world making things with their children. Turn away from screens and turn to hands-on activities that lead to learning, but most of all shared experiences that will be the memories of childhood. But I know that it can be such a challenge to find the time to not only do a craft but also to spend the time in preparation. So, I am making it a little easier by keeping every craft on this blog simple and limiting it to the same master list of supplies. Fill your bag with the items on the list, and you will be ready to create something amazing with your children whenever you find a spare moment in the day! Not sure what to put in your bag?
Step 1
- Fold the red and white pieces of construction paper in half
- Draw a stocking onto the front of the Christmas card. Angle it slightly and leave room for the fluffy cotton at the top. You can use the printable pattern below if you choose or draw it freehand.
- Cut out the stocking. *If you have little ones, this is a job for a grown up.
Step 2
- Trim the white paper slightly on the top and outside edge, no more than 1/4″ inch or so
- Use the glue stick to affix the white construction paper to the inside of the red paper. **Do not put glue between the front cover and the white insert. Only place glue on the back cover.
- Write a message inside using the markers

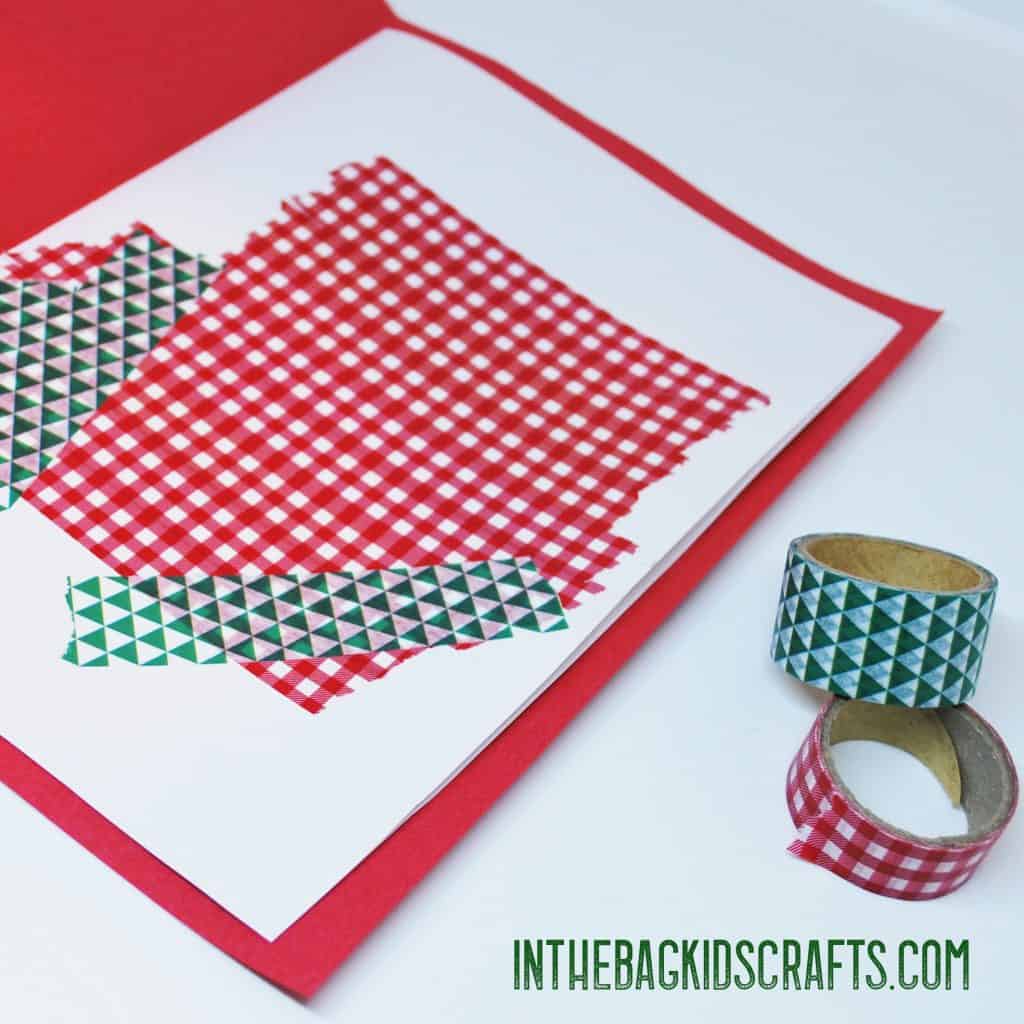
Step 3
- On the white paper behind the cut out, cover the area in the washi tape of your choice for the main area of the stocking.
- Close the card and draw where the toe and heal are to be covered with another color
- Open up the card and cover those areas with a different pattern of Christmas washi tape
*For little ones, precut the stocking and have them place pieces of washi tape in whatever pattern randomly. It does not need to be put on in clean even lines. Just let them use their fingertips to apply little pieces of the washi tape all over for a great effect and a card that they can feel proud of making “on their own”.
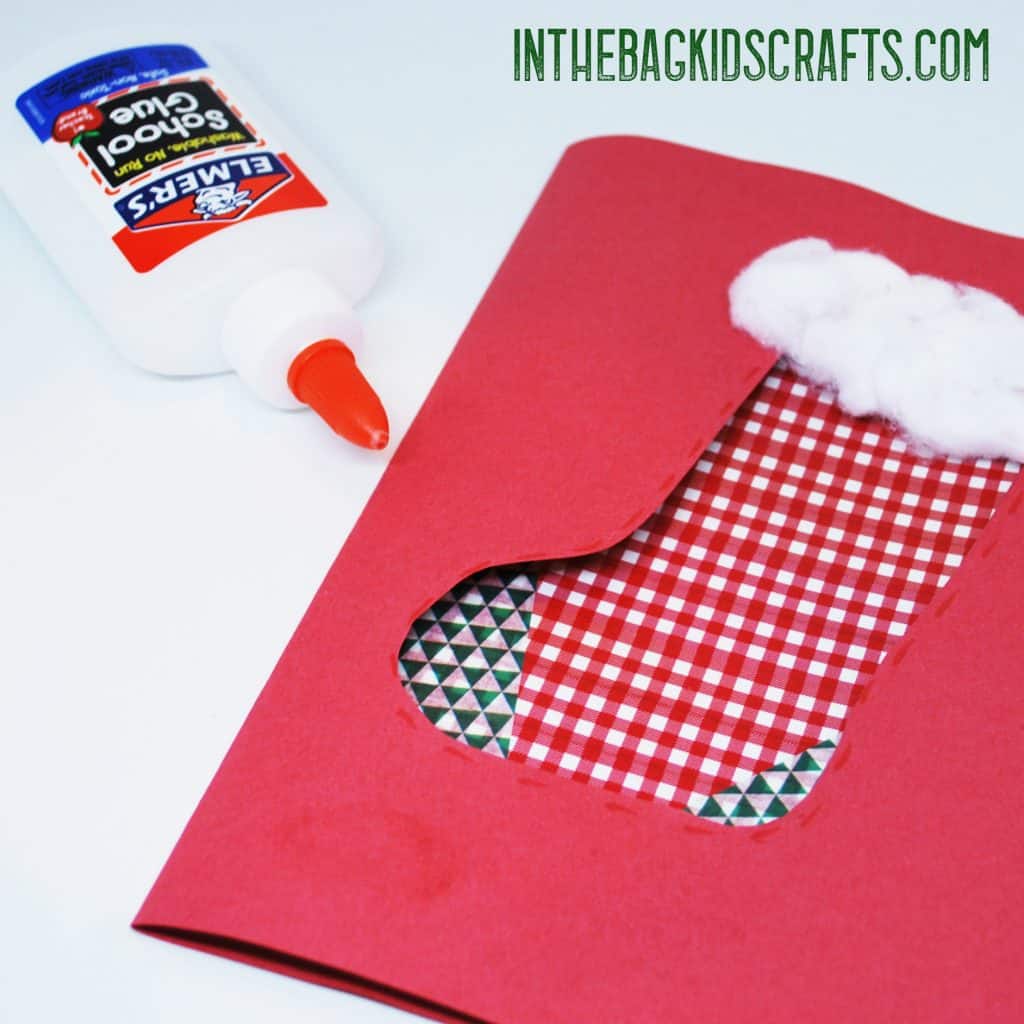
Step 4
- Pull a piece of cotton to make it fluffy
- Glue the cotton in place at the top of the stocking with the Elmer’s glue
- Allow the glue to dry completely
- Add details to the card as you wish
Save this for later…pin it to your favorite Pinterest board!