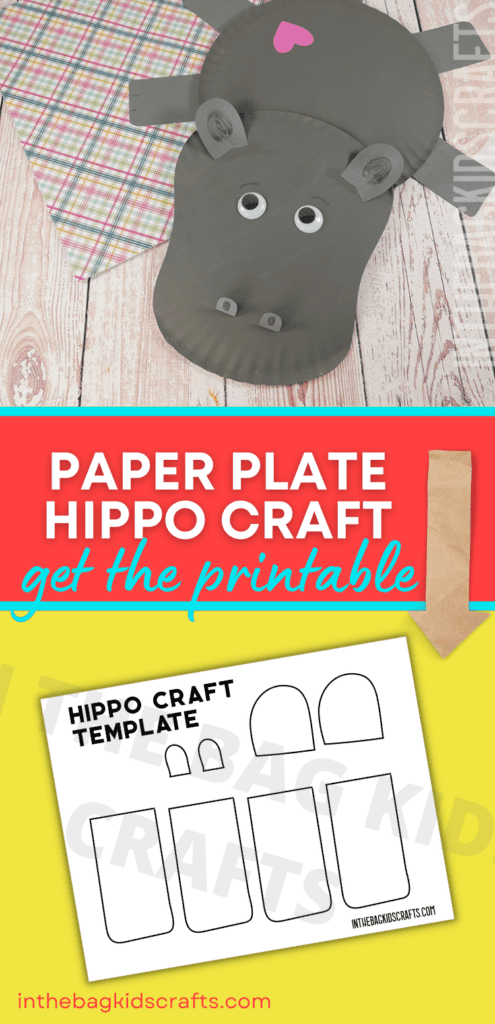
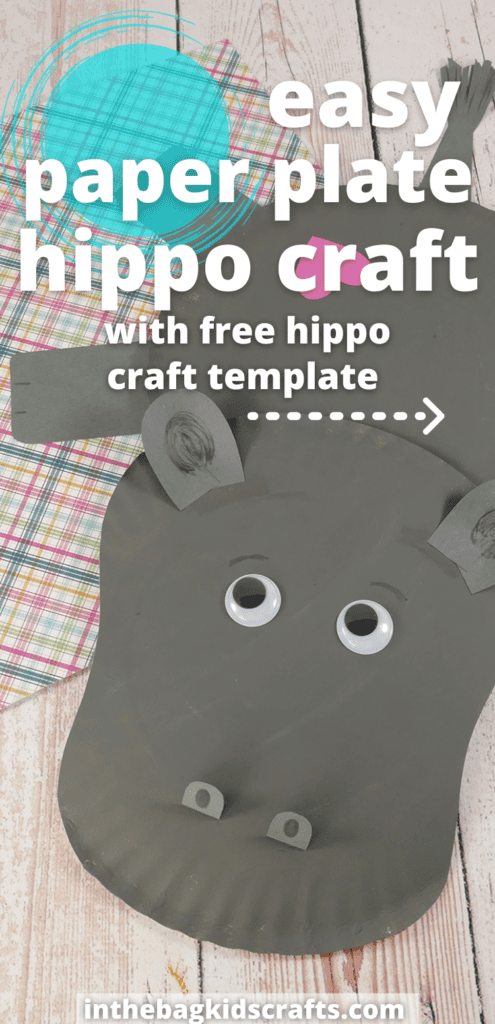
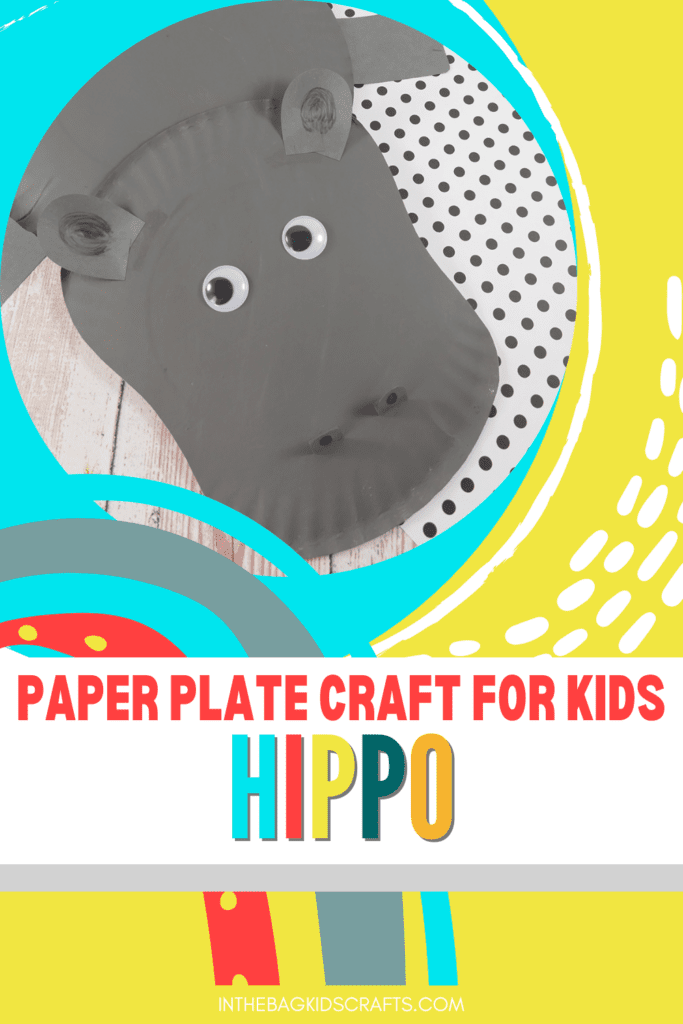
Paper Plate Hippo Craft for Kids (Free Template)
This hippo craft is so cute and simple to put together. It’s perfect for kids of all ages (Yes, even the younger ones with some adult supervision). Grab the hippo template to make crafting even easier.
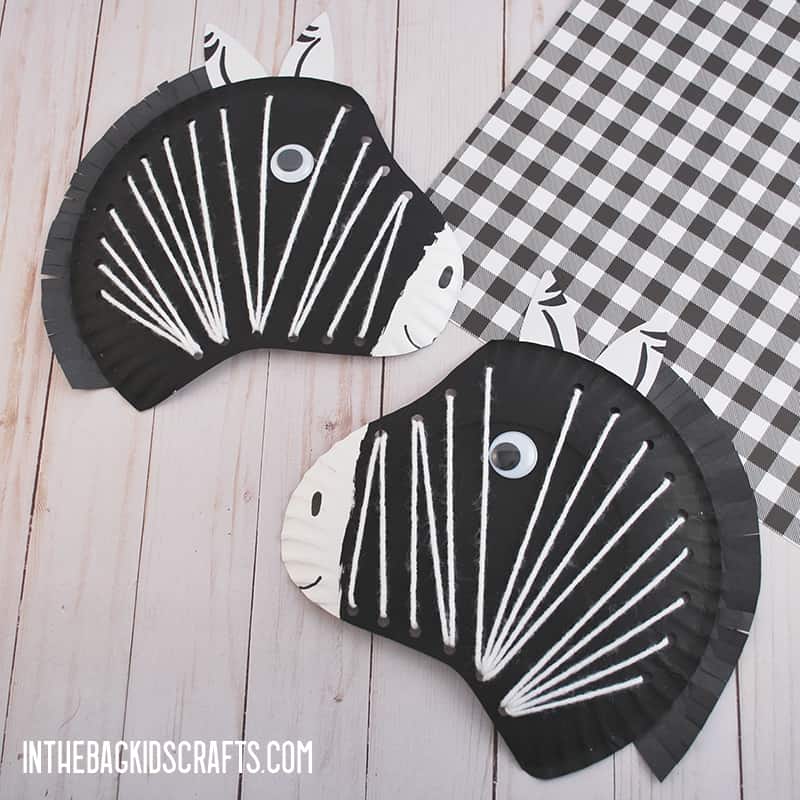
If you enjoy this hippopotamus craft, you’re also going to love making our other zoo animal crafts: lacing zebra, paper plate tiger and these clothespin animals.
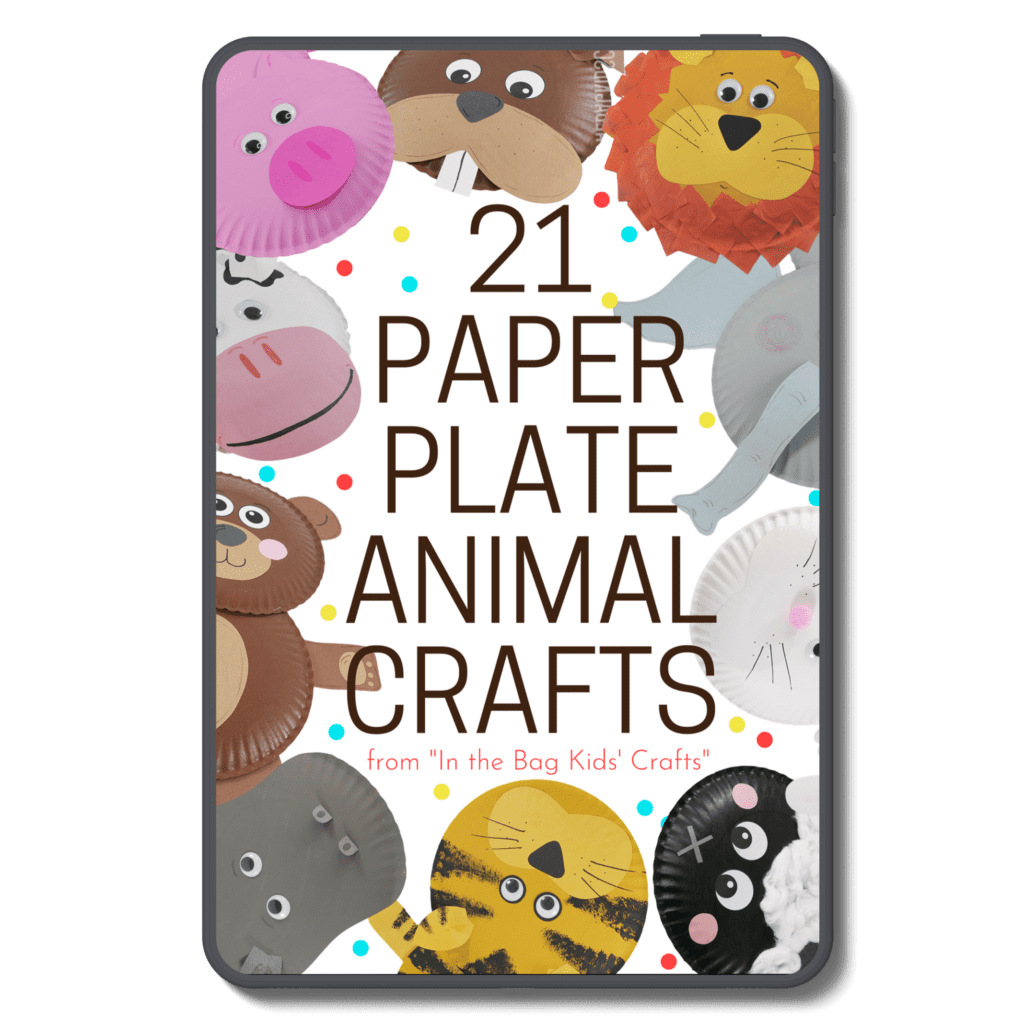
You’re Going to Want to Make EVERY SINGLE Paper Plate Animal Craft in this Collection with Your Kids…
Fun Facts About Hippos
- Hippos are the third largest mammal on earth.
- They can hold their breath under water for about 5 minutes.
- Their diet consists of plants…mostly grass. And they eat A LOT of it!
- Hippos are most active during the night.
- A group of hippos is called a bloat.
- They can get sunburnt.
- Another word for a hippopotamus is a river horse.
For more interesting facts about hippos, check out this article by National Geographic Kids.
Save this Paper Plate Hippo Craft idea for later. Pin it to your favorite Pinterest board…
All activities require adult supervision. By using this site, you are agreeing to our terms of use.
CRAFT SUPPLIES FROM THE LIST
- 2 Paper plates (9-inch coated)
- Newspaper
- Gray paint
- Pompom
- Clothespin
- Pencil
- Scissors
- Construction paper
- Googly eyes (or printable paper craft eyes)
- Glue stick
- Markers
- Hippo craft template
Crafting with your kids is supposed to be fun. It shouldn’t be just one more thing on your “to do” list that you never get around to. That’s why to make it actually do-able to find time to craft with your kids and keep it an enjoyable process, we stick to a master list of 27 basic items that fit into one bag to make all of the hundreds of crafts you see on this site and in our shop. That way, once you fill your bag, you’re ready to go. It’s that simple 🙂
How to Make a Hippo Craft
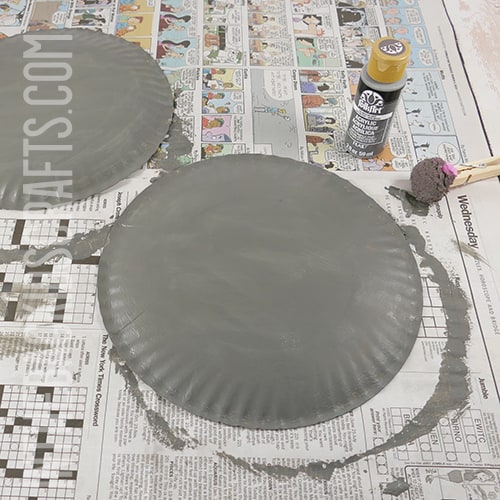
Step 1: Paint the Plates
- Lay out some newspaper on your crafting surface.
- Pinch a pompom with a clothespin to form a “paint brush”.
- Place your 2 paper plates on the newspaper, bottom side up.
- Now paint the bottom of each plate gray.
*If you don’t have gray paint, combine black and white. This is a great lesson for kids on how colors come together to form other colors.
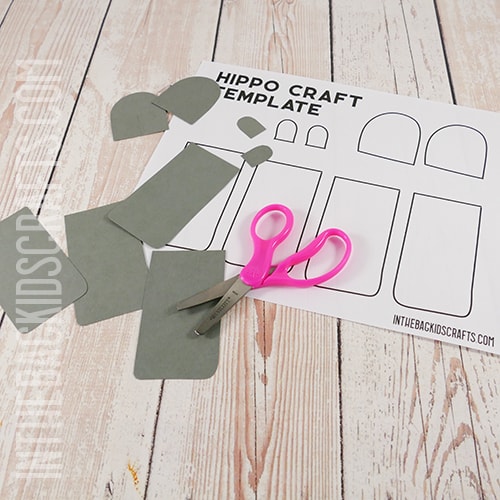
Step 2: Use the Hippo Template
- While the paint is drying, download and print the free hippo craft template.
- Use it to cut all of the parts out for your hippo. This includes 2 ears, 4 legs and 2 nostrils. *Note that the tail is not included in the printable. This can be drawn and then cut out. You can keep it as simple as a long skinny triangle with the wide end snipped for the hair on the tail.
*If you don’t have access to a printer, just draw 4 rectangles for the legs, 2 half circles for the ears and 2 tiny half circles for the notrils.
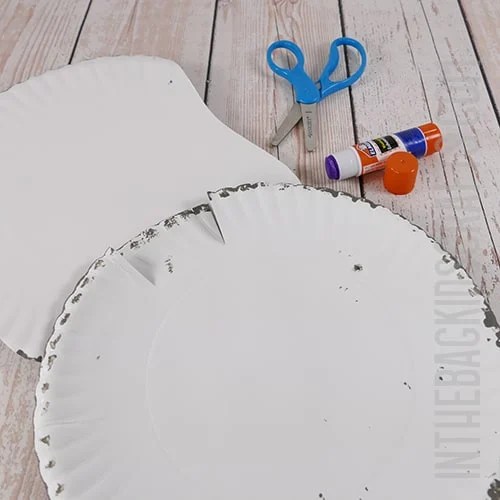
Step 3: Shape the Hippo Face
- Now that the paint has dried, cut 2 small curves on each side of one of the plates to form the face of your hippo.
- You can use a pencil to first draw this shape before cutting.
- Round off any pointy edges.

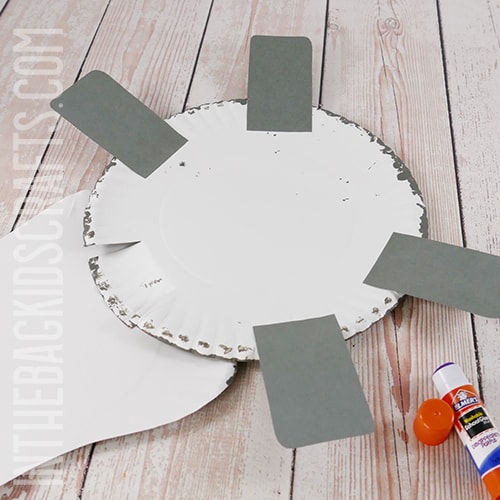
Step 4: Put the Body Together
- On the plate that has not been shaped, cut a flap that is about 2 inches wide and an inch deep.
- Bend it up.
- Overlap the 2 plates about an inch or so to form the body and head of your hippo craft.
- Generously apply your glue stick to the flap that you cut and attach it to the other plate as pictured. Press and hold for a minute to give the glue time to take hold.
Step 5: Time to Assemble
- Now use your glue stick again to attach the legs to your hippo craft as pictured.
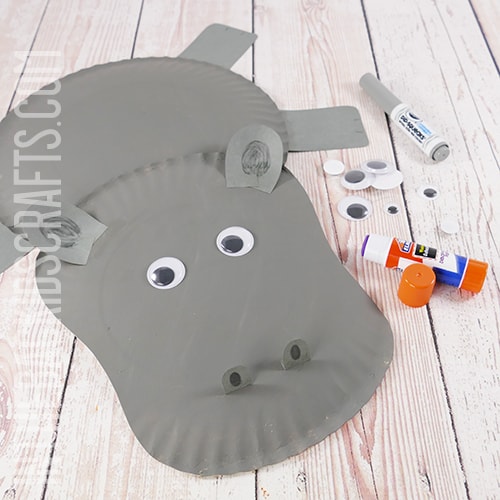
Step 6: Add the Ears, Eyes and Nose
- Cut a slit in the bottom of each of the hippo ears.
- Overlap the sides of the ear and secure with a little glue so that the ear appears curved.
- Then glue the ears into place on the head of your hippo.
- Fold small flaps on the bottom of each nostril and glue them into place.
- Finally, place the googly eyes. We used 25mm self-adhesive googly eyes, but you can also print paper eyes found HERE.
- As a finishing touch, go in with your markers and add any details you would like.
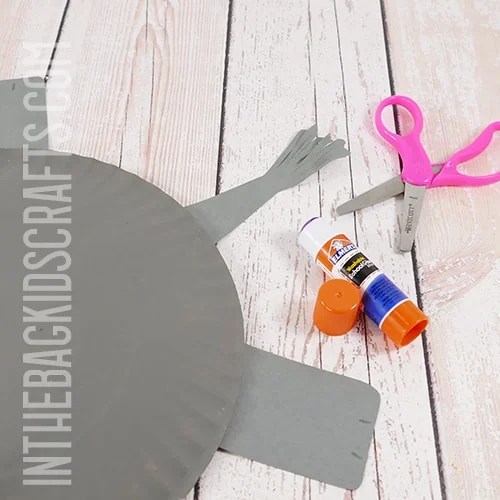
Step 7: Give Your Hippo Craft a Tail
- Now it’s time to add the tail.
- If you didn’t cut it out already, draw a tail and cut it out. Then snip the end for the “hair”.
- Glue the tail in place using your glue stick.
Now that you know how to make a hippo craft, it’s time to make it your own. We stuck with traditional gray, but you can choose to make it any colors you like, even yellow with green polka dots if you want. As a finishing touch, we also added a little heart to the bum of our hippo. You can use construction paper, crayons, scissors, or whatever you have in your craft bag to make special details for your paper plate hippo craft.
Make Even More Zoo Animal Crafts
Lacing Zebra Craft
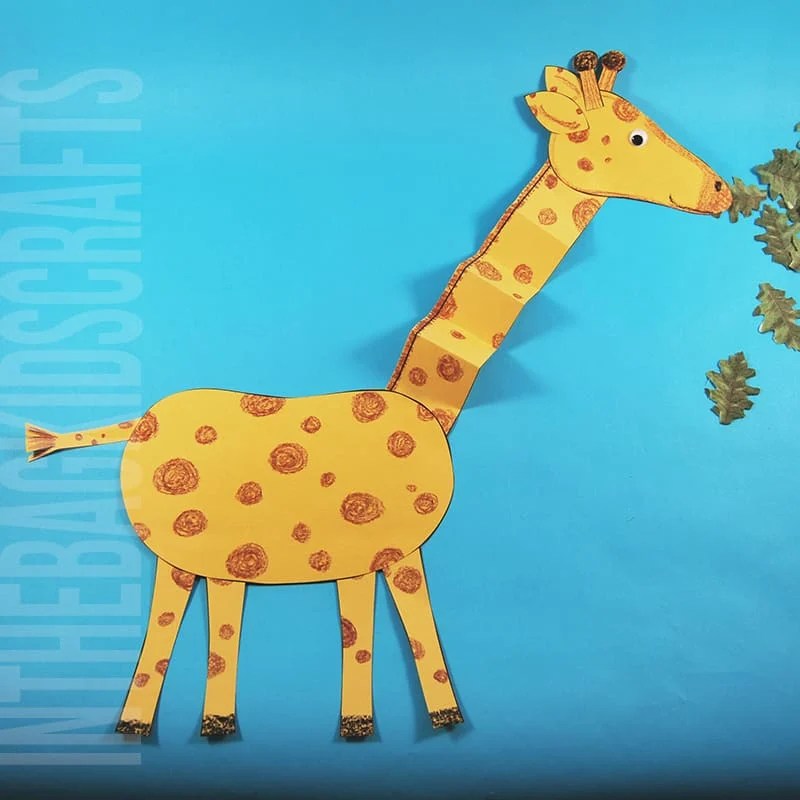
Paper Giraffe Craft
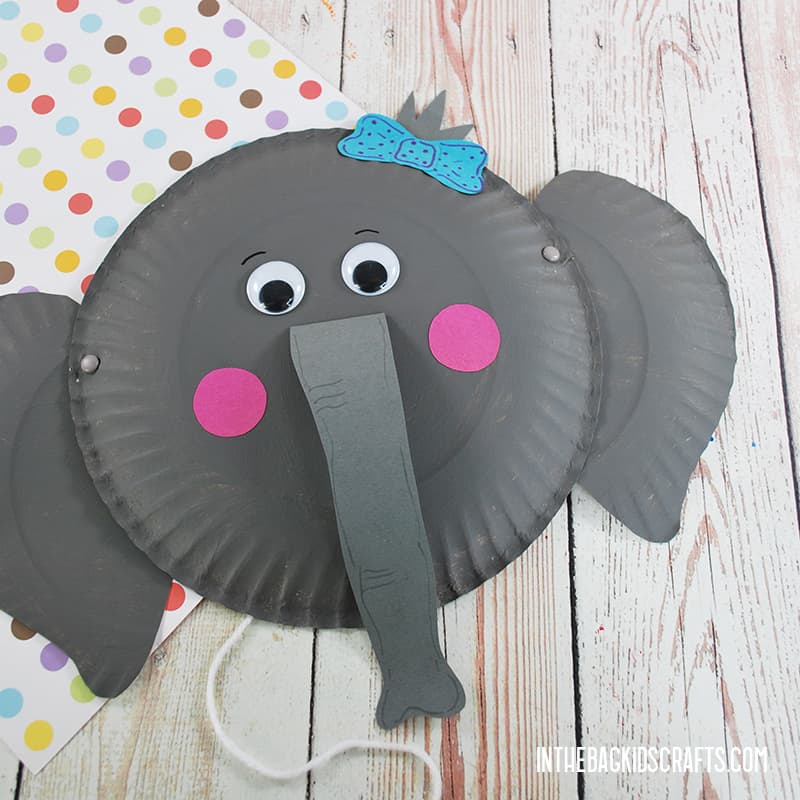
Interactive Elephant Craft
Save this Paper Plate Craft for later. Pin it to your favorite Pinterest board…