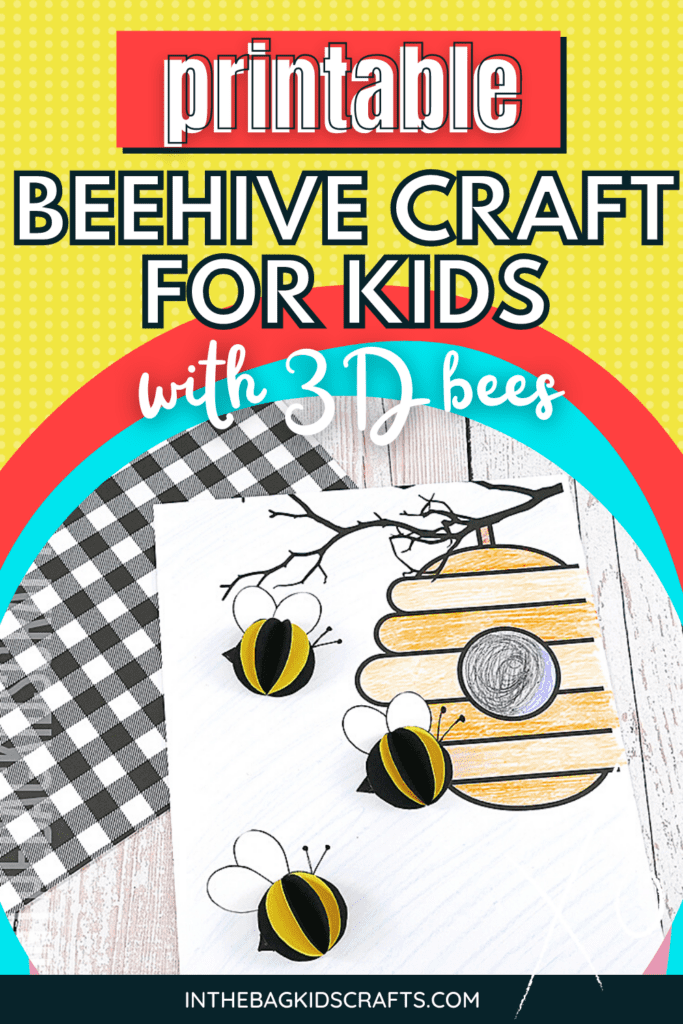
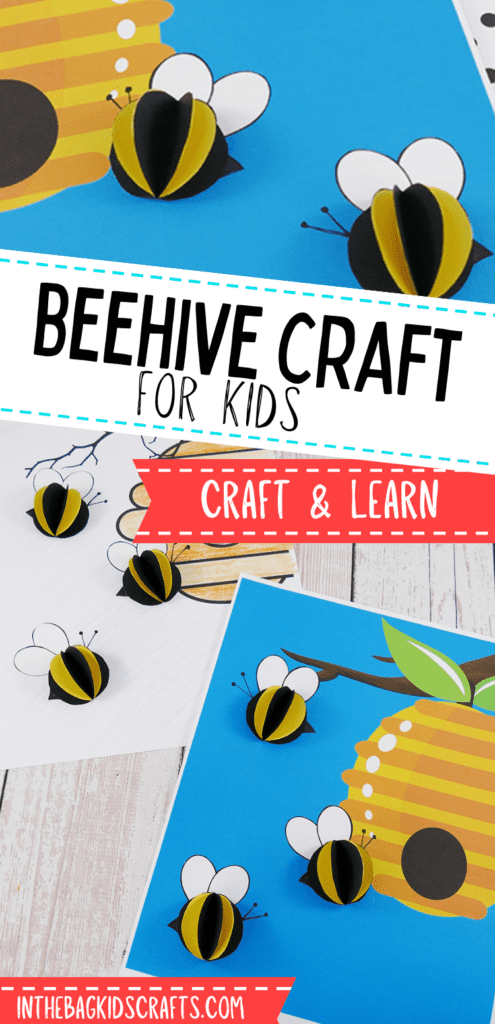
DIY Beehive Craft for Kids (with Free Printable)
This beehive craft is fun afternoon craft for kids of all ages! You can print the pre-colored beehive background or print the coloring page beehive. Then make as many little bees as you would like to buzz around the hive. Keep it simple or give each one its own personality. Give your hive worker bees or even a queen bee!
And if you like making this insect craft, you’re also going to love making this collection of bug crafts, this spider craft or this newspaper ladybug craft.
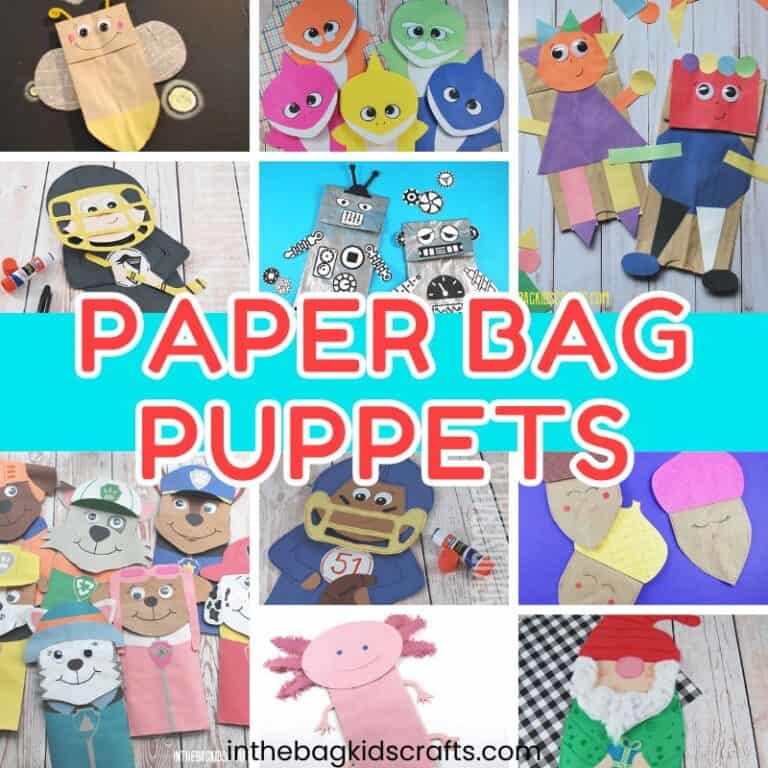
Who knew that bugs could be so darn cute? You’re going to want to make every single one of the cool paper plate bug crafts in this special collection…
Fun Bee Facts
- Bees can carry up to 122 times their own weight.
- They can also communicate with each other through dance. A short fast “waggle” means that food is nearby and a slower one means that food is scarce and not close by.
- Their brains are very sophisticated.
- Bees flap their wings at a rate of 12,000 beats per minute.
- Honeybees can be trained to detect illnesses in humans.
Here is a great article from The Bee Conservancy that discusses the importance of bees.
Save this Bumble Bee Craft for later. Pin it to your favorite Pinterest board…
All activities require adult supervision. By using this site, you are agreeing to our terms of use. This post contains affiliate links, which means if you make a purchase through these links, I may receive a small commission at no extra cost to you. Click here to read my full disclosure policy.
SUPPLIES FROM THE LIST
- Black and yellow construction paper
- Scissors
- Glue stick
- Black Sharpie or black marker
- Crayons (optional)
- Beehive craft template
The supplies for this project, aside from the beehive craft templates, are already in your kids’ craft bag if you have used our master list. To make your life easier and crafting with your kids actually do-able, we stick to the same basic list of inexpensive supplies to make every single creative project that you see on this site and in our shop. Most of these items can be purchased at your local dollar tree. So, fill your bag and craft along!
Bee Books for Kids
One of the best ways to enhance an already fun crafting experience is to read a fun book too. Here are a few of our favorite bee books for kids:


Beehive Craft Step-by-Step Instructions
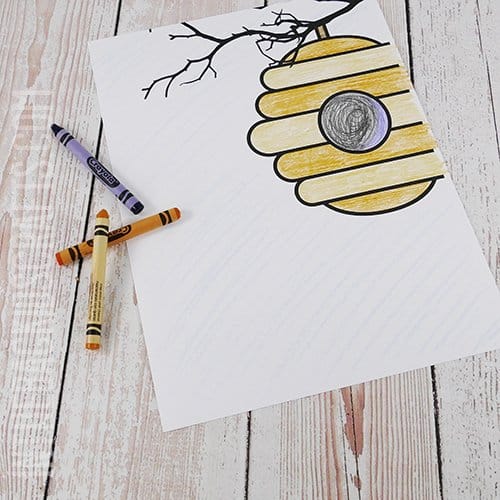
Step 1: Create the Bee Nests
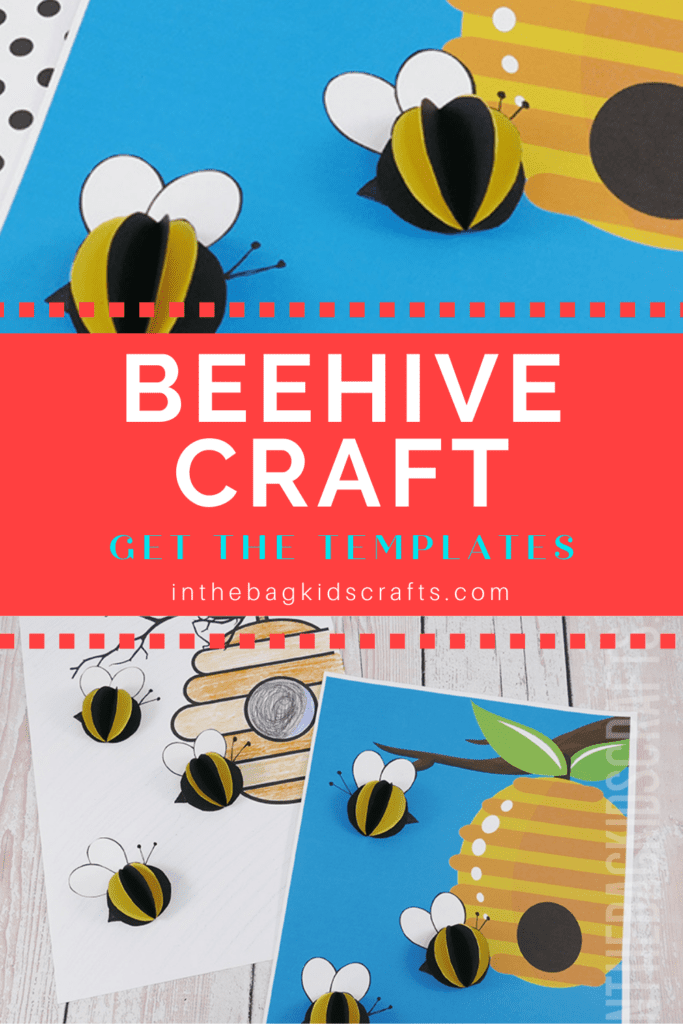
- Now download and print out one of the backgrounds for your beehive. There are 2 choices in the template pack, one that is pre-colored or one that you can color yourself.
- If you have printed out the black and white version of the beehive, use crayons, markers or colored pencils to give it some color.
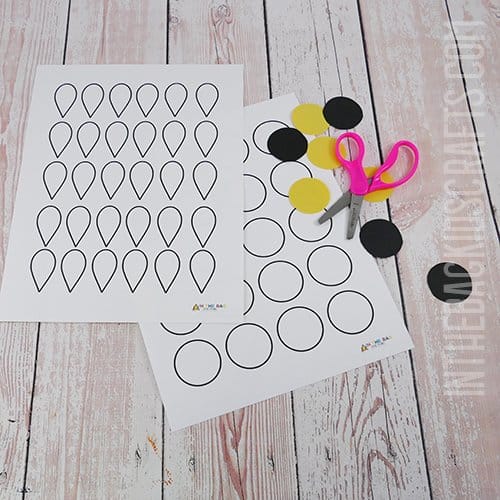
Step 2: Use the Bee Craft Template
- Print the bee craft templates.
- Then use the round templates to cut out black and yellow circles from construction paper. If you prefer, print directly onto the black and yellow paper (though the ink is difficult to see on the black) and then cut them out.
- You can just cut as many wings as you need from the wing template since the paper is already white. When printing you can use regular printer paper or white cardstock for this part of the template. The cardstock is a little bit easier to work with.
*Precut the shapes if completing this craft with a preschooler.
*If you don’t have access to a printer, you can draw your own template. Just trace a round object that is about 1 1/2″ across for the body of the bees and draw a teardrop for the wings.
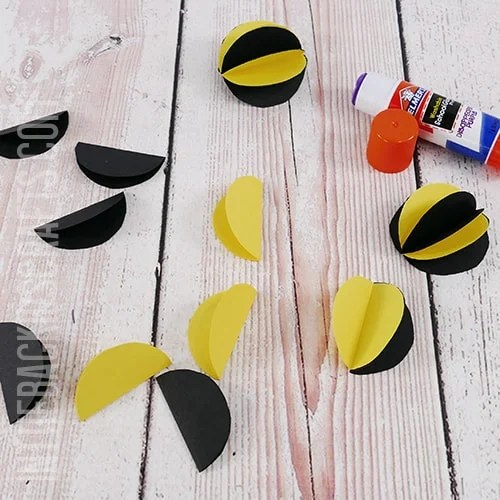
Step 3: Put Together Some Bees
- For each bee you will need 3 black circles and 2 yellow circles.
- Fold each of the circles in half and give it a crease.
- Starting with a black circle, use the glue stick to put glue on half of the circle.
- Then stack a folded yellow circle on top.
- Continue glueing on folded half circles until you have a stack that is black, yellow, black, yellow, black.
- Leave the ends unglued, as you will be attaching this to the beehive in a future step.
- Make as many bees as you would like for your beehive art and craft. We created 3 for ours.
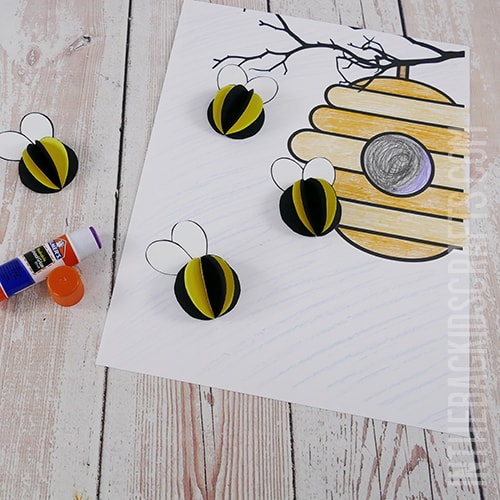
Step 4: Assemble Your Beehive Craft
- Now that your 3D bees are put together and the wings are cut out, it’s time to put them in place on your bee craft.
- Choose where you want your first bee and use your glue stick to attach the wings in a V shape on the page.
- Then glue one of your bees on to top of the wings.
- Repeat this process until all of your bees are in place.
*If you don’t have access to a printer, just create your own background by drawing and coloring or cutting pieces from construction paper and gluing them in place.
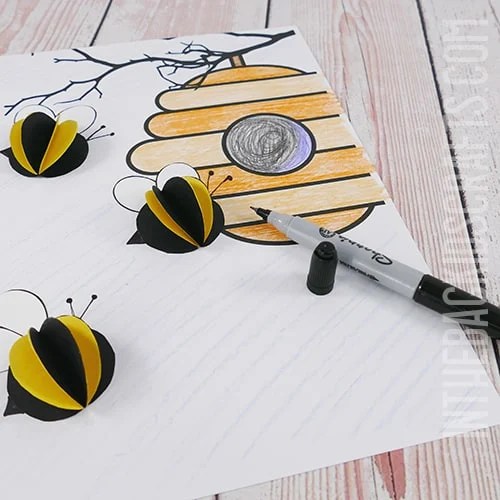
Step 5: Add the Finishing Touches
- For a finishing touch, use the skinny part of your black Sharpie marker to add a stinger and antennae to each of your adorable bees.
- You can also add whatever other details you would like to the picture at this time.
Your kids craft should not look just like the one in the picture. I would love to see the personal touches you’ve added to this beehive craft project. Maybe your bees are pastel or neon colored. Or maybe you choose to create your own background for the bees instead of using one of the templates. Maybe your picture has an entire swarm of bees instead of just a few. Make little hats for each of your bees. This is YOUR craft, and you should make it your own. The only limit is your imagination.
Here are even more Bee Crafts
Bumblebee Craft
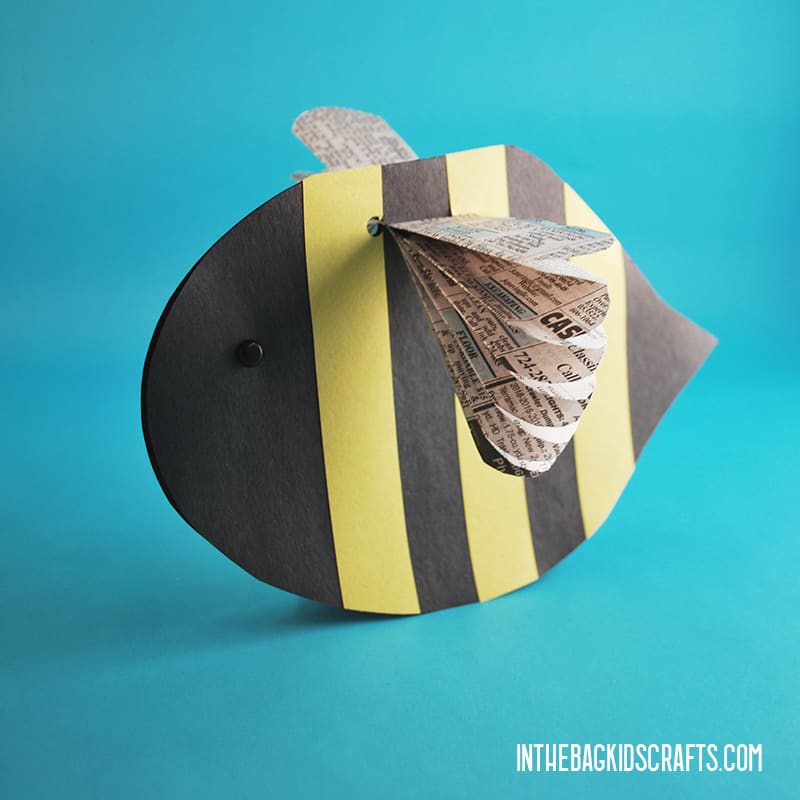
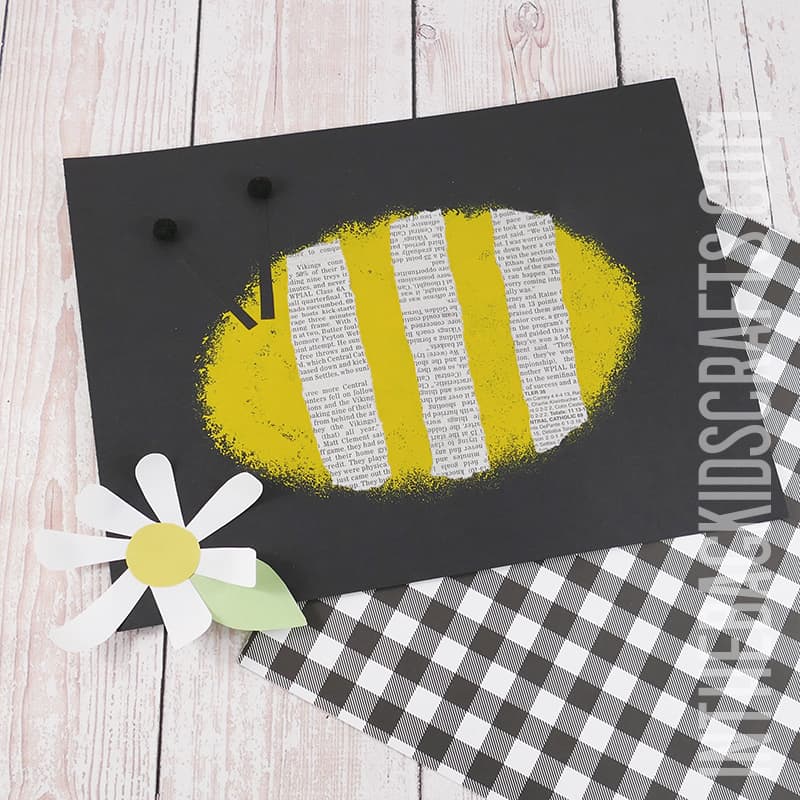
Painted Bee Craft with Newspaper Stripes
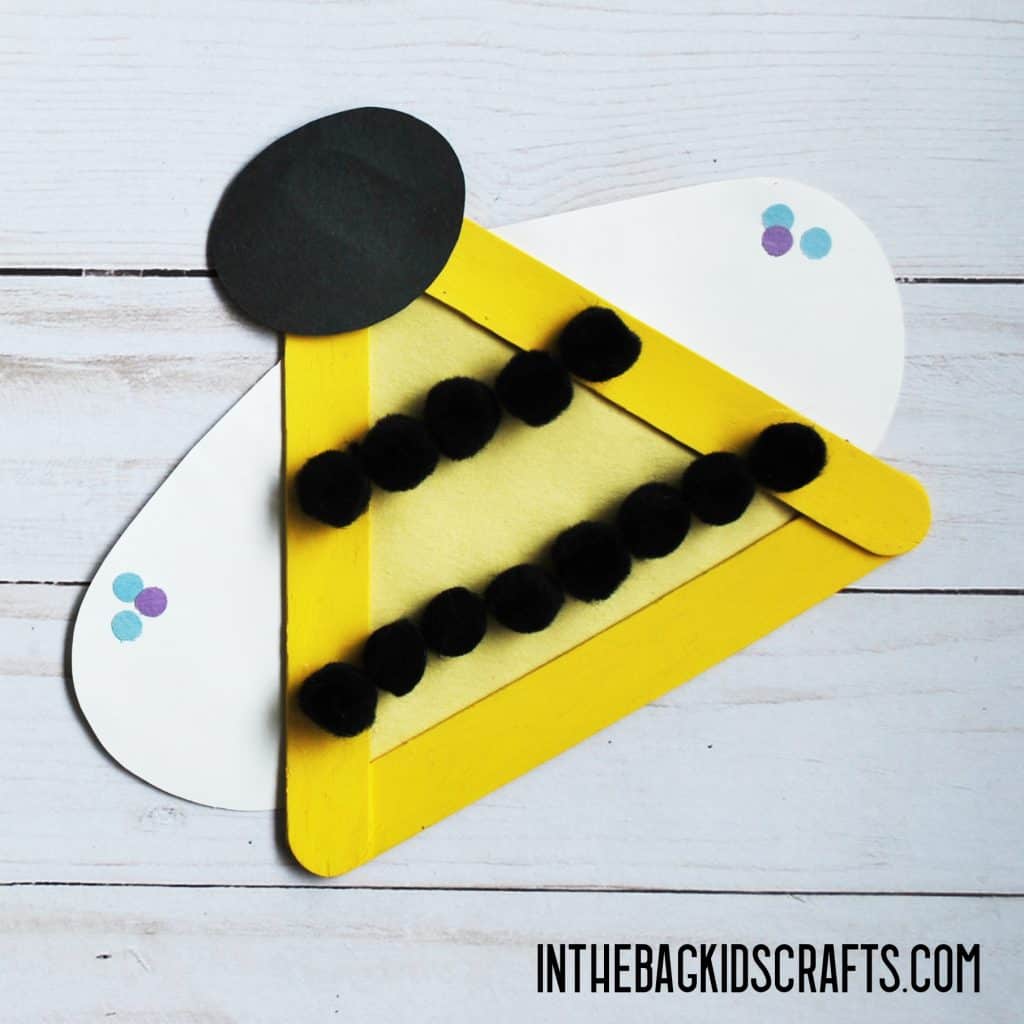
Popsicle Bee Craft
Save this Bug Craft for later. Pin it to your favorite Pinterest board…