Hockey Craft for Kids
In our house hockey is practically a religion. My husband played dek hockey while he was growing up. Then our boys played from the time they could hold a stick. Now they all play dek hockey together in various leagues. I love to see them interacting and spending time together that way. So, it was inevitable that I would eventually share a hockey craft with you all.
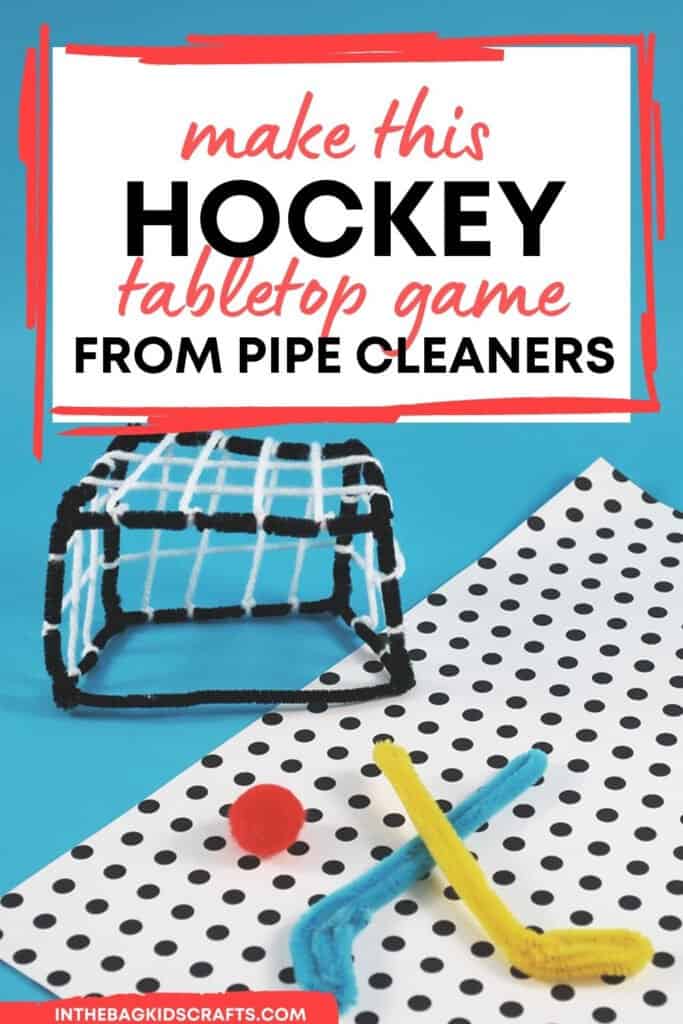
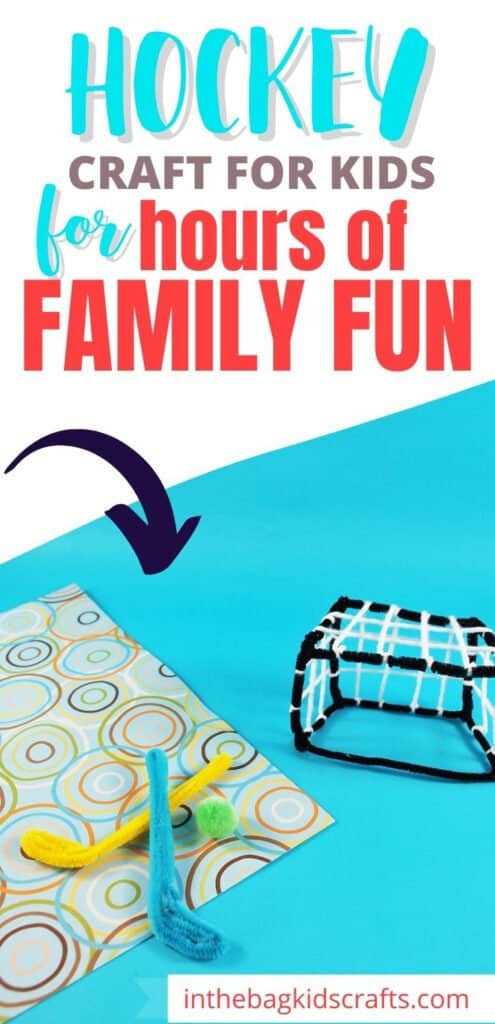
And, of course, this is more than a craft because once you make it, you can play the game. Stick around to the end, and we’ll go over some recommendations for making this craft into a game that the whole family can enjoy playing together.
Save this Sports Craft for later. Pin it to your favorite Pinterest board…
If you enjoy sports, you may also like this soccer ball craft and football craft.
All activities require adult supervision. By using this site, you are agreeing to our terms of use. This post contains affiliate links, which means if you make a purchase through these links, I may receive a small commission at no extra cost to you. Click here to read my full disclosure policy.
SUPPLIES FROM THE BAG
- Pipe cleaners
- Scissors
- White yarn
- Pompom (for hockey puck)
Hockey Craft Instructions
Step 1: Make the Hockey Sticks
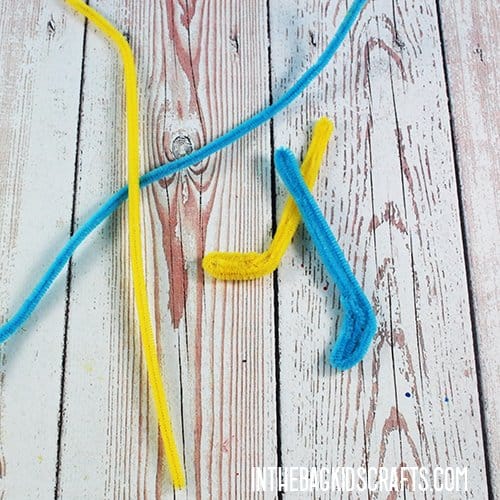
- Take a pipe cleaner of any color (maybe your favorite hockey team colors) and bend down the top third to form the hockey stick handle.
- Then take the remaining third of the hockey stick and roll it in twice to form the bottom of the hockey stick.
- Repeat this process as may times as you want until you have the number of hockey sticks you want for your game.
Step 2: Build the Goal
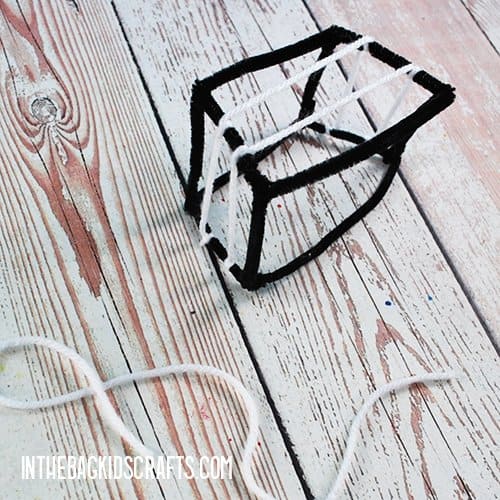
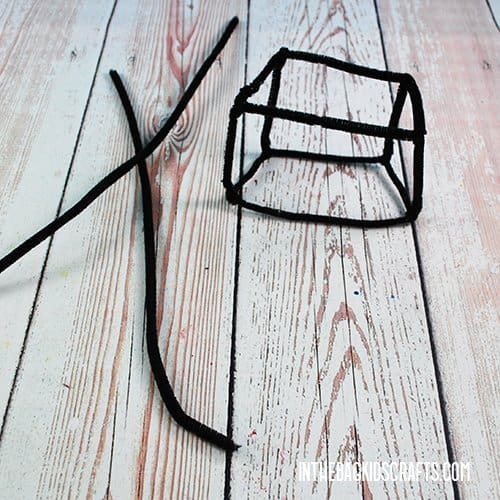
- Form a rectangle out of another pipe cleaner (any color).
- Repeat this so that you have 2 matching rectangles.
- Cut 2 other pipe cleaners in thirds and trim them to be the exact same length.
- Use these pieces to connect the 2 rectangles at each corner.
Step 3: Add the Net
- Now it’s time to form the net on your hockey goal.
- See Step 3A…Cut a length of white yarn about 8 inches long.
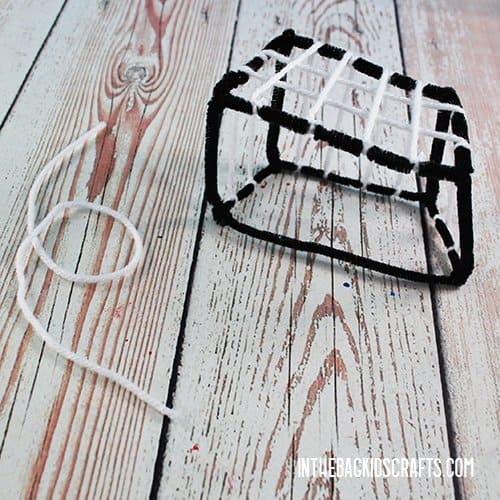
- Tie the yarn off on the bottom left side of the goal. Then take it up and around the top of the goal, wrapping it around each section of pipe cleaner that you come to.
- Finally, tie it off on the bottom right side of the goal.
- Repeat this process again.
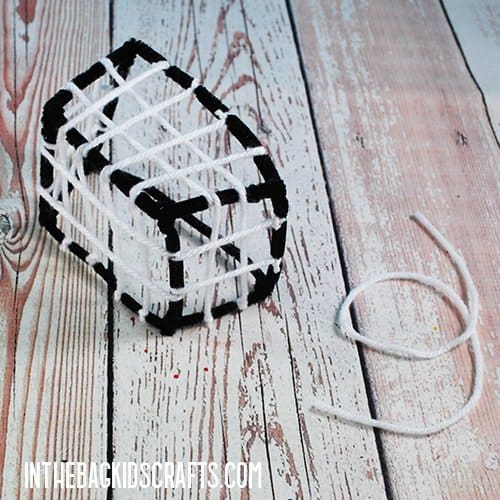
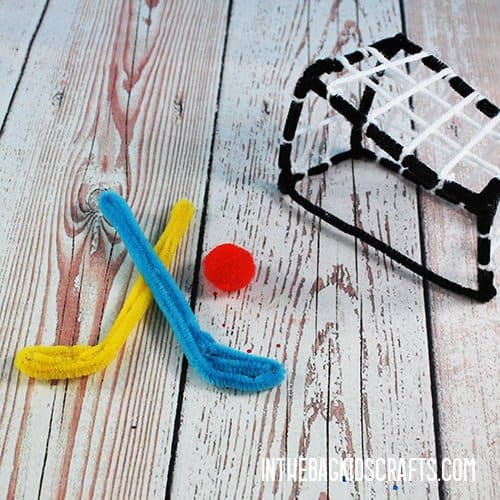
- Go through this same process with each section of the hockey goal until you end up with the goal looking like the third picture.
- Trim away any excess yarn. Optional: Add a dot of Elmer’s glue to keep the yarn from unraveling.
STEP 3B STEP 3C
Step 4: Play with Your Hockey Craft
- Choose a small pompom to use as a hockey puck
- Each player gets a hockey stick.
- Divide up by teams or play 1 on 1.
- Set your own rules before the game begins. You can even tape off boundaries for a play area on a tabletop.
- Play for a period of time with a timer set, like a real hockey game. Or play to a certain score, like first person to 10 points wins.
- And, whatever you do, don’t take it too seriously. Just have fun!!!
Save this Winter Craft for later. Pin it to your favorite Pinterest board…
