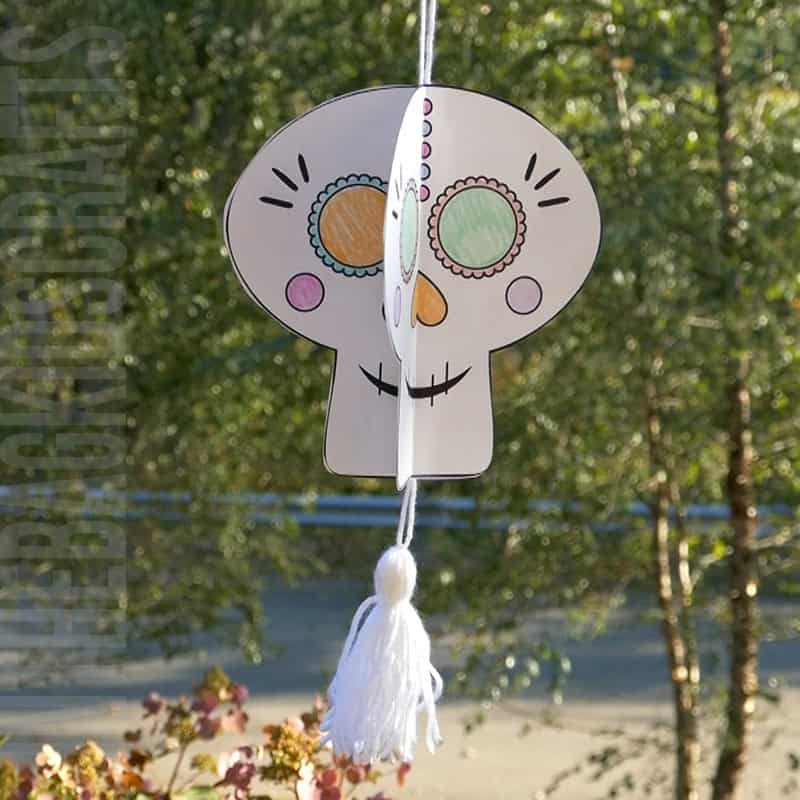
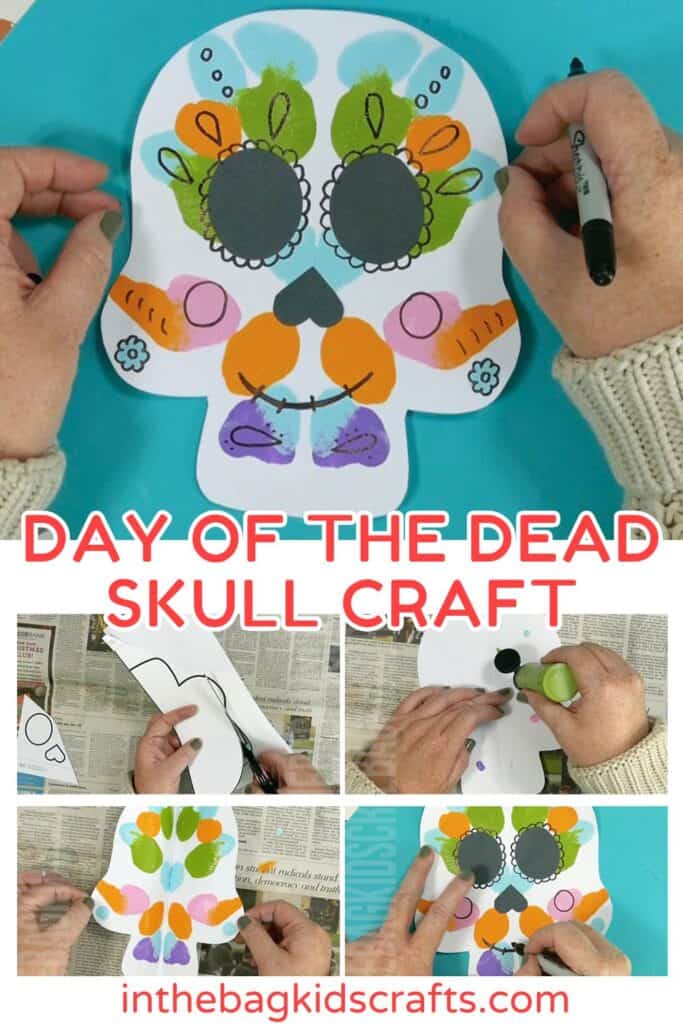
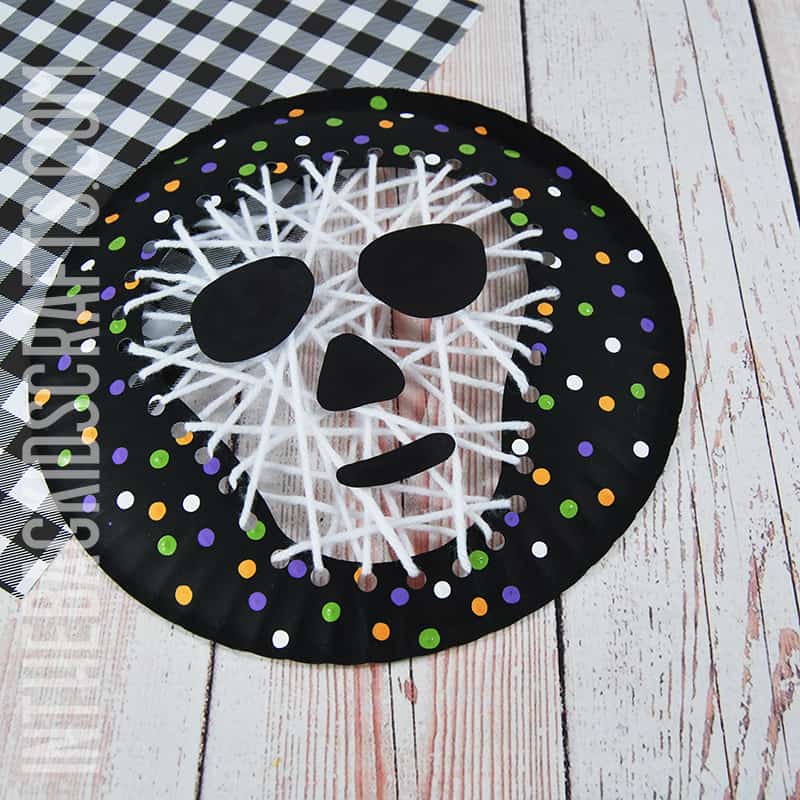
Easy Paper Sugar Skull Craft for Day of the Dead
One of the most popular decorations and symbols of the Day of the Dead is a sugar skull. This easy paper sugar skull leaves loads of room for creativity. When you make your own sugar skulls, use all your favorite colors. Using the squish painting technique is a great way to make sure that every single artwork is unique. It’s perfect for kids of any age.
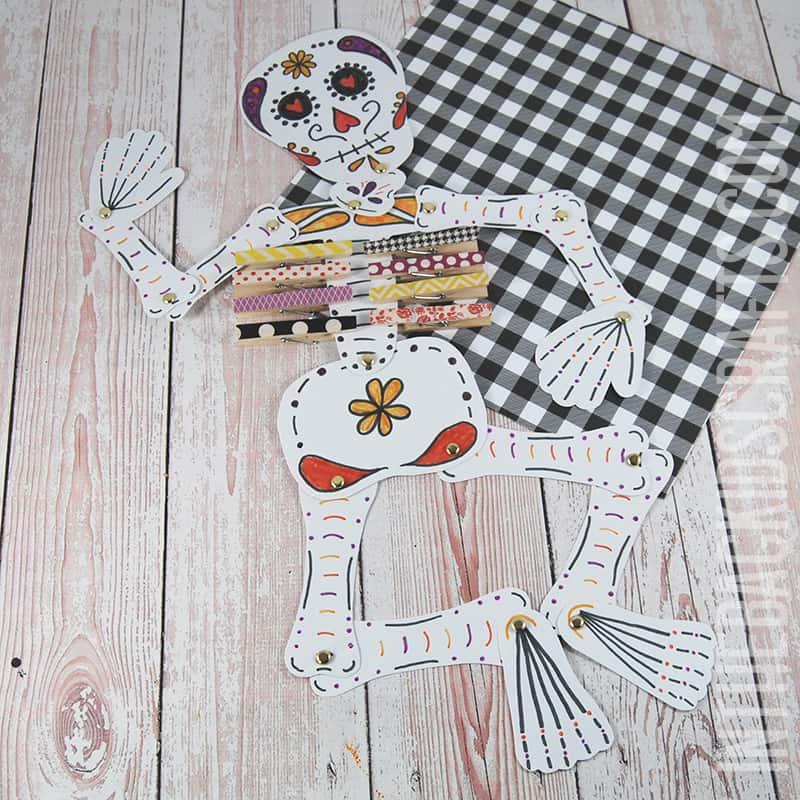
If you enjoy this craft, you’re going to love making even more Day of the Dead crafts like this skeleton craft and this skull mobile decoration. Skulls are also a great theme for Halloween crafts.
I bet you’ve never heard of craft flashcards…Of course you haven’t…because I totally made it up 🙂 As a pediatric Occupational Therapist, I’ve witnessed kids struggle to complete multi-step activities. So, I came up with this brilliant (if I do say myself) way to break down crafts into bite-sized pieces in the form of flashcards.

These are especially perfect for those kiddos who have limited attention spans.
Crafts are such a great developmental tool for kids (improves motor planning, attention span, executive functioning, fine motor skills, language development and more), and using flashcards makes planning crafts for your kids to enjoy even easier.
Just print out a few of your favorites onto cardstock, cut them into the cards with a hole in the corner and place them on a keyring that you can connect to your craft supply bag (which you can fill using our master list of supplies that we stick to for every single one of the projects in the flashcard collection). It’s so simple.
And the best part is that there’s not a screen in sight. Technology is such a great thing, but it’s also nice to take a break from it once in awhile and let the brain explore in other ways. Click the image to learn more about our collection of 100 Craft Flashcards for Kids.
What is the Day of the Dead?
The holiday of the Day of the Dead, aka Dia De Los Muertos, is celebrated mostly in Mexico on November 1st and November 2nd. It helps families celebrate their ancestors and their rich culture. It’s a joyful time for families.
Candlelit altars are set up to honor the dead, often including their favorite foods and favorite items. Then families head to the graveyard for a huge feast. Decorated skeletons, usually made from paper mache, can be found everywhere. Sugar skulls, also known as calaveras, are a traditional folk art form from Mexico that symbolize the departed spirits of loved ones during the Day of the Dead.
If you’d like to further explain the Day of the Dead to your kids, check out this article in Parents magazine.
All activities require adult supervision. By using this site, you are agreeing to our terms of use. This post contains affiliate links, which means if you make a purchase through these links, I may receive a small commission at no extra cost to you. Click here to read my full disclosure policy.
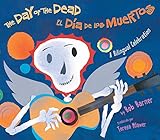
Kids Books about the Dios Los Muertos
One of the best ways to enhance a crafting experience is to combine it with a good book. Here are some of our favorite books for kids about the Day of the Dead…

Save this fun sugar skull craft for later. Pin it to your favorite Pinterest board…
How to make a Day of the Dead Sugar Skull Craft
Day of the Dead celebrations are vibrant and meaningful. This craft can be used as part of the celebrations or as a decoration for this special season.
SUPPLIES FROM THE BAG
- Construction paper (black and white)
- Paints (colors of your choice)
- Scissors
- Glue stick
- Black Sharpie marker
- Skull printable
This list of basic supplies is part of the master list that we use for every craft you see here. It’s how you can go from seeing an idea to immediately making it with your kids because you’ll already have everything you need on hand. Fill your bag so that you’re ready to craft some memories.
Skull Craft Step-by-Step Instructions:
Step 1: Cut Out the Skull Shape
- Download and print the skull craft template.
- If you print it right onto heavy white cardstock, just use it as is. Just fold it in half and cut out the skull. Save the eye and nose templates for Step 4.
- OR cut out the skull to use as a template on a piece of white paper folded in half. The flat edge belongs on the fold.
- Keep the eyes and nose part of the template for Step 4.
*Older kids can complete this step on their own, but if crafting with young children you will want to precut the skull shape.

Step 2: Add Some Color
- Choose whatever paint colors are your favorites. We used 5 colors, but you can use more or less. We recommend you use at least 2 colors.
- Place splotches on one side of the skull, as many as you’d like. Be sure not to make the dots too big.

Step 3: Squish Paint
- Fold the paper back in half and gently press down.
- Open up the skull slowly to see your design.
- If you don’t don’t love what you see, add more dots and fold again.
- Once it looks how you like, set it aside to allow the paint to dry.

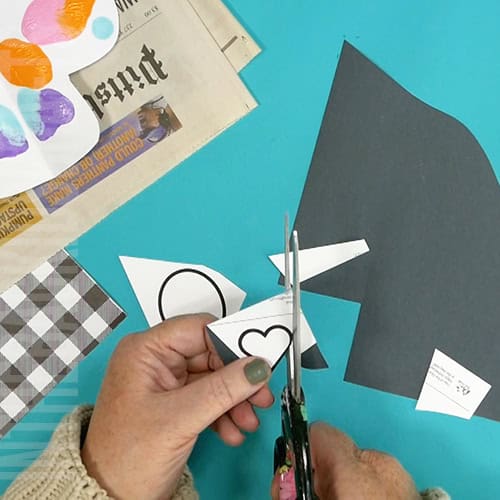
Step 4: Prepare the Eyes and Nose
- From black construction paper, use the template to cut out the eye holes and nose.
*Instead of cutting out the parts, you could instead use black paint or a black Sharpie to add each eye hole and the nose hole.
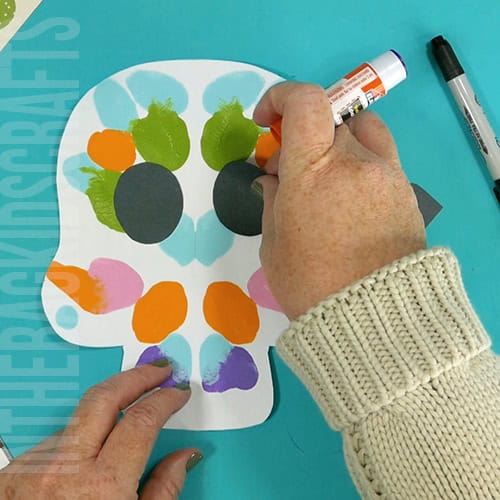
Step 5: Finish Off the Skull
- Now that the paint has dried, use your glue stick to put the eye holes in place.
- Then put the nose (upside down heart) in place also.
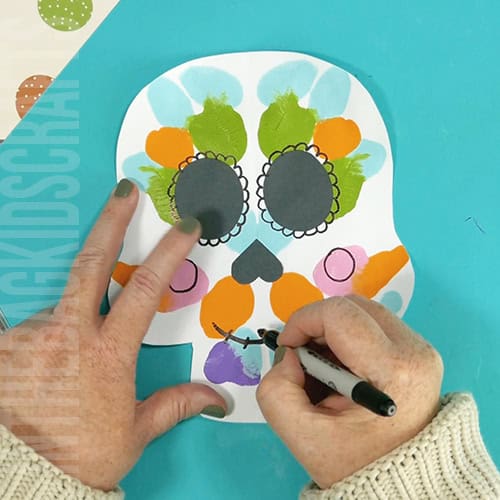
Step 6: Draw on Details for Your Skull Craft
- Your little artist is absolutely going to love this step. Start by giving your sugar skull a mouth.
- Then add any other details you would like, drawing right over the colors. It looks best if you keep the design symmetrical, adding the same shapes to each side of the skull.
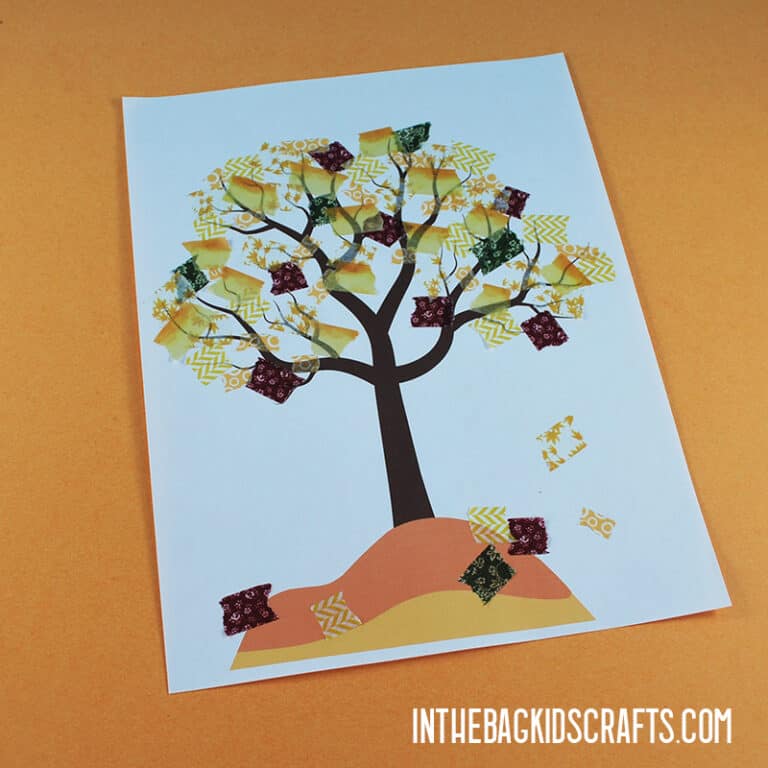
What if I don’t want the mess of paint?
This skull outline can be used in lots of ways. One of my favorite alternatives is to cover the sugar skull in colorful pieces of tissue paper in place of steps 2-3.
Here are even more Day of the Dead and Halloween Crafts
Colorful Skeleton Craft
Lacing Mummy Craft
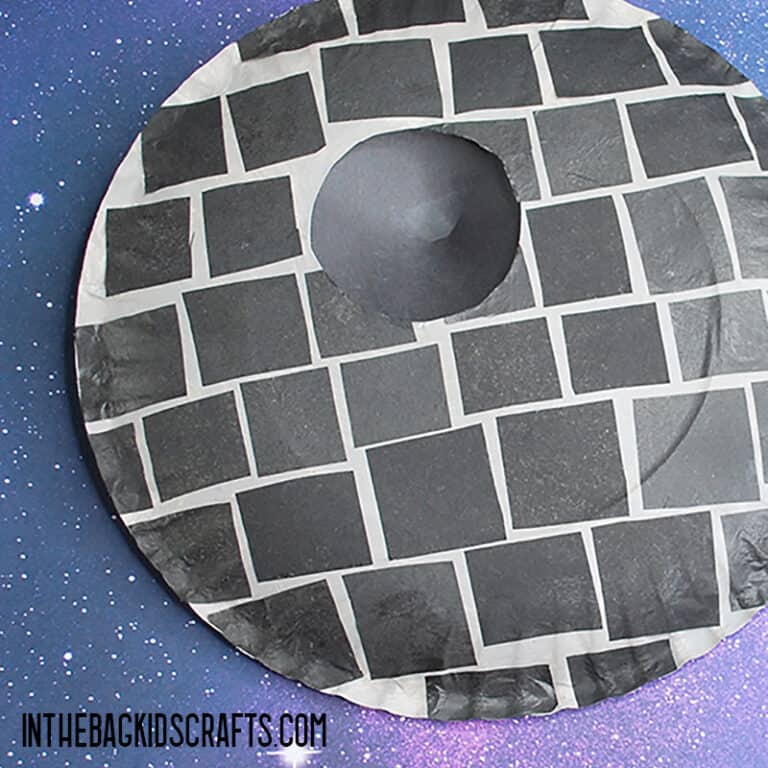
Sugar Skull Mobile