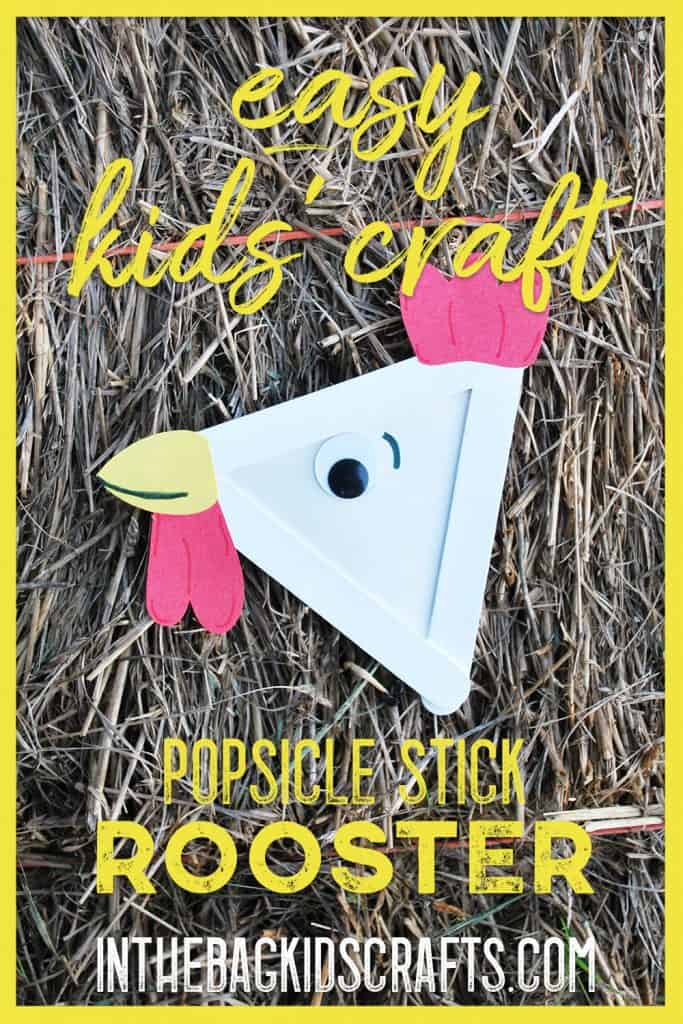
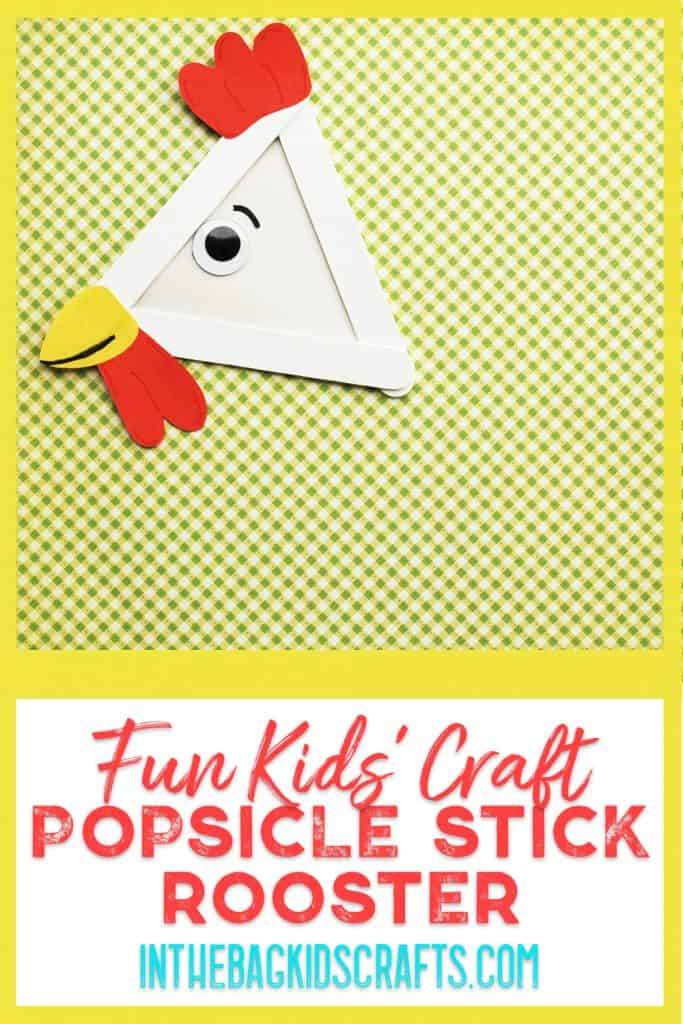
Rooster Craft {with FREE template}
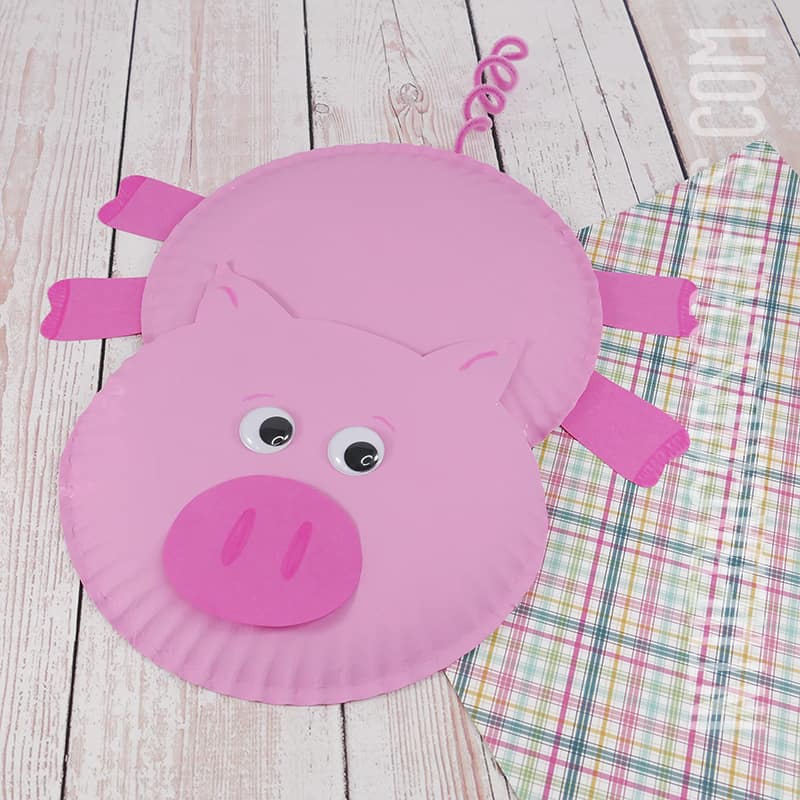
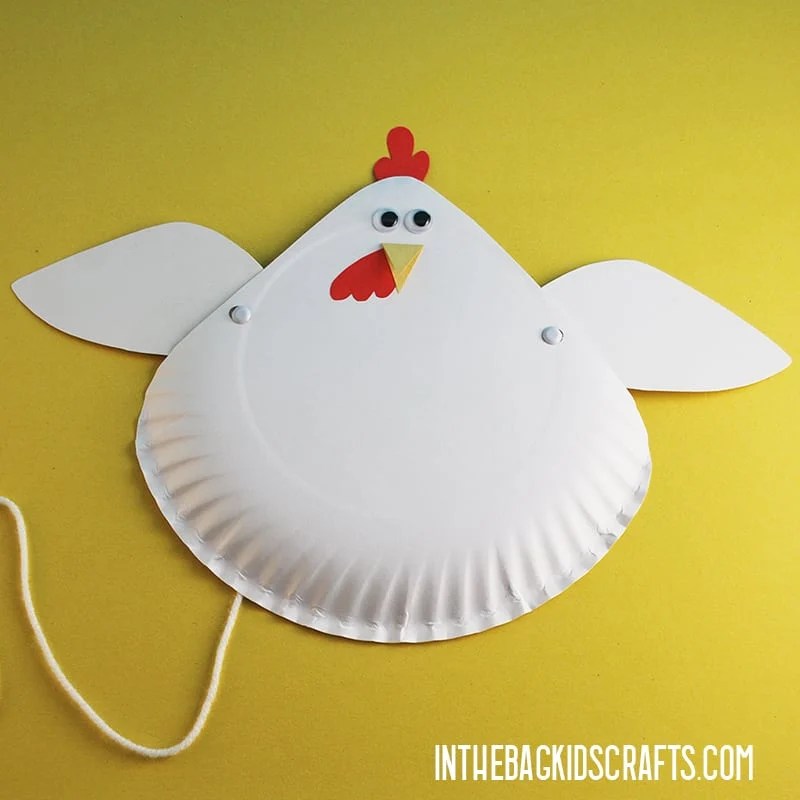
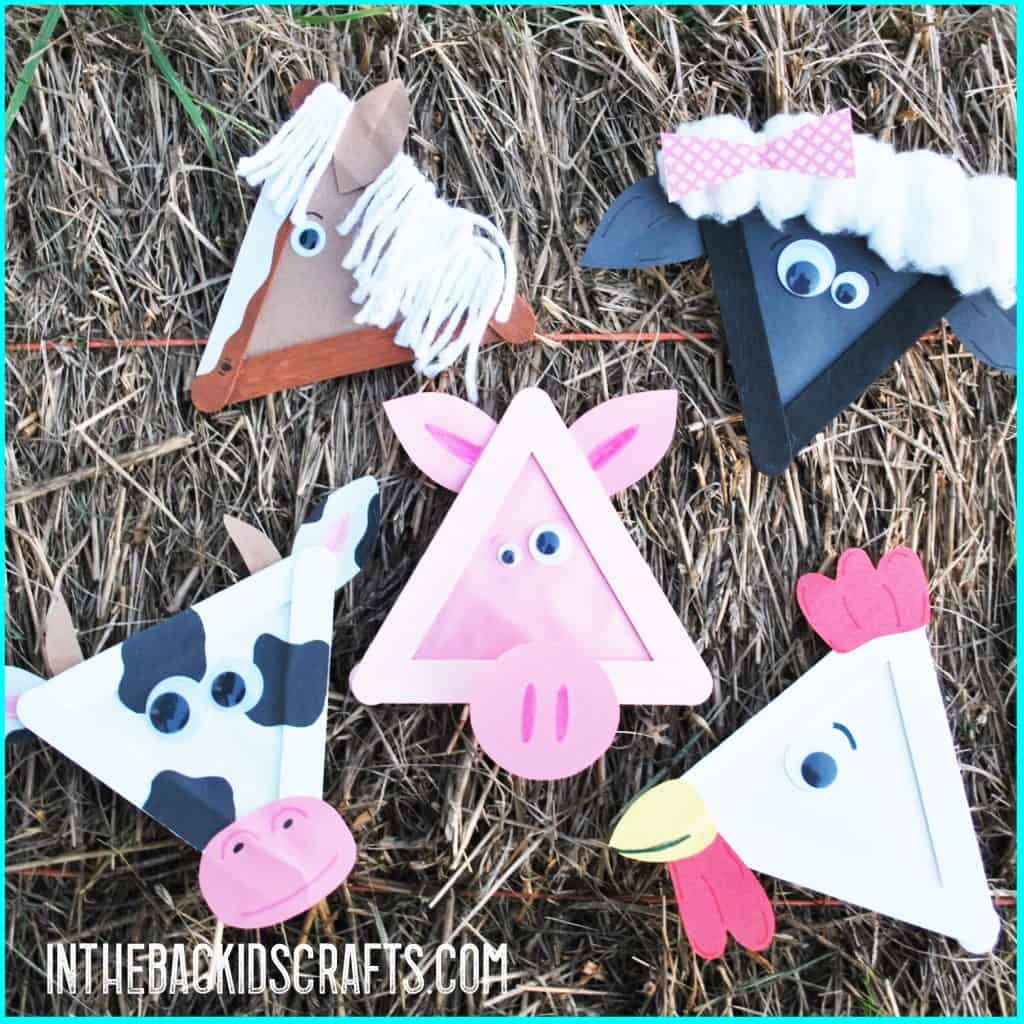
This week we are playing with the popsicle stick triangle frames again! I just love starting off with something so basic and having it turn into something so cute! This rooster craft has some farm animal friends too. Check out the rest of the barnyard crew: HORSE, PIG, SHEEP, and COW.
If you like this craft, you will LOVE this kids’ crafts ebook. Check it out!
SUPPLIES FROM THE BAG
- Elmer’s glue
- White construction paper
- 3 large popsicle sticks
- Glue stick
- Scraps of yellow and red construction paper
- Large googly eye
- Red and black markers
- Scissors
- Pencil
- White paint
- Clothespin
- Medium pompom
- Newspaper
- Rooster craft template
In case you are wondering what we mean by “in the bag”, check out THIS page to find out more, including a FREE printable craft supply shopping list. You are in for a treat because we have the answer for you for how to spend more time creating with your kiddos, less prep and less stress. Using our “in the bag” system, you will now be able to craft with your kids whenever you find that rare open moment in the day without additional prep! Just pick out your favorite craft from the blog, and you already have everything you need to craft along. I cannot wait to see what you make!!!
ROOSTER CRAFT INSTRUCTIONS
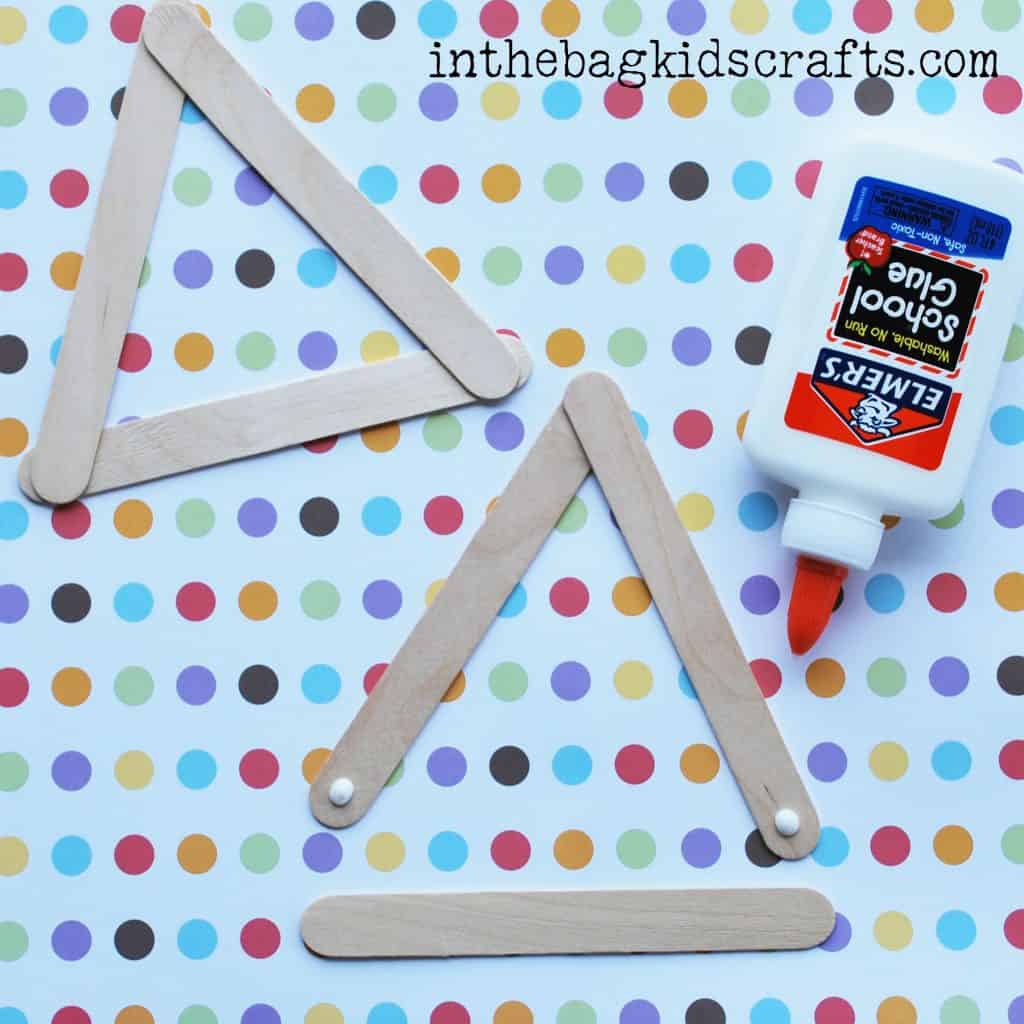
Step 1: Build the Foundation
- Glue together 3 large popsicle sticks into a triangle frame shape using Elmer’s glue
- Allow the glue to dry thoroughly
*You may want to prepare several triangle frames at once so that they are ready for other projects. Just keep them in your craft bag.
Step 2: Paint It
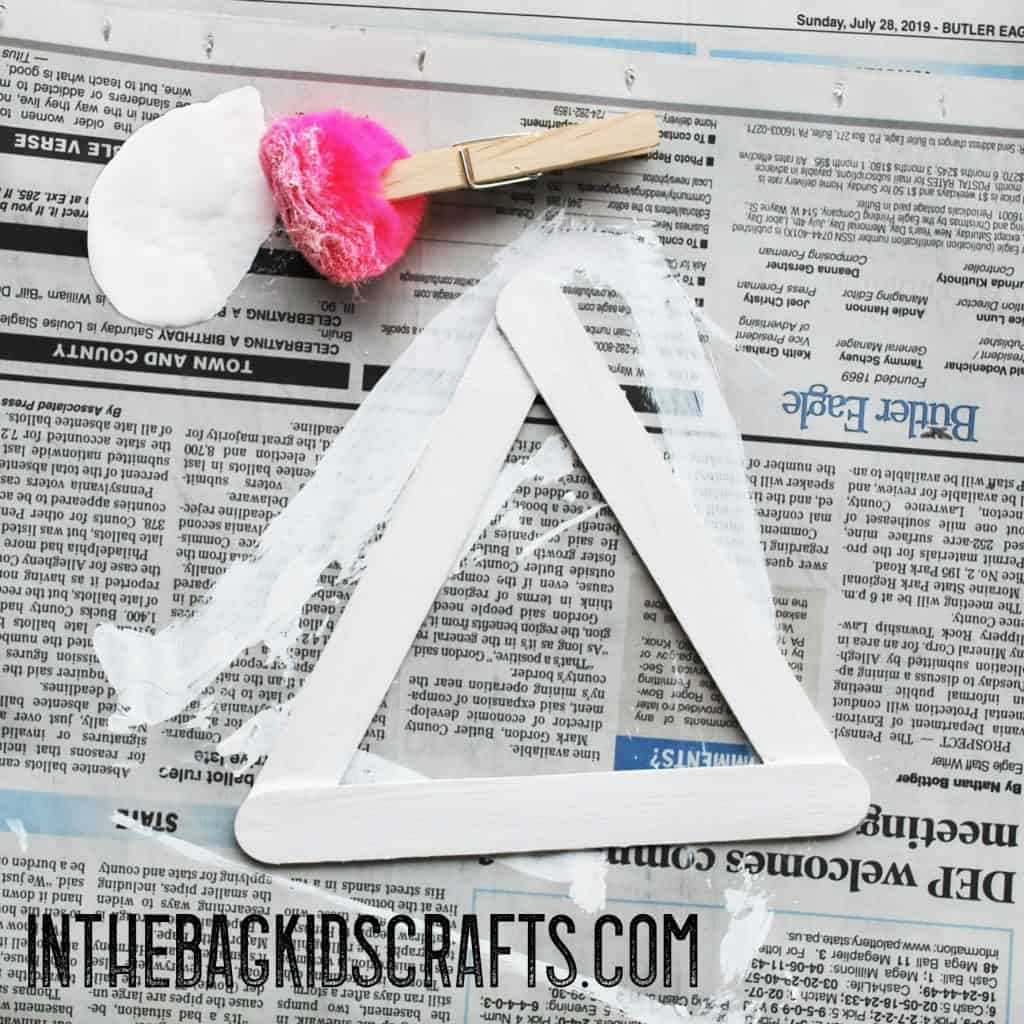
- Place the triangle frame on the newspaper
- Pinch the pompom with the clothespin to form a “paint brush”
- Squeeze a little white paint onto the newspaper and paint the triangle frame
- Set aside and allow the paint to dry

If your kiddo is a little one and just learning cutting skills, starting with this simple shape is great. To make it a little easier, go over the thin line with a bold black or red marker line and encourage them to have their scissors “eat” the line, cutting right through it instead of to the side. This is a new concept for many youngsters, as they had been told to that point that they should color inside the lines, not on them.
Step 3: Put It Together
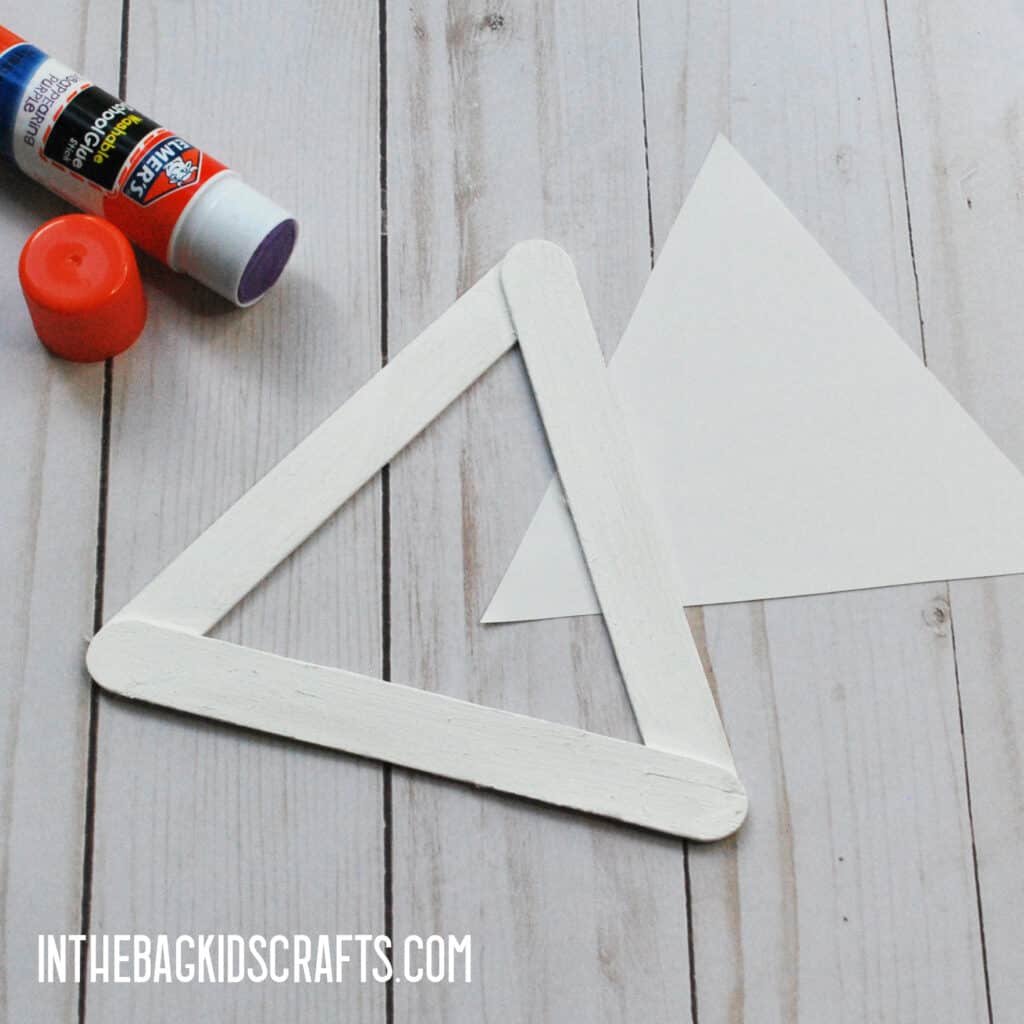
- Use the printable template to cut out the triangle out of white construction paper
- Once the paint has dried, attach it to the back of the popsicle stick using a glue stick
Step 4: Use the Rooster Craft Template
- Use the printable rooster template to cut out all of the pieces for your farm animal craft
Step 5: Finalize Your Farm Animal Craft
- Glue the pieces (wattler, comb and beak) into place using the glue stick
- Place the googly eye
- Last, add some detail, such as eyebrow, smile and shadows, using your markers
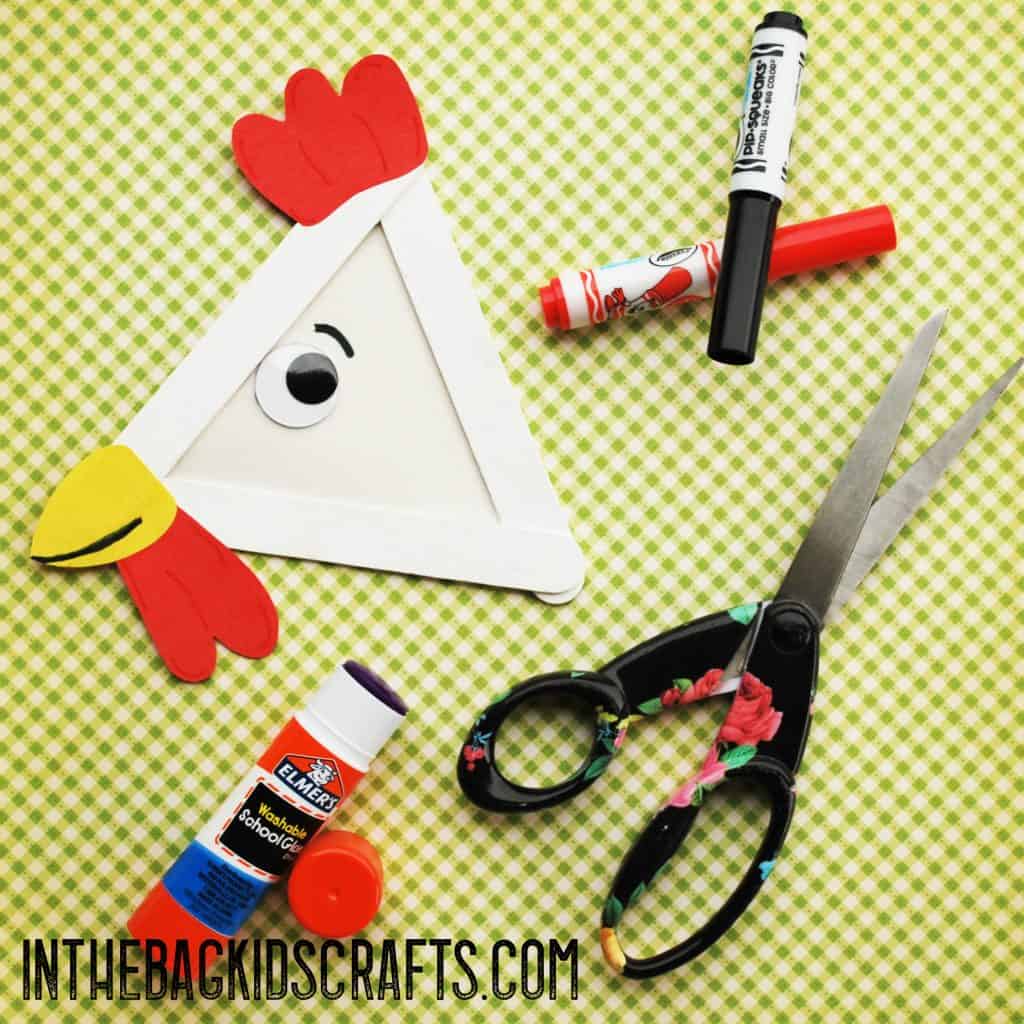
Your rooster kids craft does not need to look like mine, and it shouldn’t! Make it your own. If you want your rooster to have a purple comb, you do you. Really! There are not limits but your imagination! And then please share your finished projects. Send pics and stories to hello@inthebagkidscrafts.com!
Check Out This Sheep Craft Video Tutorial
Enjoy Making Even More Farm Animal Crafts
- Popsicle Stick Farm Animals
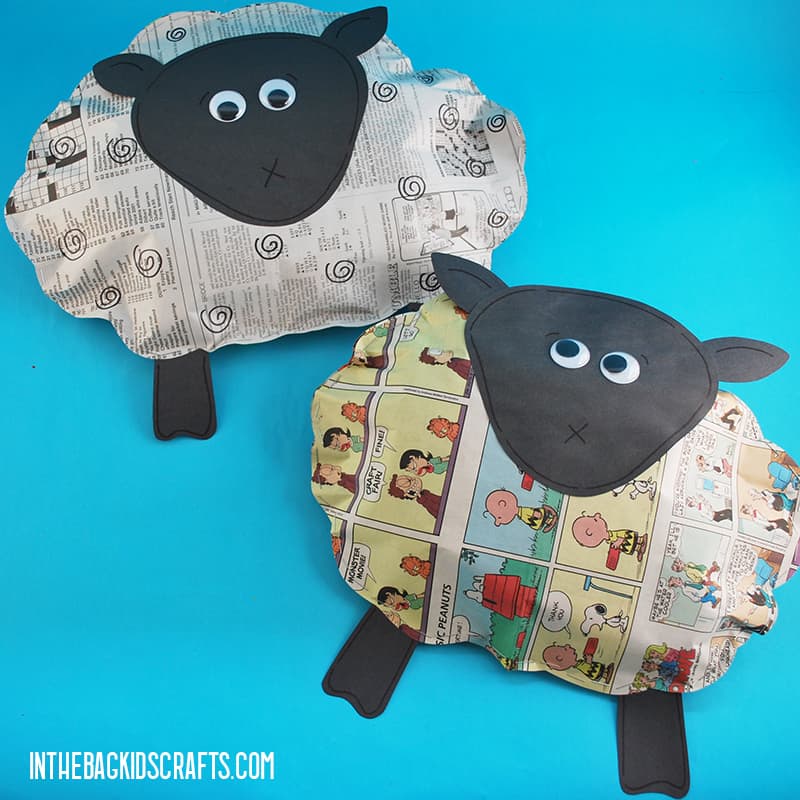
- Newspaper Sheep Craft
- Paper Plate Pig
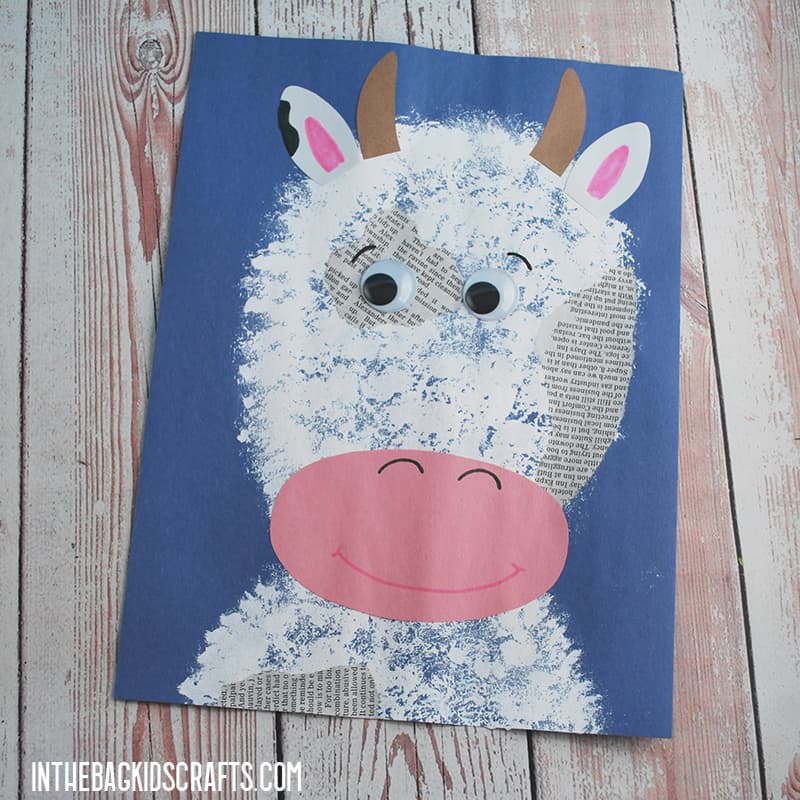
- Painted Cow Craft
- Paper Plate Duck Craft
- Fluffy Sheep Craft
- Wiggly Ear Sheep Craft
- Horse Craft
- Painted Sheep Craft
- Paper Plate Sheep Craft
Save this craft for later…pin it to your favorite Pinterest board!
