Three Little Pigs Craft {with the Big Bad Wolf}
I love a good fairy tale where the good guys win. And what kid doesn’t know the story of the Big Bag Wolf and the Three Little Pigs? The story of the three little pigs is a classic for a reason. This three little pigs craft is meant to be created by little ones, but don’t stop there. Once the craft is completed, tell the story…or make up a new one. Encourage your kids to use their imaginations and put on a puppet show.
If you’re making this easy craft with a classroom, you’ll want to cut some of the smaller pieces out in advance. And you may want to print the pig templates directly onto pink construction paper so that they can cut out the triangle and circle (if the skills allow) on their own. They will likely need help with the ears.
Save this three little pigs activity for later. Pin it to your favorite Pinterest board…
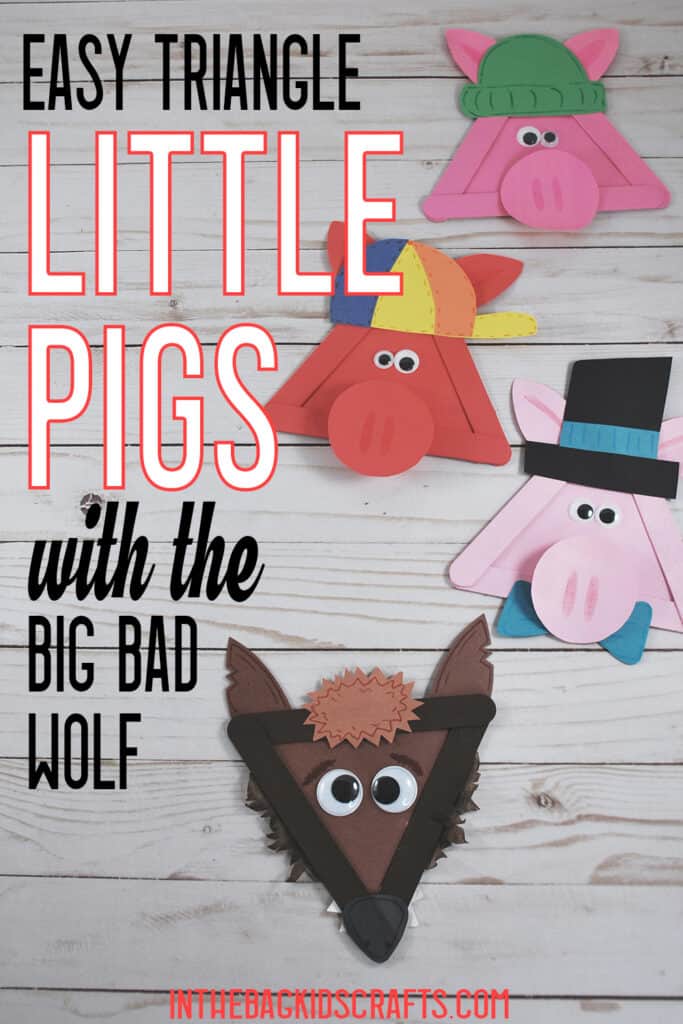
THREE LITTLE PIGS CRAFT INSTRUCTIONS
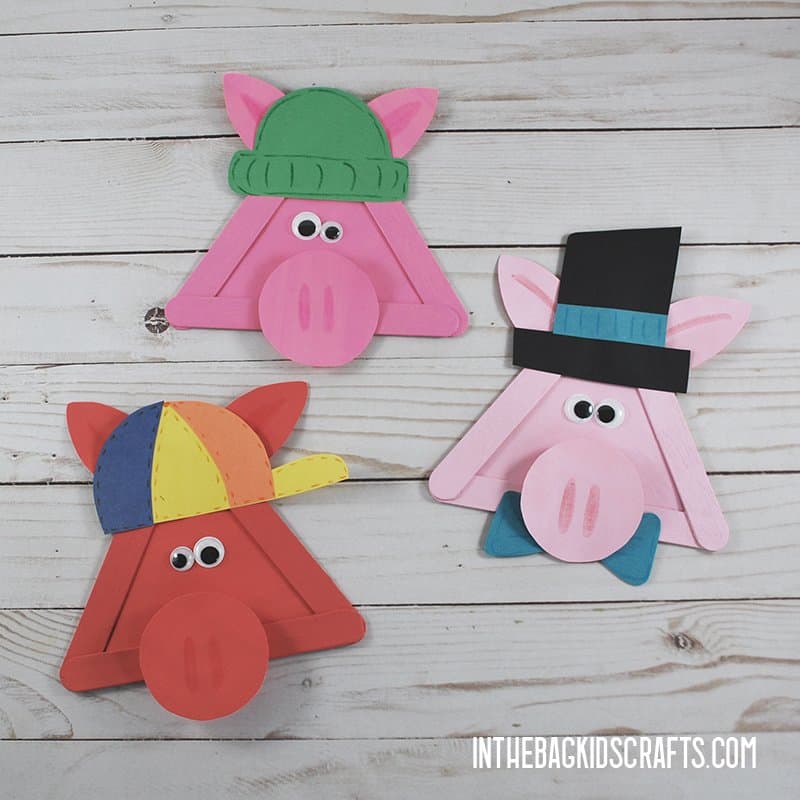
SUPPLIES FROM THE BAG (just for the pigs)
- 9 Large popsicle sticks
- Elmer’s glue
- Glue stick
- Scissors
- Newspaper
- Pompoms
- Clothespin
- Pink paints
- Construction paper
- 6 Self-adhesive Googly eyes (or printable paper eyes)
- Markers
- Pigs craft template
And just like every craft you see here, this three little pigs craft uses supplies from the same master list that we stick to for every creative project. It’s just 27 basic items that fit into one bag. Once your bag is filled, you are ready to craft along without another trip to the store. Yay!
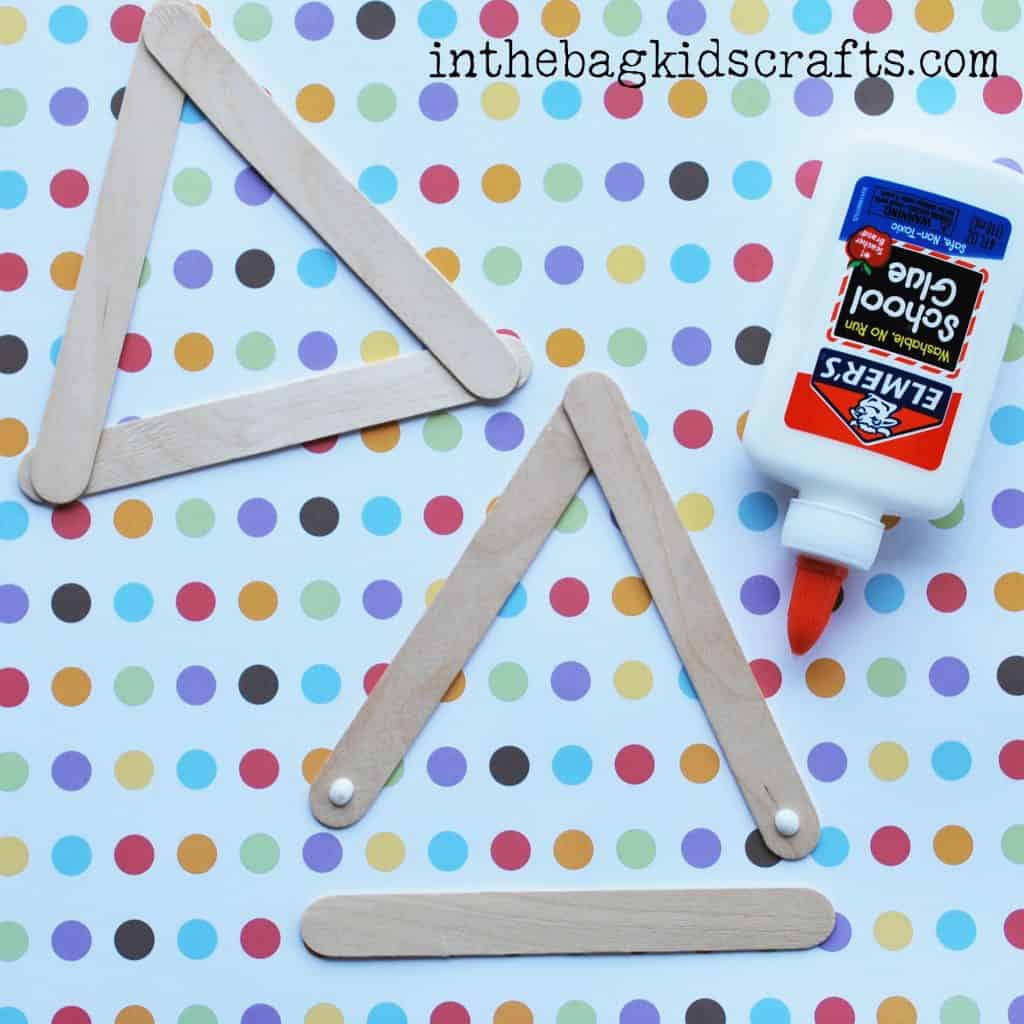
Step 1: Make the Popsicle Stick Frames for Your Little Pigs Crafts
- Glue together 3 large popsicle sticks into a triangle frame shape using Elmer’s glue
- Allow the glue to dry thoroughly
- Repeat this process 3 times for the three little pigs (and one more for the wolf too.)
*You may want to prepare several triangle frames at once so that they are ready for other projects. Just keep them in your craft bag.
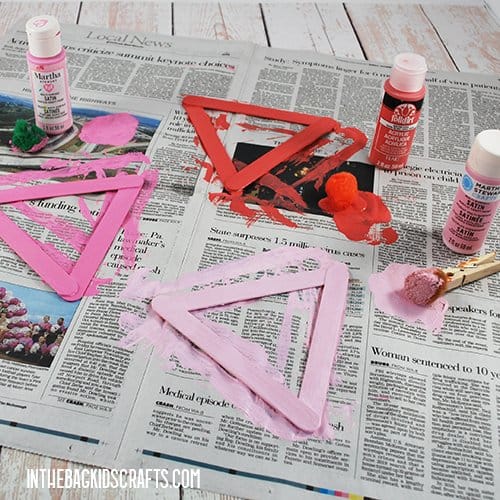
Step 2: Paint the Frame
- Place the triangle frame on the newspaper.
- Pinch the pompom with the clothespin to form a “paint brush”.
- Squeeze a little pink paint onto the newspaper and paint the triangle frame.
- Set aside and allow the paint to dry while you move on to the next step.
*Since my paper did not match the paint that I had on hand, I also painted a piece of construction paper so that it would match the frame. This, of course, is totally optional. If you choose to do this, just be sure to use a very thin coat of paint so that the paper does not warp too much, and the paint dries very quickly.
Step 3: Use the Three Little Pigs Craft Template
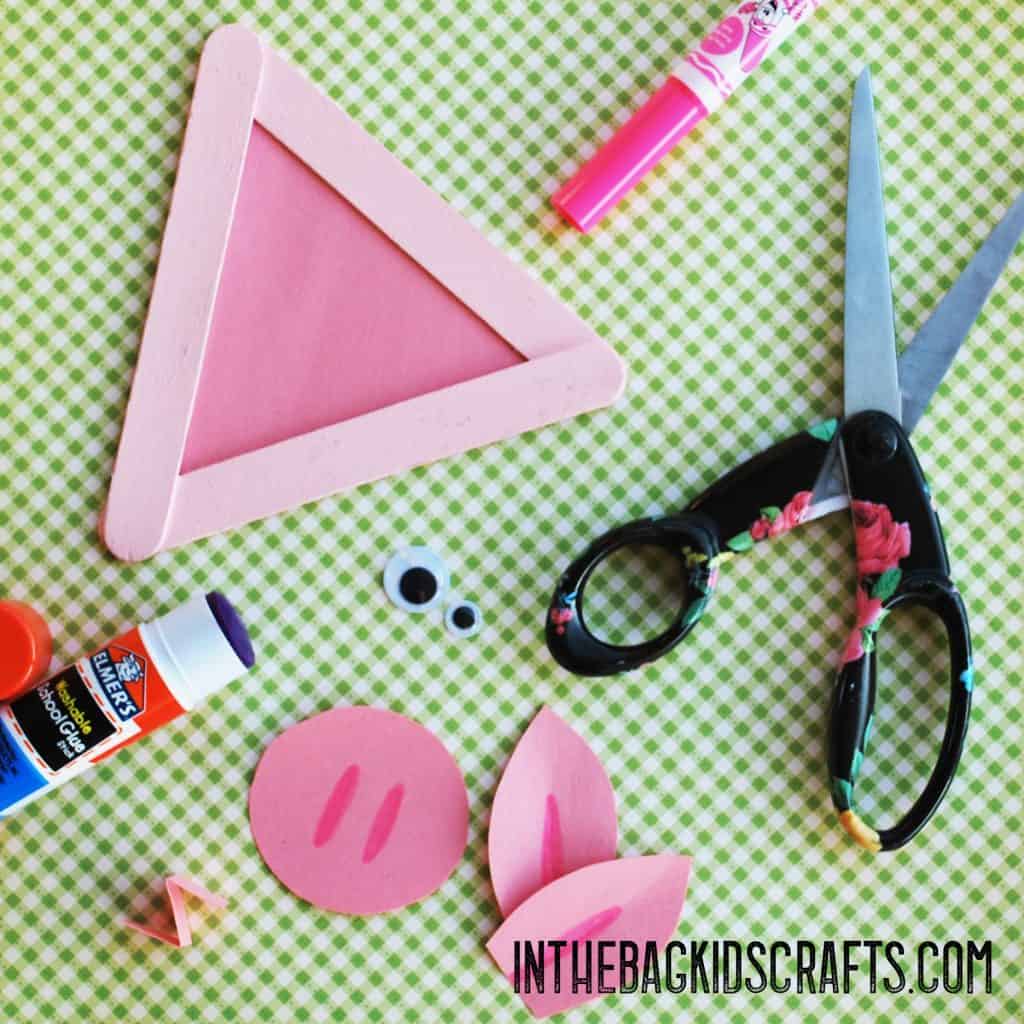
- Print the craft template(s).
- Use the printable craft template to cut out all of the pieces out for your three little pigs craft. (The hats and accessories are optional.)
- Also cut a small strip of paper, smaller than the width of the nose and about 2 inches long for each of the pigs from pink paper.
- Fold each into an accordion.
- Add details, like the nostrils and center of the ears, to the pieces using your markers.
Step 4: Put the Triangle Together
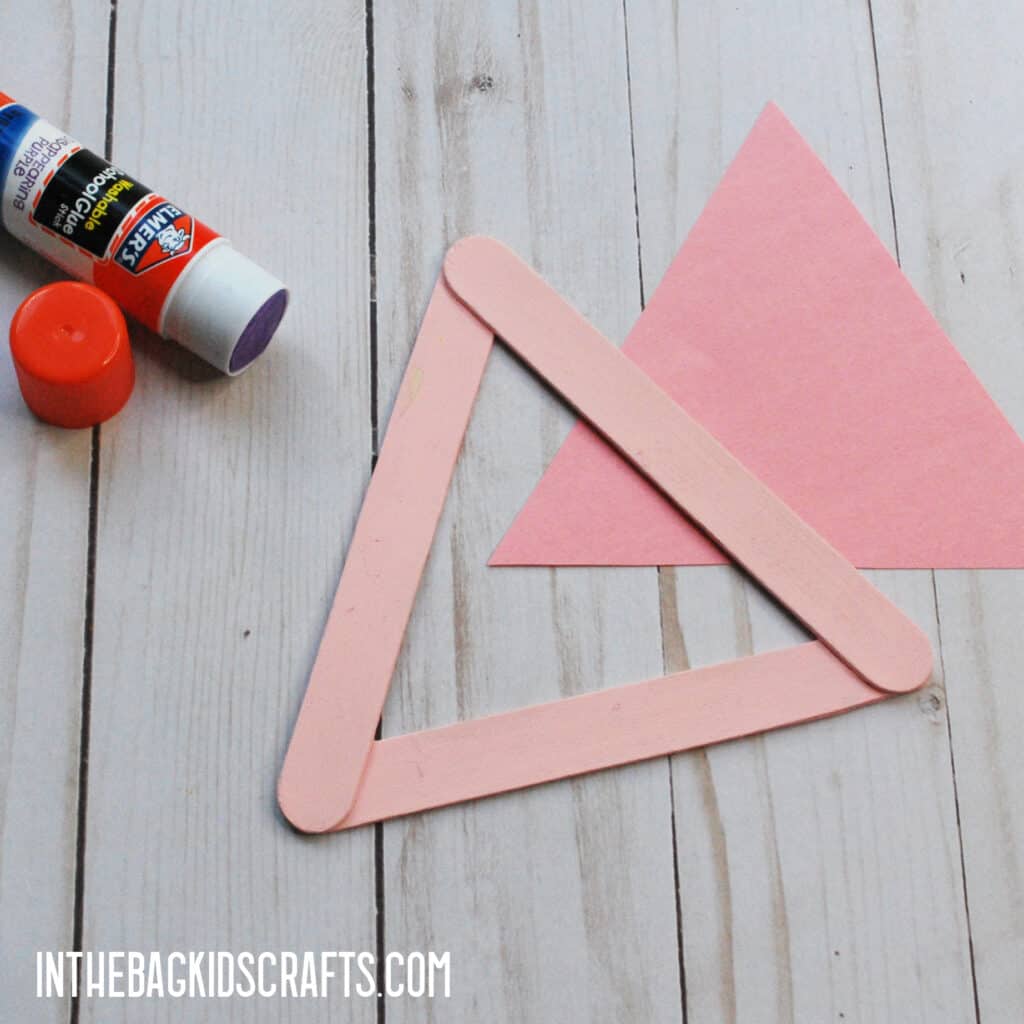
- From the three little pigs craft template, cut out the triangle.
- Once the paint has dried, glue the paper triangle to the back of the popsicle stick frame.
Step 5: Put Together the Paper Pig Craft
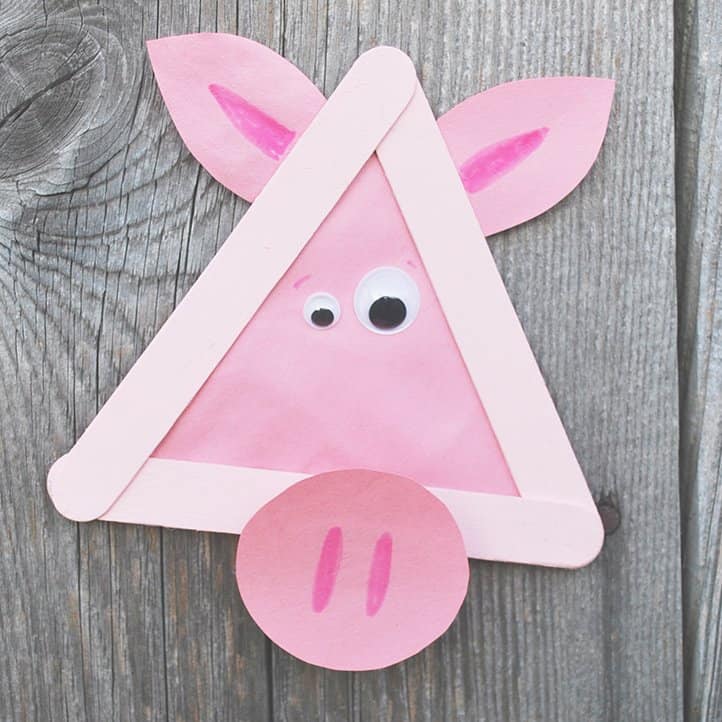
- Glue the ears into place. We gave ours a little fold in the center so that they would appear more life-like.
- Then glue the pig nose to the end of the folded accordion paper and glue that into the center of the triangle
- Place the googly eyes
- Use your markers to add any other details you would like.
Step 6: Personalize the Three Little Pigs
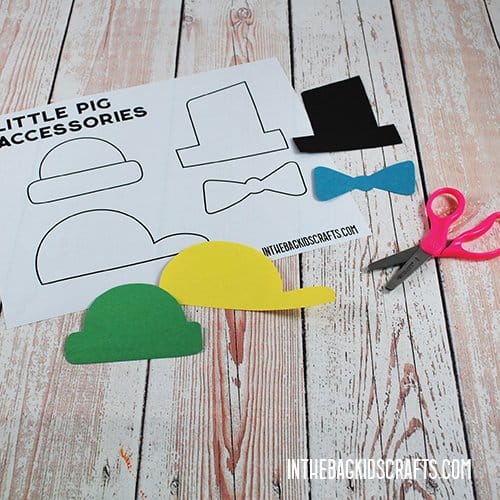
- Using the accessories page of the template, cut out the hats and other items for your three little pigs.
- Decorate them with markers and glue them in place.
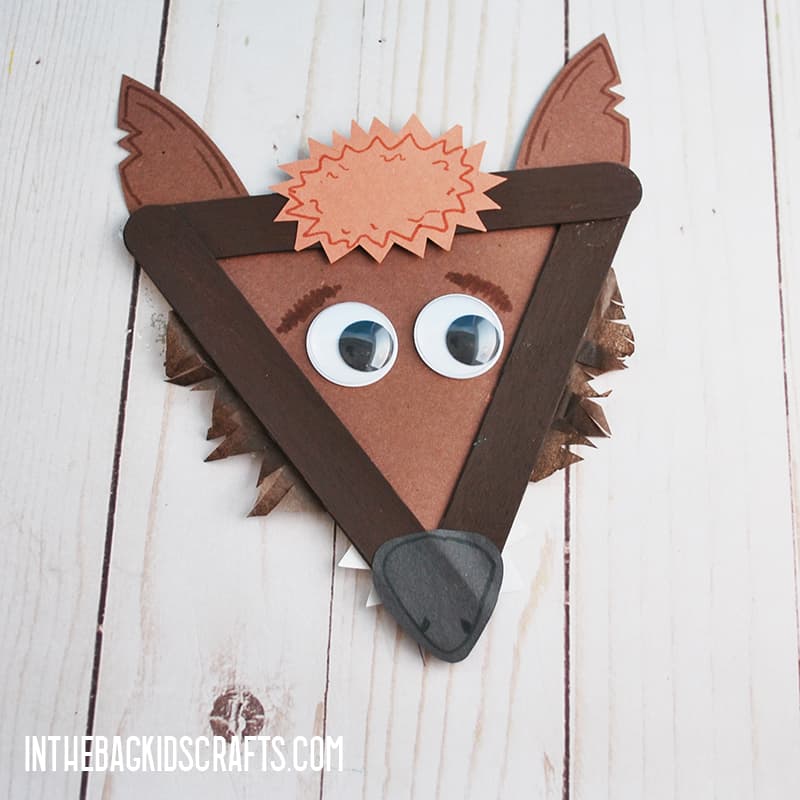
The Big Bad Wolf Craft Instructions
SUPPLIES FROM THE BAG
- 3 Large popsicle sticks
- Elmer’s glue
- Newspaper
- Clothespin
- Medium pompom
- Brown paint
- Brown tissue paper (cut into 1″ pieces)
- Construction paper (shades of brown, black and white)
- Scissors
- Glue stick
- Markers
- 2 Large self-adhesive googly eyes (or printable paper eyes)
- Big Bad Wolf Printable Template
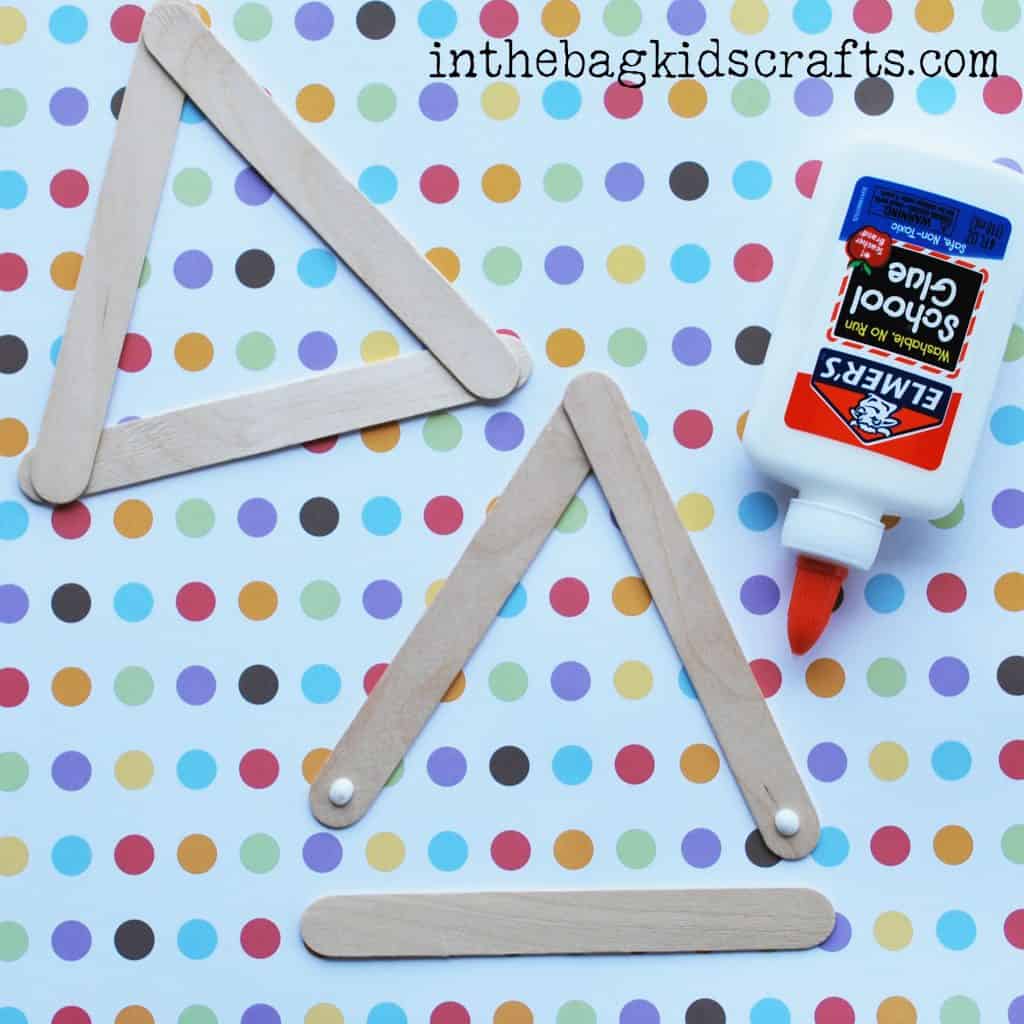
Step 1: Make the Triangle
- Use the Elmer’s glue to attach 3 large popsicle sticks, forming a triangle frame
- Set the triangle to the side and allow the glue to dry thoroughly
*This is a step that you may want to do the day before and let them sit overnight so that the glue dries completely. While you are at it, make lots of triangle frames so that you are ready to make as many crafts as you want! (And, believe me, you are going to want to make them all and then some!)
Step 2: Paint the Wolf Craft frame
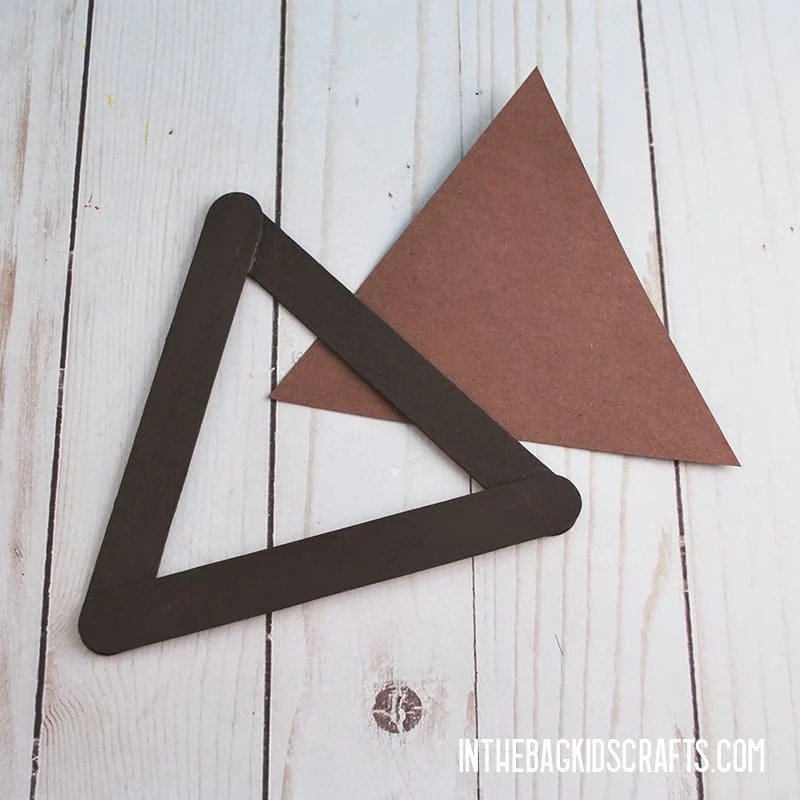
- Place the triangle frame on the newspaper and squeeze out some brown paint
- Pinch the pompom with the clothespin to form a “paint brush”
- Paint the triangle frame brown and set it aside to allow the paint to dry.
Step 3: Use the Big Bad Wolf Template
- Grab the pdf template and print the Big Bad Wolf template.
- Trace each part onto the colored construction paper. Use the photo as a guide for what colors to use.
*If you do not have access to a printer, you can look at the craft or the template and draw the pieces free-hand to cut out.
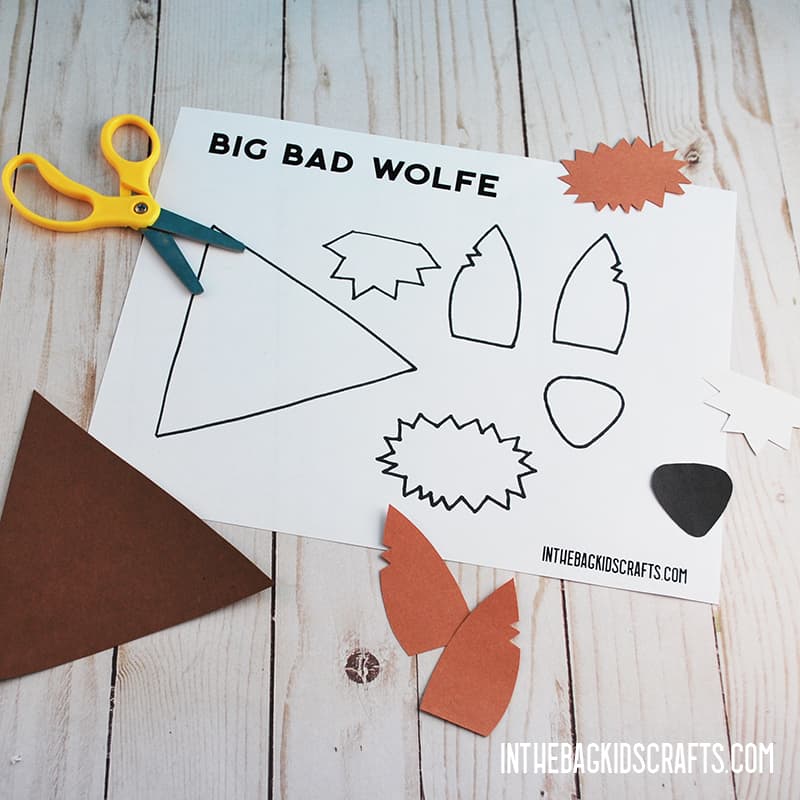
Step 4: Put It Together
- Use the glue stick to adhere the brown paper triangle onto the back of the popsicle stick frame.
- Then add the other parts of your Big Bad Wolf craft to the triangle.
- Finally, use the glue stick to attach 2-3 squares of brown tissue paper onto the sides of your wolf’s face.
- Snip at the brown tissue paper so that it is in a zig zag and fringed.
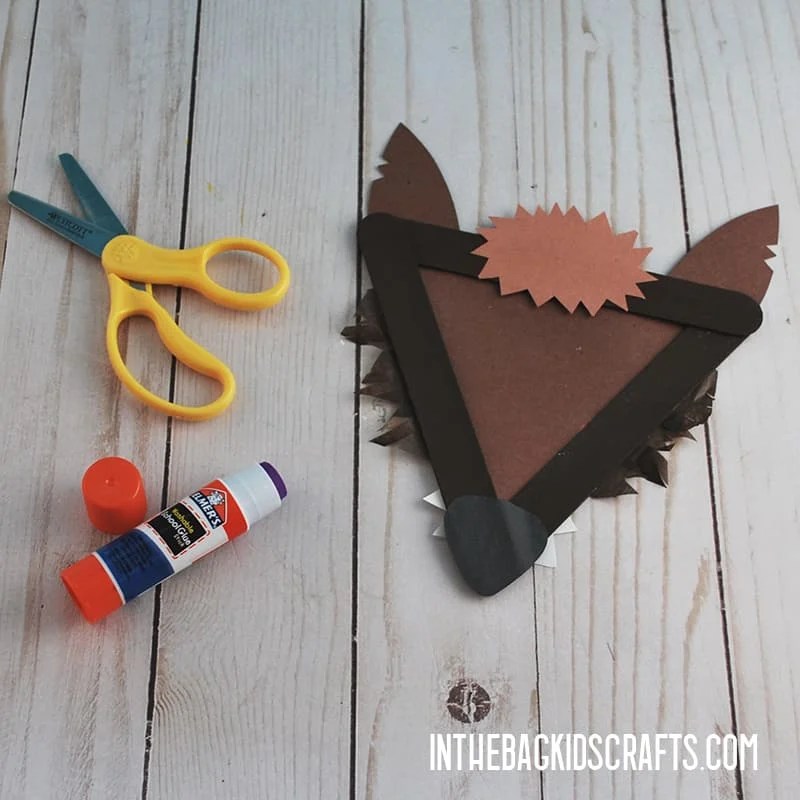
Step 5: Add the Details
- First, put the Wolf’s eyes in place.
- Then draw on the rest of his face.
- Use your markers to add some highlights and details to your Big Bad Wolf, like fuzzy eyebrows and some “fuzz” on his ears.
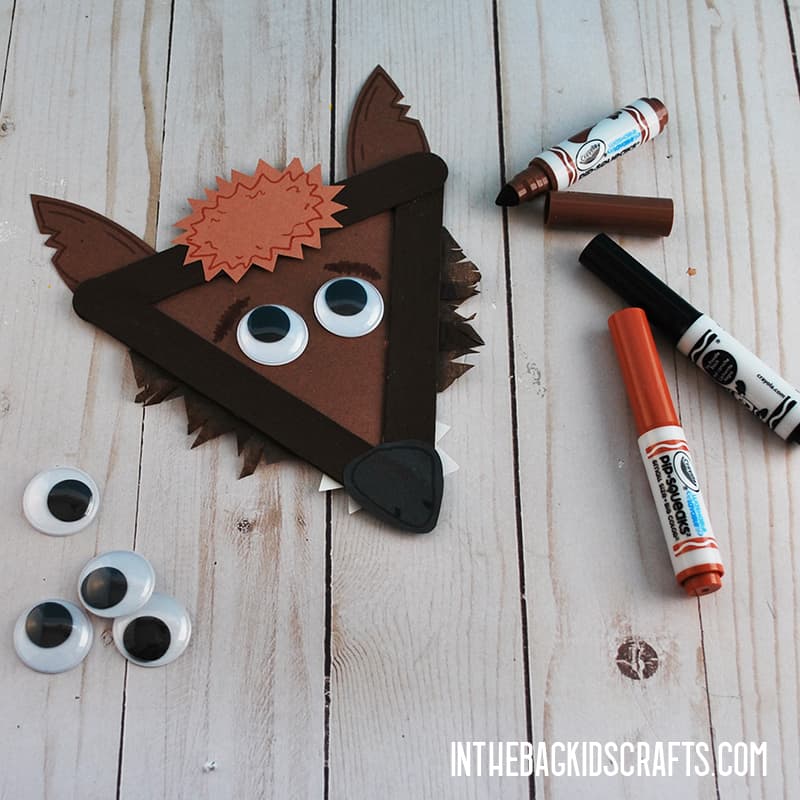
Ways to Amp Up the Fun
Turn these crafts into an amazing play experience. Build the pigs’ houses, a brick house, a house of straw, and a house of sticks using paper bags like we did for this village craft. Use things like construction paper, markers, washi tape and anything else you have on hand for your building materials.
You can also turn each character into a stick puppet with popsicle stick handles to each of the characters and make your own puppet show. Use them during story time to act out what you’re reading. It’s such a fun three little pigs activity.
Can I use different materials?
If you don’t have something on hand from the supplies list, there are almost always ways to opt for different materials. If you don’t have any popsicle sticks, skip that step and just use a pape triangle. It will mean that your characters won’t be as sturdy, but then you’ll just have the fun of making it again when it’s been well-loved through play.
Instead of paint, you can always choose to simply use markers or crayons. It will change the look of the craft slightly, but it’s really all about the experience of creating anyway…not the finished product.
Make even more Classic Fairy Tales Crafts
Enjoy both making and playing with these storytime crafts this week. It could lead to hours of creative play.
