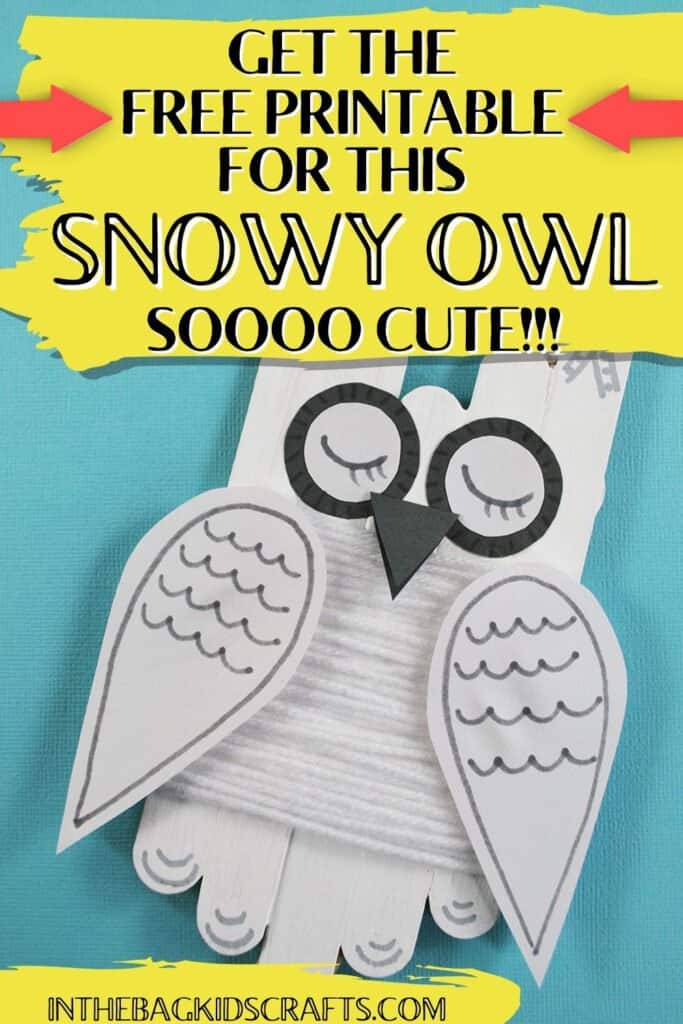
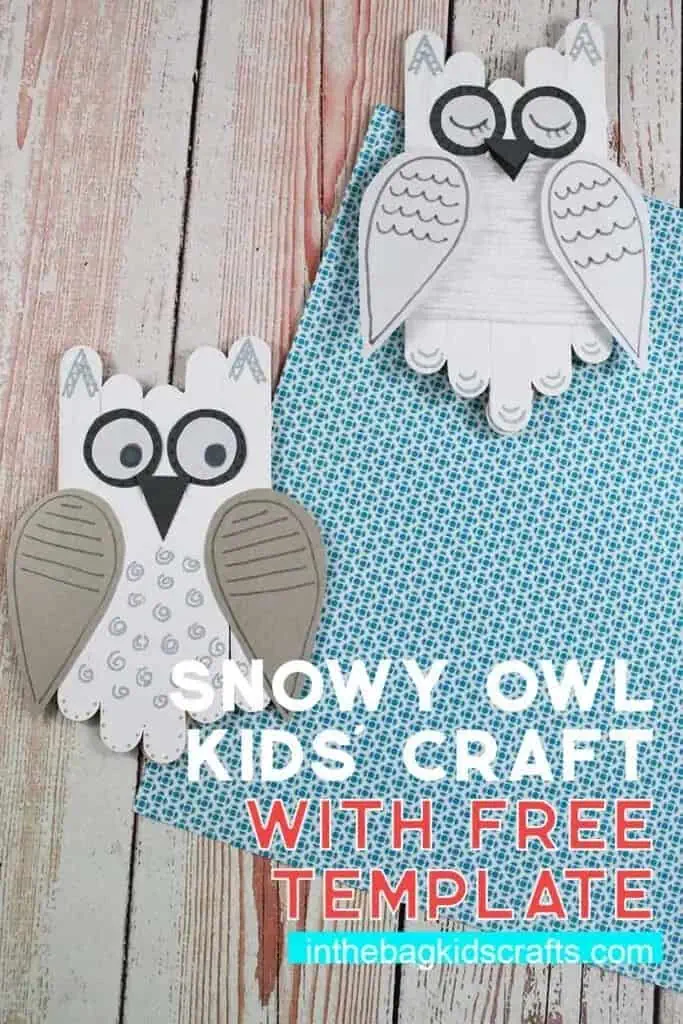
Easy Snowy Owl Craft for Kids (with Free Template)
This adorable snowy owl craft is perfect winter craft for this holiday season. The free template and step by step instructions makes this craft doable for kids of all ages (Yes, even your little ones can join the fun!).
Of course, you can also make this owl craft with your biggest little Harry Potter fan. Help them create their own Hedwig. Customize it however you like. And stay tuned for more Harry Potter crafts coming soon.
Save this Adorable Snowy Owl Craft for later. Pin it to your favorite Pinterest board…
SUPPLIES FROM THE BAG
- 7 Large popsicle sticks
- Glue stick
- Scissors
- White school glue
- White paint
- Clothespin
- Newspaper
- Medium pompom
- White and gray construction paper
- Markers
- White yarn (optional)
- Scotch tape (optional)
- Owl craft template
I have some good news for you. If you have used our master list to fill your kids’ craft bag, you already have everything that you need to make this craft, no extra prep needed. And you will never have to run out to the store and have to put a creative project on hold because you are missing that “key ingredient”. Now you’ll have more time to craft with your kids. So, don’t wait any longer…fill that bag.
How to Make a Snowy Owl
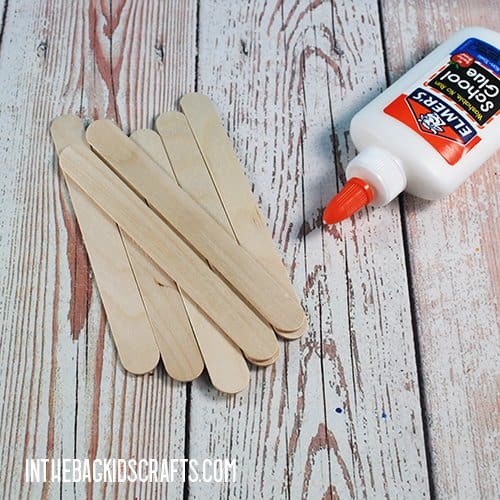
Step 1: Make the Popsicle Stick Foundation
- Line up 5 of the large popsicle sticks side by side in an arrow formation.
- Put a bead of white school glue on another popsicle stick and place it at an angle across the others.
- Repeat this with another popsicle stick.
- Give the glue some time to dry.
*You may even want to do this step the day before and let it dry overnight.
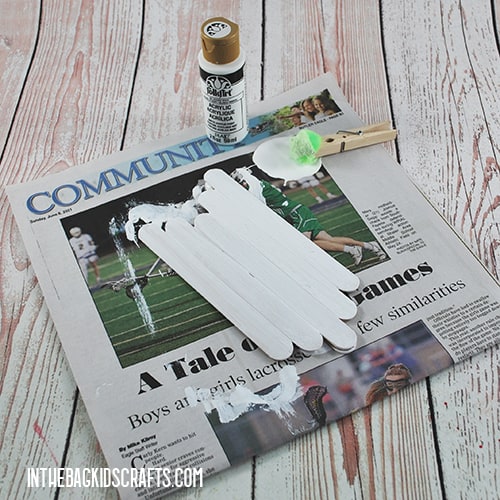
Step 2: Paint
- Once the glue has dried, place the popsicle sticks, flat side up, on some newspaper.
- Pinch a pompom with a clothespin to form a “paint brush”.
- Squeeze out a little white paint and paint the popsicle stick frame.
- Set it aside to give the paint some time to dry.
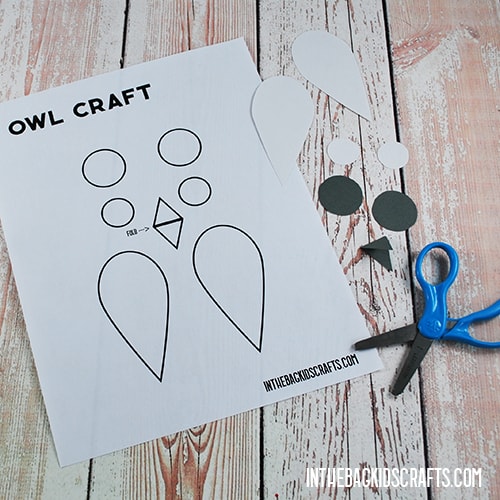
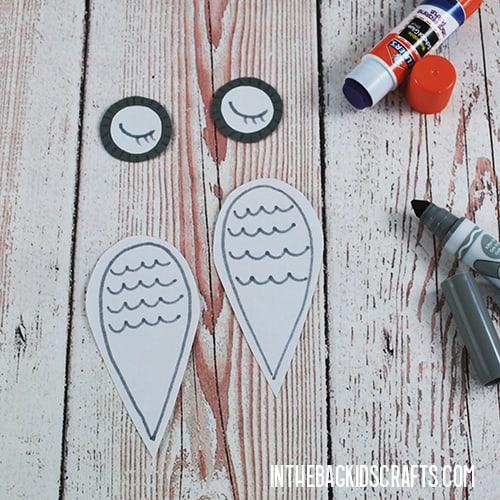
Step 3: Use the Owl Craft Template
- Print out the free template.
- Cut the owl’s wings from white paper.
- Then cut the large circles and beak from gray paper (or color of your choice).
- Finally, cut the small circles from white paper.
Step 4: Decorate the Template
- Glue the small white circles into the larger gray circles to form the eyes for your snowy owl.
- Draw on some details.
- Then draw some details on the wings.
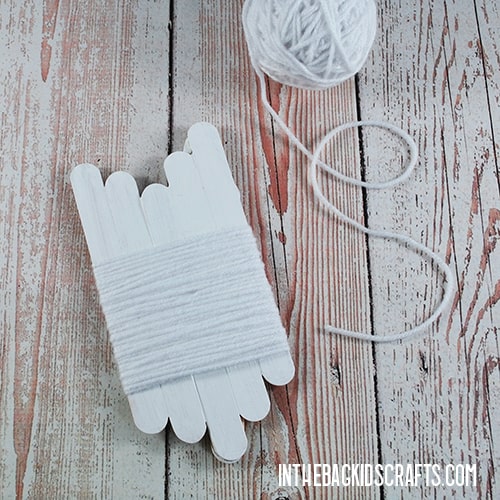
Step 5: Wrap It Up
- Now that the paint has dried, wrap some white yarn around the center of your owl to add a little fluff.
- Be sure to leave the top and bottom uncovered so that you can add other elements.
- When you have it covered as much as you want, trim the yarn and tape down the end on the back of the popsicle sticks.
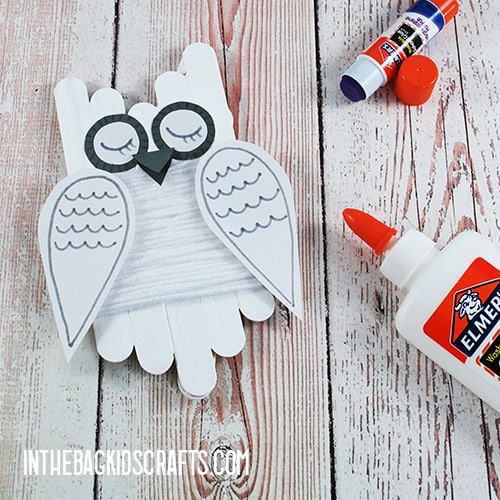
Step 6: Put the Winter Owl Craft Together
- Use the glue stick to put the eyes and owl’s beak in place.
- Then use the white school glue to attach the wings. Don’t over-glue and give the glue some time to set up before moving the owl around too much.
- *If you chose not to wrap your owl in yarn, you can also use the glue stick to attach the wings instead of the Elmer’s glue.
Step 7: Finish Off Your Winter Craft
- Finish off your snowy owl craft with some more marker details, including the horns and tail feathers.
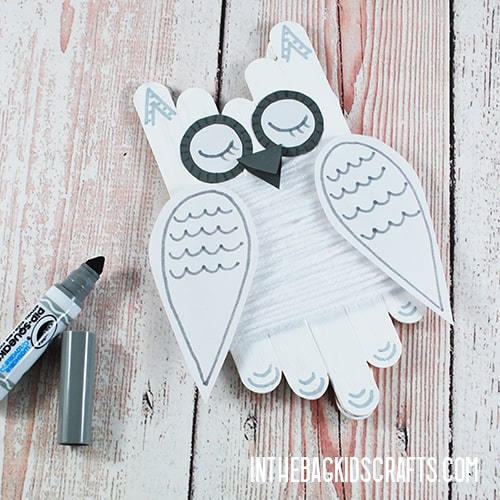
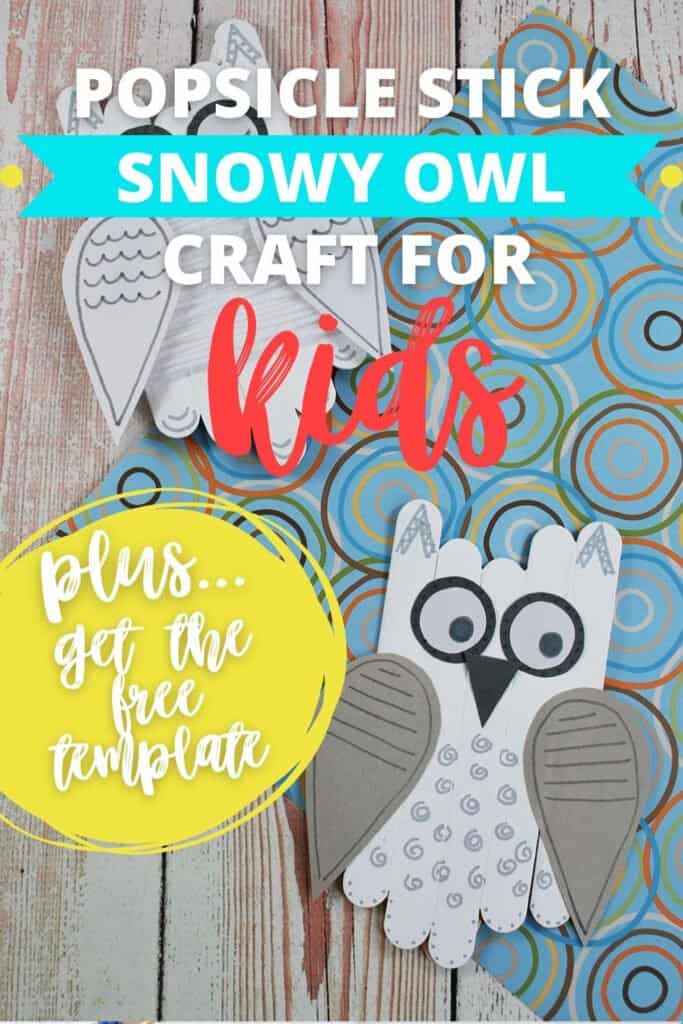
Now, enjoy the final product. Your very own owl! Now that you know how to make a snowy owl, create some friends for your owl. How about making a penguin craft or polar bears like these and then create an entire winter scene. Tell a story or put on a show with your creations.
Make Even More Owl Crafts
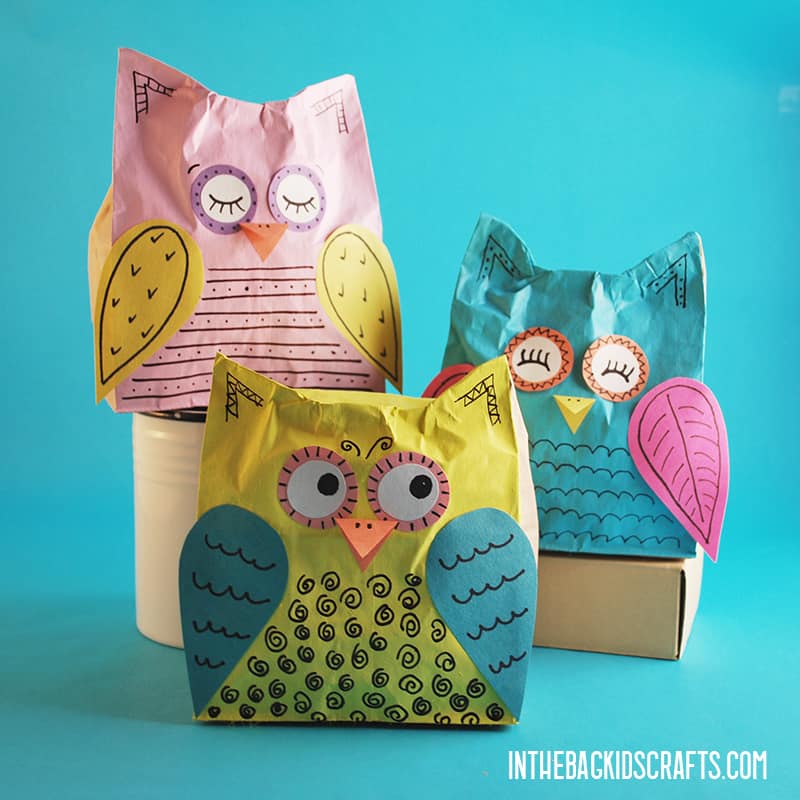
Paper Bag Owl Craft
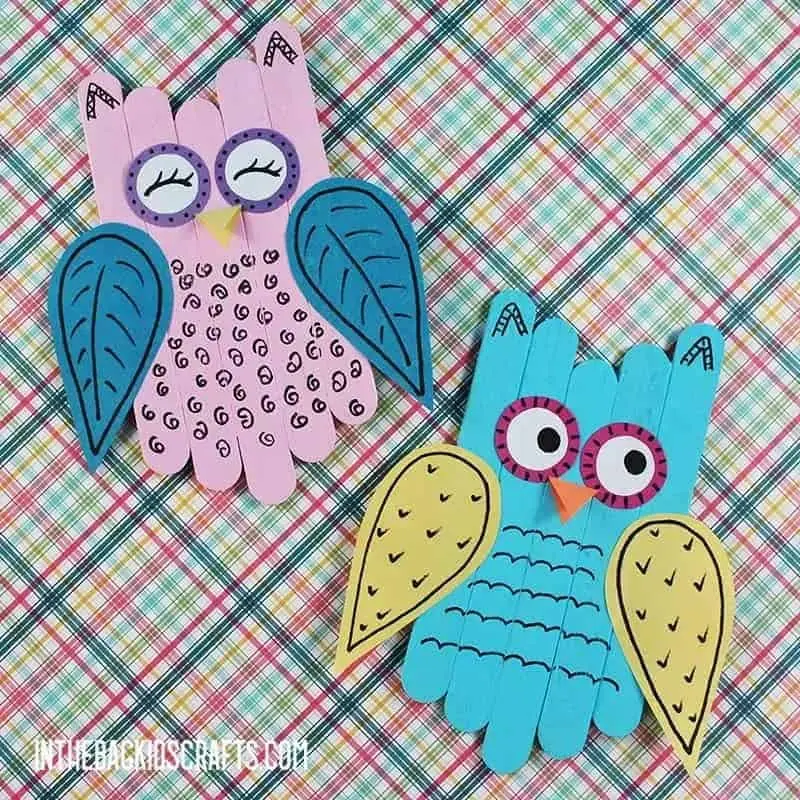
Popsicle Stick Owl Craft
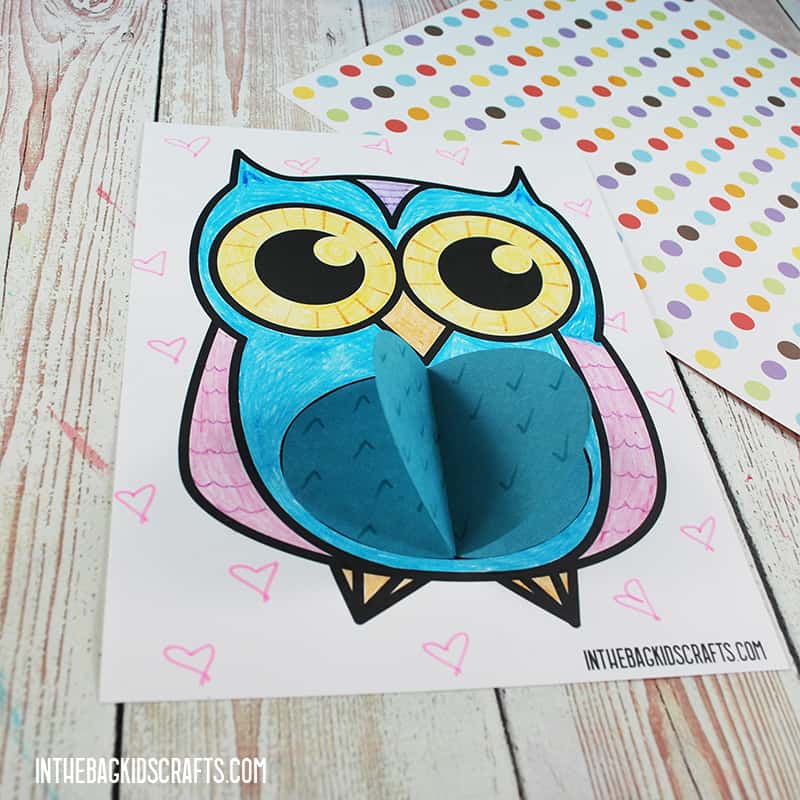
3D Paper Owl Craft Printable
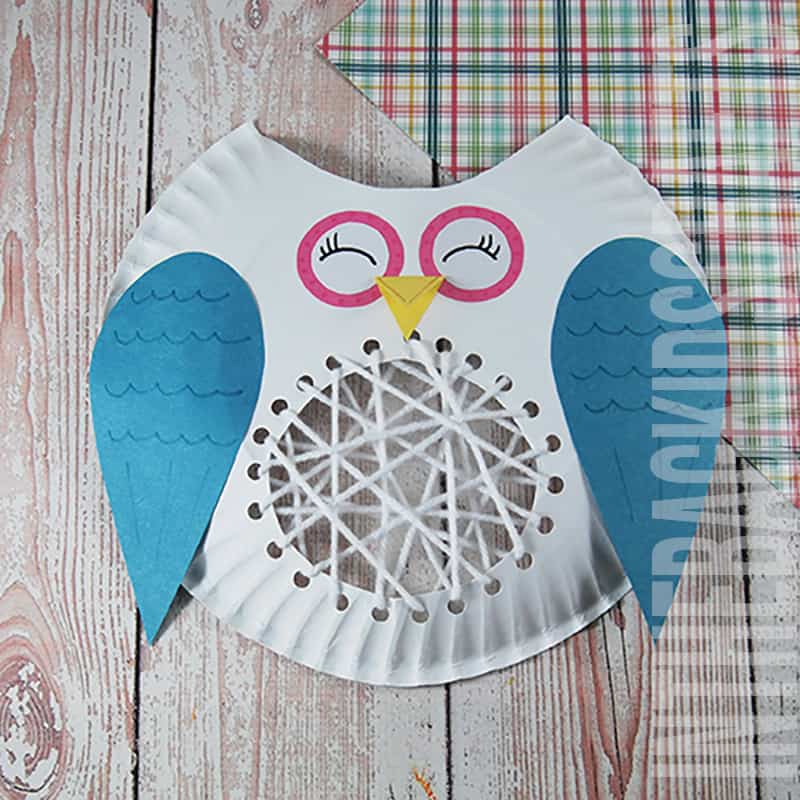
Lacing Owl Craft
Save this Owl Art and Craft for later. Pin it to your favorite Pinterest board…