Cinderella Activities for Kids
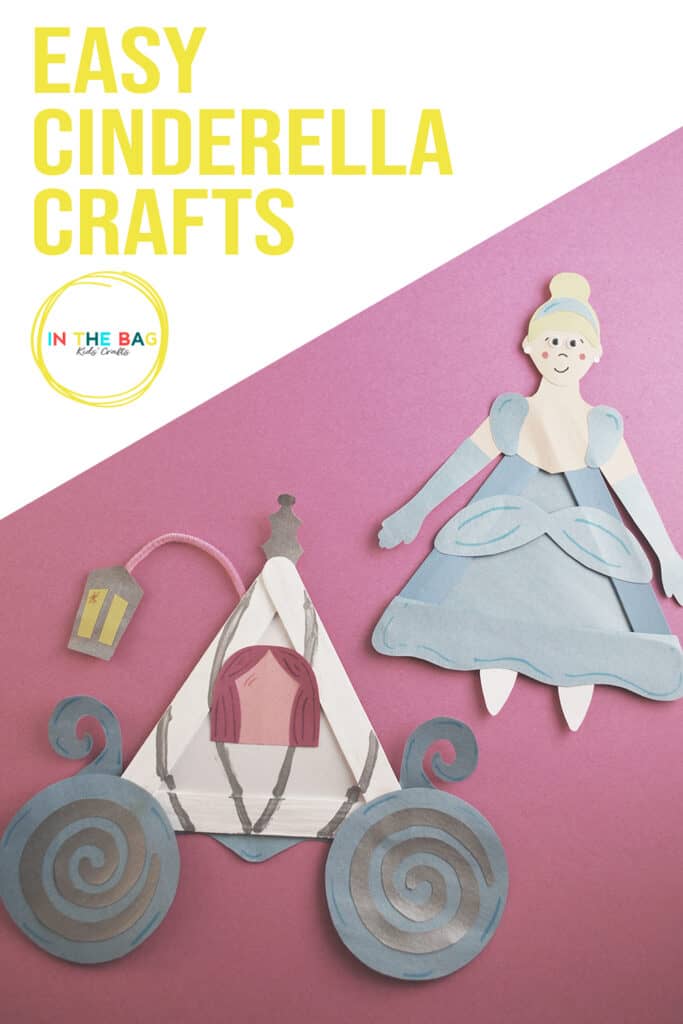
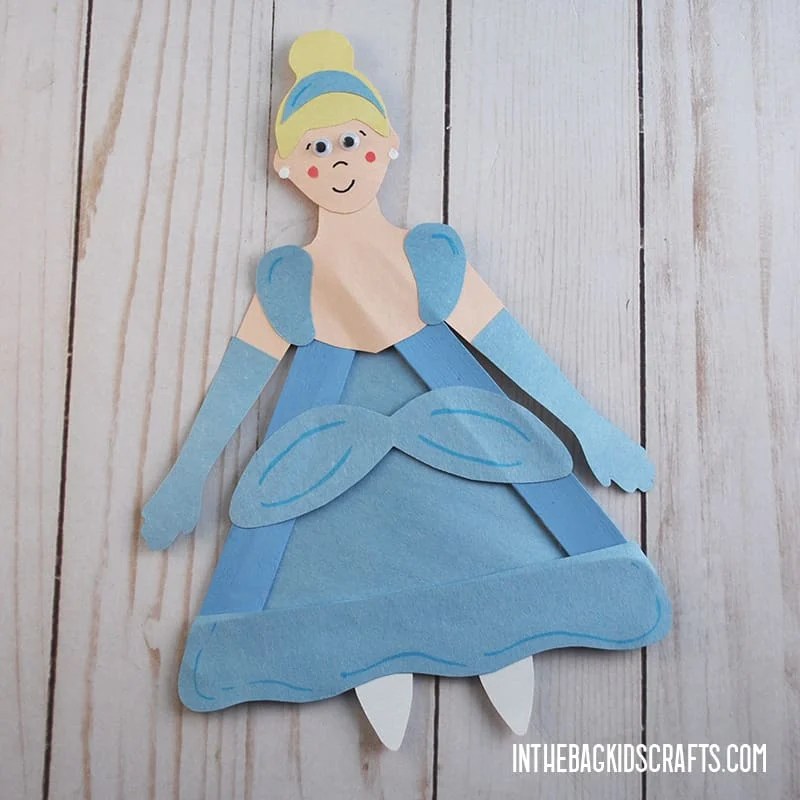
Cinderella is a classic story we all know and love. That’s why these princess Cinderella crafts are perfect for the little Disney princess lover in your life. The free printable template paired with our step by step instructions makes this craft super easy, perfect for classrooms or even a themed party.

If you are going to make these Cinderella crafts for preschoolers, they will likely need help to cut out the pieces since they are beyond the skills of most preschool kiddos. Depending on your child’s ability to use scissors, they may be able to cut out the large triangle independently.
Still, these are great crafts not just for preschool but they are also a perfect Cinderella activities for kindergarten even if you have to help with the cutting. They can put them together and use them to work their imaginations as they make up stories.
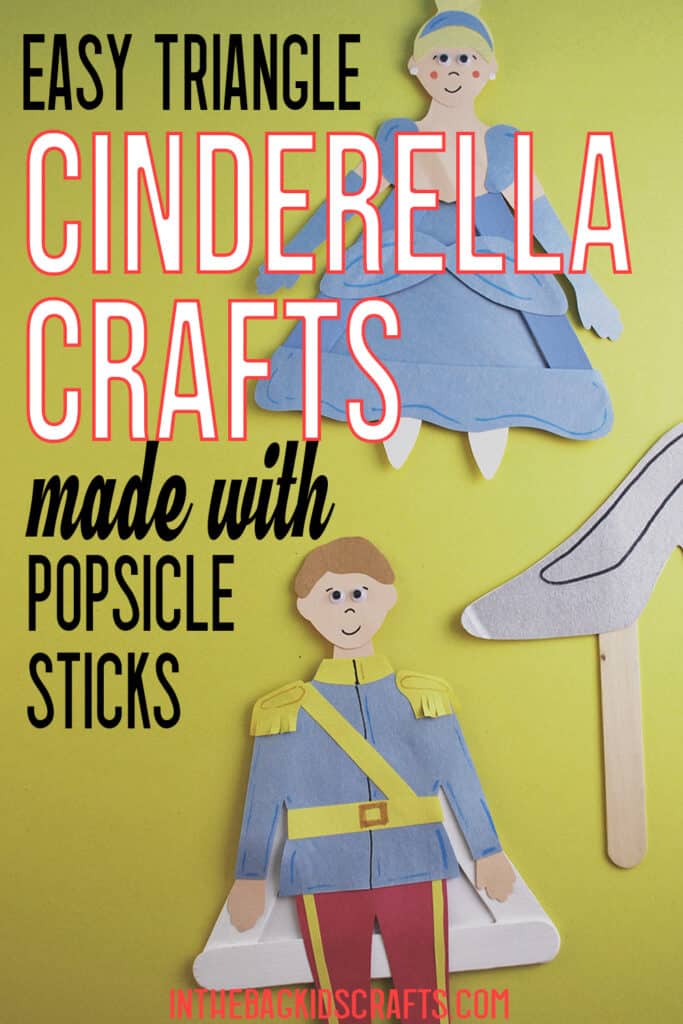
In this collection you will find the classic Disney princess, Cinderella, her Prince Charming, a Fairy Godmother, a pumpkin turned magic carriage and a glass slipper. It’s everything that you need to tell your very own fairy tale.
Save these Cinderella Story activities for later. Pin to your favorite Pinterest board…
This post contains affiliate links, which means if you make a purchase through these links, I may receive a small commission at no extra cost to you. Click here to read my full disclosure policy.
Cinderella Craft
SUPPLIES FROM THE BAG
- 3 Large popsicle sticks
- Elmer’s glue
- Light blue paint
- Newspaper
- Clothespin
- Pencil
- Medium pompom
- Light blue construction paper
- Scissors
- Glue stick
- Scraps of white, yellow, and flesh tone construction paper
- 2 Small googly eyes (self-adhesive are best)
- Black Sharpie marker
- Markers
- Cinderella craft template
Step 1: Make the Triangle
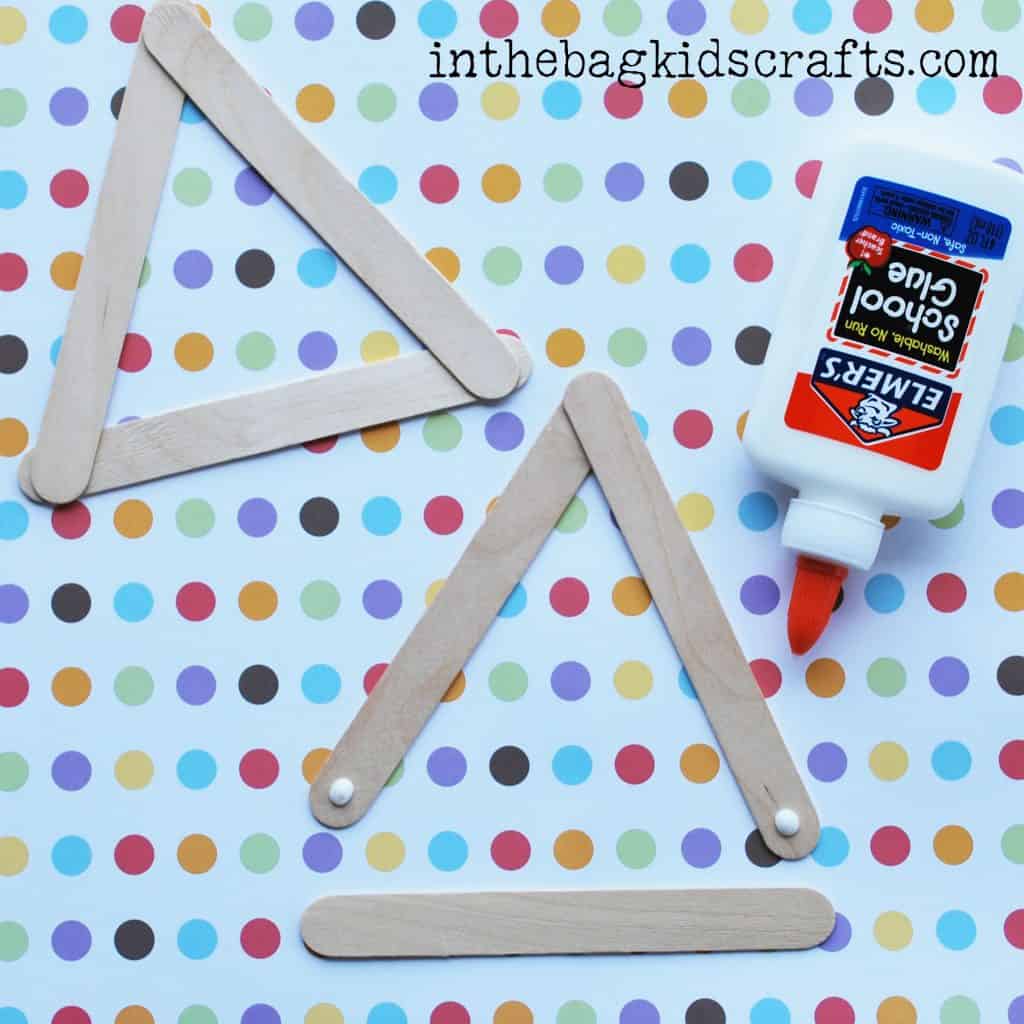
- Use the Elmer’s glue to attach 3 large popsicle sticks, forming a triangle frame
- Set the triangle to the side and allow the glue to dry thoroughly
*This is a step that you may want to do the day before and let them sit overnight so that the glue dries completely. While you’re at it, make lots of triangle frames so that you are ready to make as many crafts as you want! (And, believe me, you are going to want to make them all and then some!)
Step 2: Paint
- Place the triangle frame on the newspaper and squeeze out some light blue paint
- Pinch the pompom with the clothespin to form a “paint brush”
- Paint the triangle frame light blue and set it aside to allow the paint to dry
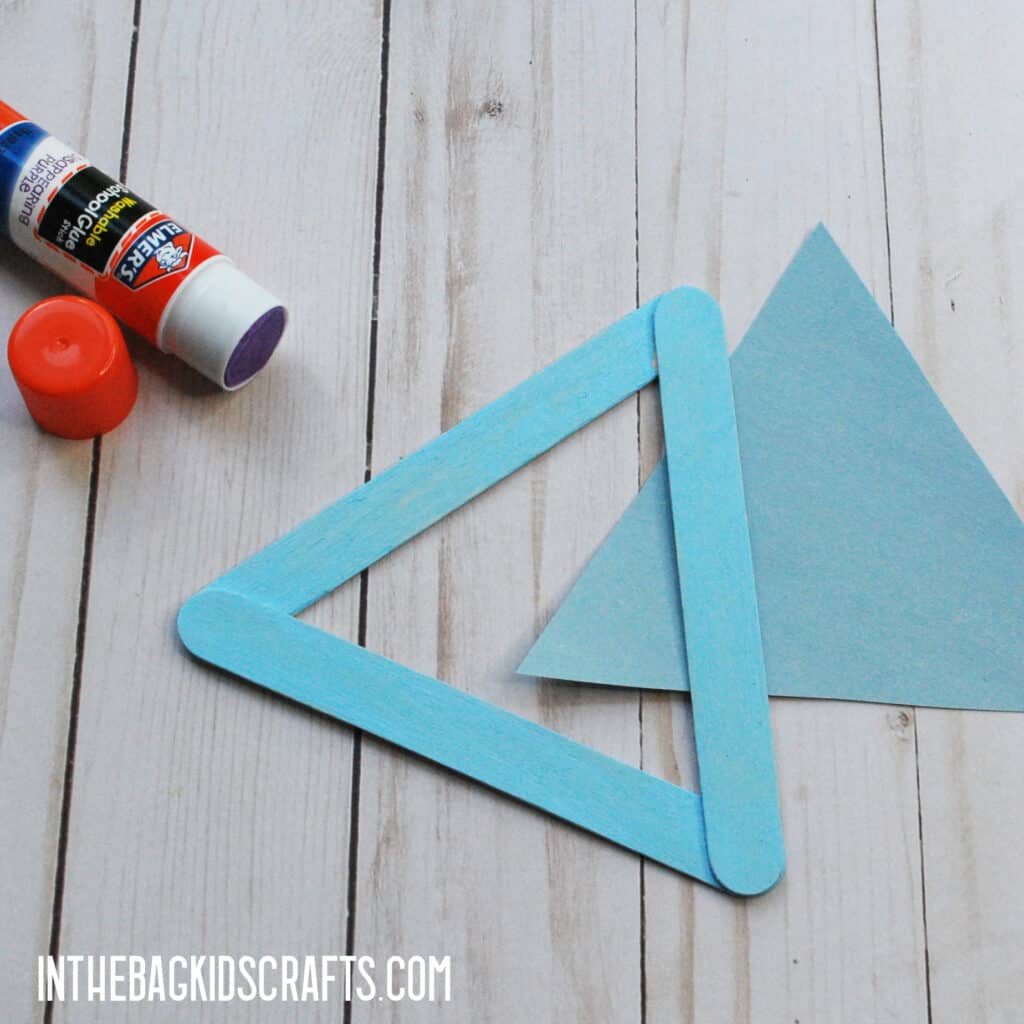
Step 3: Cut Out the Parts
- While the triangle frame for your Cinderella craft is drying, print the free cindarella template for tracing.
- Trace each part on the colored construction paper of your choice and cut them out. (Basically everything for Cinderella is light blue except for her yellow hair, flesh tone body and white shoes)
*If you do not have access to a printer, you can look at the craft or the template and draw the pieces free-hand to cut out.
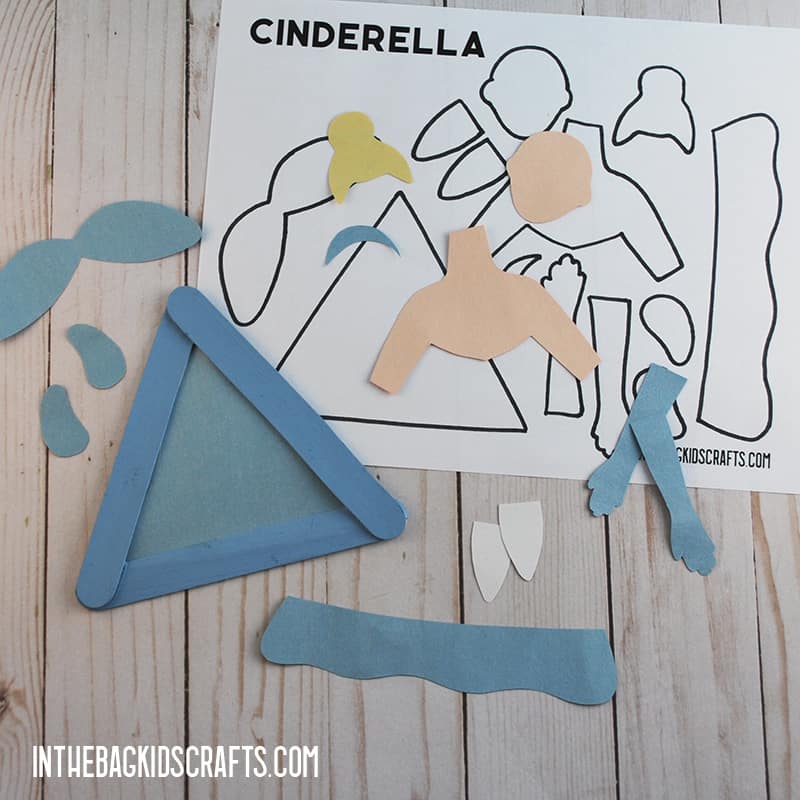
Step 4: Put Your Cinderella Craft Together
- Now it’s time to build your Cinderella craft. All you need to do is glue the paper pieces together.
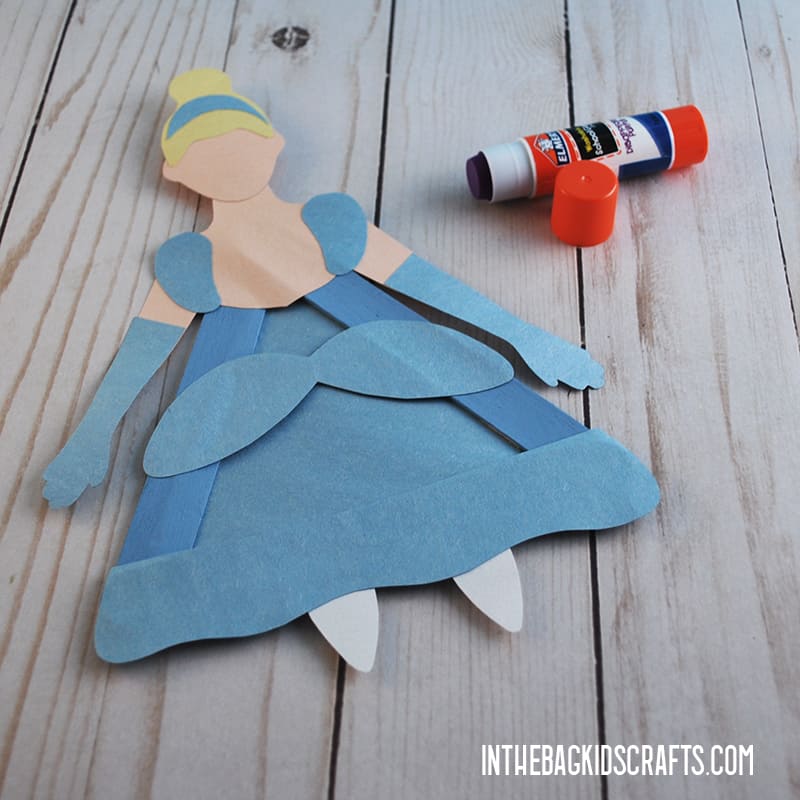
Step 5: Finish up the Details
- Add her googly eyes.
- Last, use your markers to draw on some details, like rosy cheeks and some ruffles in the dress.
- I also also gave her some pearl earrings by using a hole punch on white paper to punch 2 tiny circles. Then I just glued them on.
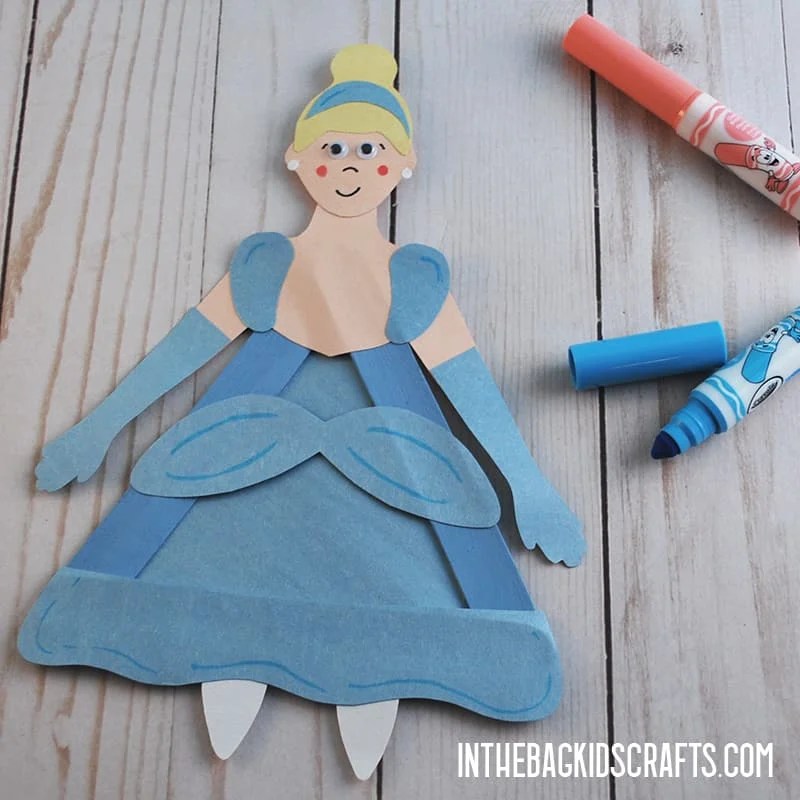
Prince Charming Craft
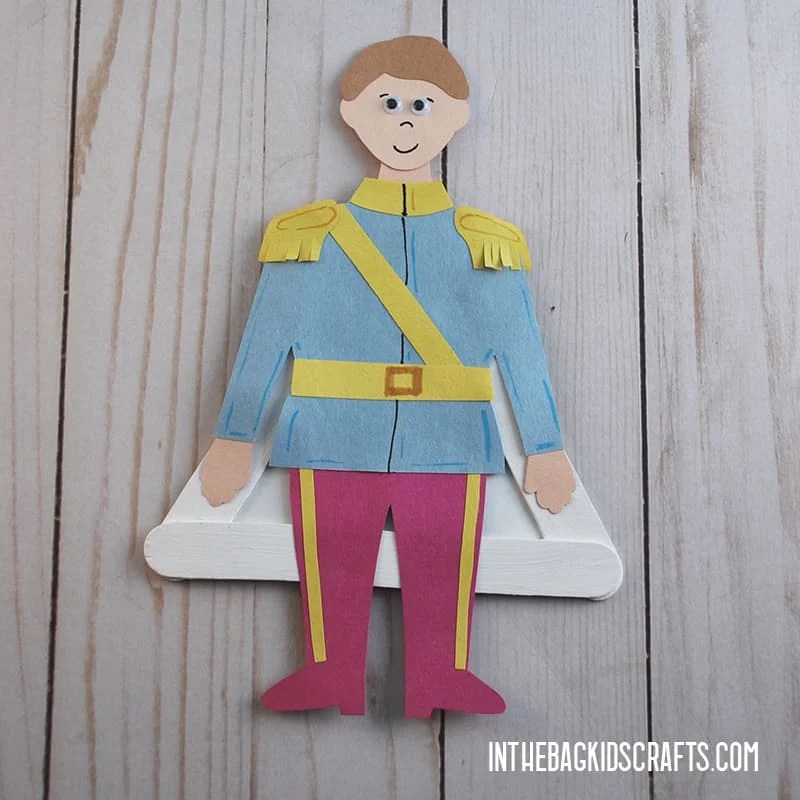
SUPPLIES FROM THE BAG
- 3 Large popsicle sticks
- Elmer’s glue
- White paint
- Newspaper
- Clothespin
- Pencil
- Medium pompom
- Light blue, red, yellow and white construction paper
- Scissors
- Glue stick
- Black Sharpie marker
- Scraps of brown and flesh tone construction paper
- 2 Small googly eyes (self-adhesive are best)
- Markers
- Prince Charming craft template
Step 1: Make the Triangle
- Now that we’ve made the Cindarella paper doll, its time to make her handsome prince.
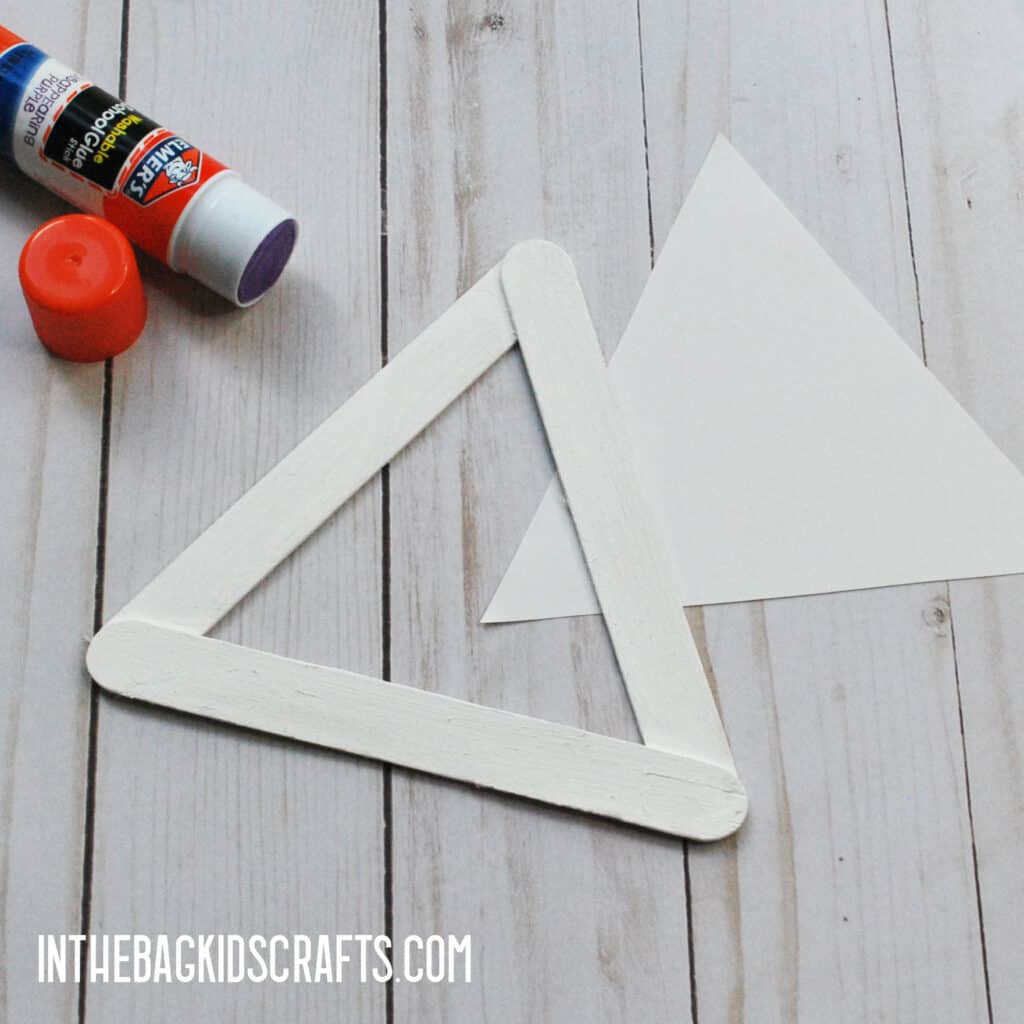
- Use the Elmer’s glue to attach 3 large popsicle sticks, forming a triangle frame
- Set the triangle to the side and allow the glue to dry thoroughly
*This is a step that you may want to do the day before and let them sit overnight so that the glue dries completely. While you are at it, make lots of triangle frames so that you are ready to make as many crafts as you want! (And, believe me, you are going to want to make them all and then some!)

Step 2: Paint
- Place the triangle frame on the newspaper and squeeze out some white paint
- Pinch the pompom with the clothespin to form a “paint brush”
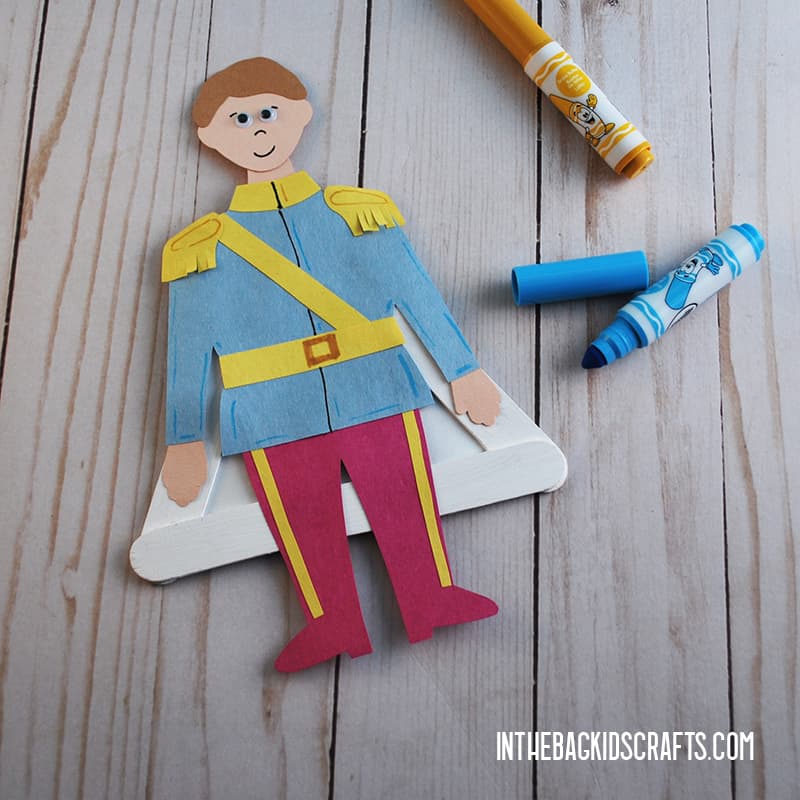
- Paint the triangle frame white and set it aside to allow the paint to dry. This will be the cape for your Prince Charming.
Step 3: Cut Out the Parts
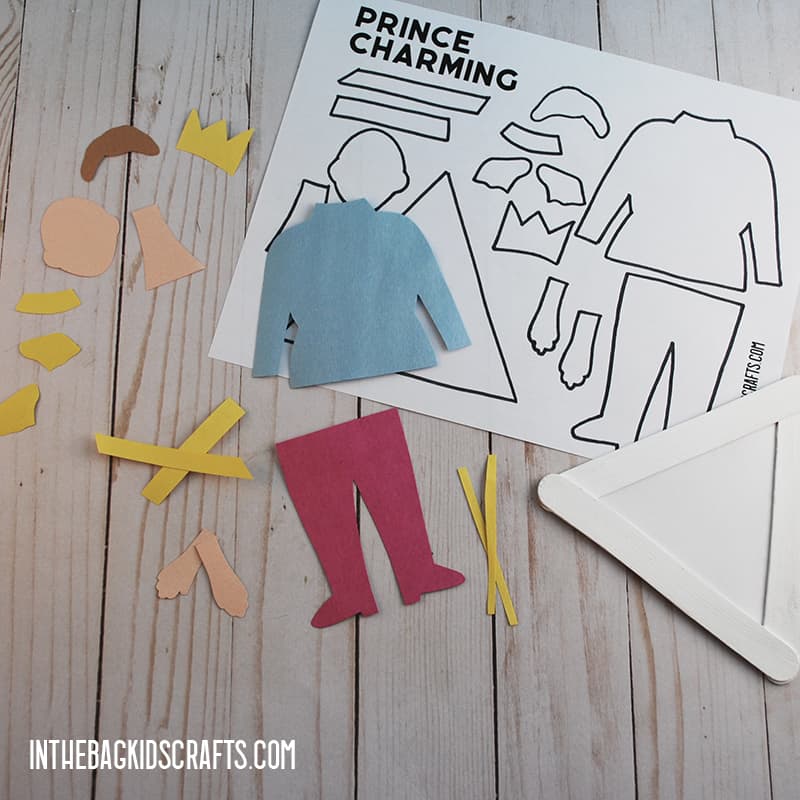
- While the triangle frame for your prince craft is drying, print the free template for tracing.
- Trace each part on the colored construction paper of your choice and cut them out. (I made his jacket light blue, pants red or hot pink, accents yellow, hair brown, body flesh tone, cape white.)
*If you do not have access to a printer, you can look at the craft or the template and draw the pieces free-hand to cut out.
Step 4: Put Your Prince Charming Craft Together
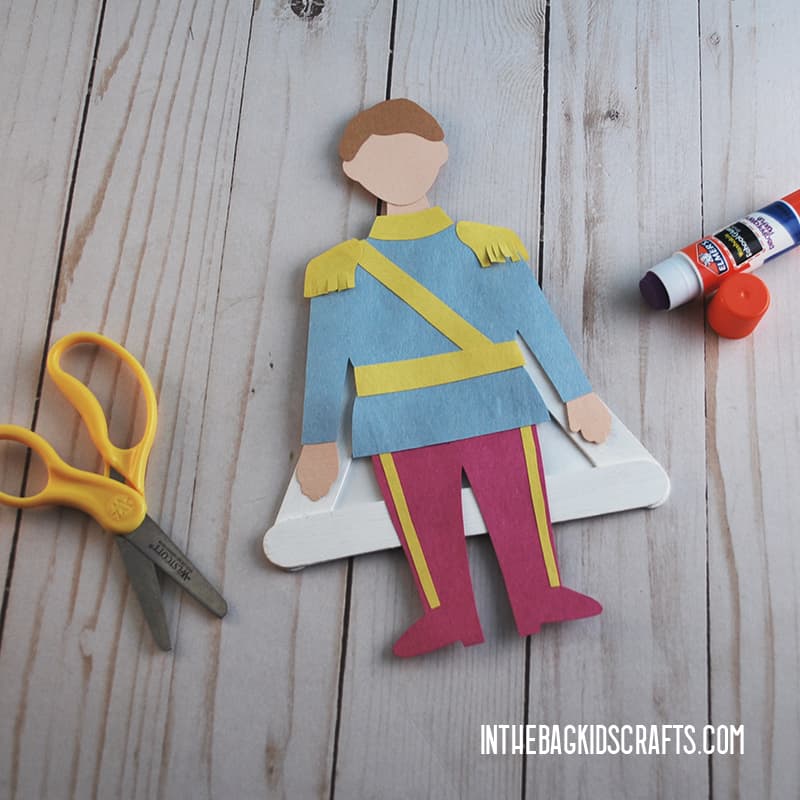
- Now it’s time to build your perfect prince craft. All you need to do is glue the paper pieces together.
- Attach his body to the white cape.
Step 5: Finalize Your Prince’s Details
- Add his googly eyes.
- Last, use your markers to draw on some details, like a smile and nose.
Cinderella’s Carriage Craft
SUPPLIES FROM THE BAG
- 3 Large popsicle sticks
- Elmer’s glue
- White and silver paint
- Q-tip
- Newspaper
- Clothespin
- Medium pompom
- White and light blue construction paper
- Scissors
- Pencil
- Glue stick
- Scraps of gray (or silver), pink, hot pink and yellow construction paper
- Tape
- Small piece of pipe cleaner
- Markers
- Cinderella Carriage craft template
Step 1: Make the Triangle
- Use the Elmer’s glue to attach 3 large popsicle sticks, forming a triangle frame
- Set the triangle to the side and allow the glue to dry thoroughly
*This is a step that you may want to do the day before and let them sit overnight so that the glue dries completely. While you are at it, make lots of triangle frames so that you are ready to make as many crafts as you want! (And, believe me, you are going to want to make them all and then some!)

Step 2: Paint
- Place the triangle frame on the newspaper and squeeze out some white paint
- Pinch the pompom with the clothespin to form a “paint brush”
- Paint the triangle frame white and set it aside to allow the paint to dry

Step 3: Add Details to the Pumpkin
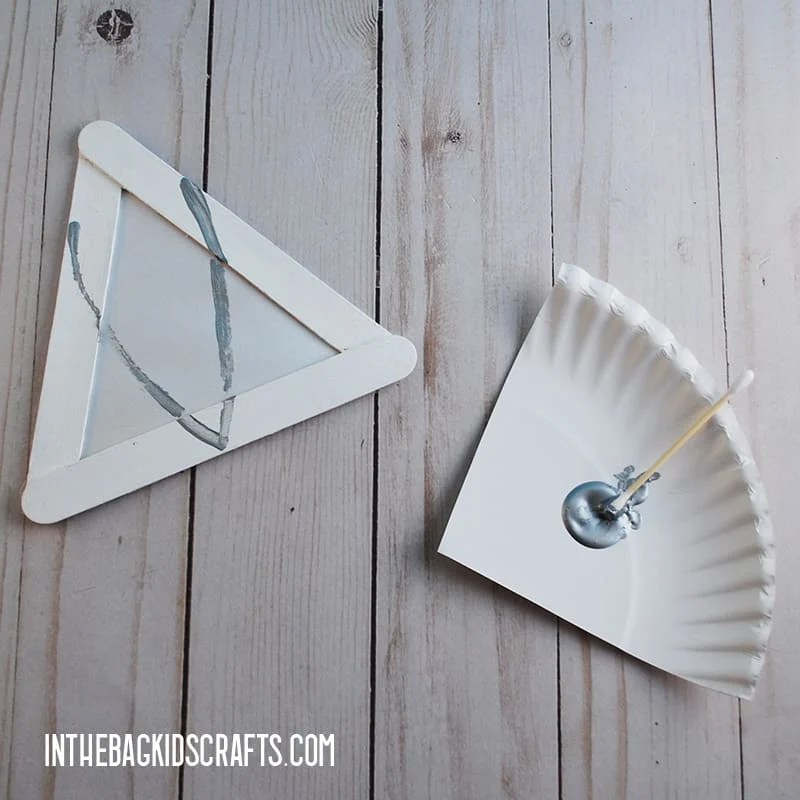
- Squeeze out a bit of silver (or gray) paint onto your newspaper.
- Use the Q-tip to add some details to the pumpkin that will be the main part of the carriage.
Step 4: Cut Out the Parts
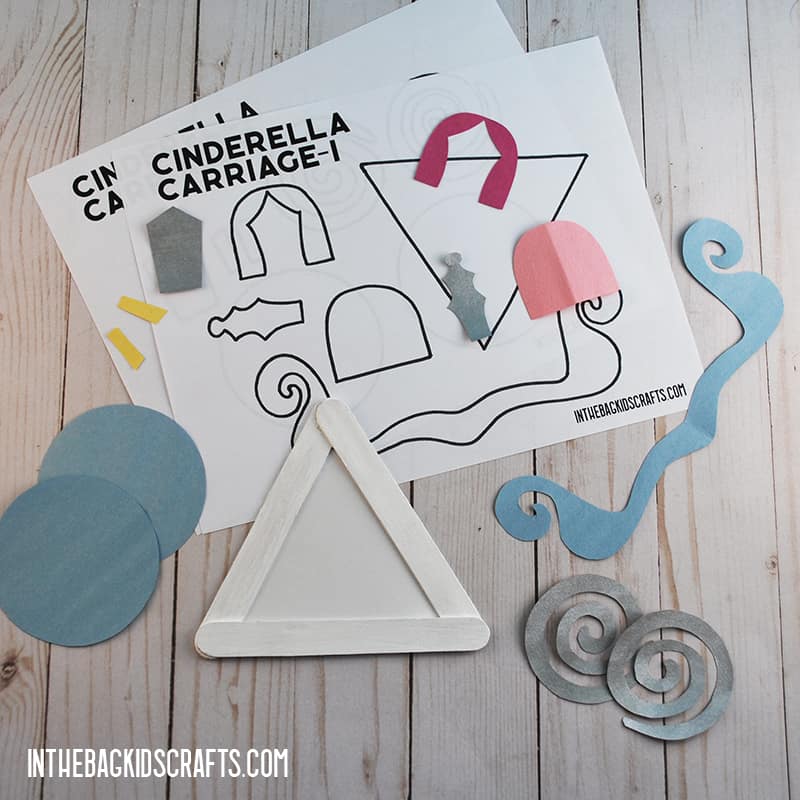
- While the triangle frame for this Cinderella pumpkin craft is drying, print the free template for tracing.
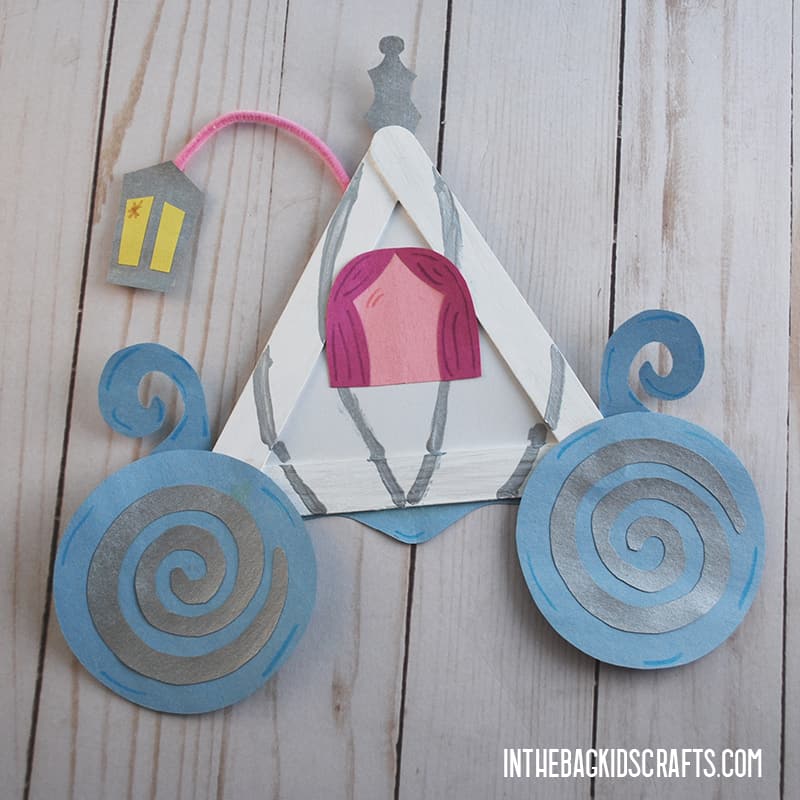
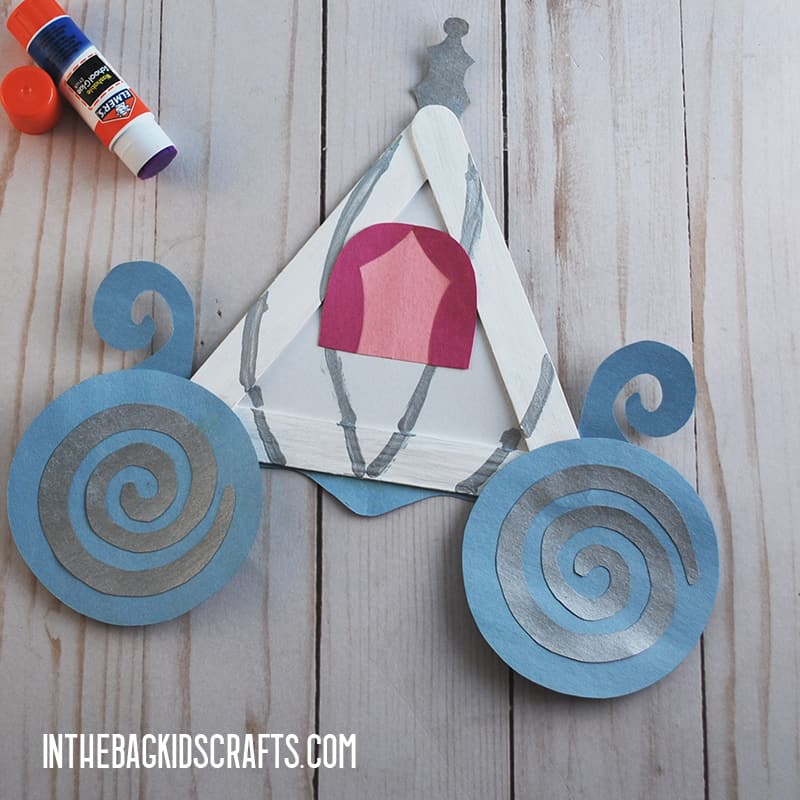
- Trace each part on the colored construction paper of your choice and cut them out. (I made the wheels and base light blue, spirals gray (or silver), window pink, curtains hot pink, lantern silver and pinacle silver.)
*If you do not have access to a printer, you can look at the craft or the template and draw the pieces free-hand to cut out.
Step 5: Put the Cinderella Carriage Together
- Now it’s time to build your Cinderella carriage craft. All you need to do is glue the paper pieces together.
Step 6: Add the Lantern
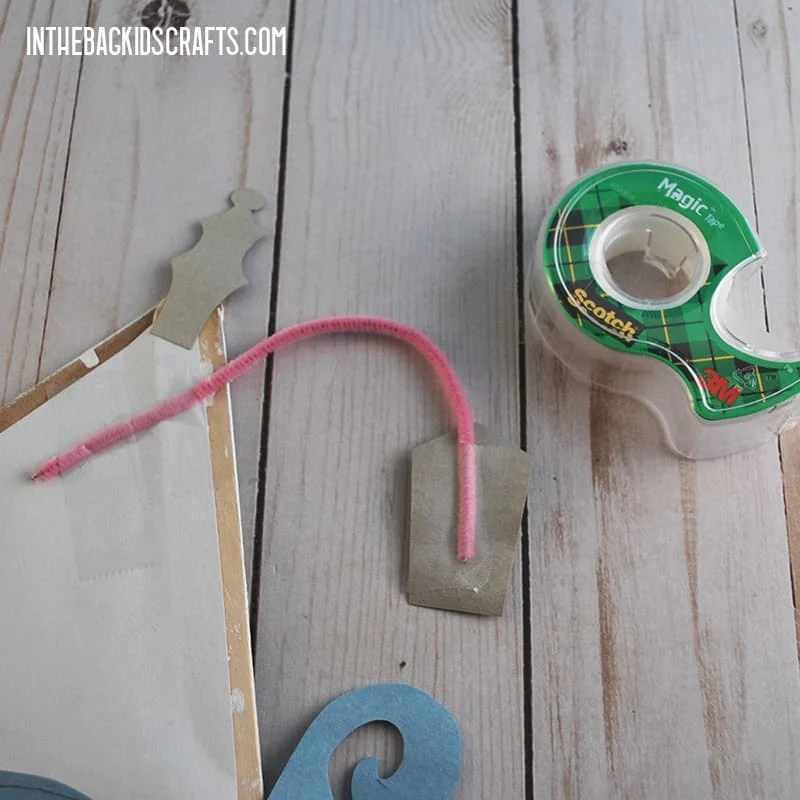
- Glue together the pieces of the lantern, adding in the yellow light.
- Cut a pipe cleaner in half and bend it slightly.
- Tape one end to the back of the carriage and the other to the back of the lantern, hanging off the back of Cinderella’s carriage.
Step 7: Finalize the Carriage Details
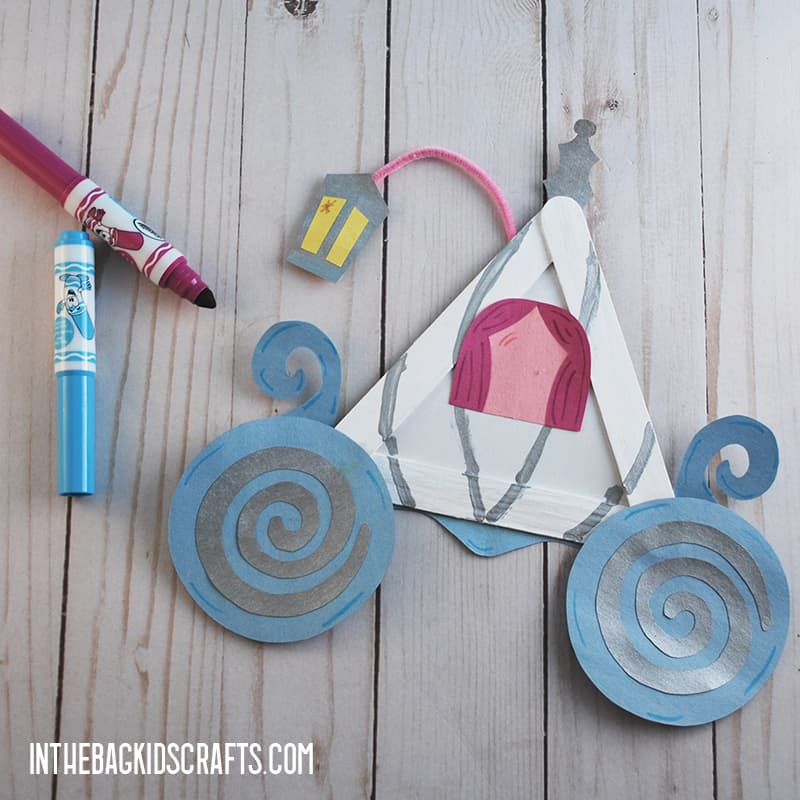
- Last, use your markers to draw on some details, like folds in the curtain.
Fairy Godmother Craft
SUPPLIES FROM THE BAG
- 3 Large popsicle sticks
- Elmer’s glue
- Purple paint
- Newspaper
- Clothespin
- Medium pompom
- Purple construction paper
- Scissors
- Glue stick
- Black Sharpie marker
- Pencil
- Scraps of white, hot pink, pink, gray (or silver) and flesh tone construction paper
- 2 Small googly eyes (self-adhesive are best)
- Small piece of pipe cleaner
- Markers
- Fairy Godmother craft template
Step 1: Make the Triangle
- Use the Elmer’s glue to attach 3 large popsicle sticks, forming a triangle frame
- Set the triangle to the side and allow the glue to dry thoroughly
*This is a step that you may want to do the day before and let them sit overnight so that the glue dries completely. While you are at it, make lots of triangle frames so that you are ready to make as many crafts as you want! (And, believe me, you are going to want to make them all and then some!)

Step 2: Paint
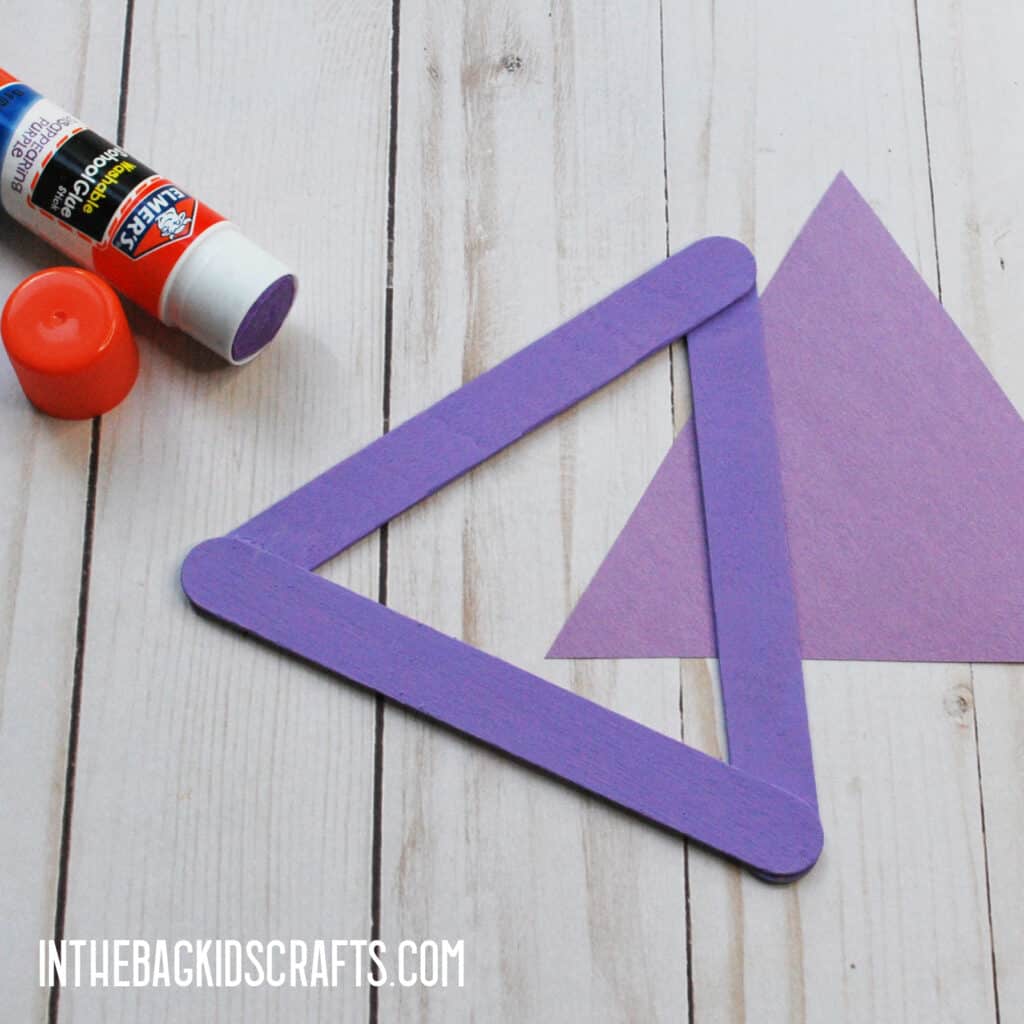
- Place the triangle frame on the newspaper and squeeze out some purple paint
- Pinch the pompom with the clothespin to form a “paint brush”
- Paint the triangle frame purple and set it aside to allow the paint to dry
Step 3: Cut Out the Parts
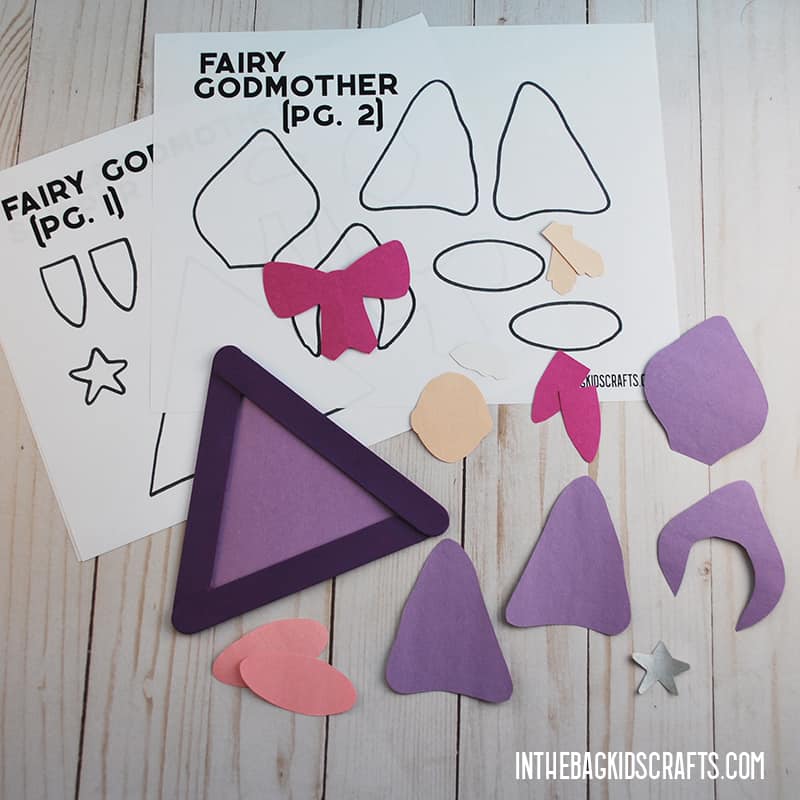
- While the triangle frame for your Fairy Godmother craft is drying, print the free template for tracing.
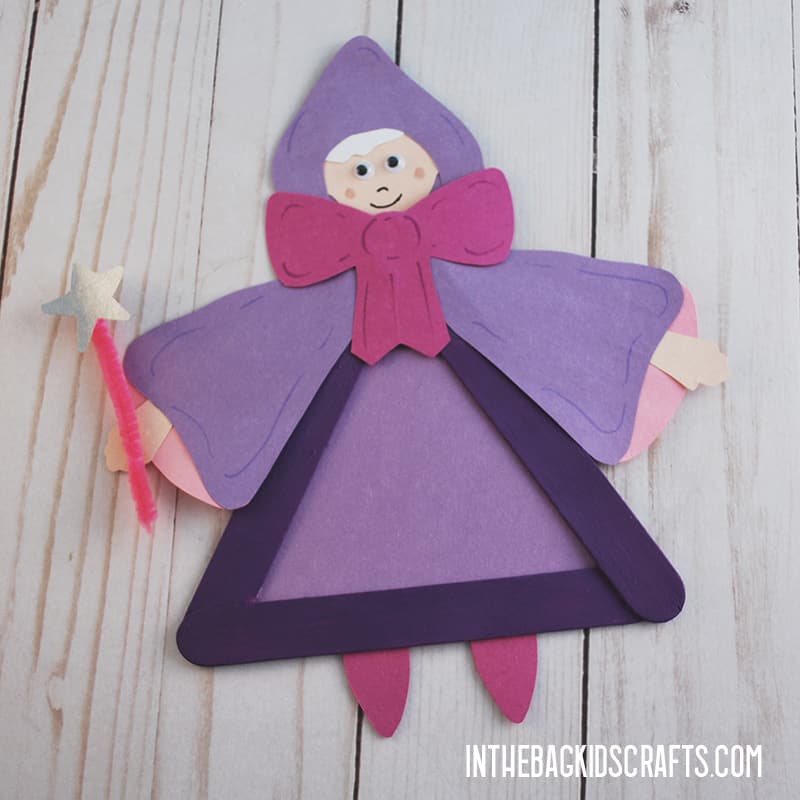
- Trace each part on the colored construction paper of your choice and cut them out. (I made her gown purple with accents of pink, hot pink bow, gray or silver star, white hair and flesh tone body.)
*If you do not have access to a printer, you can look at the craft or the template and draw the pieces free-hand to cut out.
Step 4: Put the Pieces Together
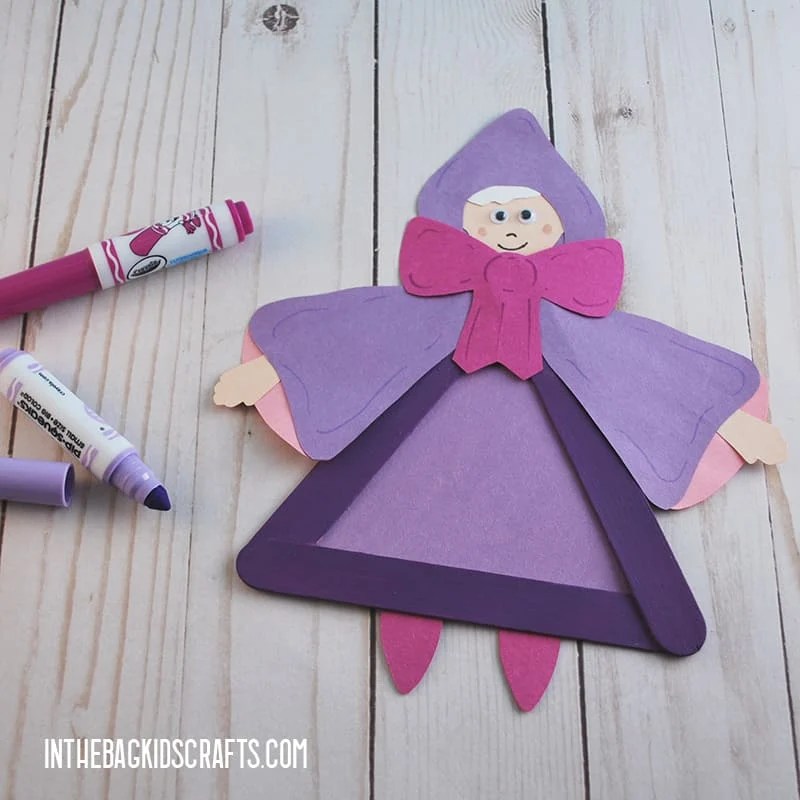
- Now it’s time to build your Cinderella carriage craft. All you need to do is glue the paper pieces together.
- Put her eyes in place.
- Use the markers to add some details, such as a smile, nose and accents.
Step 5: Give Her a Magic Wand
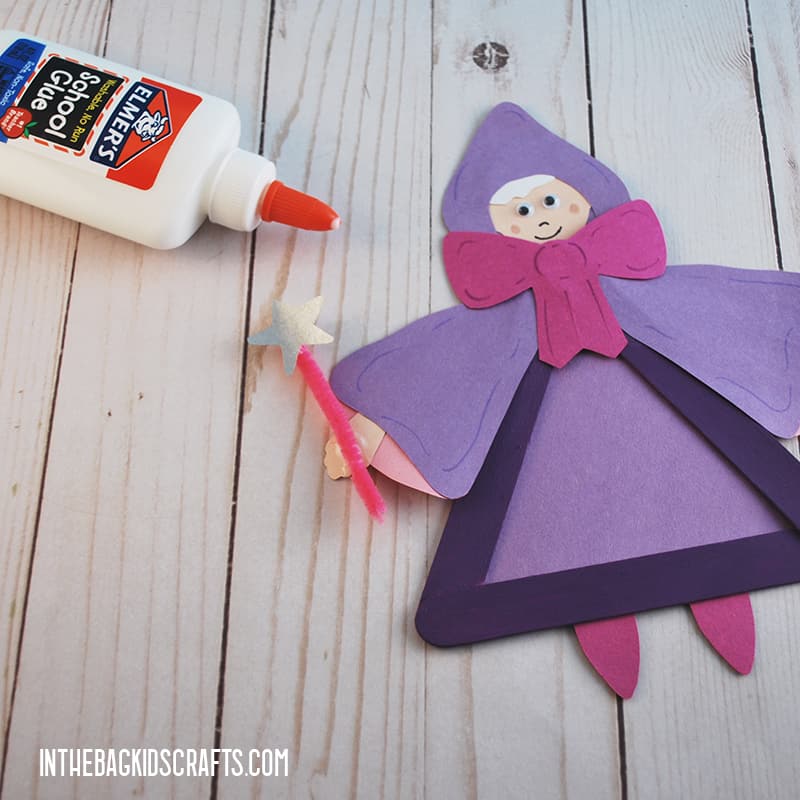
- And, of course, every Fairy Godmother needs a magic wand. So, let’s give her a wand…
- Cut a small piece of pipe cleaner, about 2 inches long
- Use the Elmer’s glue to attach the star to one end and the other end to her hand.
- Set this aside to give the glue time to dry before moving it and playing with the fairy godmother craft.
Cinderella Slipper Craft
SUPPLIES FROM THE BAG
- Large popsicle stick
- Glue stick
- Scissors
- Black sharpie marker
- Gray construction paper
- Newspaper
- Pencil
- Silver paint
- Paper plate (9-inch coated)
- Pompom
- Clothespin
- Cinderella slipper printable template
Step 1: Paint the Paper
- Place the gray construction paper on top of the newspaper and squeeze out a little silver paint.
- Pinch the pompom with a clothespin to form a “paint brush”
- Paint the gray paper with a thin coat of paint and set it aside to dry.
Step 2: Print the Cinderella Slipper Template
- Print the template for the Cinderella slipper.
- Cut out the slipper and trace it onto the painted silver paper once it is dry.
Step 3: Cut and Paste
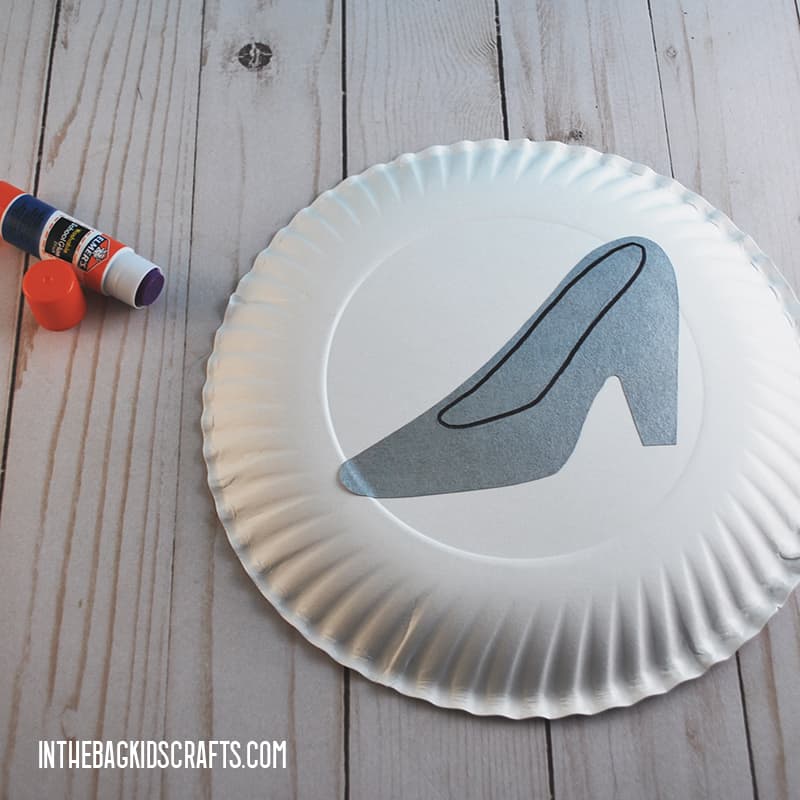
- Cut out the Cinderella slipper
- Then use the glue stick to adhere it to the bottom of the paper plate to give it some stability.
- Finally, cut out around the Cinderella slipper.
Step 4: Put It on a Stick
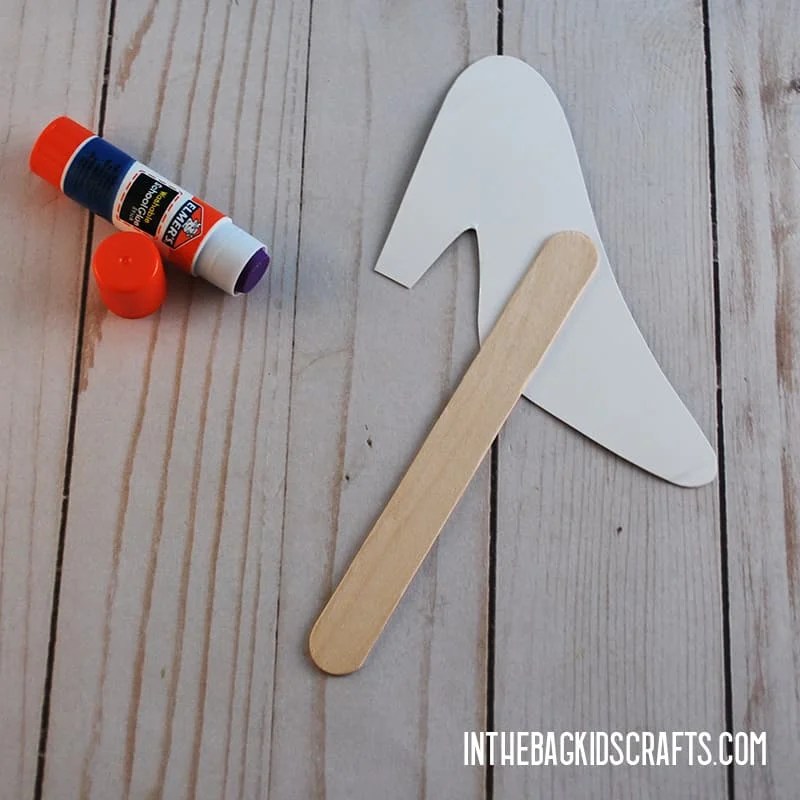
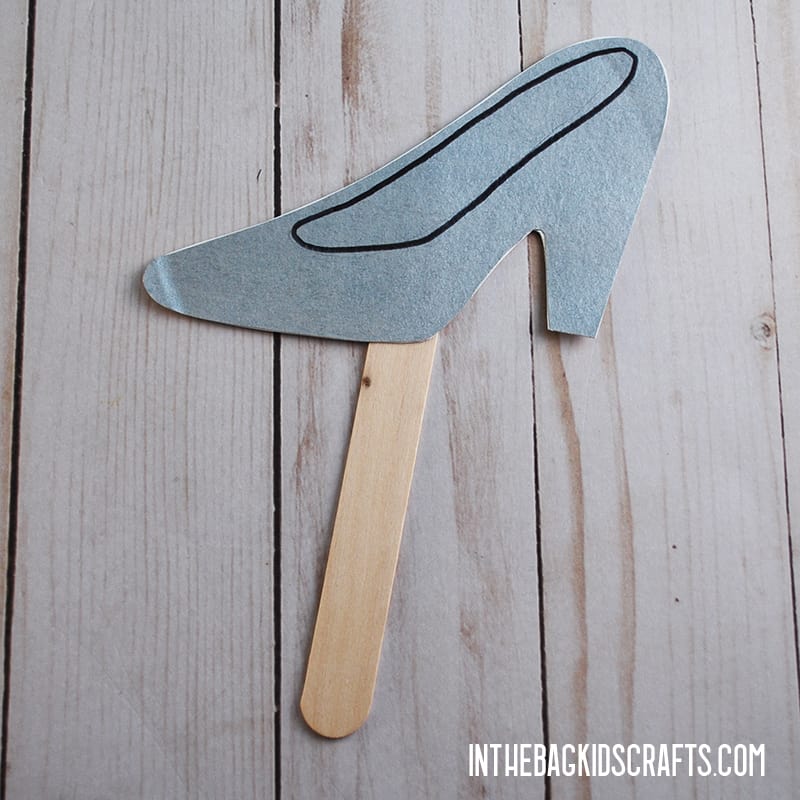
- Use the black Sharpie marker to draw on the details of Cinderella’s glass slipper.
- Glue Cinderella’s glass slipper to the top of the large popsicle stick to make it a kind of prop for your story telling.
These easy Cinderella activities are so much more than more crafts to make. The Cinderella story is one that helps us learn that our true selves are the best selves, and gives us a reminder that magic exists. Once this fairy tale craft collection was completed I really had difficulty choosing a favorite Cinderella craft from the bunch.
Of course, if you know the Cinderella story at all then you know that these are just a few of the characters in the tale. You can expand this Cinderella activity on your own…add a wicked step mother and the step sisters, or some mice and horses, or the king, or any number of other fairy tale characters that can be used to add to your story or put on a puppet show. Just have fun with it.
Make Even More Fairy Tale Crafts
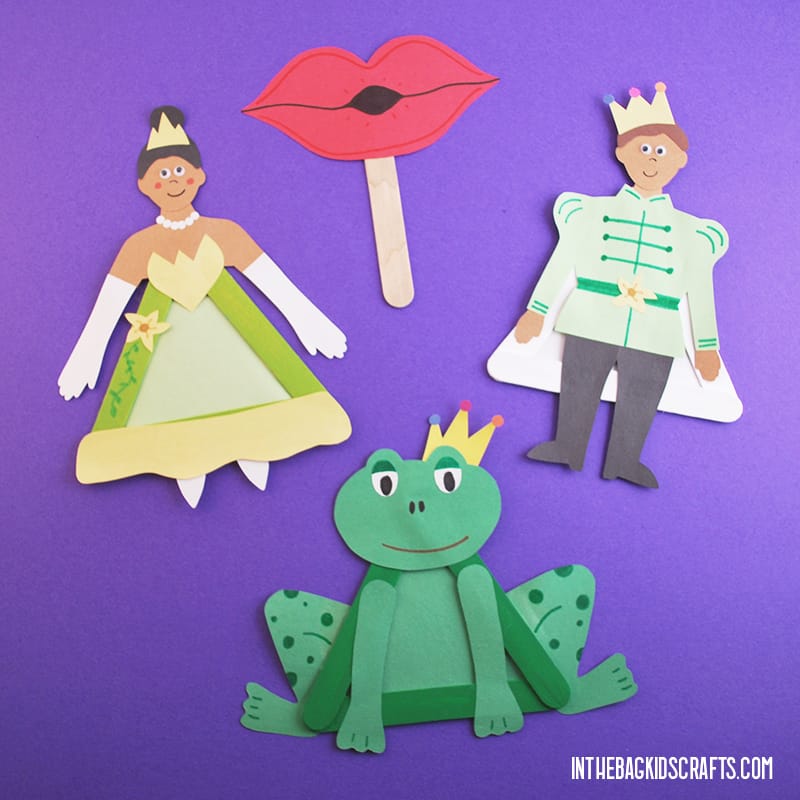
The Princess and the Frog Crafts
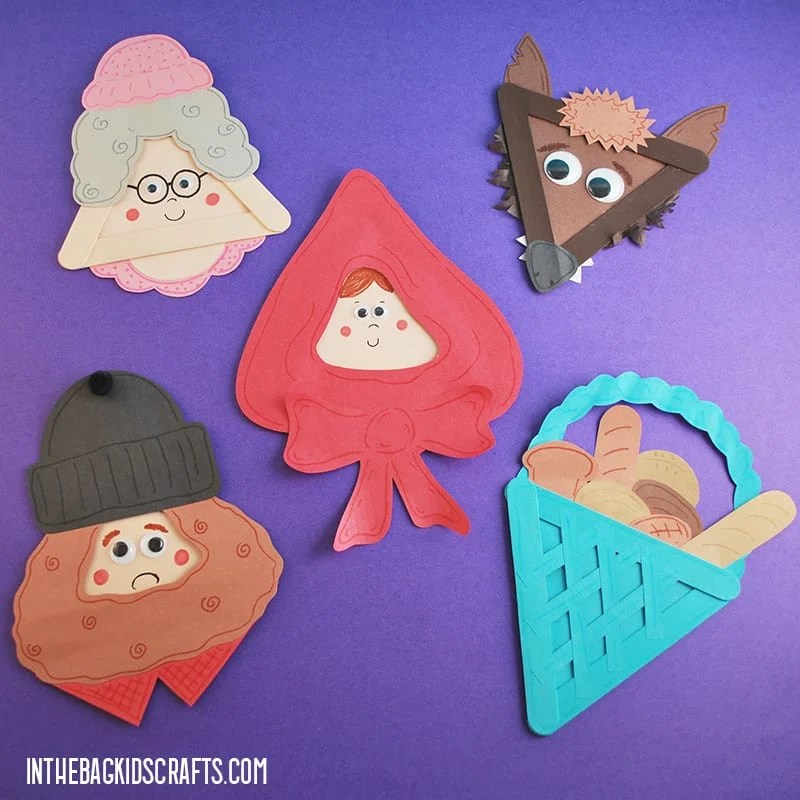
Little Red Riding Hood Crafts
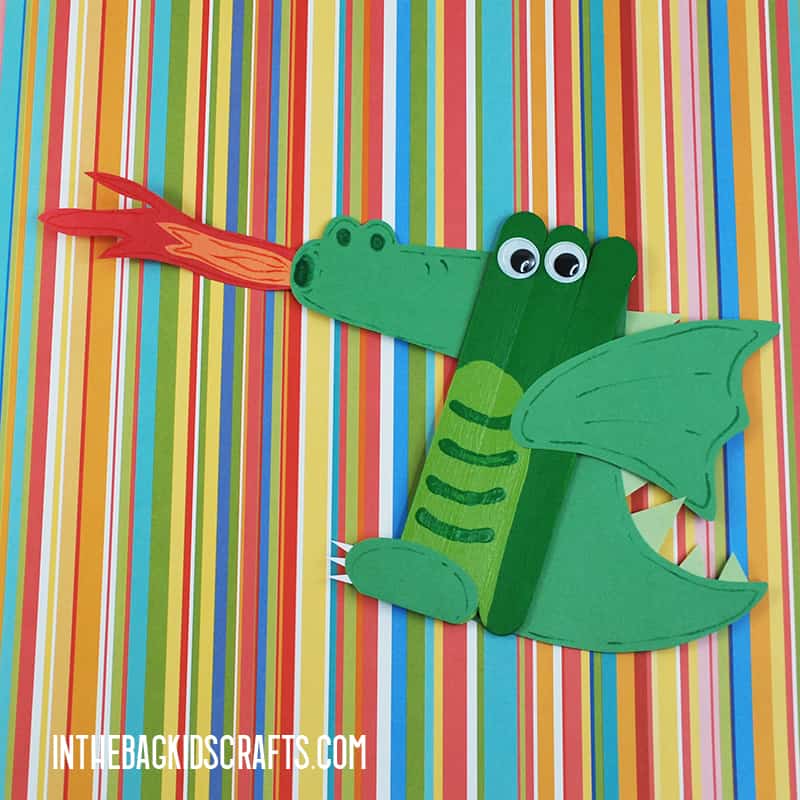
Popsicle Stick Dragon Craft
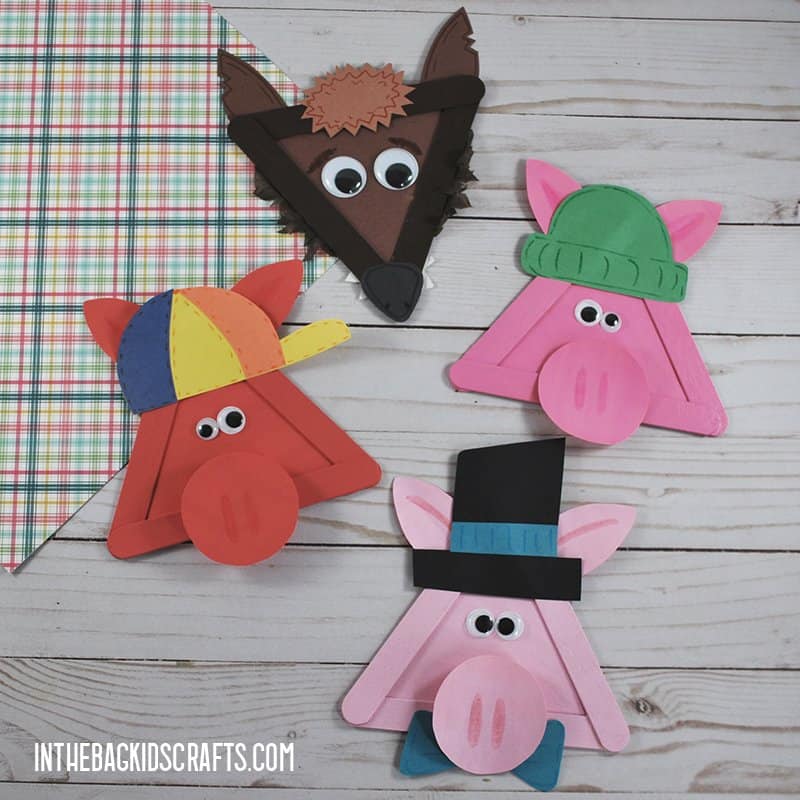
Three Little Pigs Crafts
Save these Cinderella Activities for later. Pin them to your favorite Pinterest board…
