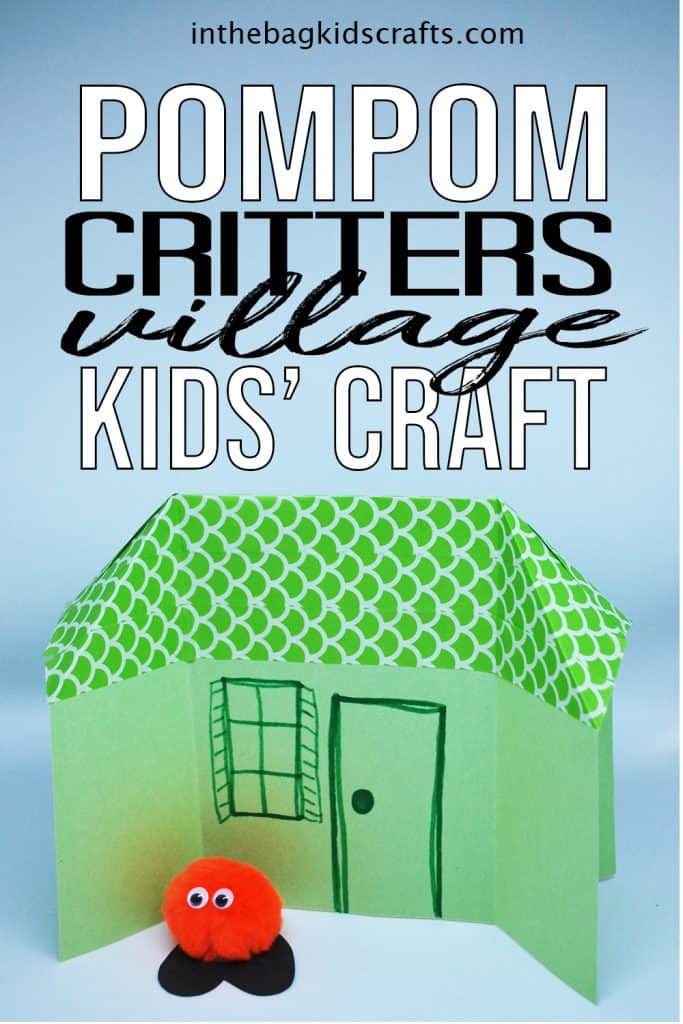
Paper Houses and Pompom Characters
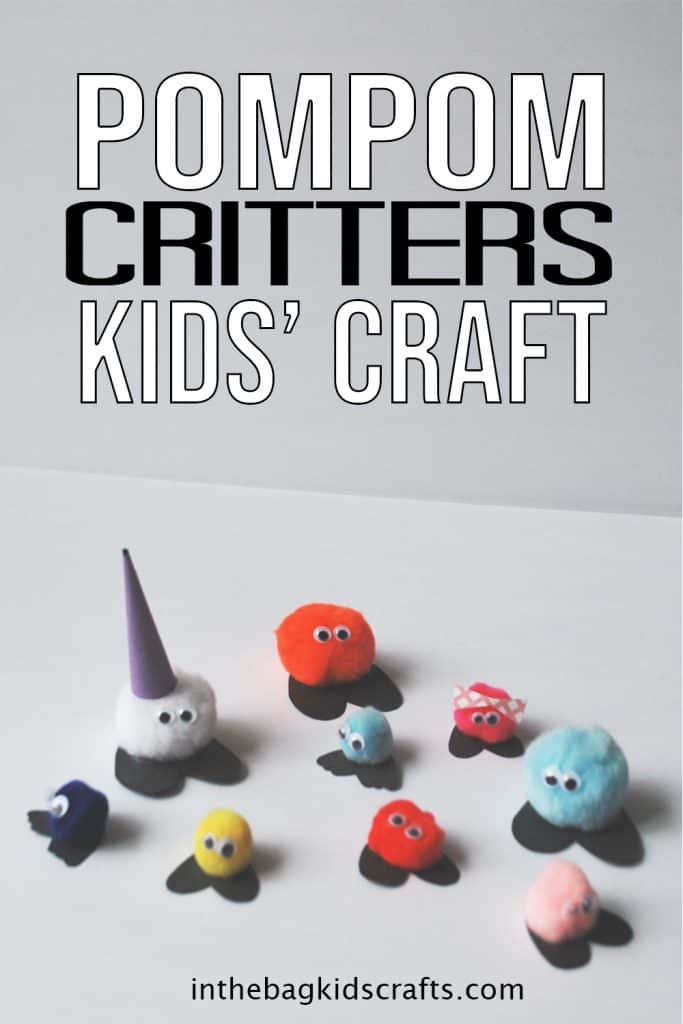
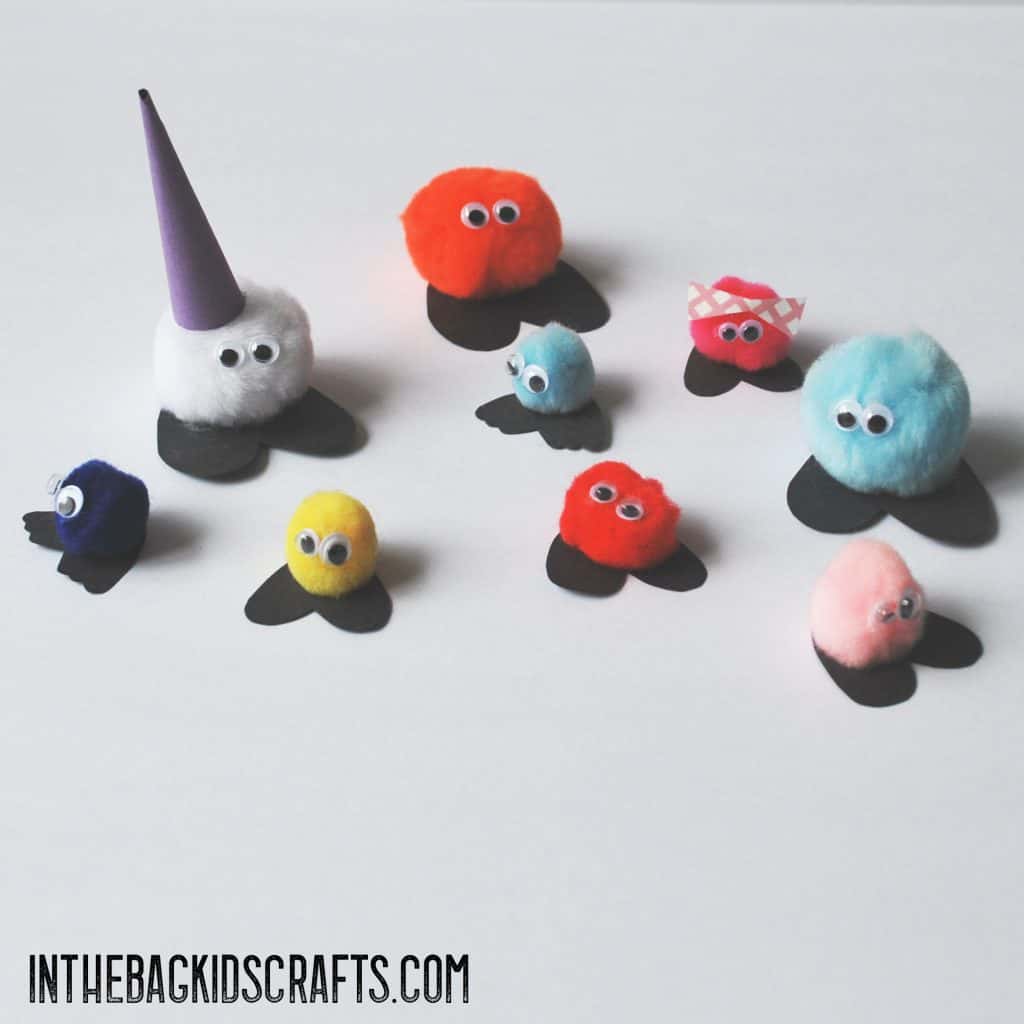
Today’s craft is just beyond adorable and will lead to hours of imaginative play! Really, it is two crafts in one. First, the paper houses…make as many as you like in as many designs as you can think of and make an entire village! And, of course, the village needs some inhabitants. So, we will make little pompom people. Again, make as many as you would like in lots of different colors. Add details for your characters to be unique!
Just like very craft on this site, these adorable houses and their pompom people inhabitants are made from the same master list of supplies! This is to make your life easier and creating with your family actually do-able. Because I KNOW that YOU ARE BUSY! But you also don’t want to miss out on the important things…the things of memories. Find out what to put in your bag so that you are ready to craft whenever you find a spare moment.
Project 1: Paper Houses Supplies from the Bag
- Construction paper (color of your choice)
- Coordinating washi tape
- Markers
- Scissors
- Glue stick
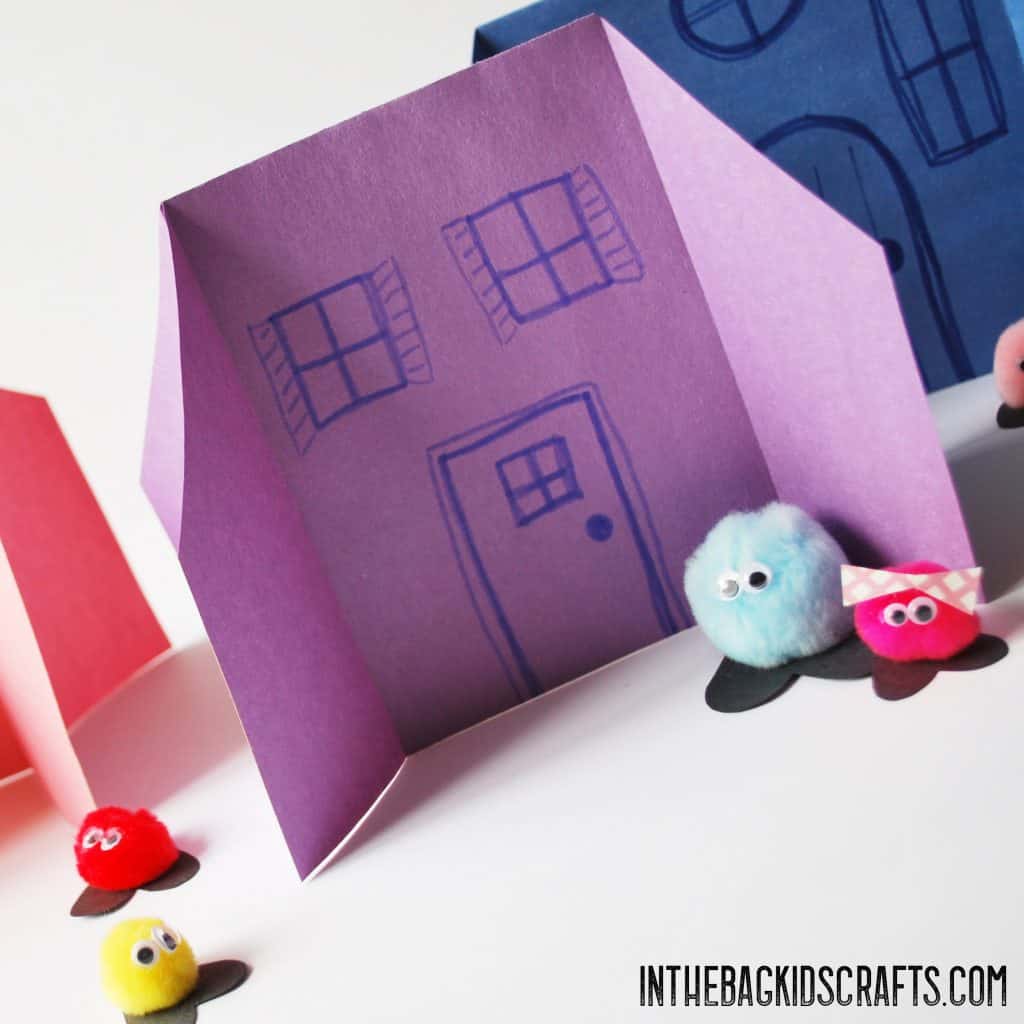
These little houses are so versatile! Make an entire village and get all of your Lego minis, army men, polly pockets, etc. together to be the townspeople. Or, even better, stick around and learn to make little pompom characters to go with these paper houses.
To learn how to make these simple little homes, watch this video!
And, if you prefer step by step written instructions…
- Fold a piece of construction paper in half
- Place 2-3 strips of washi tape (make it as wide as you want your roof) along the fold on both sides of the paper and trim the excess off the ends
- With the folded side of the paper on top, fold down each top corner into a triangle, just in the roof area
- Then fold that triangle back so that there is a vertical crease from top to bottom on each side of the house
- Cut the fold of the paper starting at the outside and stopping at the end of the folded triangle
- Open up the paper and glue the center section
- Separate the paper on each side and fold the sections outward
- Last, fold the triangles in so the they touch each other and overlap slightly. Secure at the intersection with glue.
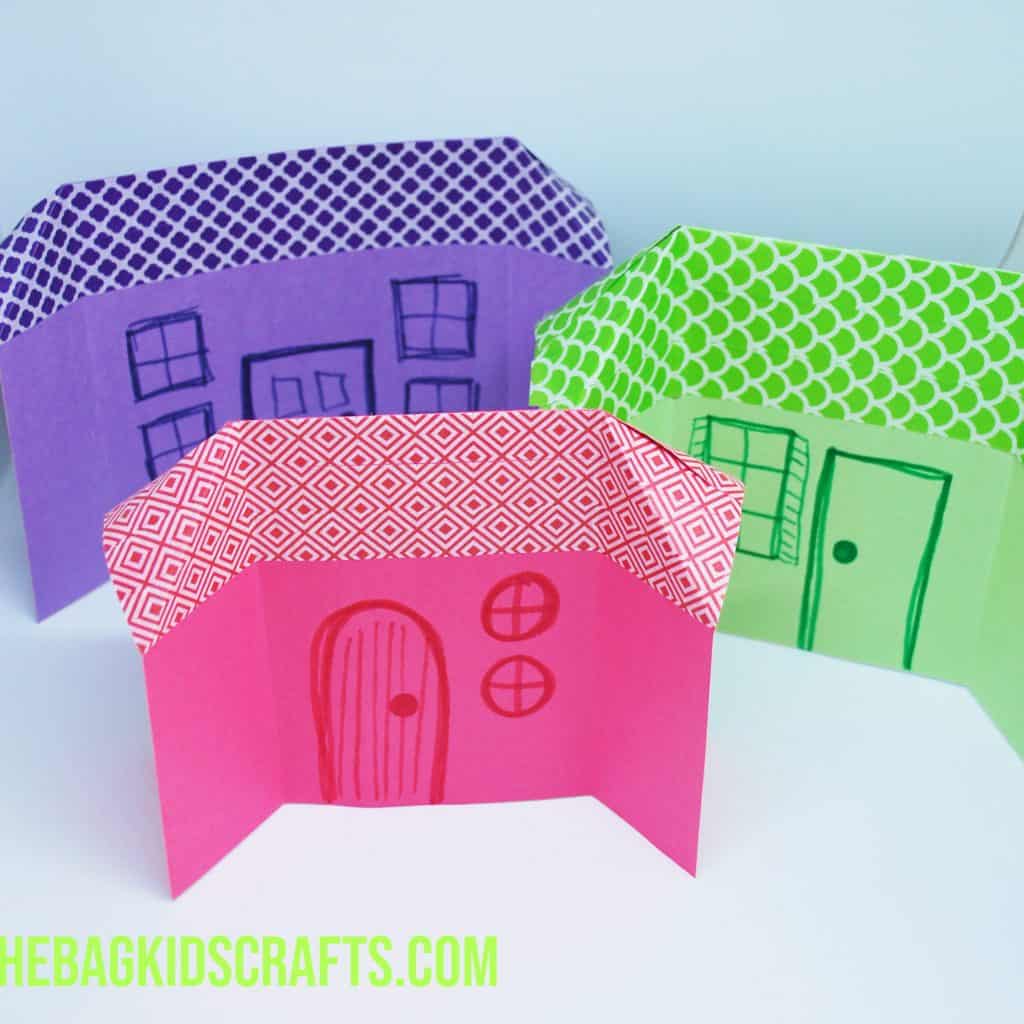
- Draw on the doors and windows.
The picture below shows a slightly easier version of the paper houses. Leave out the washi tape and cut the roof instead of folding it. The rest of the steps are the same as in the video above.
As you create together, be sure to give lots of positive reinforcement. Not sure what to say (especially when your child is actually struggling through learning a new skill)? Try this…
Project 2: Pompom Supplies from the Bag
- Pompoms of various sizes and colors
- Mini googly eyes
- Elmer’s glue
- Black construction paper
- Assorted accessories for your pompom people, such as mini pompoms, scraps of construction paper, washi tape, beads, pipe cleaners…
This is the simplest craft you will ever do. It literally takes seconds to make each little character. Just follow these steps:
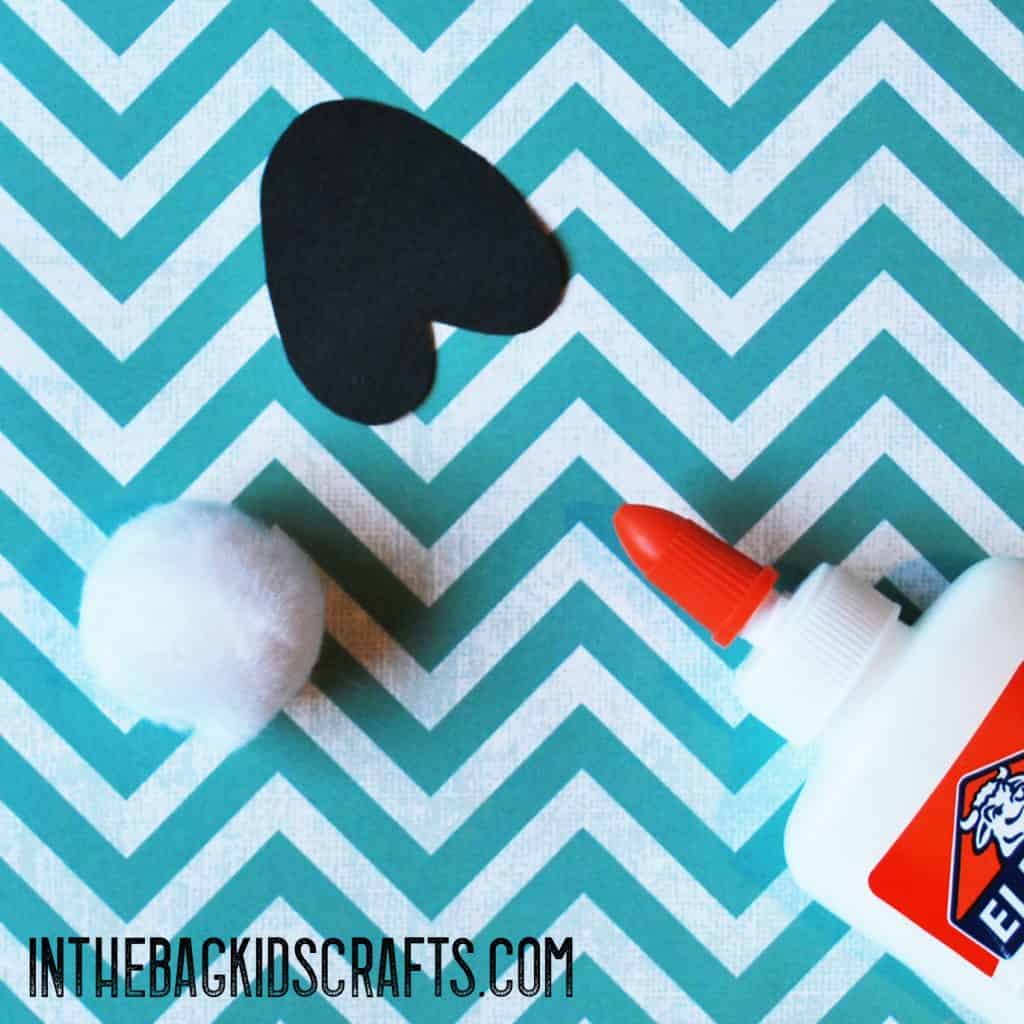
- First, cut a small heart shape out of black construction paper and round the bottom of the heart. Adapt the size of heart to fit the size of pompom you plan to use. These are your character’s feet.
- Then, choose a pompom and glue it onto the feet you just made.
- Now, glue on the googly eyes.
- Last, add whatever accents you would like (or add none at all).
Happy Crafting!
Love,

Save this for later! Pin it to your favorite Pinterest board…