Paper Plate Flower Craft (It’s a Pouch!)
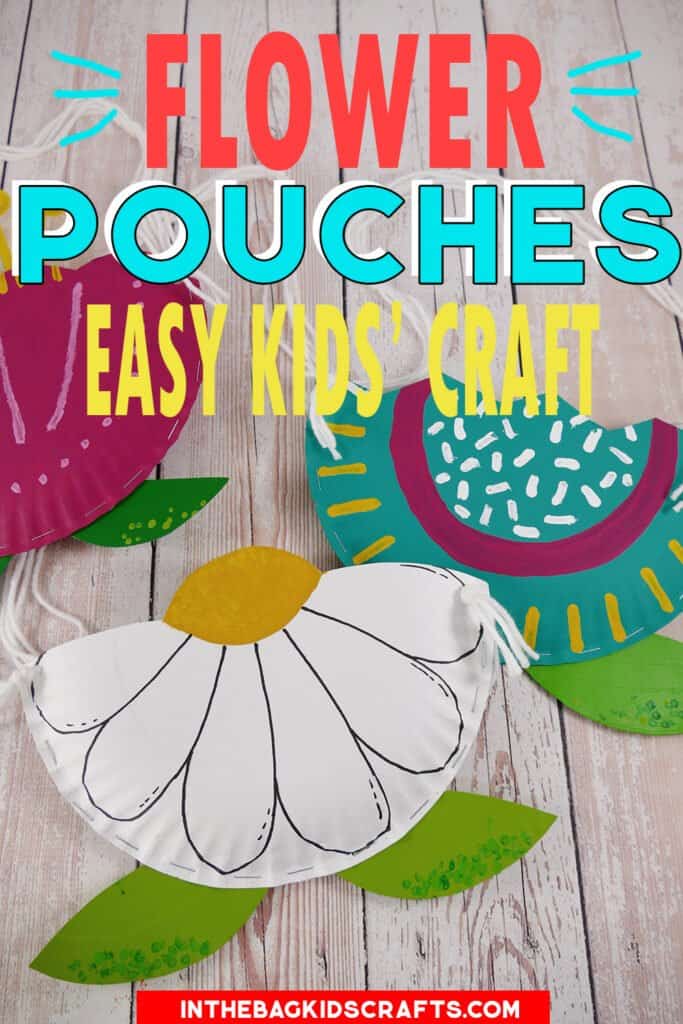
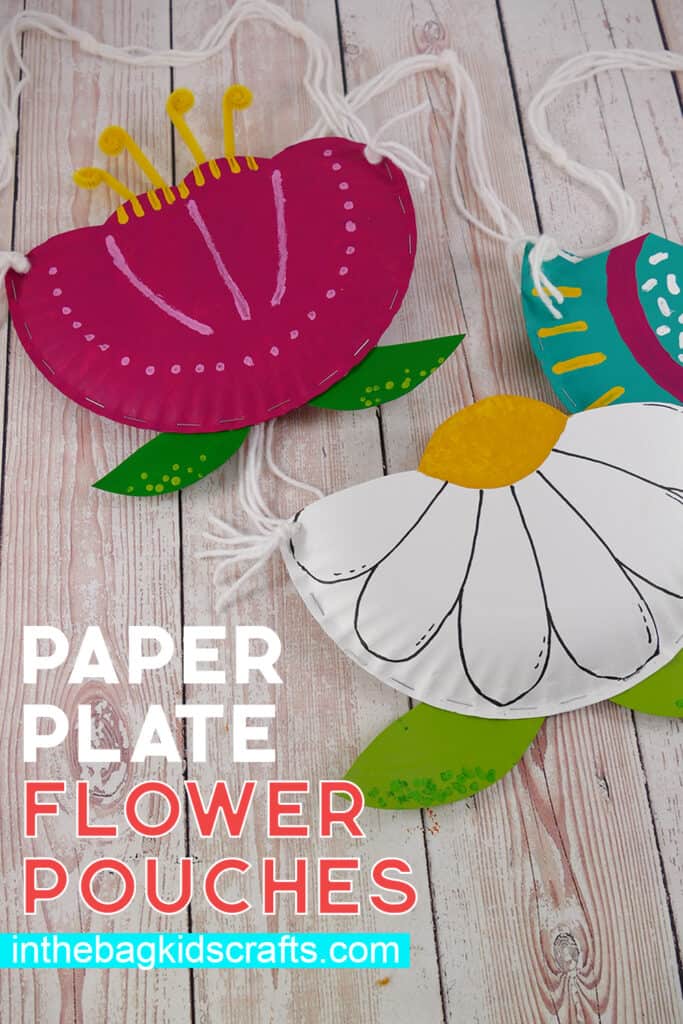
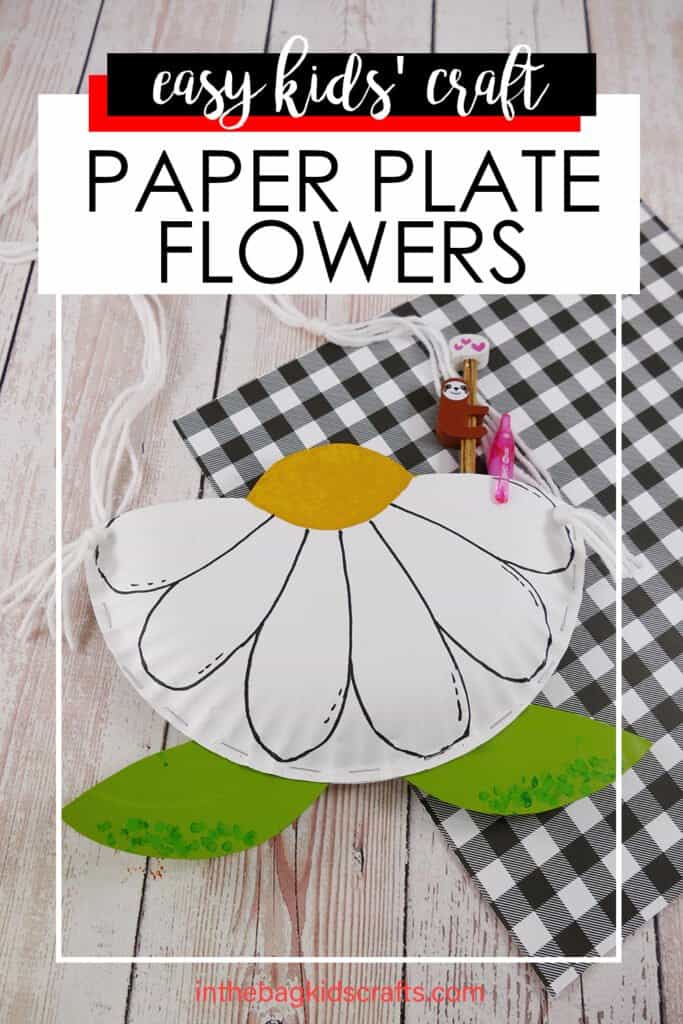
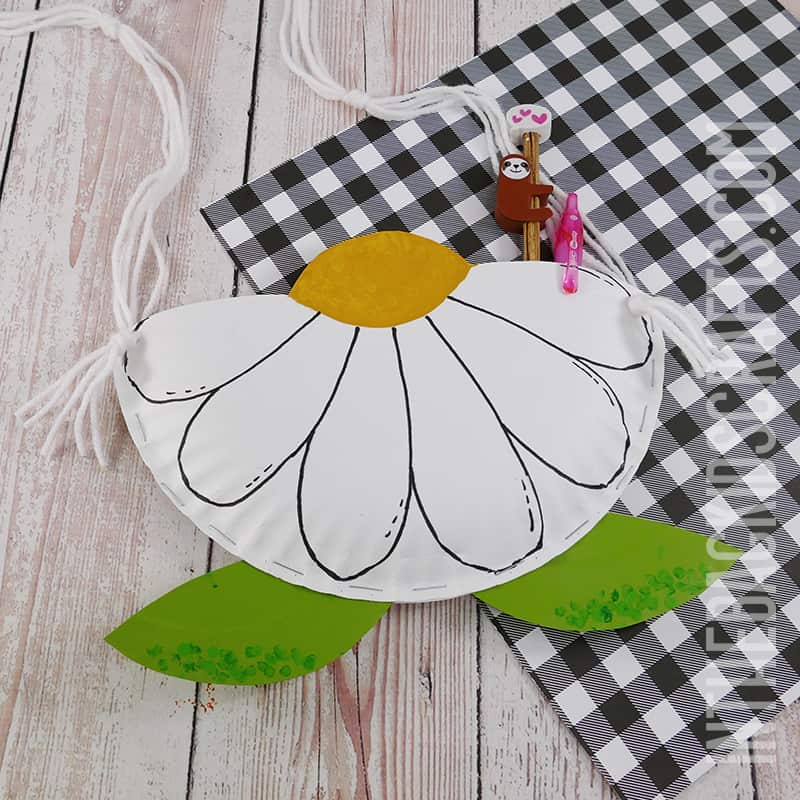
This paper plate flower craft has several versions that you can make, including the daisy craft that we will learn to make step-by-step. You can make the daisy or design your own flowe.r Stick around until the end for a couple more ideas. The best part of this flower craft is that it’s a pouch that you can keep little treasures in, whether it’s crayons, toys, a mini stuffed animal or something else.
If you enjoy making this paper plate craft, try these other little pouches, including a walrus pouch, Minnie Mouse pouch or an adorable bunny pouch.
Stick around to the end of this article to see the video my young friend, Ella, helped me make. We’ll show you everything you need to know to create this adorable flower craft.
Save this Daisy Craft for later. Pin it to your favorite Pinterest board…
All activities require adult supervision. By using this site, you are agreeing to our terms of use. This post contains affiliate links, which means if you make a purchase through these links, I may receive a small commission at no extra cost to you. Click here to read my full disclosure policy.
SUPPLIES FROM THE BAG
- Paper plate (9-inch coated)
- Paints
- Newspaper
- Clothespin
- Pompoms
- Q-tips
- Scissors
- Stapler with staples
- Single hole punch
- White yarn
I know that you have the best of intentions, but time just gets away from us. Making crafts with your kids is not only enjoyable, but it’s also a great way to develop loads of skills. So, I want to help making crafting with your kids actually do-able by sticking to a master list of supplies that fit into one bag. That way, once you fill your bag, you’re all set to craft away and make anything that you see here or in our shop. Enjoy!!!
How to Make a Paper Plate Flower Craft
Step 1: Cut Out the Flower
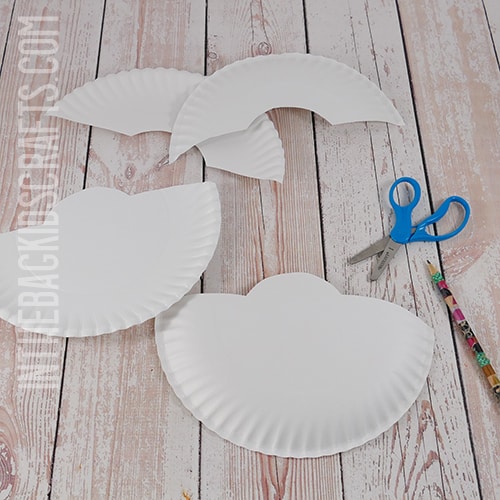
- Cut across the center of a paper plate, with a half circle in the middle. This is the top of your daisy.
- Put another paper plate on top of the first, with the fronts facing each other.
- Use a pencil to trace the top of the flower on the second plate.
- Then cut it out also.
- Reserve the cut off part of the plate.
Step 2: Paint
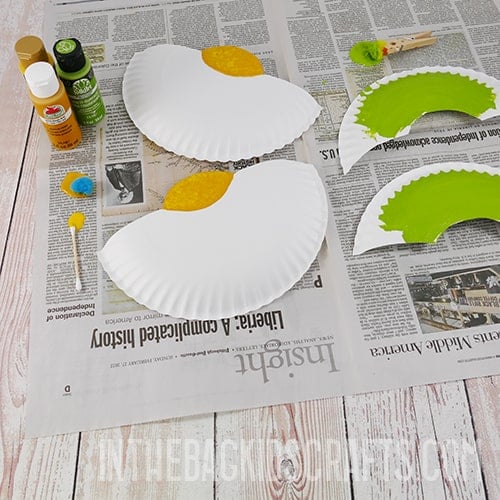
- Lay out some newspaper on your work surface.
- Then place the plates on top with the bottoms facing up.
- Use pompoms and q-tips to paint a half yellow circle on the top of the half plates. This is the center of your daisy.
- Then paint the cut off sections of plate green, to be used as the leaves later.
*If you really do not want to get the paint out, use crayons of markers instead to color your flower.
Step 3: Draw the Petals
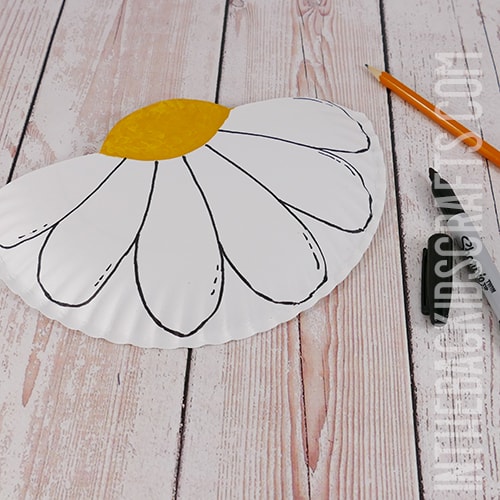
- Once the paint has dried, use a pencil to draw on the daisy petals.
- Trace over the pencil with black marker.
Step 4: Staple
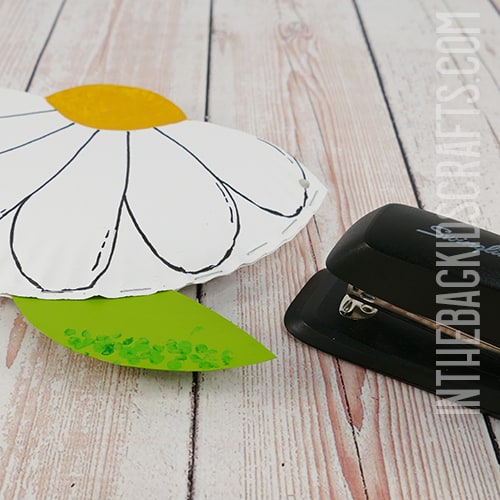
- Now that the paint has cried, cut 2 leaves out of the painted green plate pieces.
- Sandwich them in place on the bottom of the flower and secure with staples.
- Staple around the rest of the paper plate to form your flower pouch, leaving the top open.
Step 5: Add the Handle
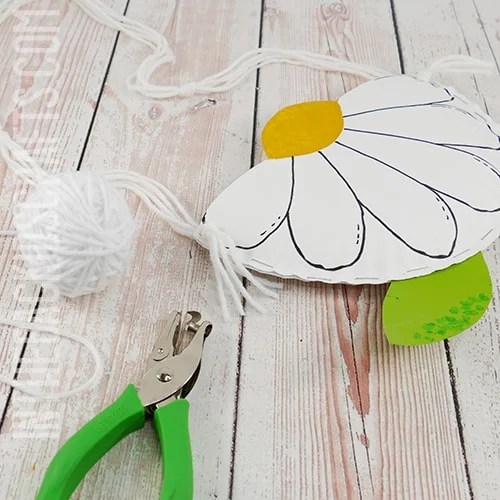
- Punch holes on each side of your flower craft pouch.
- Cut 5 lengths of white yarn, each about a yard long.
- Tie the lengths together using knots at intervals. This will be the handle of your flower pouch.
- Last, lace the ends of the yarn through the holes and secure with knots. Trim away any excess yarn.
Alternate Flower Craft Designs
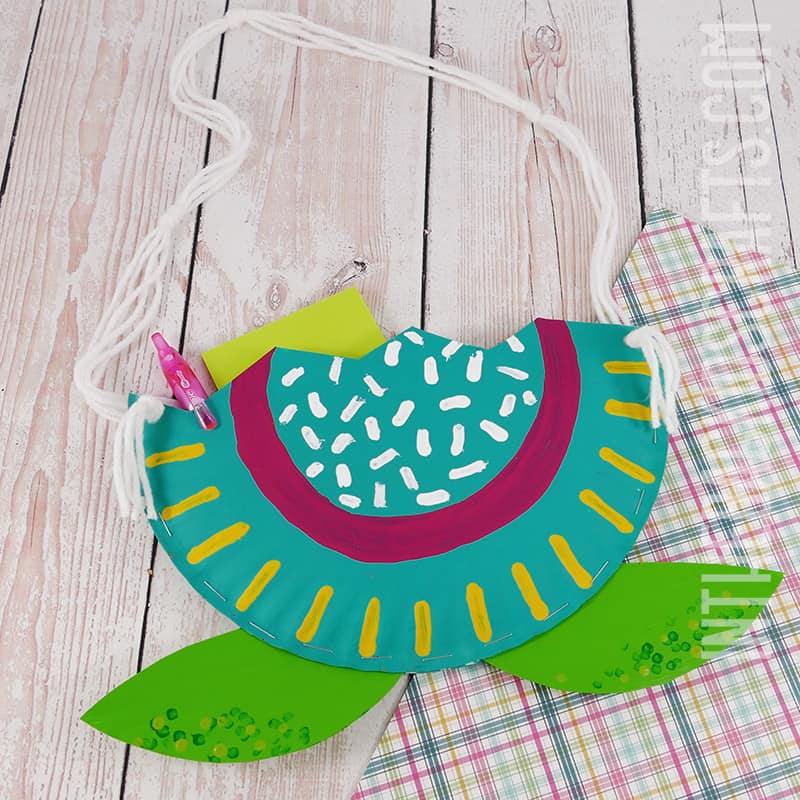
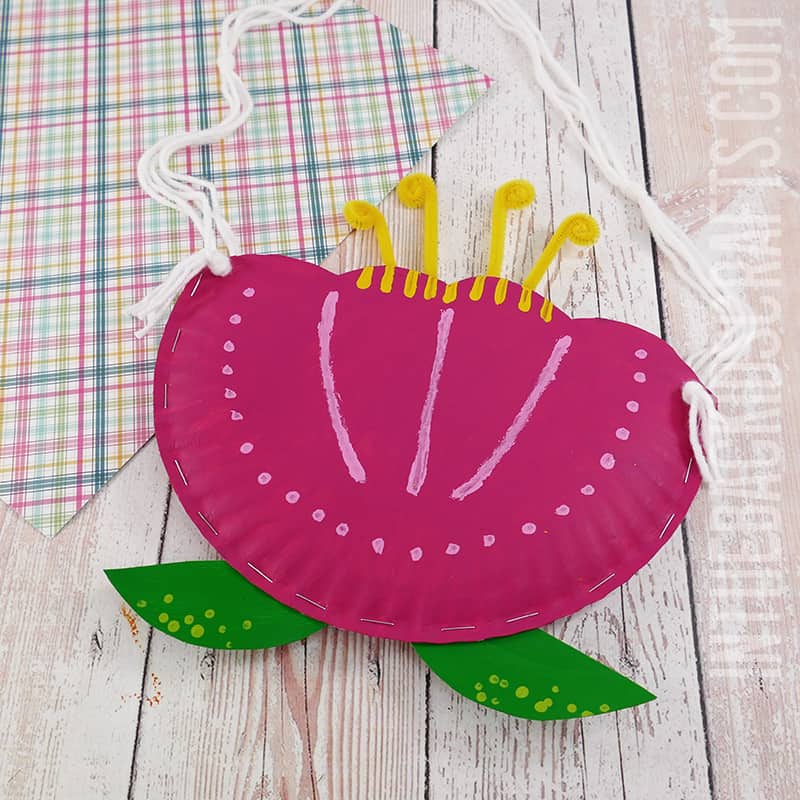
Now we’ve taught you how to make this adorable daisy craft, but you may choose other designs for your flower pouch. Here are a couple of other designs to use as inspiration. Of course, this is your craft. So, really make it your own. Design your flower however you like and make it into a cute little bag all your own.
Watch how to make this Flower Craft with us
Save these Paper Plate Crafts for later. Pin it to your favorite Pinterest board…
