Paper Plate Walrus Craft {It’s a Pouch!}
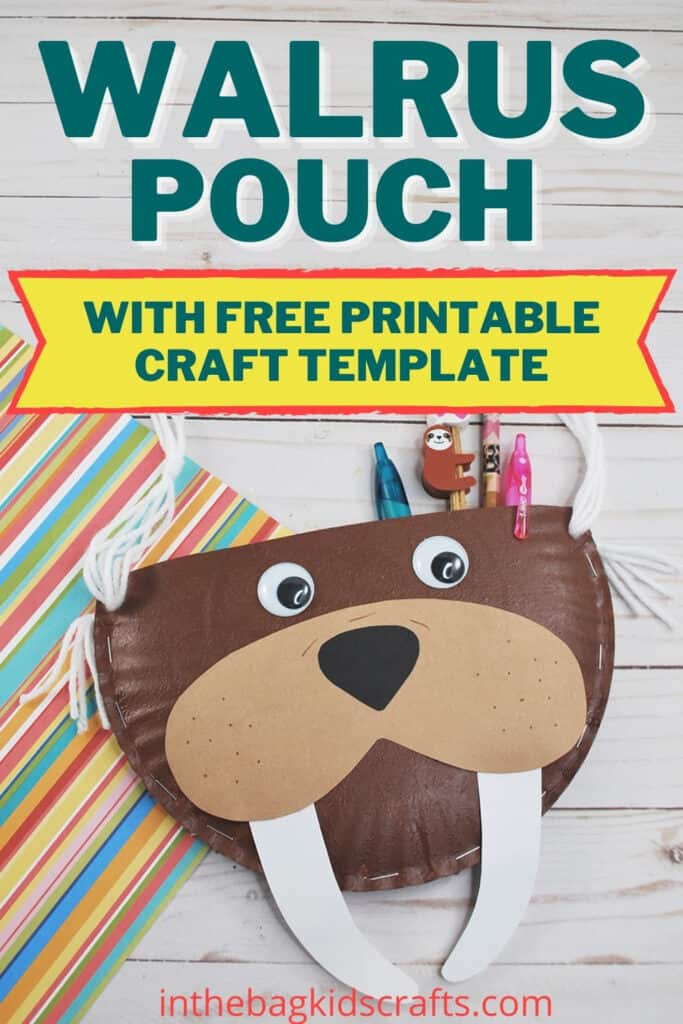
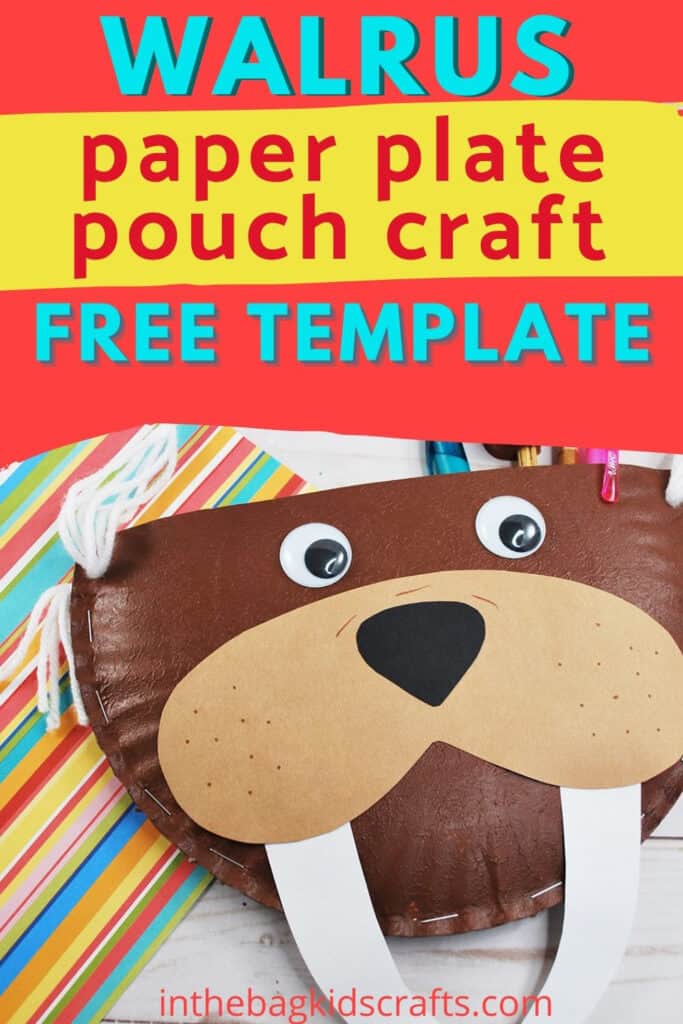
This paper plate walrus craft is more than just your basic craft that will be made, put on the fridge for a few days and eventually end up in the trash (don’t tell the kids). It’s actually functional because it is a pouch that can be carried around by your kiddo to store all of their treasured possessions. Now, just because our walrus looks a certain way doesn’t mean you can’t put your own spin in this fun little project. Maybe you want to add some rosy cheeks or a bow tie or make him purple instead of brown. What I’m saying is…the only limit is your imagination! So, put it to work.
Your Kids are Going to Absolutely LOVE This Collection of Under the Sea Animals Paper Plate Crafts…
If you are a fan of these walrus craft ideas, give these other ocean crafts a try:
- Paper Plate Under the Sea Animals
- Popsicle Stick Ocean Animal Crafts
- Newspaper Sea Turtle
- Shark Craft
Save this Walrus Paper Plate Craft for later. Pin it to your favorite Pinterest board…
All activities require adult supervision. By using this site, you are agreeing to our terms of use. This post contains affiliate links and sponsored content, which means if you make a purchase through these links, I may receive a small commission at no extra cost to you. Click here to read my full disclosure policy.
SUPPLIES FROM THE BAG
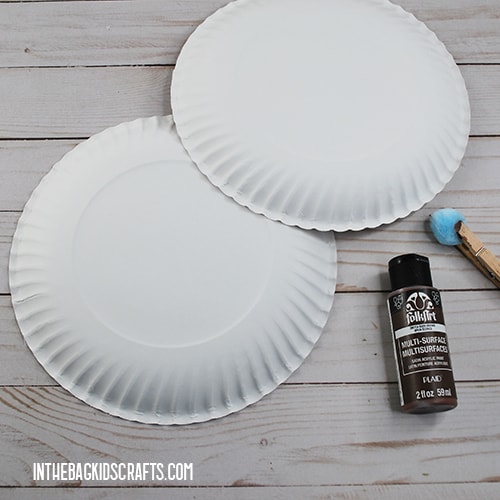
- 2 Paper plates (9-inch coated)
- Newspaper
- Clothespin
- Brown paint
- Medium pompom
- Stapler with staples
- Singe hole punch
- Self-adhesive googly eyes
- White yarn
- Tan, black and white construction paper
- Markers
- Glue stick
- Scissors
- Tan tissue paper squares (optional)
- Walrus craft template
You already have everything that you need to make this walrus craft if you have filled your kids’ craft bag using the master list. We stick to the list for every…single…craft on this site. This makes crafting so much easier and really reduces that prep. So, no more excuses.
Walrus Craft Instructions
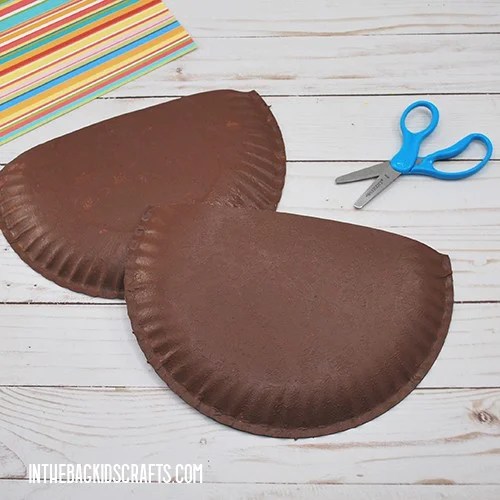
Step 1: Paint the Paper Plates
- Lay out some newspaper on your work surface to control the mess.
- Then place 2 paper plates, bottom up, on the newspaper.
- Pinch the pompom with your clothespin to form a “paint brush”
- Squeeze out some brown paint and paint both plates, leaving about 2 inches at the top unpainted.
Step 2: Cut Across the Top
- Once the paint has dried, cut the top 2 inches or so off of one of the plates.
- Sandwich the other plate underneath and cut on the same line.
- *If you are using adult scissors, you can cut both plates at once.
Step 3: Use the Walrus Craft Template
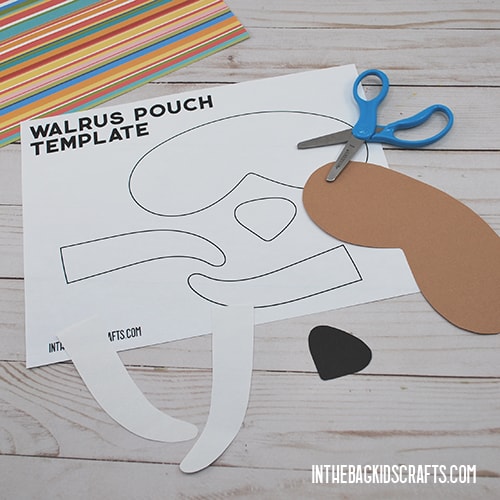
- Print the free walrus craft template (or draw a snout, nose and tusks if you do not have a printer)
- Cut 2 tusks from white construction paper.
- Then cut the nose from black and the snout from tan construction paper.
Step 4: Staple Around the Outside
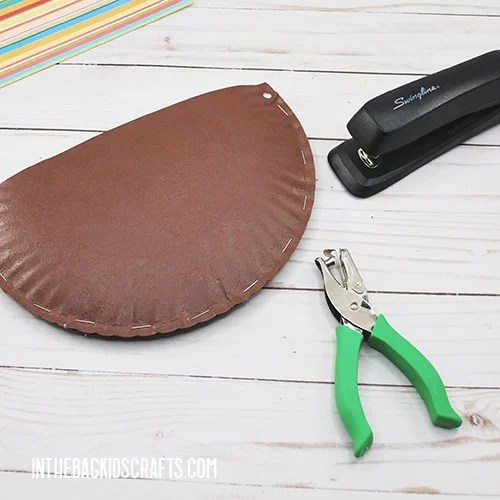
- Take the 2 cut and painted paper plates and sandwich them together, with the unpainted sides facing each other.
- Starting about one inch below the top, staple all around the outside of the plates to attach them together, stopping on the other side about an inch below the edge.
- On each corner, punch a hole where the handle will be attached later.
Optional Step 4b: Alternate Snout Accents
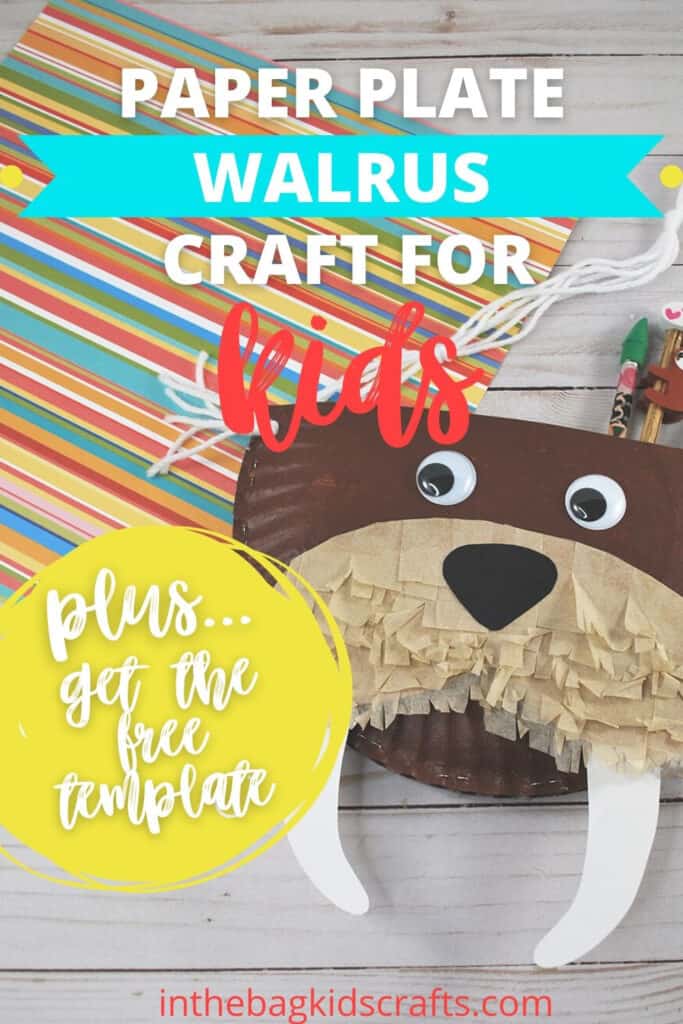
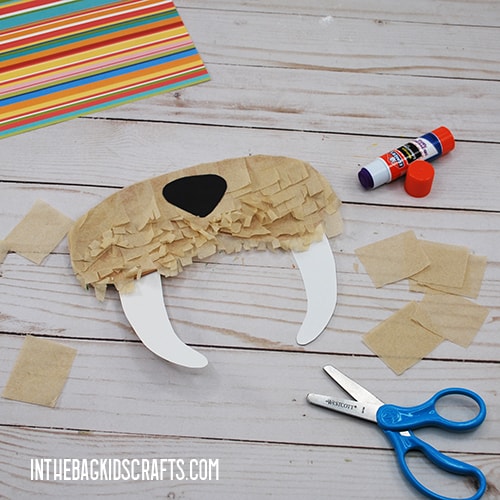
- To crank this craft up a notch, glue a layer of tan tissue paper squares (which hang off the edge) across the bottom of the snout.
- Then add another layer of tissue paper squares that overlap that one, leaving the bottom unglued.
- Keep adding tissue paper squares until the entire snout is covered.
- Once it is covered, snip off the extra tissue paper all around the outside of the snout.
- Last, snip slits in all of the layers and rough it up a little to make it look like the course hairs on a walrus face.
Here’s a video to help you with this step.
Step 5: Put it together
- Using your glue stick, attach the nose and tusks to the walrus snout.
- Generously glue the back of the walrus snout and attach it to the paper plate pouch.
- Press down until the glue sets.
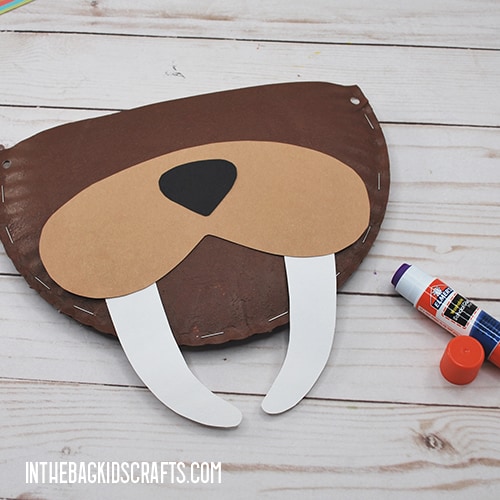
Step 6: Add the googly eyes
- Get out your markers and add whatever details you would like.
- Then place some googly eyes, choosing whatever size you would like.
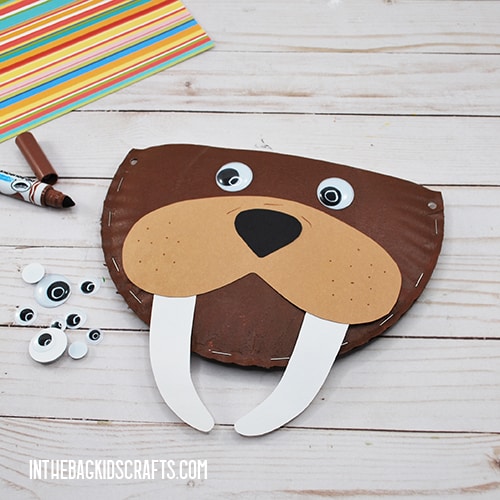
Step 7: Put on the handle
- Cut 5 to 6 strands of white yarn, about 1 yard long.
- Tie a knot in the center of the bunch of yarn and then 2 more knots on each side.
- Lace the ends of the yarn through holes on the side of your walrus pouch.
- Secure each end in place with a knot and trim the ends of the tassels to even them up.
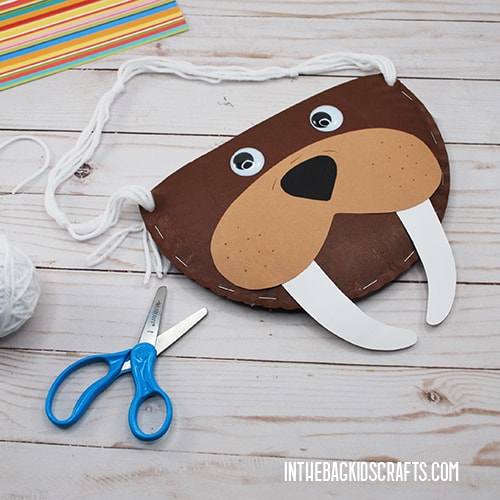
Watch the full Walrus Craft video tutorial
What will your little one carry in their brand new walrus craft pouch? Maybe a favorite stuffed animal? Travel game? Flowers? Pinecones? Or maybe some craft supplies, like washi tape and pretty pens? Whatever it is, enjoy! These childhood moments pass too quickly.
Save this Walrus Preschool Craft for later. Pin it to your favorite Pinterest board…
