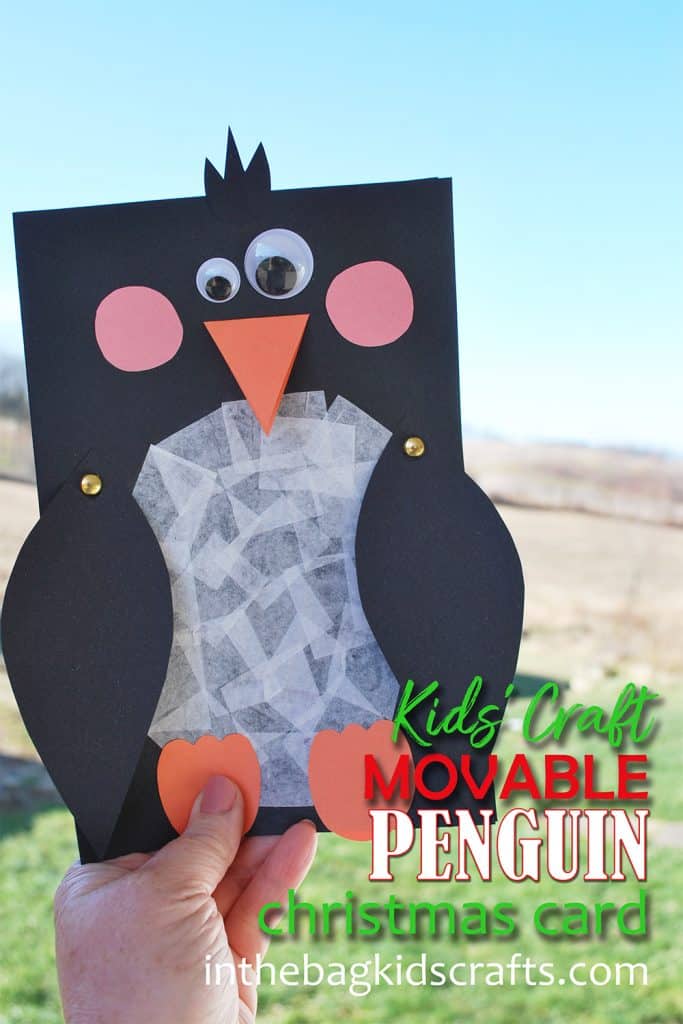
Penguin Christmas Card
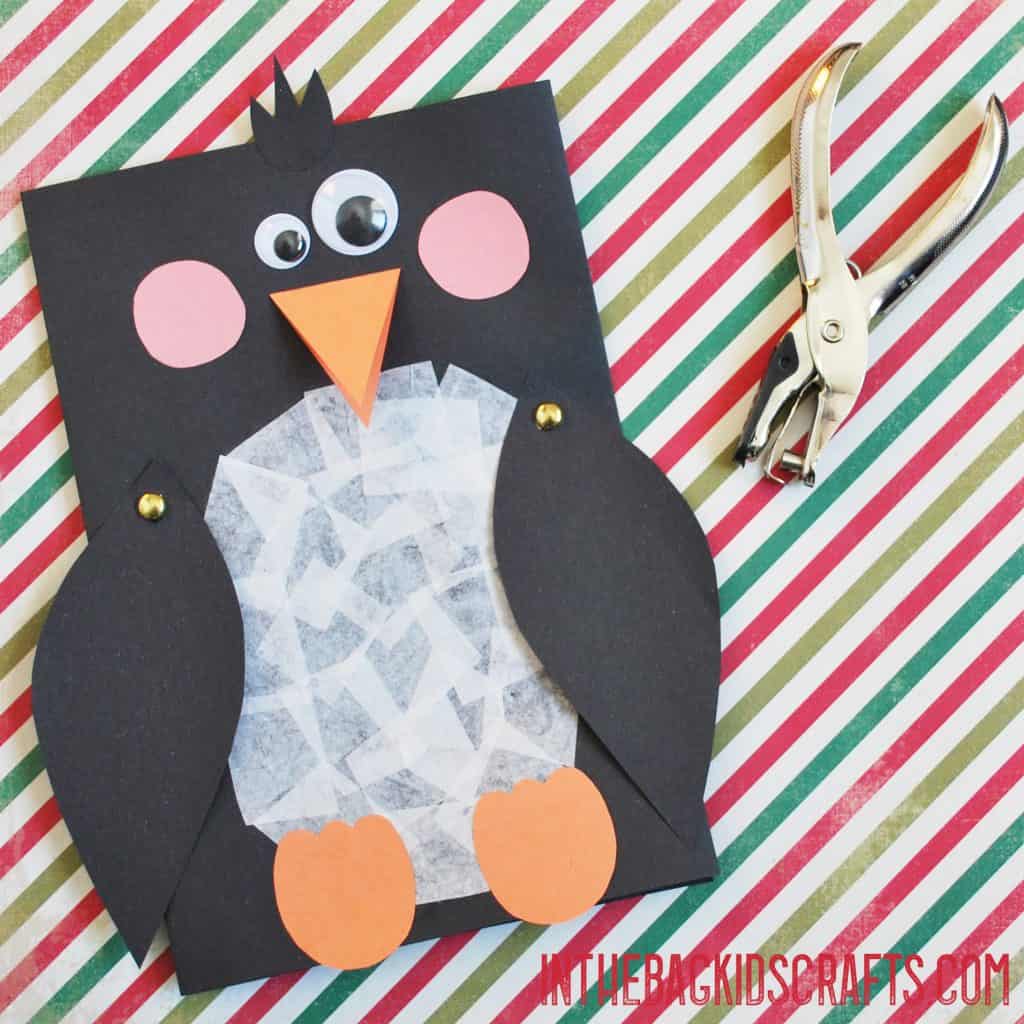
I mean, really, have you ever seen anything more adorable than this Penguin Christmas Card. And, even though I am calling it a Christmas card, you can really use it for just about any occasion. It could even be a birthday card or a get well card. Use it all year long to bring a smile to someone’s face! Check out some of our other easy to make DIY Christmas cards…SLEDDING SNOWMAN, SANTA IN THE CHIMNEY, and 3D ORNAMENTS.
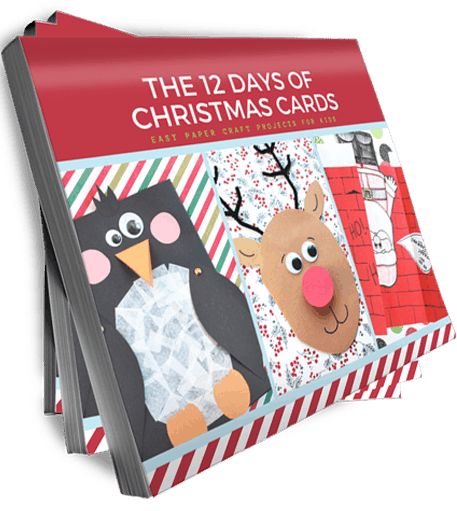
If you love this DIY Christmas card, check out the full 12 Days of Christmas Cards eBook. You are going to love it!
This post contains affiliate links, which means if you make a purchase through these links, I may receive a small commission at no extra cost to you. Click here to read my full disclosure policy.
SUPPLIES FROM THE BAG
- 2 Pieces black construction paper
- Scraps of pink and orange construction paper
- Glue stick
- Scissors
- 2 Googly eyes
- White tissue paper squares
- Hole punch
- 1/2 Piece white construction paper
- Markers
- 2 Metal brads
- Printable Penguin Template
Making fun and creative projects with your kids is an experience that you will never regret. Yes, I know, in reality it isn’t always all fun. But it can be, trust me. It just takes practice. And I want to help you make it a little easier to be able to do hands-on activities more often…with less prep, less mess and no glitter in sight. The first step is filling up your bag with the right things. Then you will be ready to make every single project on this site, since I use the same master list for every…single…craft! That’s right 🙂 Let’s get started.
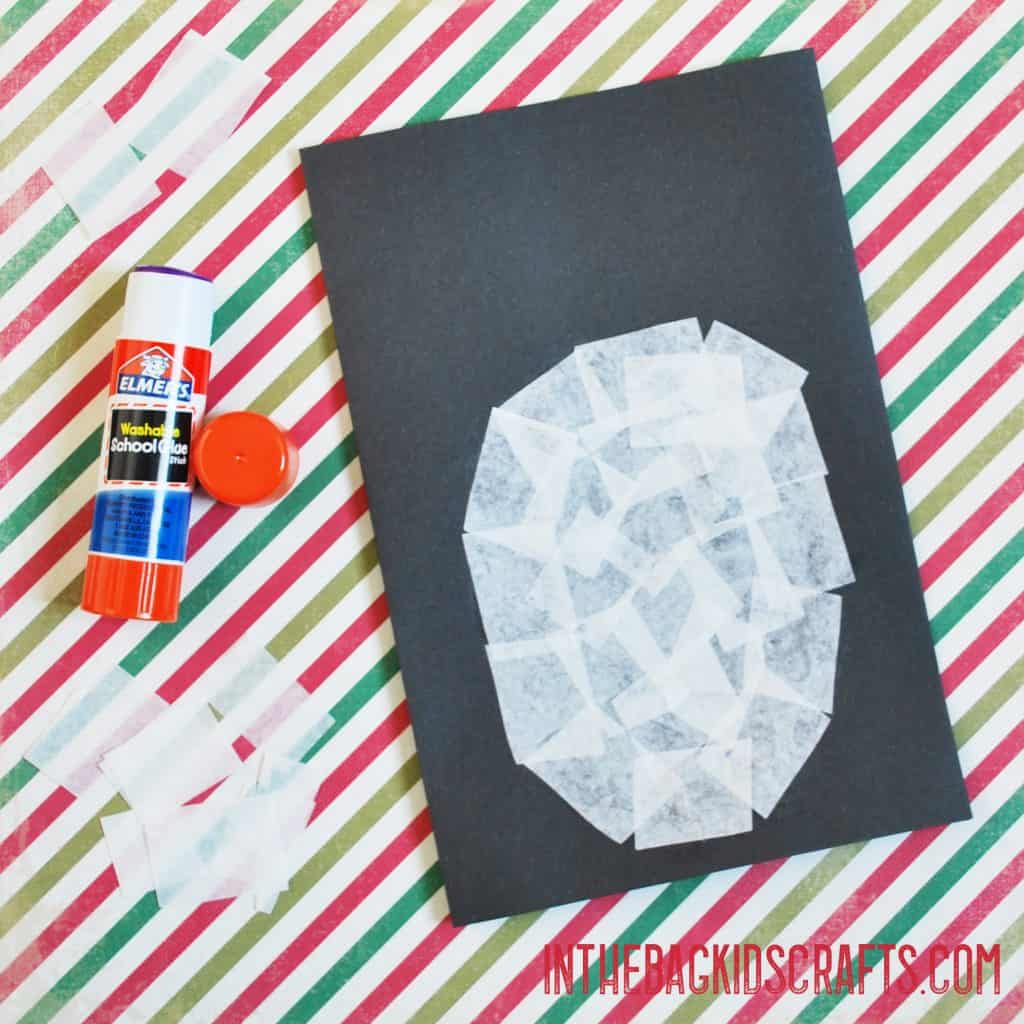
Step 1: Fold the Card
- Step 1 for making your penguin Christmas card is to fold one of the black pieces of construction paper in half to form the base of the card
- Cover an oval shaped area, on the front of the card, with squares of white tissue paper to form the penguin’s stomach
Step 2: Add the Parts to Your Penguin
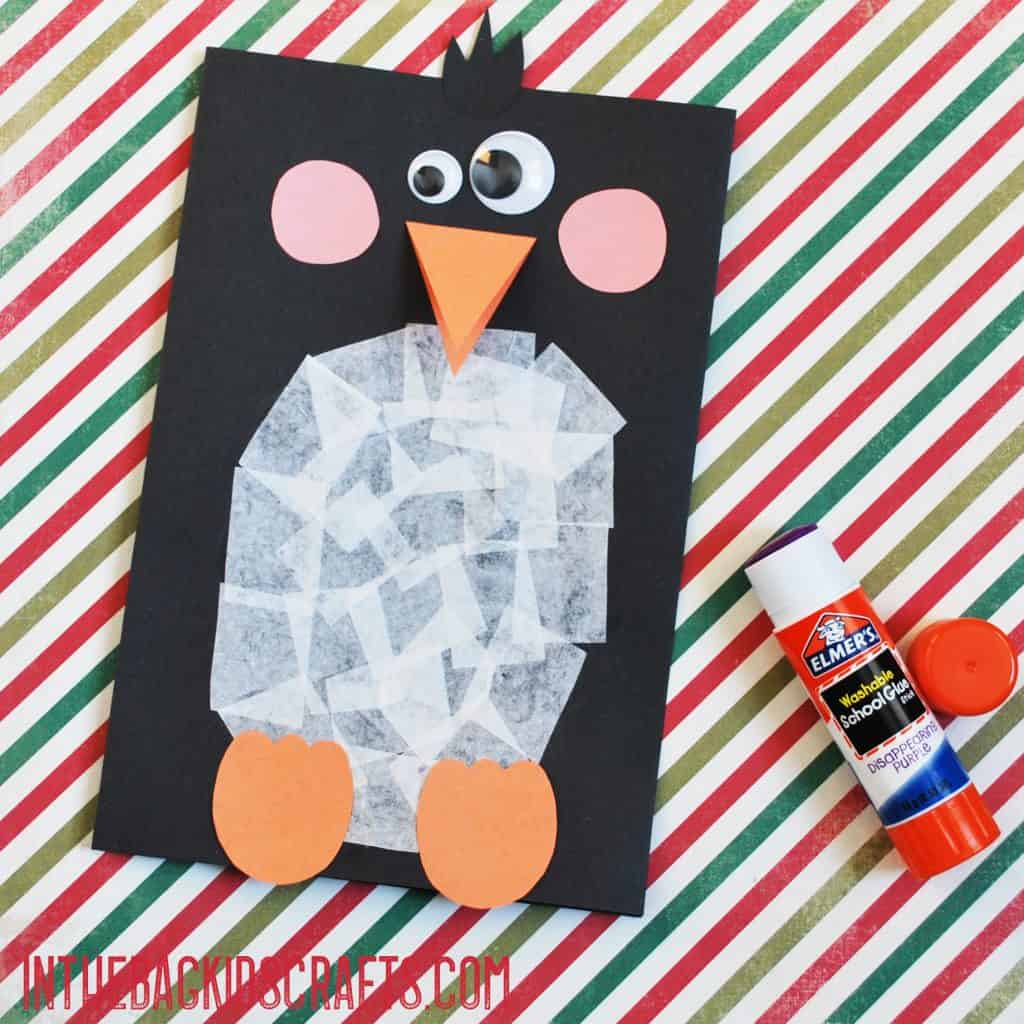
- From the construction paper scraps, cut out pink cheeks, 2 orange feet, a black feather tuft and an orange beak (with the top placed on a fold so that the mouth opens)
- Then, trace and cut out 2 wings from the remaining black construction paper
- Glue the pieces in place, along with the googly eyes
- *Get the printable template for all the parts of your penguin Christmas card to make it easier.
Step 3: Give Your Penguin Wings
- Punch holes to connect the wings to the penguin, though the base and the top of the wing. The hole near the fold will go through both layers. This is ok…because you are going to cover up the inside hole in a minute.
- Use the brads to connect the wings to the body
Step 4: Write in Your Christmas Card
- First, trim the 1/2 piece of white construction paper by about 1/4″ on the bottom and side
- Then, glue it to the inside of the card for the writing surface
- Last, write your Holiday message inside
Save this Penguin Christmas card for later…pin it to your favorite Pinterest board!!!
