Sledding Snowman Christmas Card
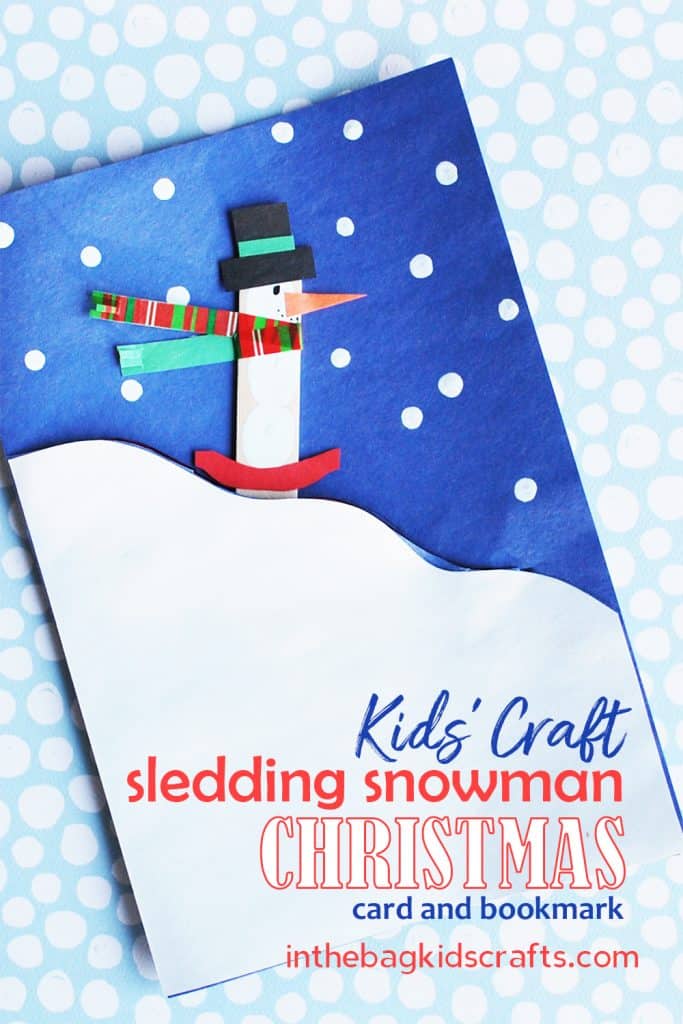
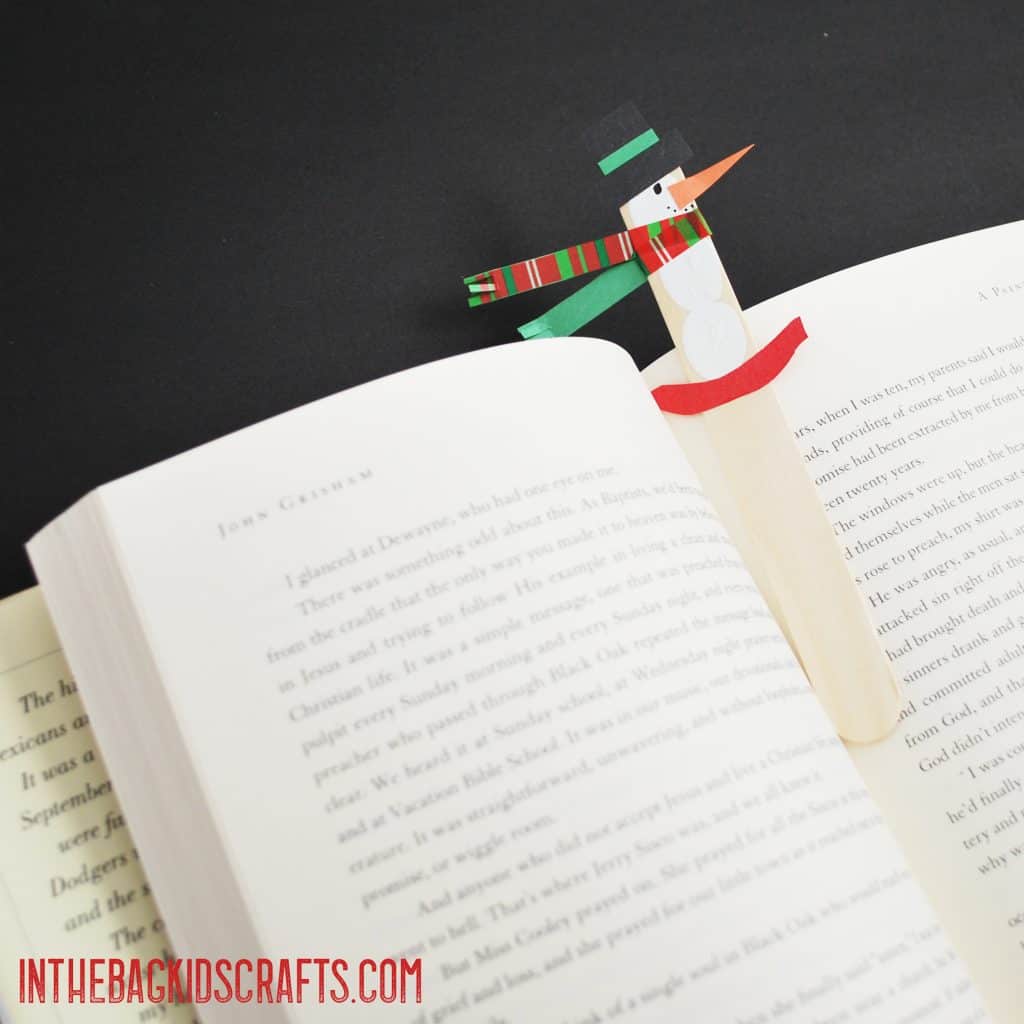
I love Christmas cards for so many reasons…they are the gift that keeps on giving as they hang on the mantle (or some other place of honor) in the home of the recipient during the entire holiday season, being enjoyed by everyone. They are like the icing on the holiday decorations cake. This Sledding Snowman Christmas Card can be adapted for children of any age to make and doubles as a gift since the snowman can be pulled out and used as a bookmark too!
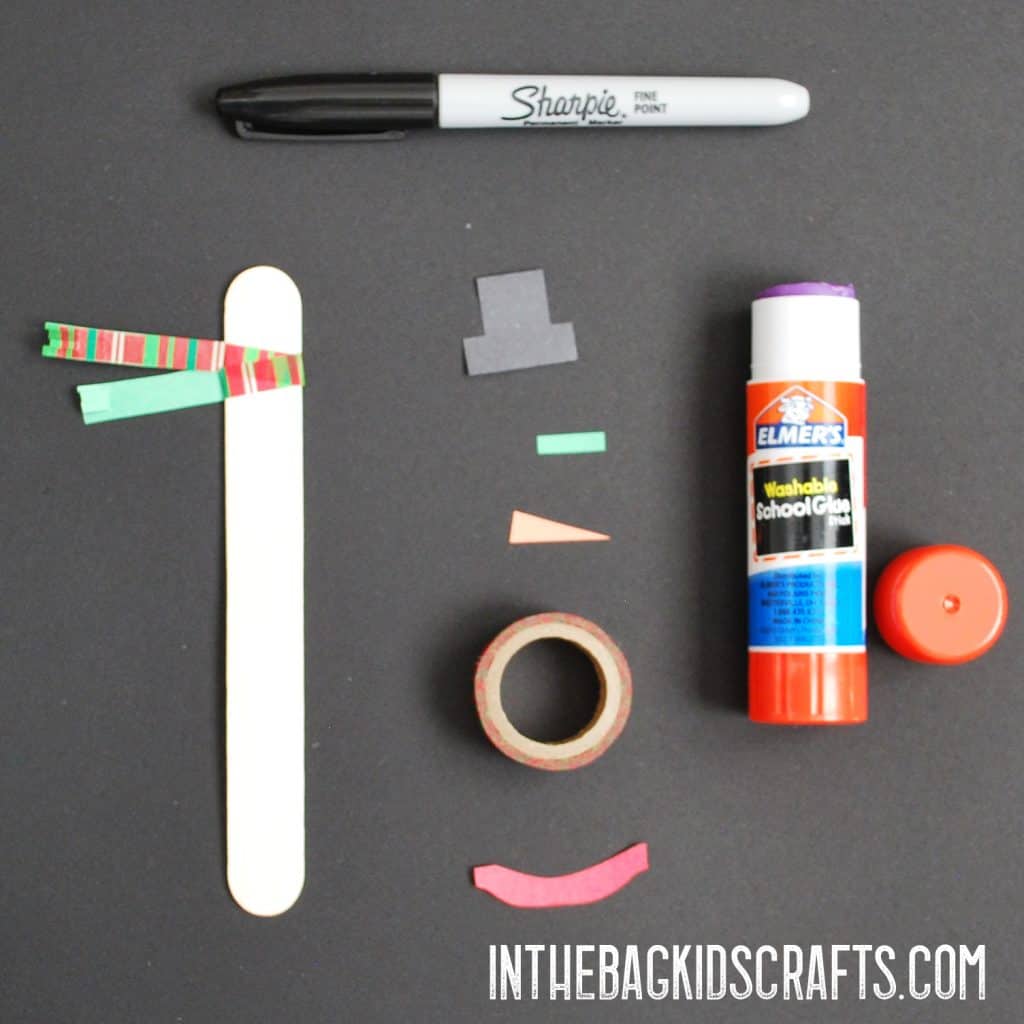
SUPPLIES FROM THE BAG
- Blue and White construction paper
- Scissors
- White paint
- Paper plate
- Glue stick
- Markers
- Black sharpie marker
- Large popsicle stick
- Scraps of black, orange and red construction paper
- Christmas colored washi tape
- Pencil
- Q-tip
As with every craft on this blog, this project is being made from the same master list. That make crafting with you kids do-able with less mess, less prep and less stress! Soon your kiddos will be home for Christmas break and will be sure to be complaining of boredom most likely within minutes. Be prepared by filling your bag so that it is ready to craft along. Browse the website and pick your favorite crafts to complete with your little ones. Not sure what to put in your bag?
Step 1
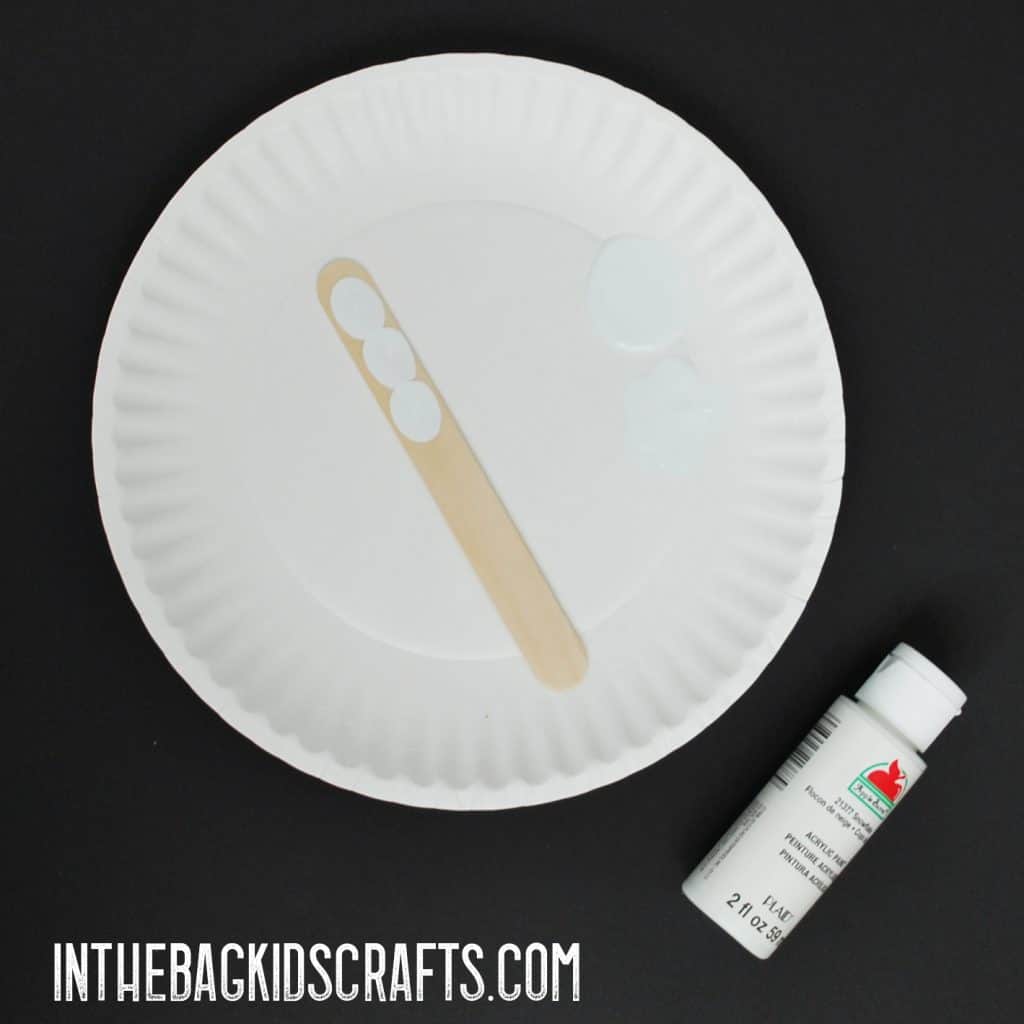
- Squeeze a small amount of white paint onto the paper plate
- Place the large popsicle stick on the plate
- Using your finger (or thumb if it is a child with tiny fingers), stamp 3 circles on top of each other. *Tip-After touching your finger to the puddle of paint, tap it a couple of times on the plate before applying it to the popsicle stick.
- Set the stick aside and allow the paint to dry completely
Step 2
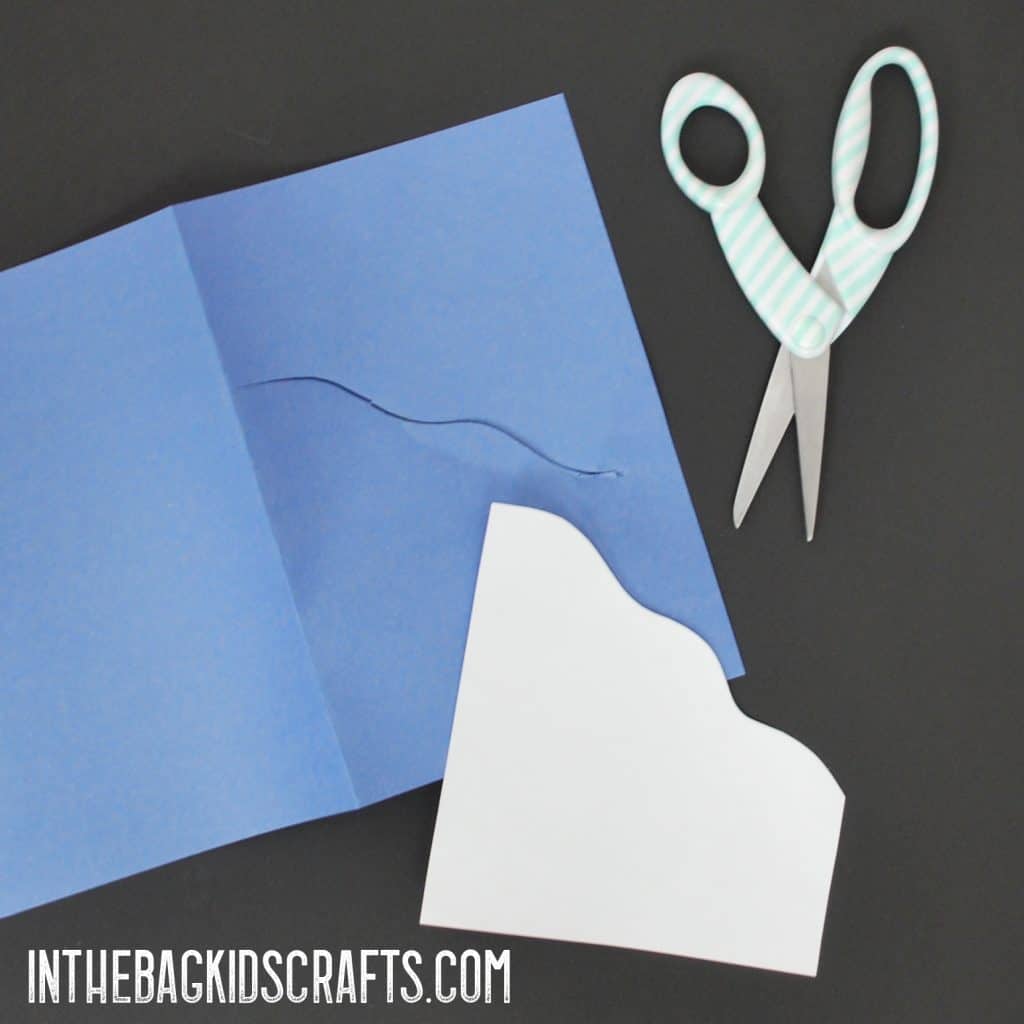
- Fold the blue and white construction paper in half
- Set the blue piece of paper aside
- But the white piece of paper in half
- On one half of the white paper, draw an angled curvy line. This will be the hillside that the snowman sleds down.
- Take the other half of the white paper and trim a little bit from the top and one side. This will be the inside of the card.
Step 3
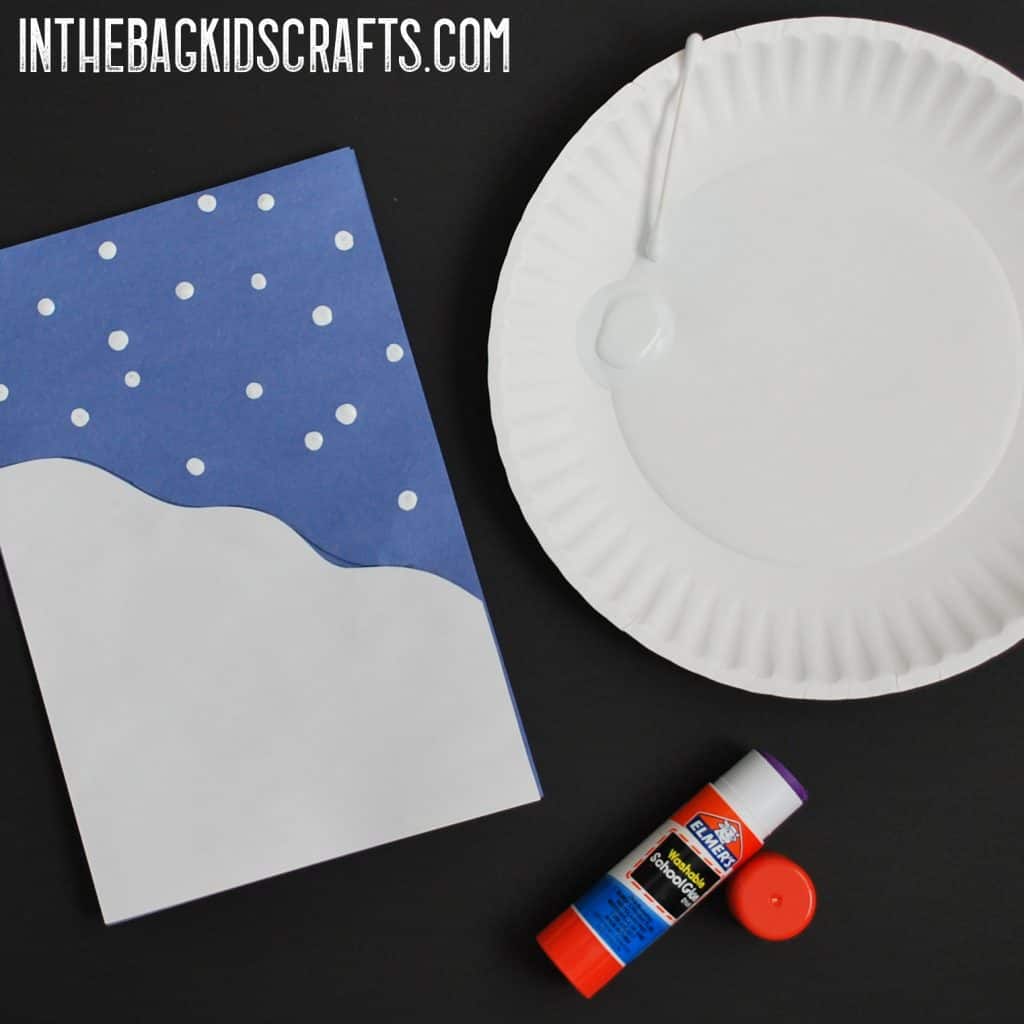
- Place the curvy piece of white paper on the front of the card, but do not glue it down just yet.
- Use your pencil to trace the curve onto the front of the card and set the white hill aside for just a minute.
- Cut a slit along the curve, leaving an inch or so at the end. Do not cut out to the edge of the card (if you accidentally do, place a piece of tape on the back). **If you are crafting with little ones, this step should be done by an adult.
- Now glue the white paper in place on the front of the Christmas card, just below the slit.
- Use the q-tip to paint dots of snow in the winter sky on the front of the card. Allow the paint to dry.
Step 4
- Glue the remaining piece of white paper inside the card to use as your writing surface.
- Write your Christmas message inside using the markers.
Be sure to give your child lots of positive reinforcement as you craft together. What a great opportunity to build confidence and camaraderie!
Step 5
- First, from the scraps of paper, cut a snowman hat and band, carrot nose and sled. These do not need to be fancy. Keep it nice and simple.
- Then, glue the pieces in place on the snowman.
- Wrap a piece of washi tape around the snowman’s neck to make a scarf. I added a small piece of construction paper to the back of the ends of the scarf and trimmed away the excess so that the tape wouldn’t stick to something else. Snip the ends for the finishing touch to the scarf.
- Last, use the Sharpie marker to draw on eyes and a mouth.
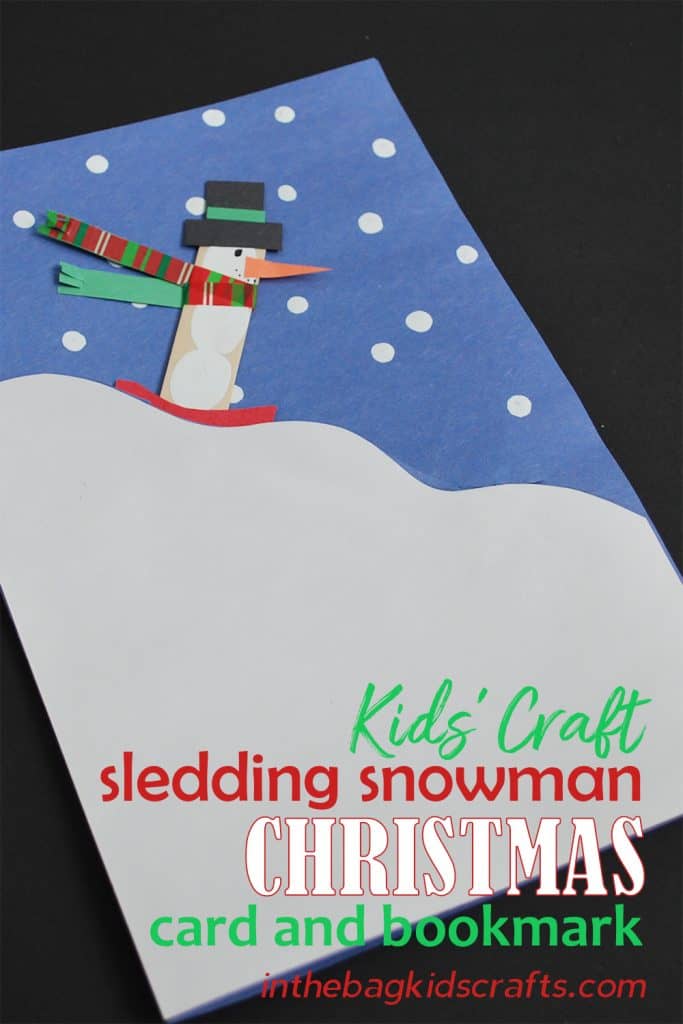
- You have now made the sledding snowman. Just slide it into the slit on the front of the card so that it can go down the hill.
Save this for later…pin it to your favorite Pinterest board!
Happy Crafting! Love,
