Awesome Star Wars Paper Crafts
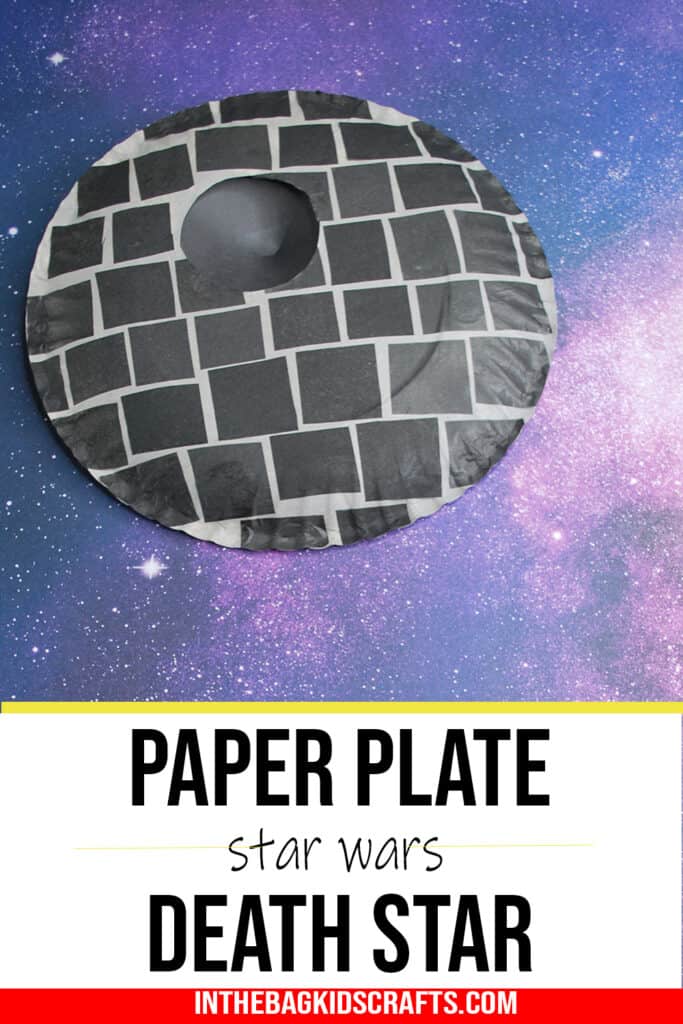
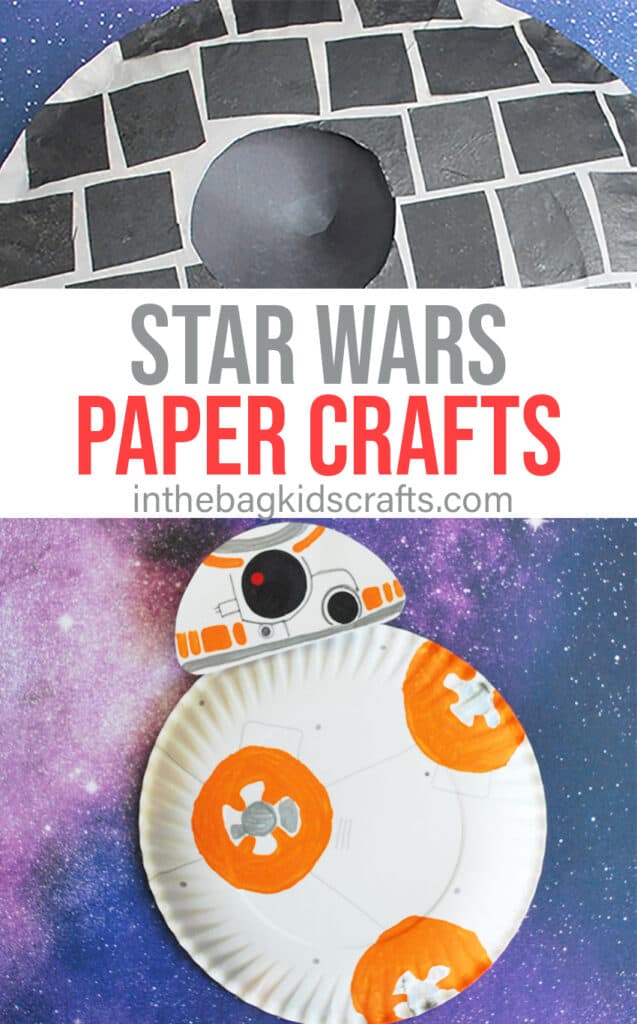
Star Wars paper crafts are beyond awesome. Don’t you think? Actually everything Star Wars is beyond awesome. In this article, we will make a whole new Star Wars Craft and revisit one that we have made in the past…a BB8 with moving parts. First, we will start on the dark side with the Death Star with a 3D “laser eye”. Both of these are not only paper crafts, but they are paper plate crafts. So inexpensive and so much fun! Oh, the things we can do with a basic paper plate. Check it out!
Make Even More Crafts with Your Kids (You’ll be so happy you did)
Save these Star Wars paper crafts for later. Pin it to your favorite Pinterest board…
This post contains affiliate links, which means if you make a purchase through these links, I may receive a small commission at no extra cost to you. Click here to read my full disclosure policy.
Craft 1: Paper Plate Death Star
The first of our 2 Star Wars paper crafts is a super simple to make Death Star with a 3D laser eye. Parts of this craft are even appropriate for a toddler to make. You will need a grown up to do the cutting, but a toddler or preschooler can do the painting and placing of the tissue paper squares. The squares do not need to be placed perfectly, just let them be a kid and put the squares on the craft wherever they want. Seriously, it’s okay. Don’t expect perfection.
SUPPLIES FROM THE BAG
- Paper plate (9-inch coated)
- Scissors
- Black construction paper
- Glue stick
- Gray paint
- Black tissue paper (cut into one inch squares)
- Black Sharpie marker
- Newspaper
- Clothespin
- Pompom
- Printable Template
These are such an easy Star Wars paper crafts, and they takes just a few supplies, ALL of which are part of the master list that we use for every single craft on this site. This list is filled with inexpensive, super versatile, compact supplies. They have been carefully curated over time for optimal results. And they all fit into one bag so you can take crafting with you wherever you go. You will love how much this system opens you open to more time creating with your kids. Seriously!
Step 1: Cut a hole
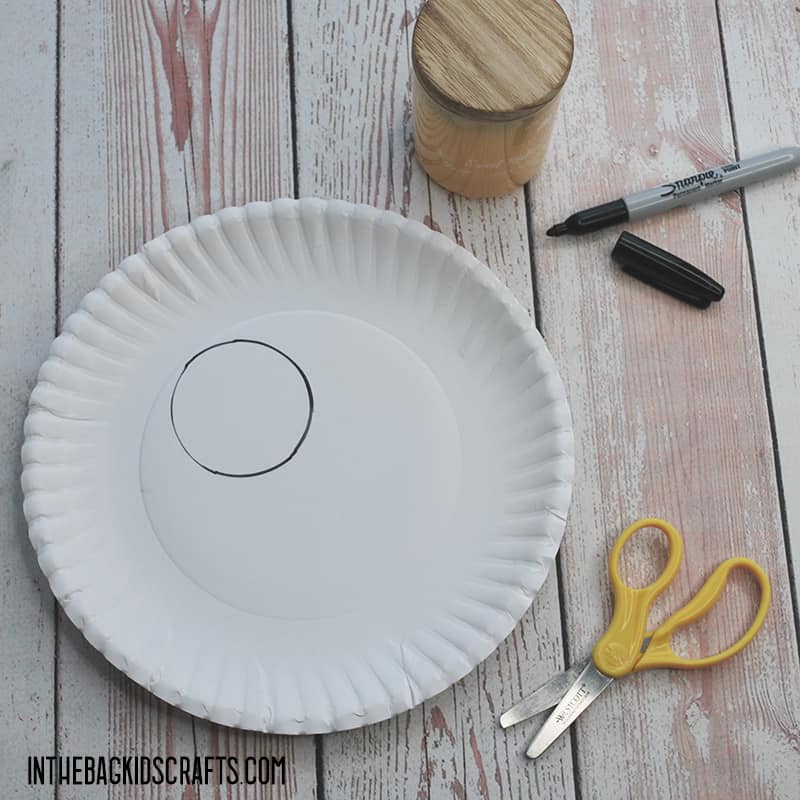
- Find something in your home that is a nice round shape, about 1 1/2 inches across to trace for the “laser eye”. I used a small candle. You might use a juice glass or a bottle of glue, etc.
- Place it on top of paper plate and trace around if with your black Sharpie marker.
- Gently fold the plate without folding it in half. And make a snip.
- Place the scissors inside the snipped hole and cut out the circle you have traced. This will be the “laser eye” of the Death Star.
- If you prefer, there is a template that you can use for the parts of the laser eye.
Step 2: Paint the Death Star
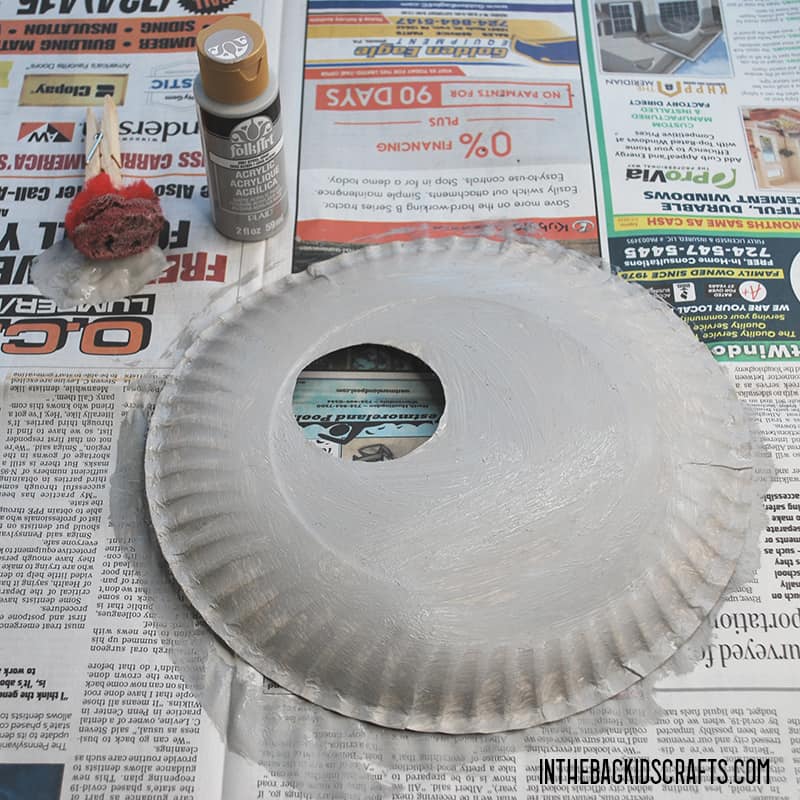
- Pinch the pompom with the clothespin to form a “paint brush”. You can use a medium or large pompom.
- Spread out the newspaper and place the paper plate on the newspaper.
- Squeeze out a little gray paint and pain the bottom of the paper plate.
- Give the paint some time to dry while you move on to the next step.
Step 3: Make the “Laser Eye” Stand Out
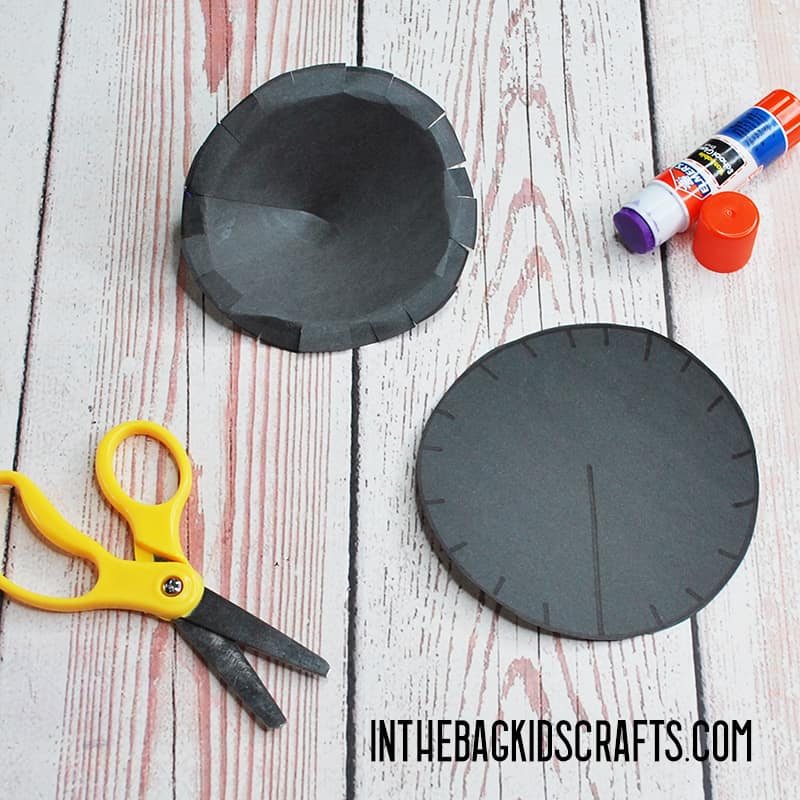
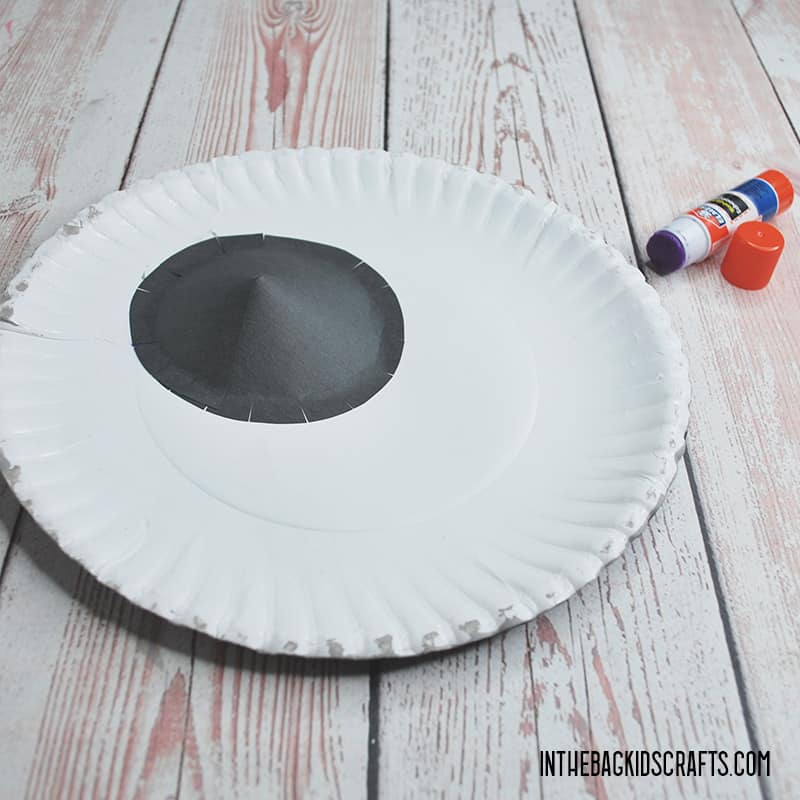
- While the paint is drying, find something in your home that is about an inch bigger all around than the first circle you made. (template available if you prefer)
- Now trace the circle onto your black construction paper and cut it out.
- Then cut a slit into the circle half of the diameter.
- Last, snip around the outside of the circle about 1/2″ apart.
- When all of these cuts are made, overlap the two sides of the circle and secure it with glue. This will leave you with a paper cone to use for the “laser eye” of the Death Star
Step 4: Add Details to Your Star Wars Paper Craft
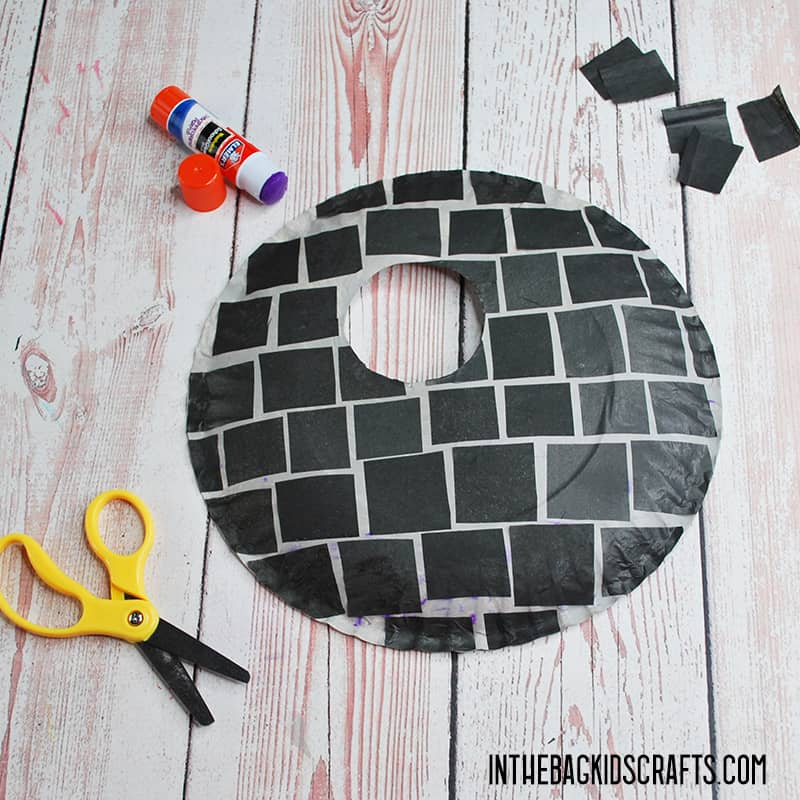
- Glue tissue paper squares on the plate in staggered rows. Work in sections since the glue will dry quickly.
- Trim off any tissue paper that is hanging over the edges.
*If you do not have black tissue paper, use a different color. Like, paint the plate gray or black and use white tissue paper for example. Or simple paint on the squares with a small pompom or q-tip.
Step 5: Finishing Touch
- Finally, you are going to put the “laser eye” in place. Glue the tabs onto the undecorated side of the plate.
- You will be able to see the 3D “laser eye” through the hole in the death star.
Craft 2: BB8 Paper Plate Craft
The second of our Star Wars paper crafts is a rolling BB8. He is so simple to make, and the best part is that he rolls along. Again, this is a paper plate craft that takes just a few supplies. Though it is a little more advanced than the Death Star craft above. This one is better suited for elementary aged kids to make.
In our house it was Star Wars everything all the time when our boys were young. The Star Wars themed Halloween costumes (and there were many of them) were worn all year round, on a regular basis. And, of course, as the newest movies are released, we are among the first to get our tickets, even seeing the midnight showings for many. This BB8 craft for kids is not only fun to make, but it moves too! Roll it along beside you. Serious fun!!!
This post contains affiliate links, which means if you make a purchase through these links, I may receive a small commission at no extra cost to you. Click here to read my full disclosure policy.
SUPPLIES FROM THE BAG
- 3 Paper plates (9-inch coated)
- Scissors
- Tape
- Hole punch
- Large popsicle stick (optional)
- 2 Brads
- Orange, red and silver (or gray) paint
- Clothespin
- Medium pompom
- Q-tips
- Newspaper
- 2 Pipe cleaners
- Gray marker
- Black Sharpie marker
- BB8 Printable Template
This is a rather lengthy supply list compared to most of the crafts that we do around here, but…lucky for you…you already have every single one of these items in your bag if you have used our master list of basic supplies to stock up. Check out the master list HERE so that you are ready to craft at a moment’s notice without any additional prep! It makes creating with your family so easy, you will wonder why you didn’t do this sooner 🙂
Save this BB8 paper plate craft for later. Pin it to your favorite Pinterest board…
Step 1: Cut the Pieces
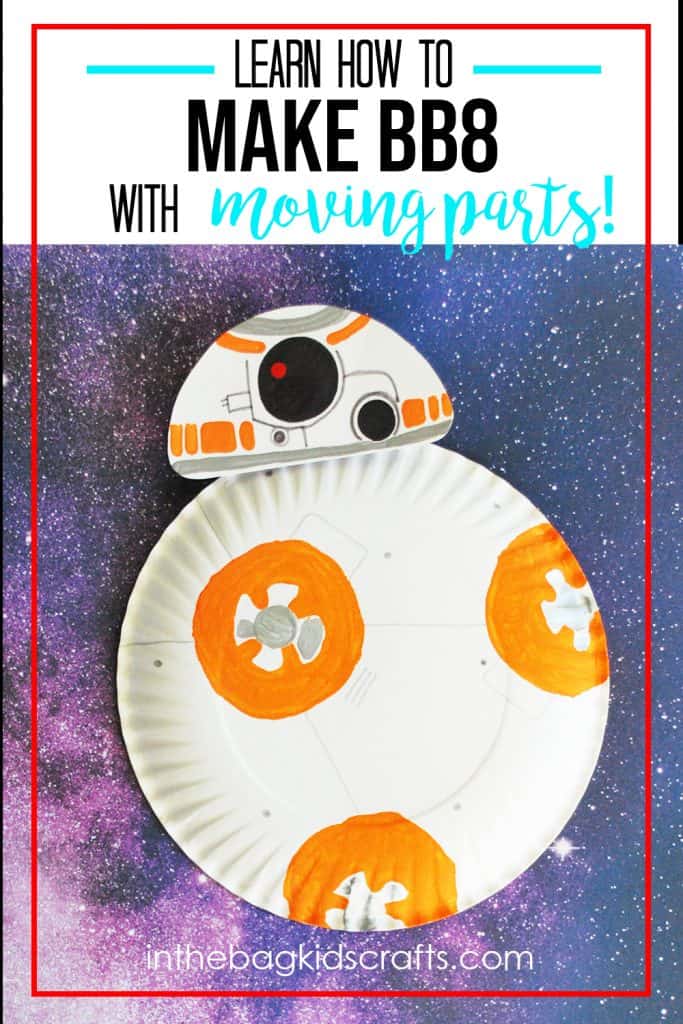
- There is really very little cutting involved for this craft. Cut the center out of the first plate, following the natural indent. If you prefer, get the template for all of the pieces HERE.
- Cut that circle in half just below middle.
- Take the slightly larger half and round the corners. This is BB8’s head.
- The body will be one of the other plates…no cutting needed.
Step 2: Add the Details
- The details of BB8 are not very complicated, and it is really okay if yours is not just like mine. This droid is yours. So, make it your own!
- Let’s start by adding details to his head. First, trace something circular, like the bottom of a paint bottle right in the middle for his “eye”. Use your black Sharpie marker for this and color in the circle.
- Then add a second “button” to his head, positioned just below and to the right of his “eye”. Find something circular that is slightly smaller to trace. (I used the inside of the tape dispenser.) Then color in the circle.
- Place BB8’s head on the newspaper and squeeze out a little orange and silver (or gray) paint. Now use the q-tip to paint on strips and squares/rectangles (as pictured).
- Finally, add one last detail of a red dot in BB8’s “eye”. You can use a q-tip for this.
- Set this piece aside and let is dry.

Step 3: Add more details to BB8
- For the body of BB8, we are going to make our own stamps using our pipe cleaners.
- Make a large circle from one of the pipe cleaners, leaving a short “handle” to hold the stamp.
- Repeat this with the other pipe cleaner. But with this one, after the circle is formed, pinch 4 sections in to make the inside of each symbol. It should look something like a 4 leaf clover.
- The pipe cleaner stamps work as a pair, first use the circle stamp and them place the other stamp inside. Use the orange paint for this. Then fill in the shape and smooth out the edges using a q-tip. Put 3-4 symbols on your BB8’s body, with some going off the edges. Paint on the body with the bottom of the plate up.
- Finish off each symbol by putting a silver dot in the middle. Just pinch the pompom with the clothespin and stamp a dot in the center of each form. Again, use the q-tip to smooth it out and add other details as desired.
- Let the paint dry.


Step 4: Add the Final Details
- Now that the paint is dry (which really doesn’t take long at all), use the gray marker to add the final details. Refer to the picture for some recommendations. But, really, you can add seams and buttons and vents wherever you want. This is your droid, remember.

Step 5: Put it together
- This is the best part. Now we get to put him together so that his body rolls, and his head moves. This is so cool!!!
- From the remaining part of the circle you cut in half early, cut it in half again, forming 2 strips.
- Each strip will now be folded on the ends, making it like a table with tabs to connect to the plate.
- Punch a hole in the middle of each.
- Tape the largest of these little “tables” in the exact middle of the back of BB8’s body.
- Then, tape the smaller one on the head, in the top half in the center.
- From the third plate, cut out a 1 inch wide strip right down the center. Trim the length to go from one “table” to the other (as pictured) and punch a hole in each end.
- Secure at each end with a brad. *Leave plenty of room for movement. Don’t attach the brad too tight.
- Optional: To make the mechanism a little more secure, tape a popsicle stick over the connecting piece. You may need to slightly angle the stick so that it does not inhibit the movement.

More Space Craft Ideas for Kids
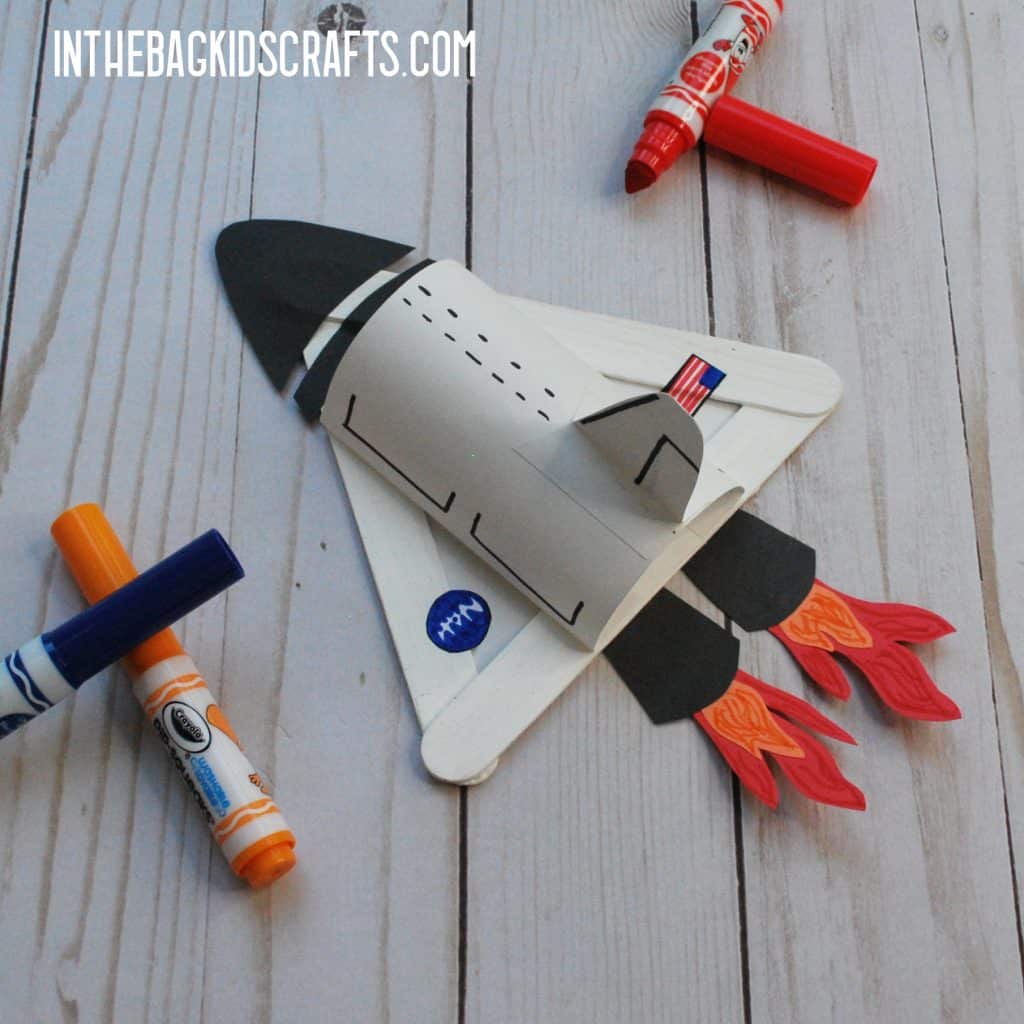
- Popsicle Stick Space Crafts
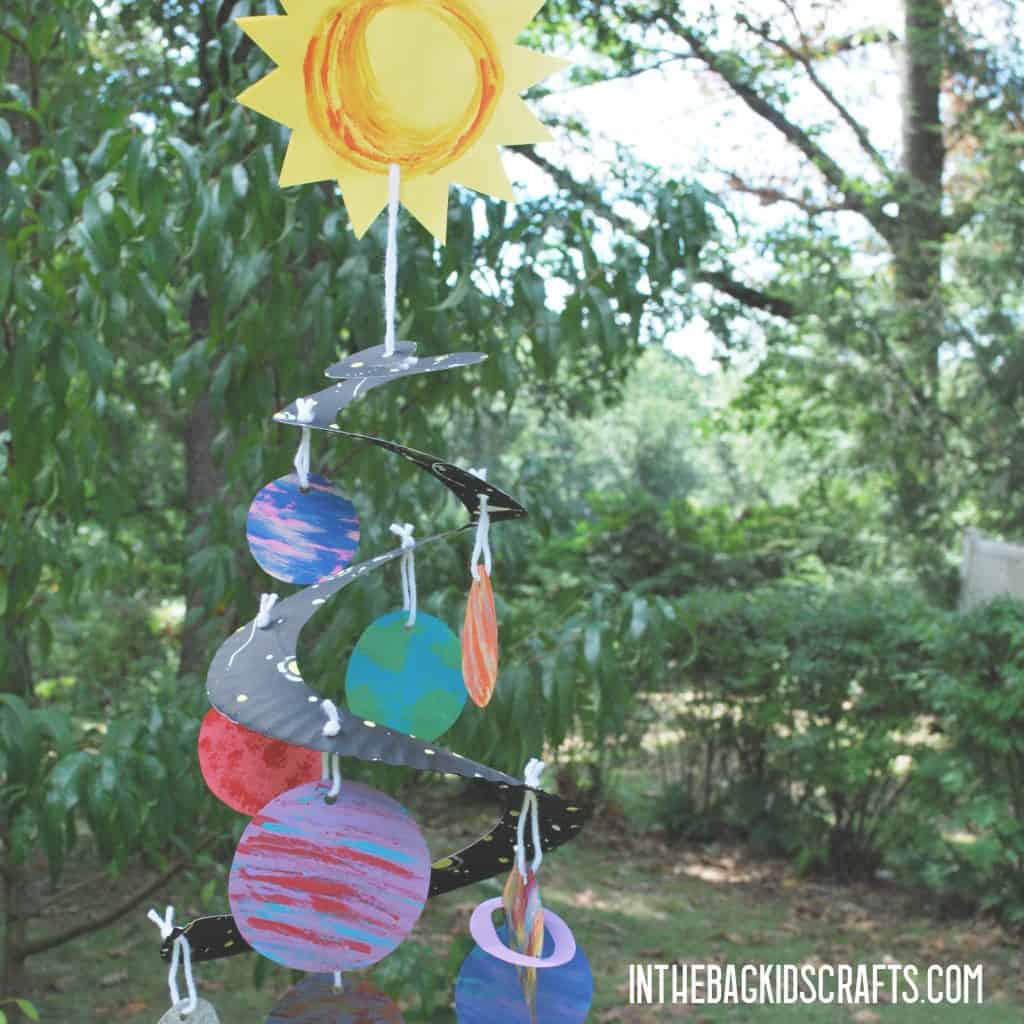
- Solar System Mobile
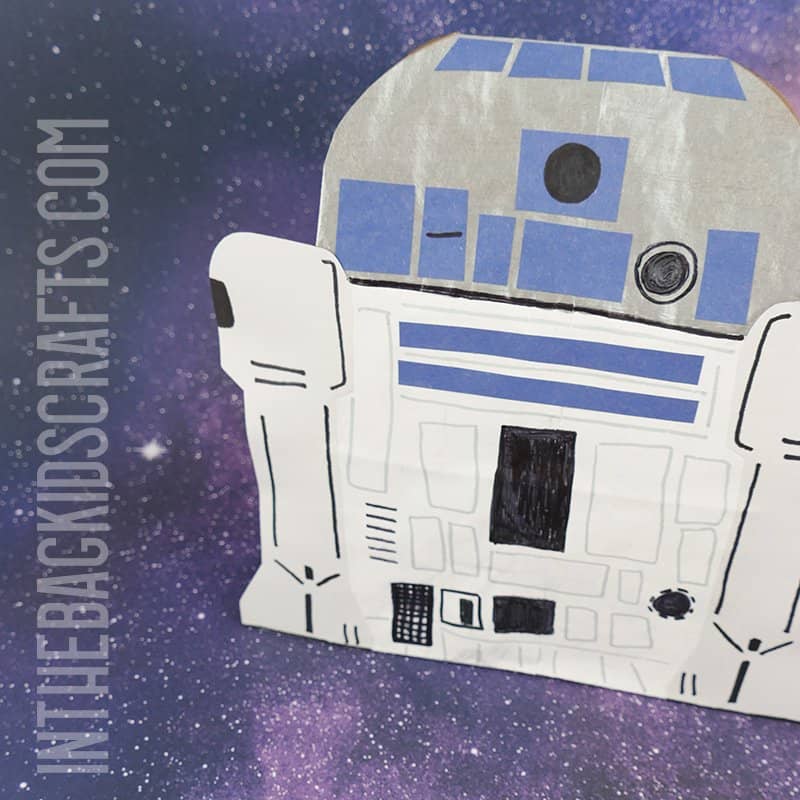
- R2D2 Craft
- Printable Solar System
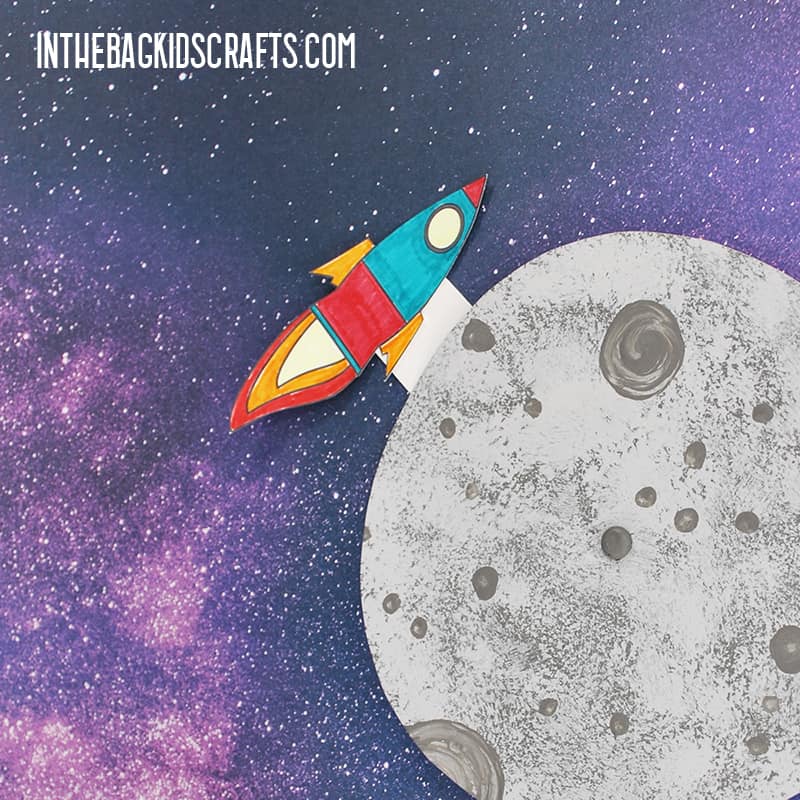
- Rocket Ship around the Moon Craft
- Moon card
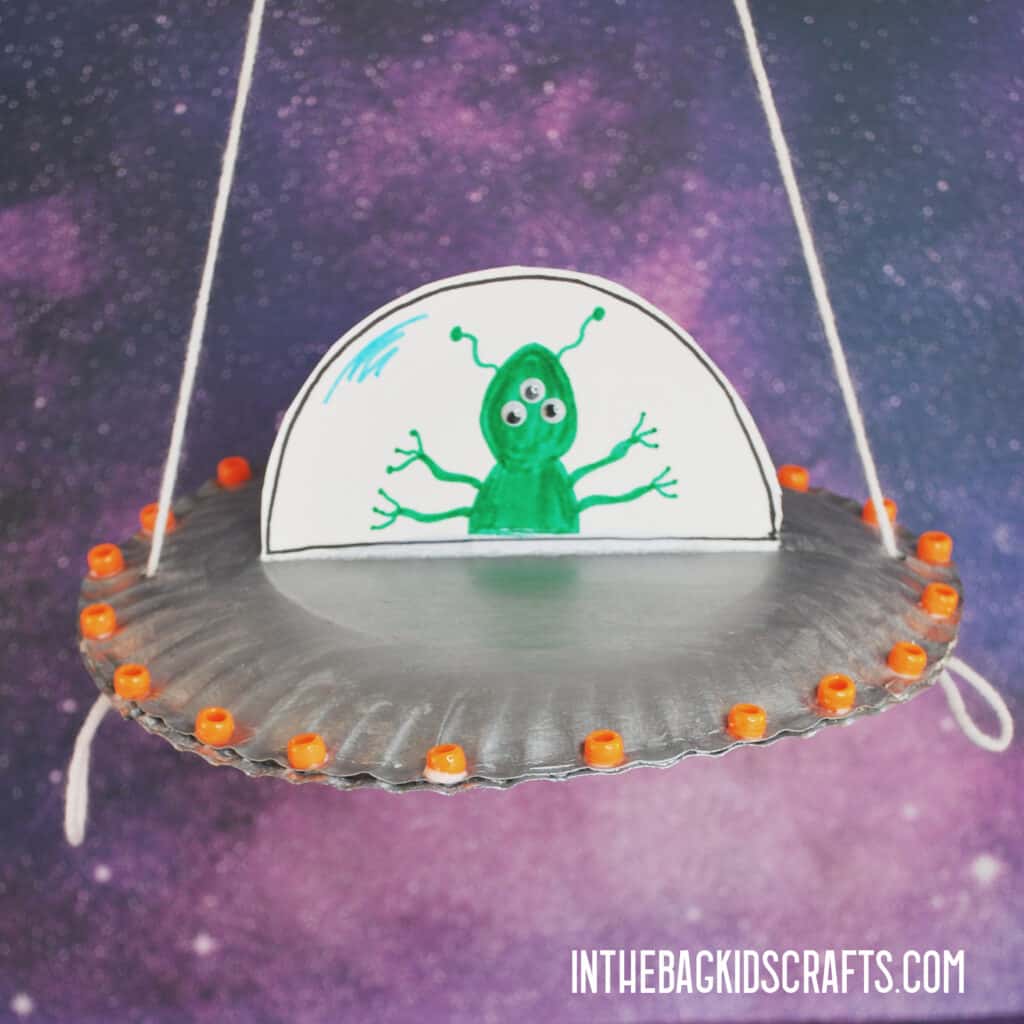
- Flying Spaceship UFO
- Rocket Name Craft
Save these Star Wars paper crafts for later. Pin it to your favorite Pinterest board…
Enjoy your journeys to a galaxy far, far away! And happy crafting!
XO Joy
