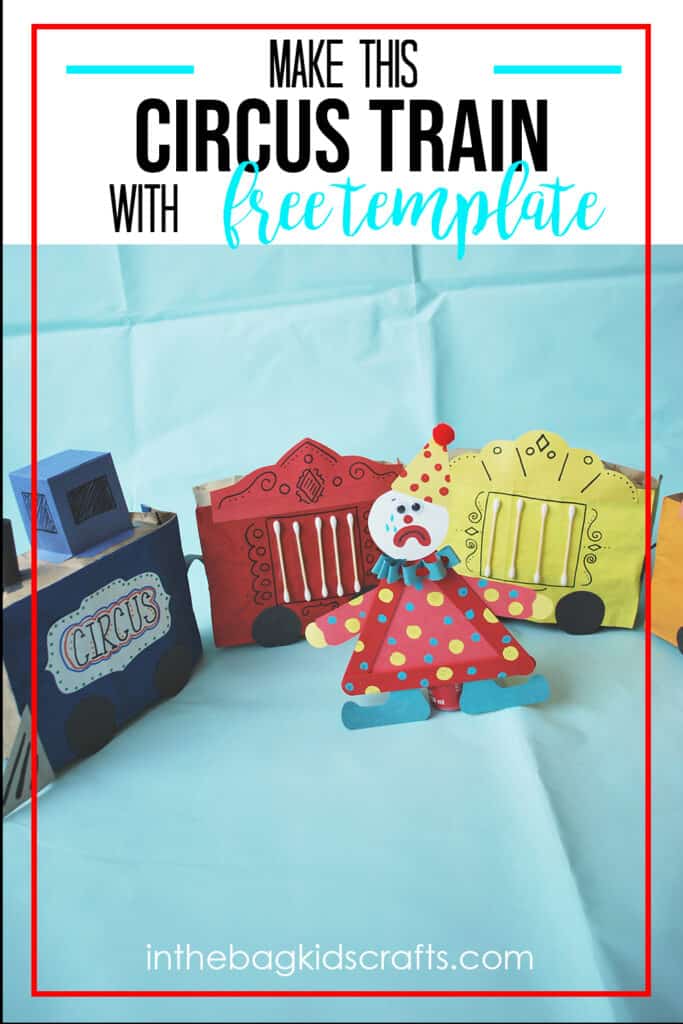
Train Craft Made with Paper Lunch Bags
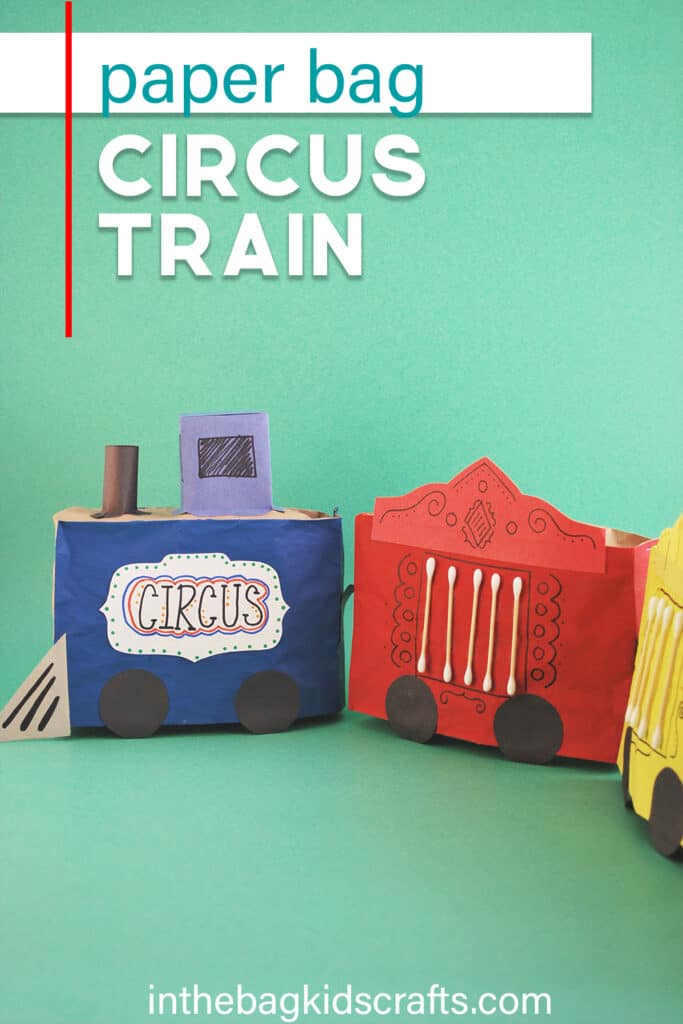
This circus train craft has a few more steps than most of our projects here, but it is so worth it. You are going to love the finished product. Isn’t it amazing what can come from just a few paper lunch bags? Just a heads up…if you want to make this craft with preschoolers, you may want to color the bags with crayons instead of painting them. It will reduce the mess and eliminate wait time in between steps.
I know how much preschoolers love trains, and they will absolutely love this craft. But I want to give you a word of caution. This craft has lots of steps and has some wait times in between steps when things like paint or glue are drying. And there is some cutting that may be challenging for preschoolers.
So, if this is going to be a craft for preschoolers, save yourself a headache and precut the construction paper pieces. You may also want to think about coloring the train cars with markers or crayons instead of painting. Of course, you know what your preschooler is capable of, and they should be doing as much of this craft as they can on their own. You may just need to assist more than with an older kiddo.
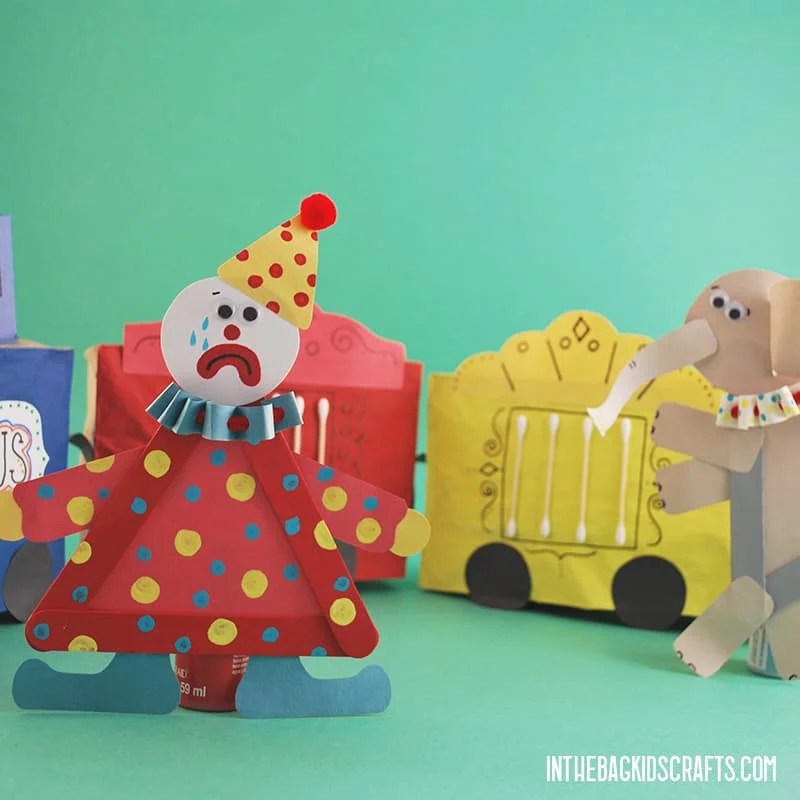
And this paper train craft pairs absolutely perfectly with our Circus characters. I taped mine to some paint bottles so that they would stand up and could be used for play with the Circus Train.
Save this train craft for later. Pin it to your favorite Pinterest board…
This post contains affiliate links, which means if you make a purchase through these links, I may receive a small commission at no extra cost to you. Click here to read my full disclosure policy.
SUPPLIES FROM THE BAG
- 4 Paper lunch bags
- Newspaper
- 4 Medium pompoms
- Assorted paints (4 colors)
- Clothespin
- Black sharpie marker
- Construction paper (to match the paint colors)
- Scrap of black construction paper
- Scissors
- Glue stick
- Q-tips
- Elmer’s glue
- Stapler with staples
- Train Craft Template
So, this list is a little longer than most because this craft is a little bigger than most that we make. But, like every other project here at inthebagkidscrafts.com, all of these supplies are from our master list that we use for every craft on the site. Seriously, we do not stray from the list. So, if you take the time (and I promise it will not take you long at all) to fill up your craft bag, you will be ready to craft along. Now, let’s make some memories, folks.
Step 1: Paint the Train Cars
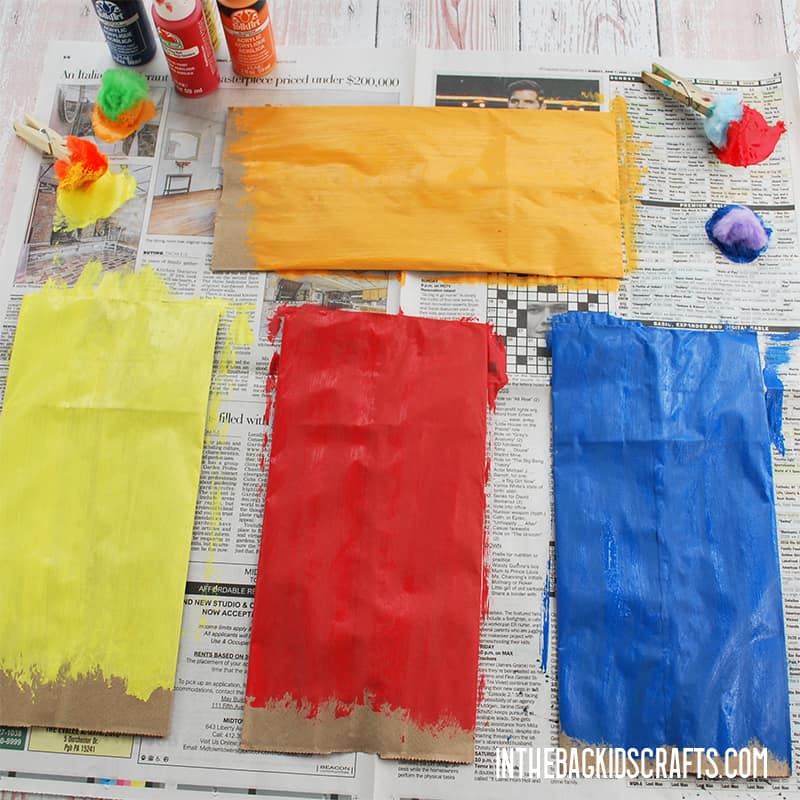
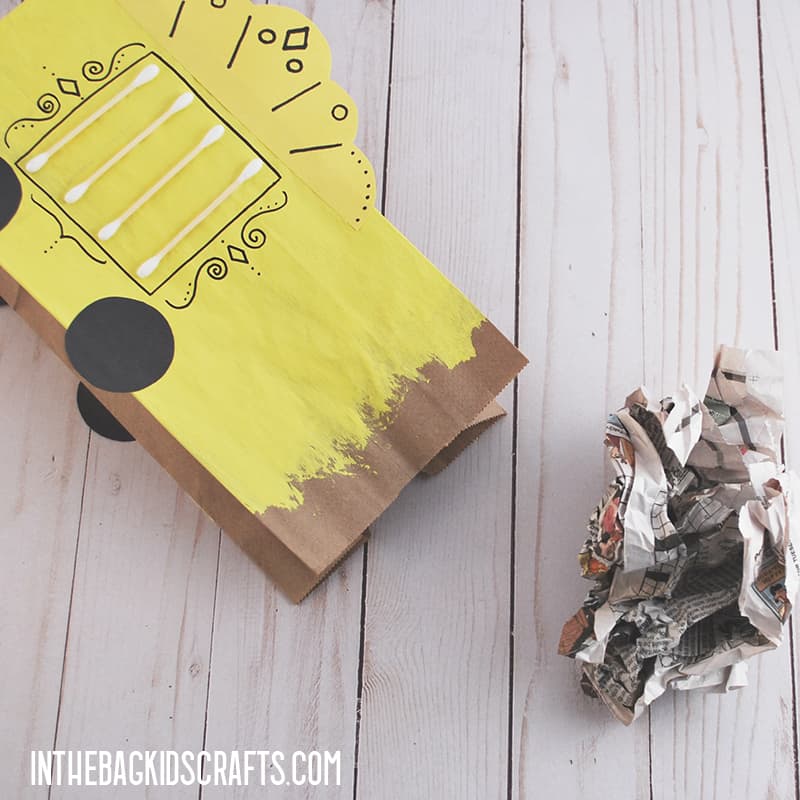
- Lay out a piece of newspaper to control the mess of painting.
- Then place the 4 paper lunch bags onto the newspaper.
- Pin a pompom with the clothespin to make a “paint brush”.
- Next squeeze out a little paint onto a corner of the newspaper and paint one of the paper lunch bags.
- Now squeeze out a different color and get a new pompom to paint the second paper lunch bag.
- Do this until all four bags are painted and then give them some time to dry while you move on to step 2.
Step 2: Cut Out the Parts
- Download the train template to print. There are 3 pages, and this step uses page 2.
- Cut out the template pieces.
- Use them to trace the train parts onto construction paper and cut them out.
- Even though we are only decorating the front of each train car, you will need to cut out 4 wheels for each so that they are balanced.
*If you do not have a printer, just draw the pieces freehand and cut them out. You can use the pictures as a reference.
Step 3: Add Some Details
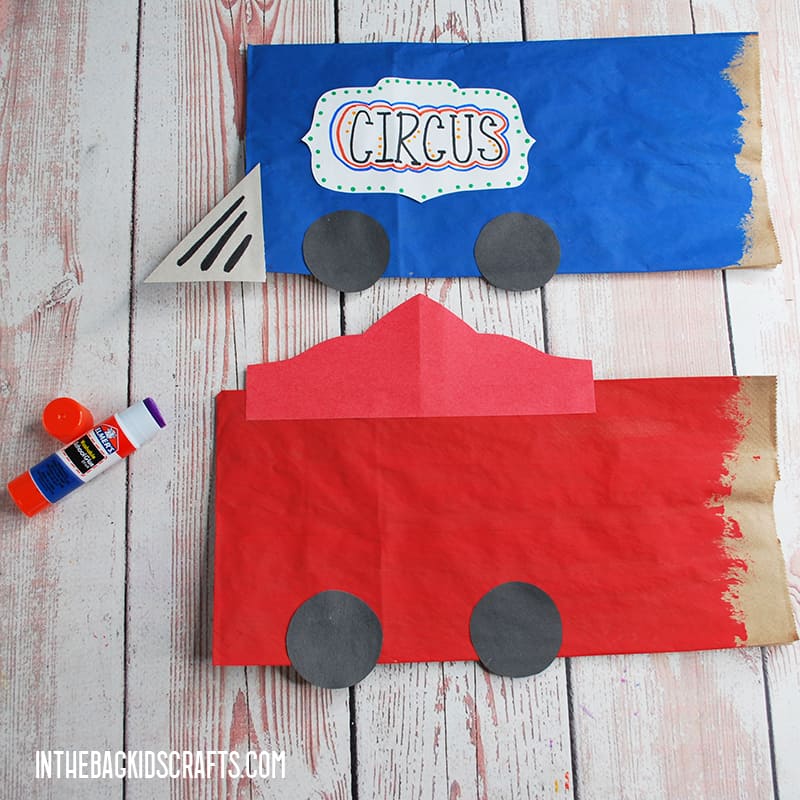
- Once the paint is dry, use the glue stick to attach the decorative tops of each paper train car. *Notice that I did not glue the tops on in the center of the paper lunch bag but to the left since we are going to be rolling the end of the bag shut when finishing off the train.
- Then glue on the 4 wheels, 2 on the front and 2 on the back. Only leave about 1/4″ or so below the paper bag.
Step 4: Add More Train Details
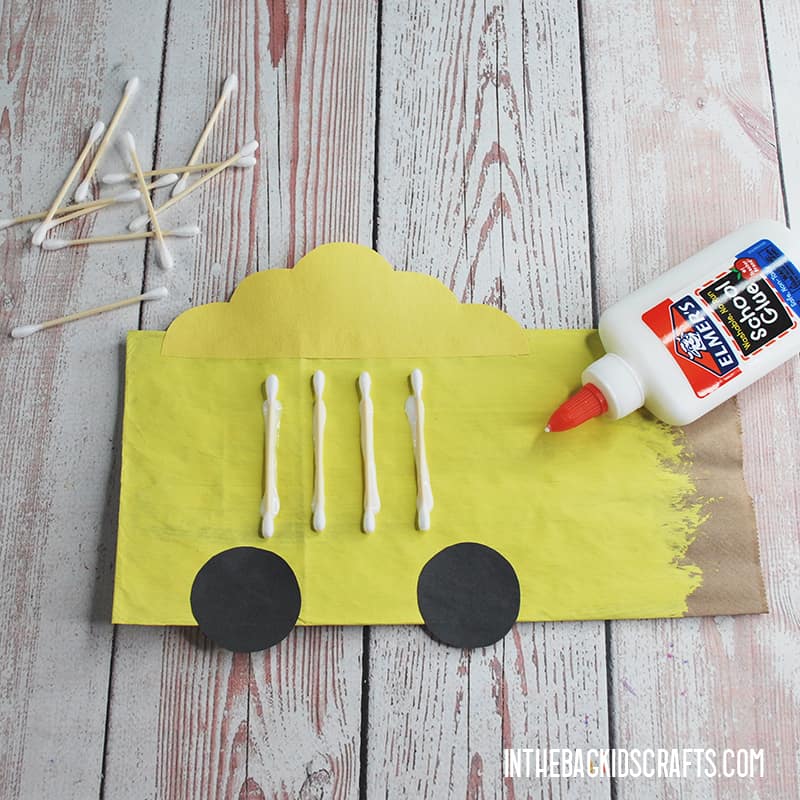
A circus train is unique in that it carries lots of animals (all very humanely treated and rescued from horrible situations in our circus, of course). So, we will need to add some bars onto each circus train car.
- Make 4-5 lines of Elmer’s glue in the middle of each train car, except the engine.
- Place a q-tip on each line of glue and set it aside to give it some time to set up.
Step 5: Make the Train Engine
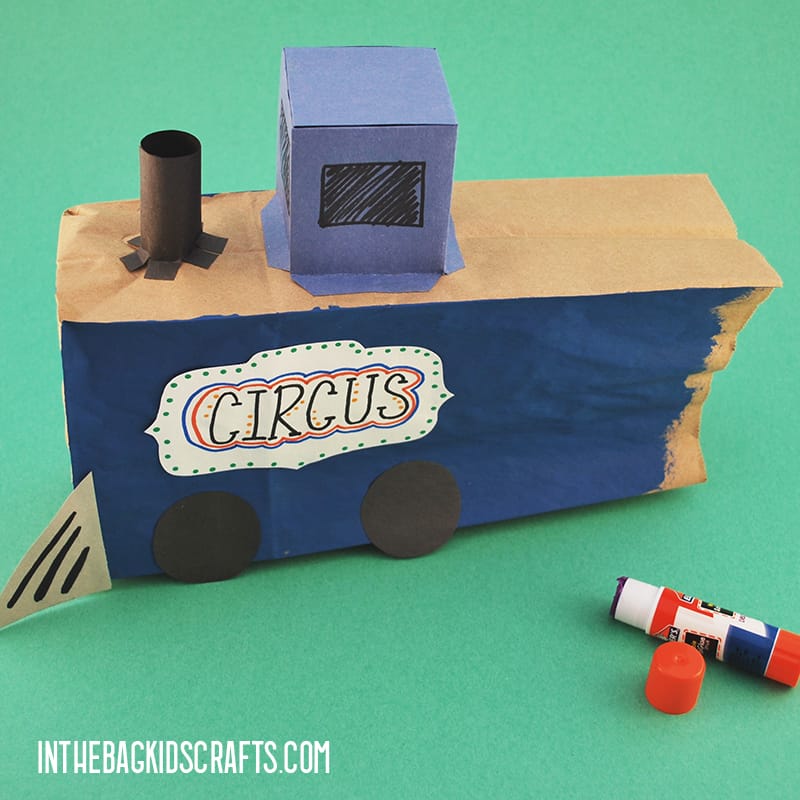
- If you haven’t already, print out the remaining pages of the train craft template.
- Then cut out the pieces. Trace them onto the construction paper and cut them out.
- Open up the bag that is painted for the train craft engine.
- Make all of the folds for the top of the train engine and put glue on the tabs to make the “box”.
- Then glue the bottom 4 tabs to the top of the train engine.
Step 6: Draw on the Decorations
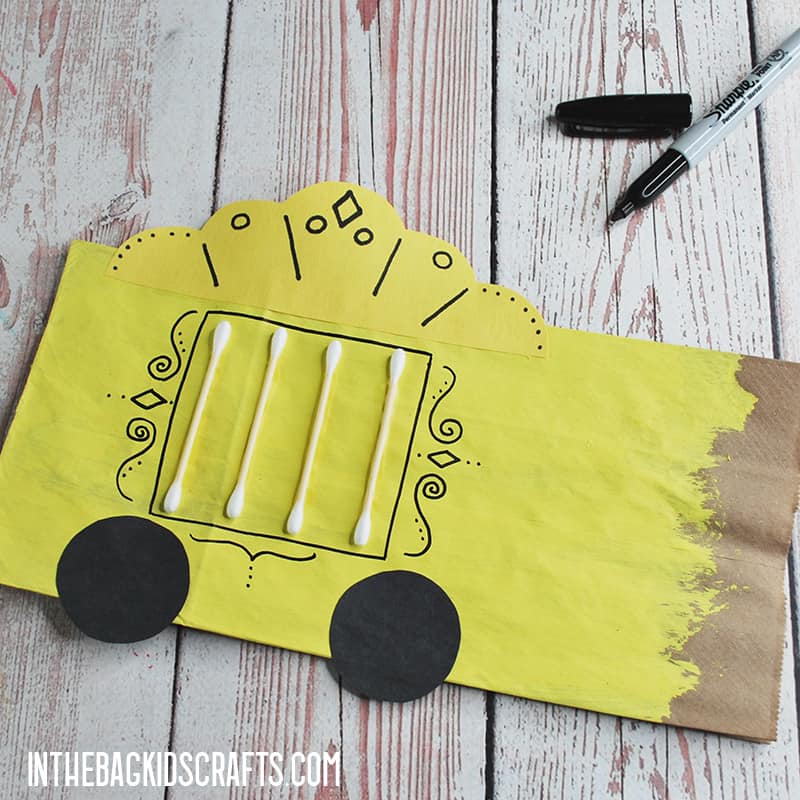
- Now that the glue is dry on the q-tips, use the black Sharpie marker to draw on some decorative touches.
- This is your chance to make this circus train craft your own. Yours should not look like mine. Use your imagination and decorate your paper train.
Step 7: Make the Train Cars 3D
STEP 7 STEP 7B
- Now it is time to make our train craft 3D.
- Open up one of the painted and decorated paper lunch bags and stuff it with crumpled up newspaper. Don’t overstuff.
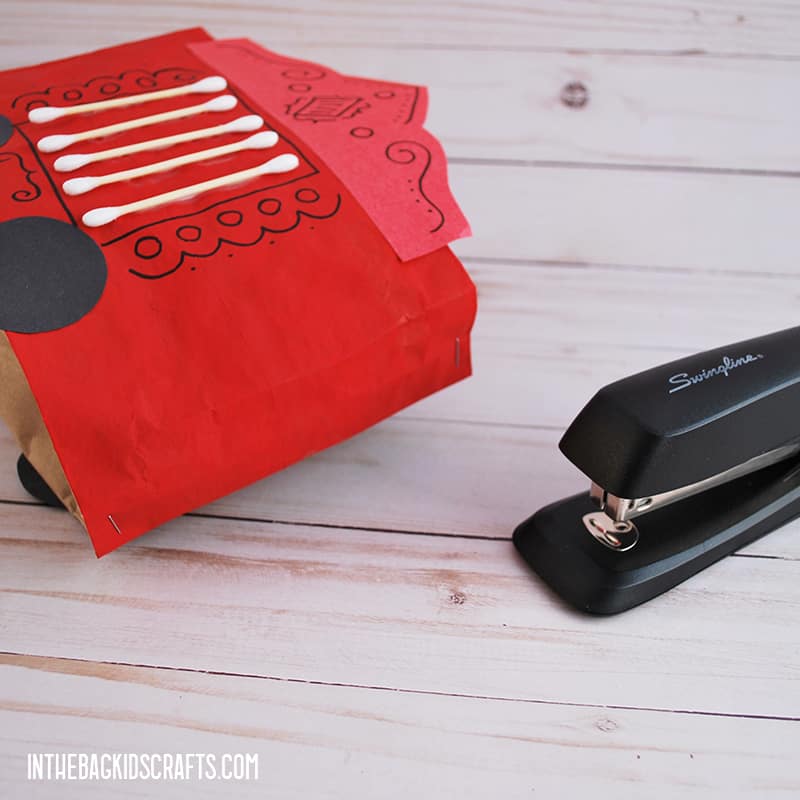
- Now fold the end of the paper bag over 3x (about 1/2″ each fold). Then secure each side with a staple.
- Repeat this for each paper train car.
Step 8: Attach the Paper Train Cars
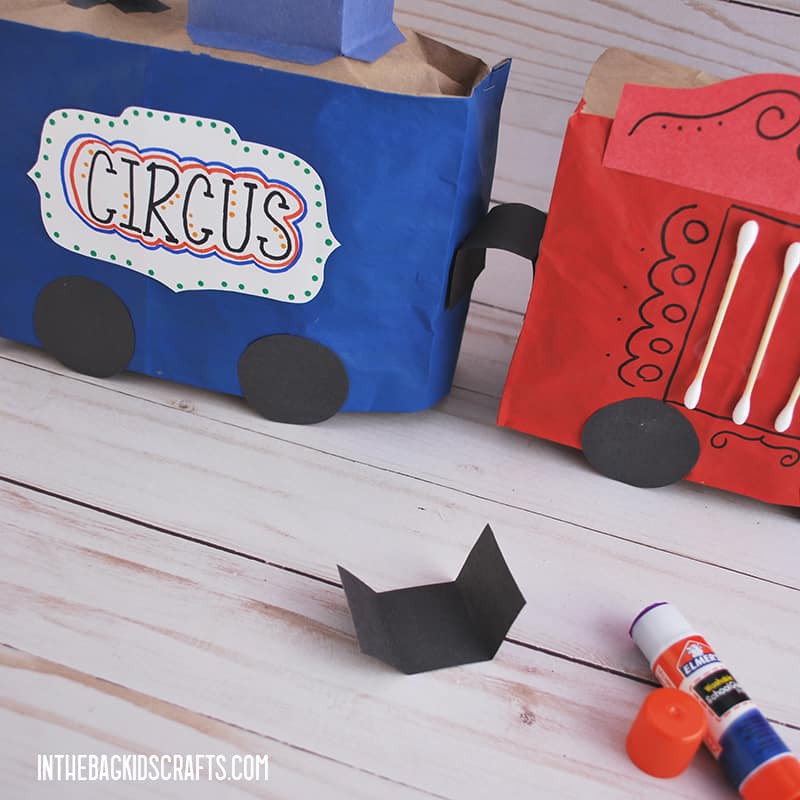
- Now that all of your cars in your circus train craft are completed, we just need to connect them.
- Cut 3 strips of black construction paper about 1″ wide by 3″ long. Then fold each one in thirds.
- Put glue on the outside thirds of a tab and attach 2 of the train cars.
Check out the Video Tutorial for this Paper Train Craft…
This is so much more than a simple kids’ craft. It is an opportunity for imaginative play. And, let me remind you, let your kiddo make this paper train craft however they want to make it. Don’t put your own expectations on the project. Let them experience the satisfaction of a job well done and only step in when they need some redirection. Do not take over. Please.
Happy Crafting!
XO Joy
Save this Circus Train Craft for later. Pin it to your favorite Pinterest board…
