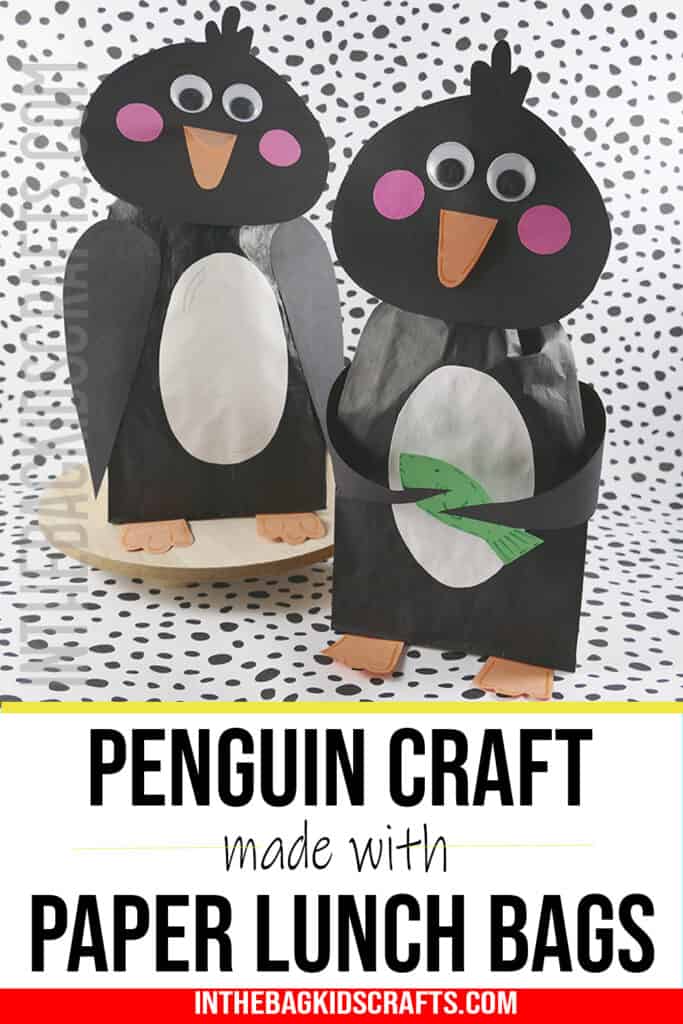
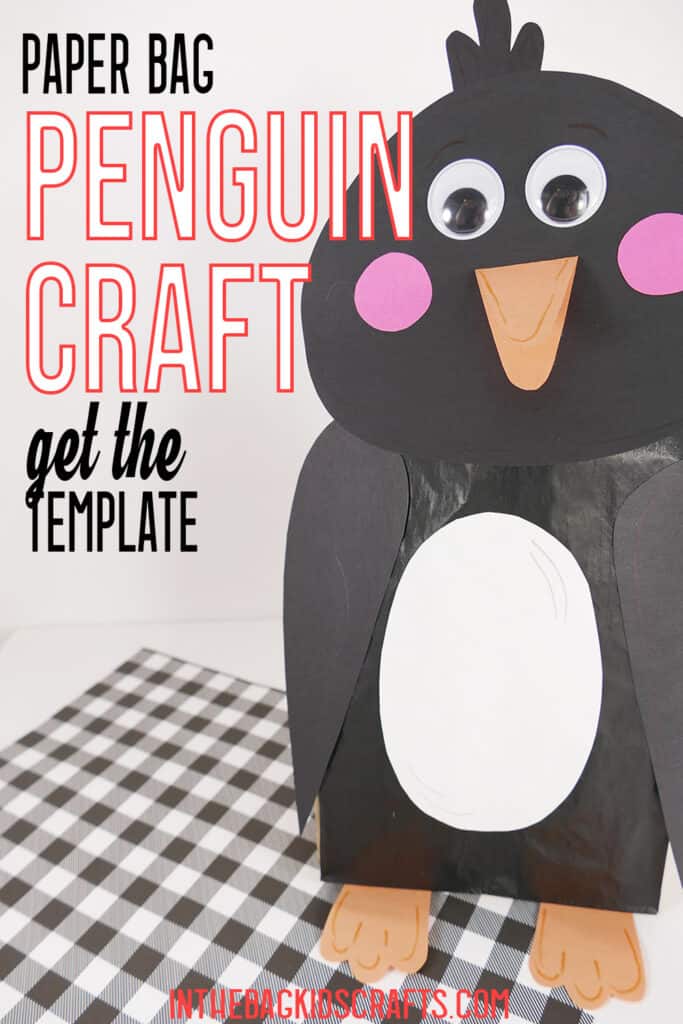
Cute Penguin Craft for Kids (FREE Template)
This craft starts with a simple paper lunch bag and turns into such a completely cute penguin craft. Though this is generally seen as a winter activity, this fun penguin craft can be made any time of the year! Rain or shine.
This is the perfect craft for kids of all ages (little kids and older kids alike). The free printable template makes it even easier!
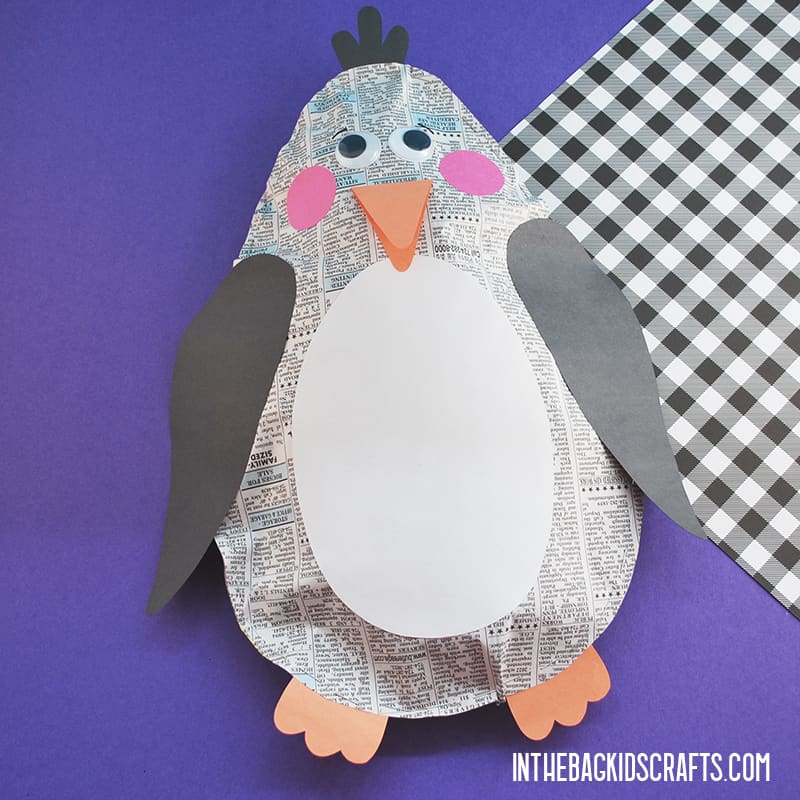
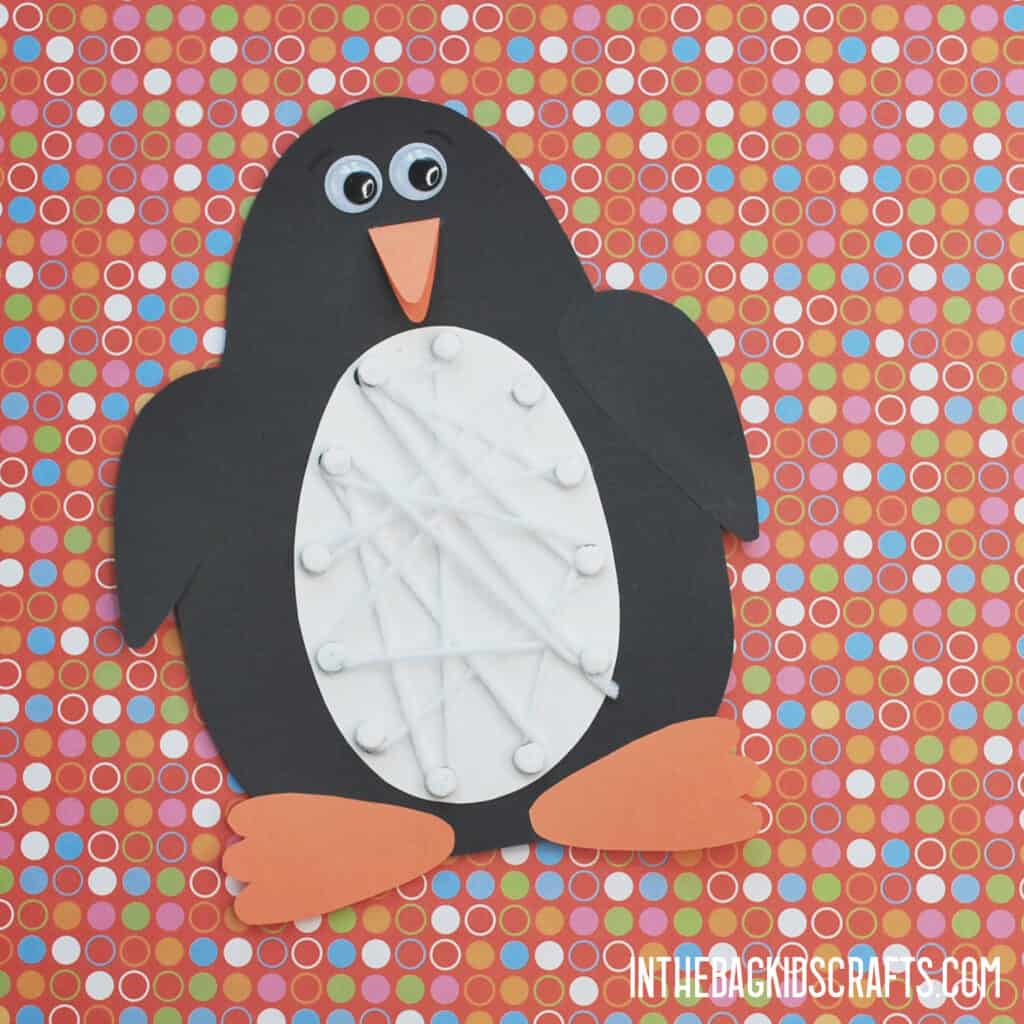
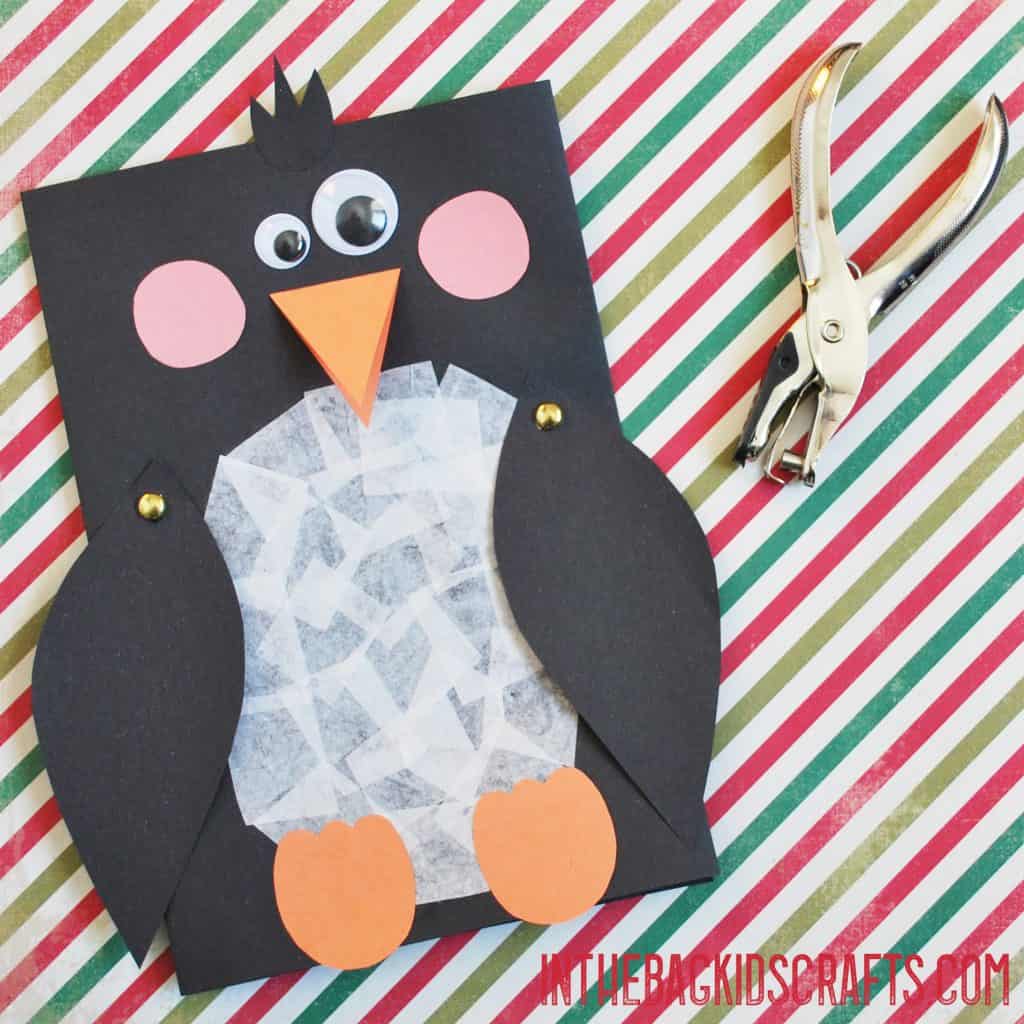
And if you like this paper penguin craft, you are going to want to check out these other penguin crafts, including this penguin with a yarn tummy, newspaper penguin, penguin card and painted penguin.
Save this Easy Penguin Craft for later. Pin it to your favorite Pinterest board…
Penguin Fun Facts
- A group of penguins in the water is called a raft and on the land is a waddle.
- They can swim very fast, over 10 mph and dive as deep as 800 feet.
- Penguin’s black and white colors are not random. They are a kind of camouflage.
- They mate for life and can locate their mate in a crowd or over distance through distinct calls.
- Penguins are very social animals.
- Penguins have a special oil that insulates their body and makes them waterproof.
To learn even more fun things about penguins, you can check out this article at Good Housekeeping.
All activities require adult supervision. By using this site, you are agreeing to our terms of use. This post contains affiliate links, which means if you make a purchase through these links, I may receive a small commission at no extra cost to you. Click here to read my full disclosure policy.
CRAFT SUPPLIES FROM THE BAG
- Paper lunch bag
- Newspaper
- Pompom
- Clothespin
- Black paint
- Construction paper
- Scissors
- Scotch tape
- Googly eyes (or printed paper eyes)
- Glue stick
- Penguin craft template
How to Make a Penguin Craft for Kids
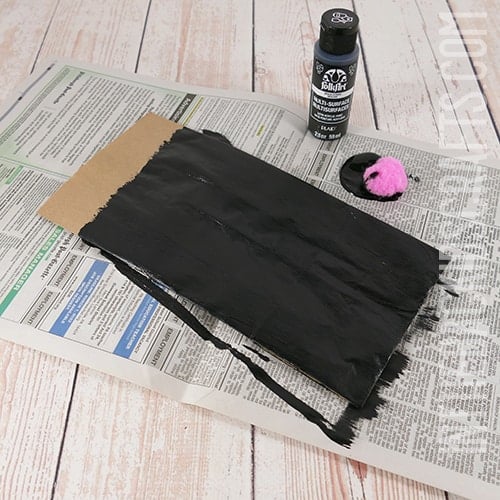
Step 1: Paint the Bag (Penguin’s Body)
- Lay out some newspaper on your crafting surface.
- Place the paper lunch bag on the newspaper with the flap facing down and the opening at the top.
- Pinch a pompom with a clothespin to form a “paint brush”.
- Paint the paper bag black, leaving the top inch or so unpainted.
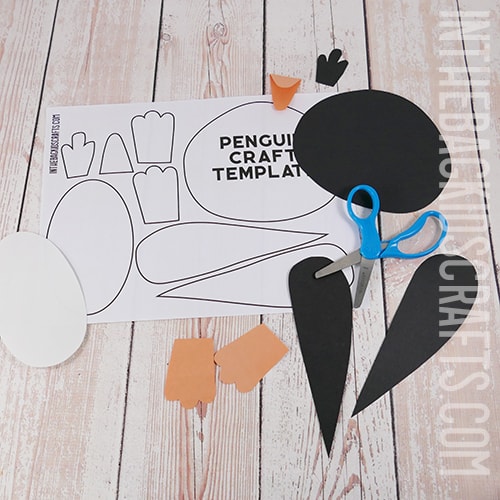
Step 2: Use the Penguin Template
- While the paint is drying on your paper bag, download and print out the free penguin template.
- Use the printable template to cut all of your pieces out of construction paper.
- For the beak, you can make it flat or fold it and then cut it our with the flat part on the fold.
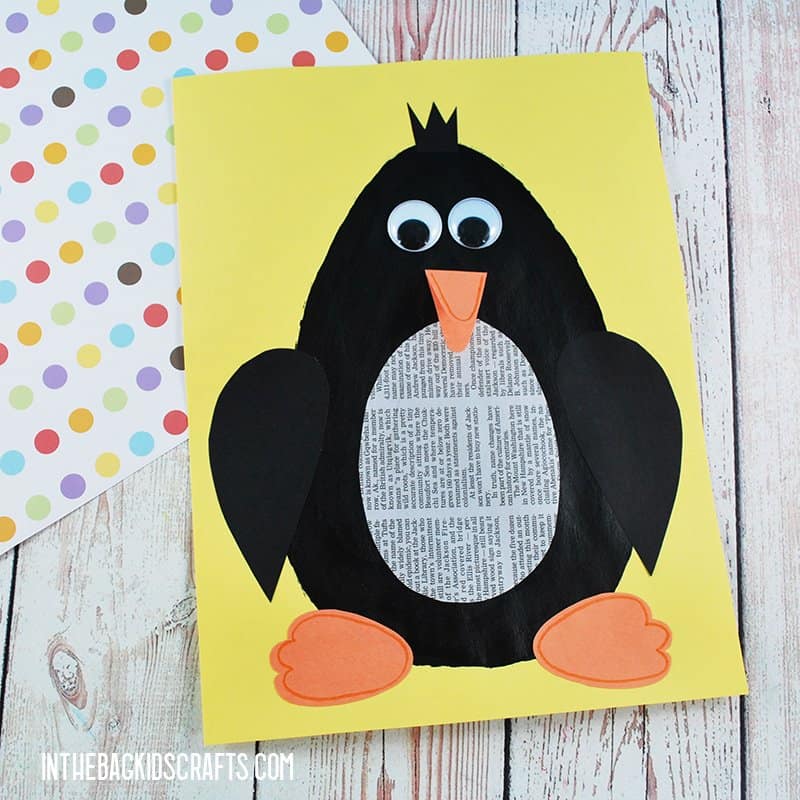
- From black paper, make the head, hair tuft and 2 wings. From white paper make the penguin’s belly, and make the feet and beak from orange construction paper.
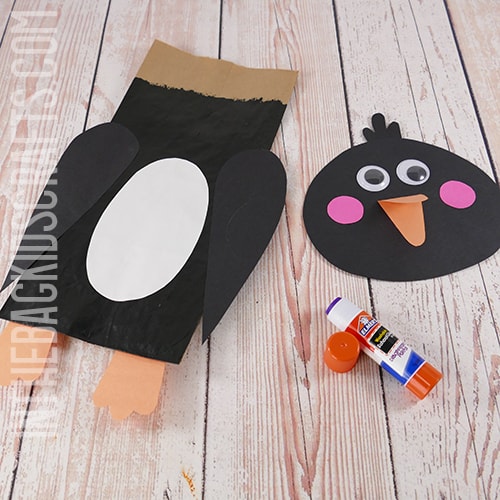
Step 3: Add Some Details
- Now that the paint has dried, it’s time to put together your penguin parts.
- Glue the white construction paper circle onto the middle of the paper bag toward the bottom. You want to leave plenty of room at the top for adding on the head later.
- With the bag still flat, glue on the wings and feet also. The feet will be glued onto the back side at the bottom.
- Also put the face together, gluing in place the hair tuft and beak. We then put googly eyes in place and added some rosy cheeks from pink construction paper.
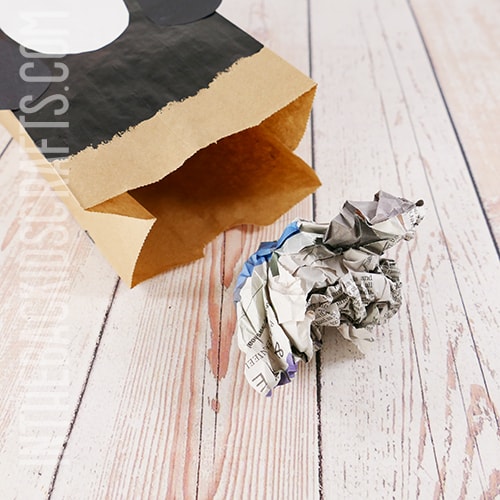
Step 4: Stuff it
- Open up your paper lunch bag.
- Tear strips of newspaper and crumple them into balls.
- Place the crumpled up newspaper balls into the opening of the bag one at a time until the bag is filled, but not over-stuffed.
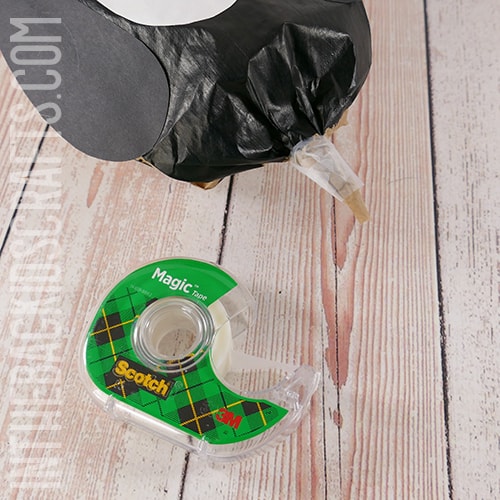
Step 5: Prepare the Bag
- Once the bag is stuffed, crimp the top together and wrap it up with some scotch tape.
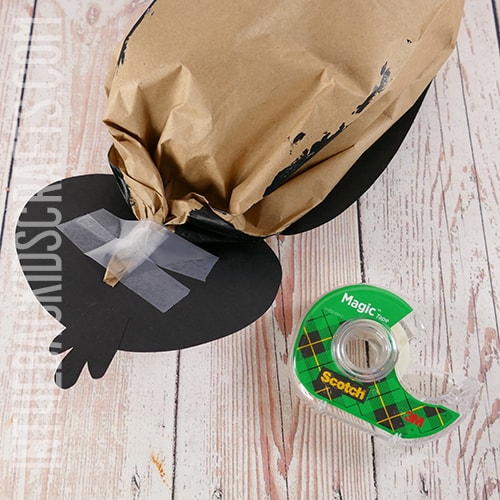
Step 6: Put It Together
- Place the head at the top of your paper bag where you have gathered it together and secured it with scotch tape.
- Use a couple of pieces of tape to attach the head to the gathered up section of the bag.
Congratulations, you’ve finished your little penguins! Now it’s time to make it your own. We used traditional colors of black and white for our penguin, but you can get as creative as you’d like. Change up the colors, add more details, pose him in different ways and have him hold special objects of your choice. The only limit is your imagination.
Make your penguin a walrus friend
Enjoy Making Even More Penguin Crafts
Painted Penguin Craft with Newspaper
Stuffed Newspaper Penguin Craft
Lacing Penguin Craft
Penguin Card
Save this Winter Craft for later. Pin it to your favorite Pinterest board…