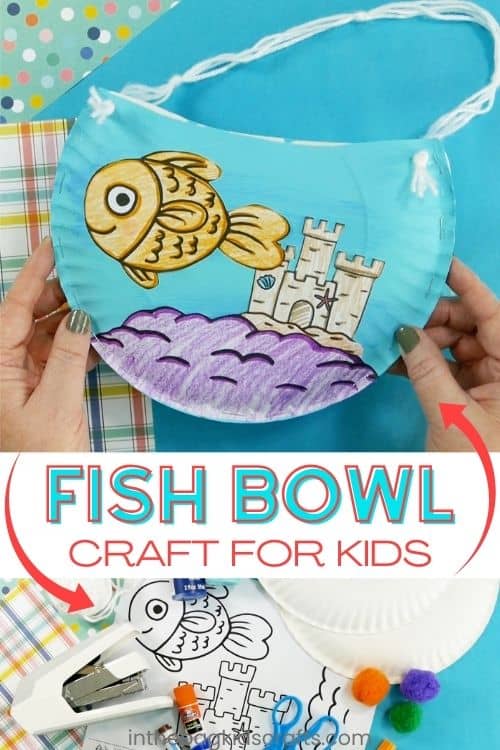
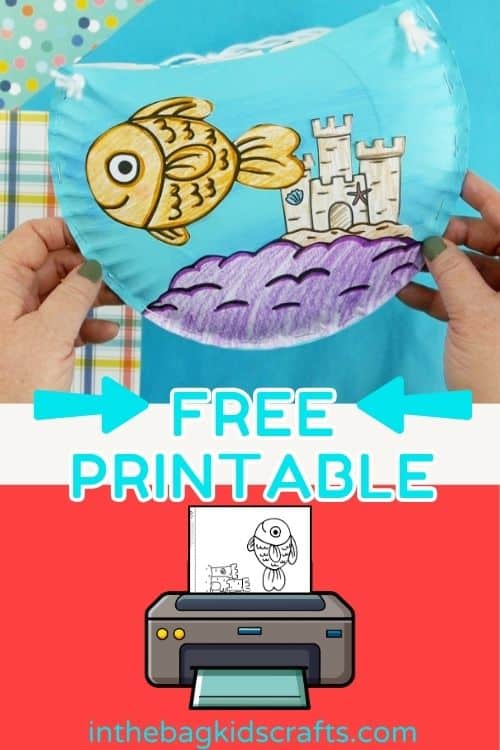
Paper Plate Fish Bowl Craft for Kids (Free Printable)
We once had a miracle at our house…a goldfish that my son won at the local carnival actually lived! Not only did it live, but it flourished and grew. The sweet little fishy stuck around for several years, just swimming around it’s little fish bowl all fat and happy. This fish bowl craft is the perfect way to celebrate such sweet moments.
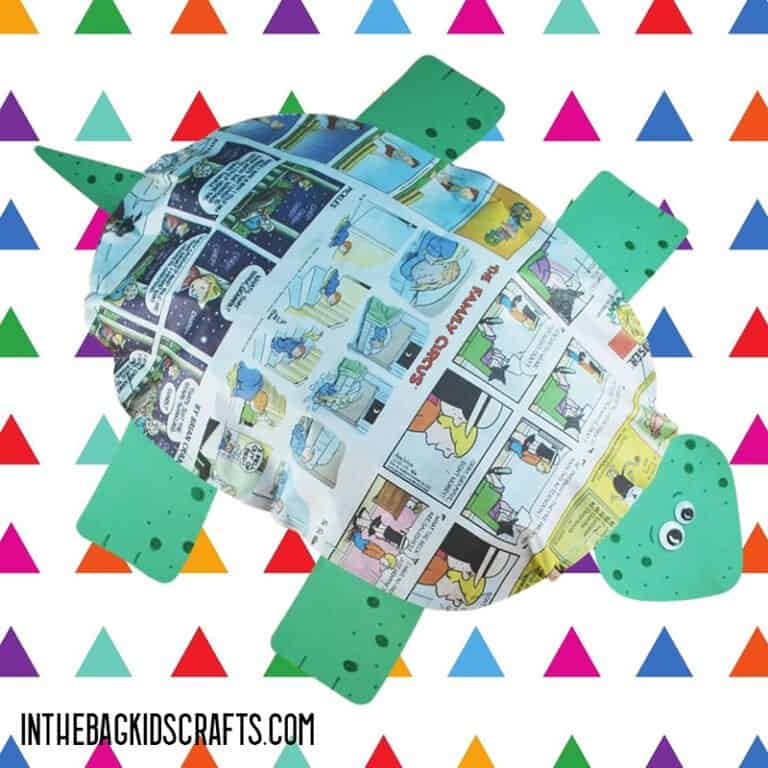
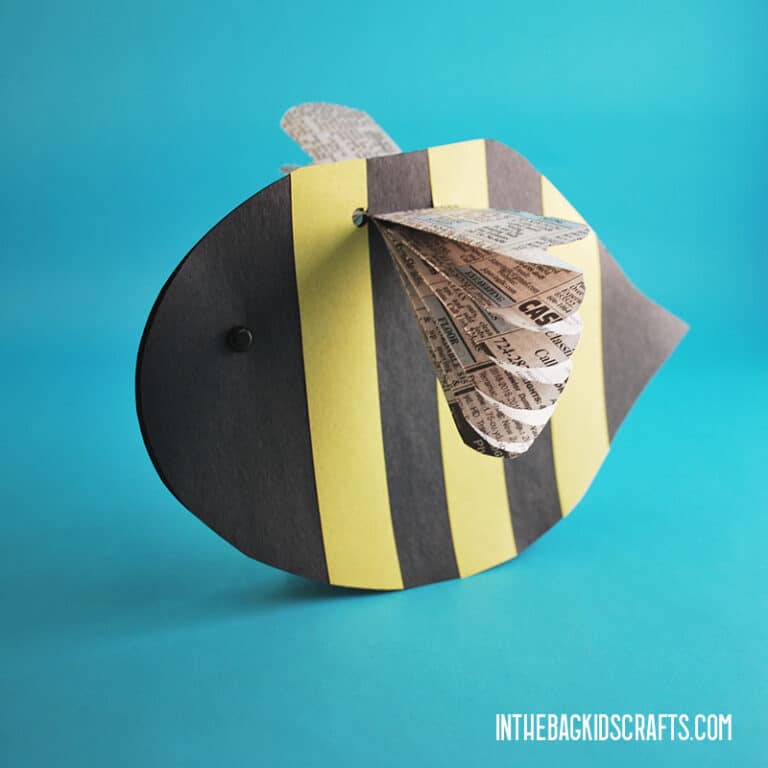
If you enjoy making this craft, you’re also going to love making these pet crafts from craft sticks, this fish banner craft and this fish craft.
Save this fish bowl craft for later. Pin it to your favorite Pinterest board…
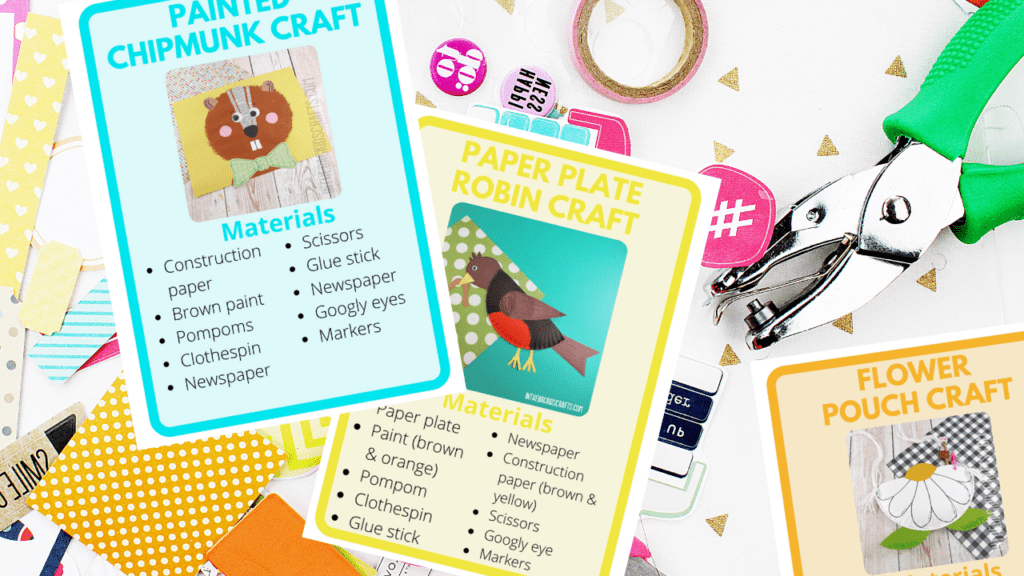
Get 100 Craft Flashcard Sets for just $19!!!
Fun Facts About Goldfish
- Goldfish are actually pretty smart. Studies have suggested that goldfish have a memory of 5 months.
- They don’t have eyelids and can’t close their eyes to sleep.
- If you look at your goldfish’s mouth, it looks as though it does not have teeth, but goldfish have flat teeth in the back of their mouth.
- You can tell the age of a tree by looking at the tree rings; you can tell the age of a goldfish by looking at the scales.
- Goldfish get their color from the sun.
- Tapping on the bowl stresses out a goldfish.
- They will grow according to the size of the tank.
- Goldfish can probably smell better than you.
To learn more interesting facts about goldfish, check out this article from Cool Kid Facts.
All activities require adult supervision. By using this site, you are agreeing to our terms of use. This post may contain affiliate links, which means if you make a purchase through these links, I may receive a small commission at no extra cost to you. Click here to read my full disclosure policy.
Check Out Our Favorite Books About Goldfish
The only thing better than making crafts is combining creating with reading a good book on the same topic. It’s a great way to also encourage a love of reading.


How to make a Fish Bowl Craft
We used traditional colors and created a goldfish in our fish bowl craft, but you can use whatever colors you like. Maybe your fish will be pink with purple polka dots. Or maybe it will be rainbow colored, and he’ll live in a red castle. The only limit is your imagination.
SUPPLIES FROM THE BAG
- Paper plates (2 9-inch coated)
- Blue paints
- Pompoms
- Clothespin (optional)
- Newspaper
- Stapler with staples
- Scissors
- Crayons or markers
- White yarn
- Hole punch
- Glue stick
- Fish bowl craft template
To make crafting with your kids actually do-able and fun (like it should be), we always stick to a list of basic supplies that fit into one bag for all of the crafts that you see on this site. We never stray from the master list so that once you fill your bag, you’re ready to craft along over and over again, even when time and money is tight. Now let’s craft some memories!
Check Out the Video Tutorial for this Cute Goldfish Craft
Step-by-step Instructions:
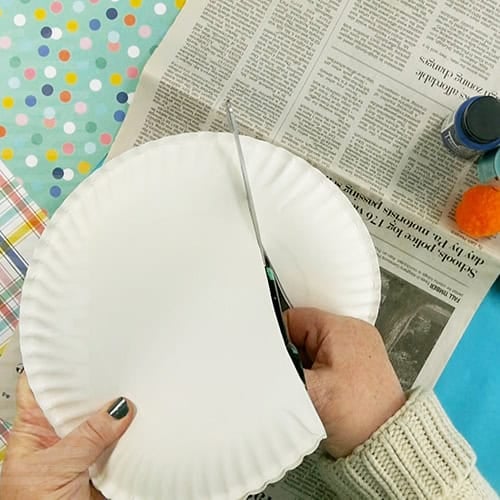
Step 1: Cut the Plate
- Layer your 2 paper plates together and cut off the top 3 inches on a curved line. This is the top of the fish bowl.
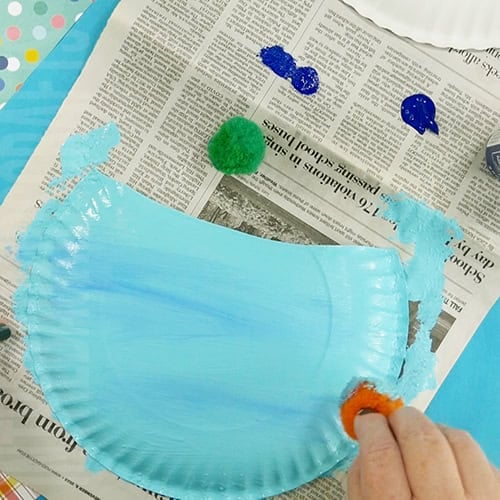
Step 2: Paint the Fish Bowl
- Now lay out some newspaper on your crafting surface.
- Place the paper plates on the newspaper bottom side up.
- Pinch the pompom with a clothespin to create a “paint brush” (optional).
- Squeeze out some blue paints on the newspaper, and use them to paint your paper plates to create your fish bowl.
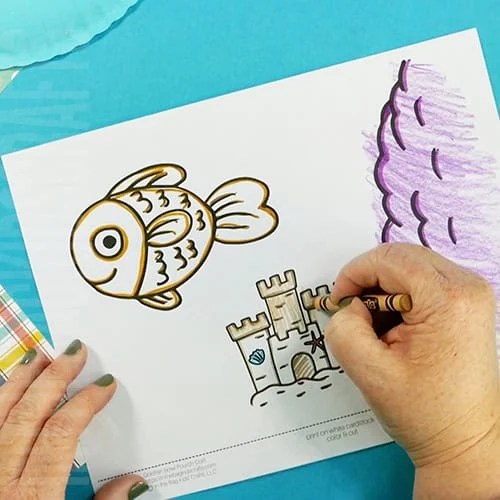
Step 3: Use the Fish Bowl Craft Template
- Grab the free printable. Download it and print it onto standard printer paper.
- Use your markers and/or crayons to color the parts for your fish bowl craft, including the fish, castle and aquarium gravel.
Step 4: Cut Out the Pieces
- Cut out all of the pieces for your fish bowl craft.
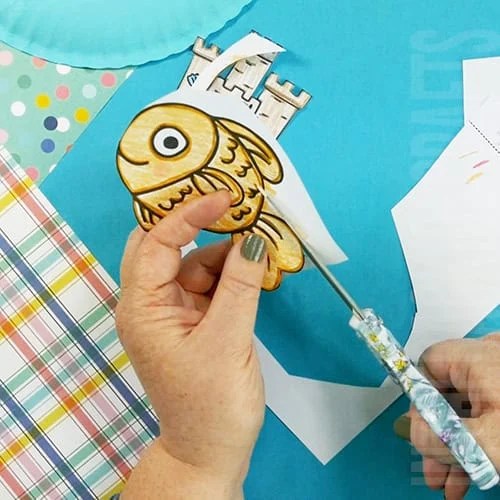
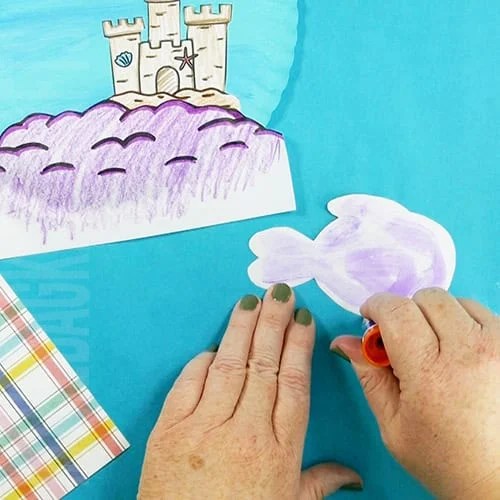
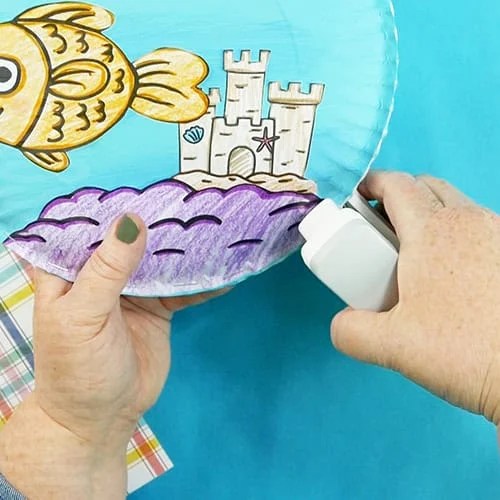
Step 5: Put Together the Fish Bowl Scene
- Now use your glue stick to add all of the pieces to your fish bowl craft.
- First attach the castle to the back of the gravel.
- Then put the gravel in place at the bottom of the bowl.
- Last, add your fish to his little home.
- Finish off by trimmin away the excess paper.
Step 6: Create the Pouch
- Place the paper plates together with the fronts facing each other so that a pouch if formed.
- Go around the outside edge with your stapler, leaving the top open.
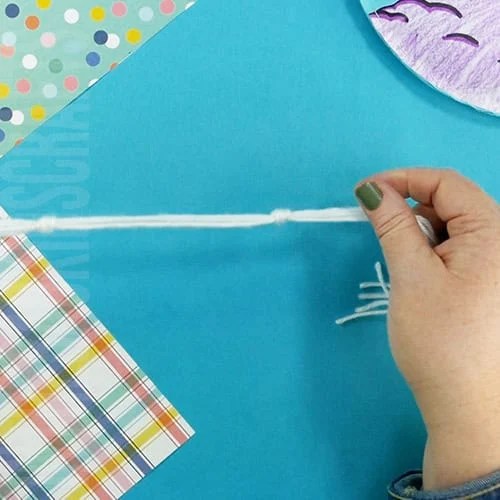
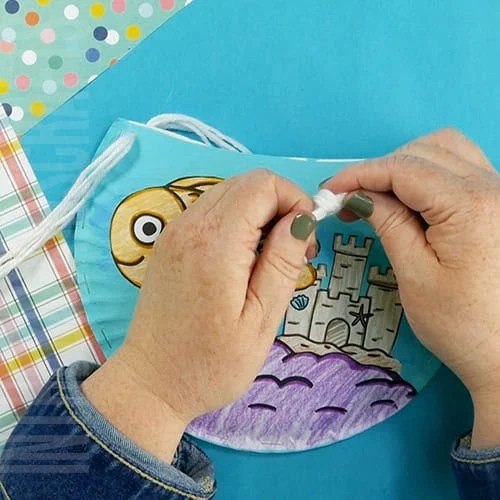
Step 7 (optional): Make a Handle
- Create a handle for your fish bowl pouch using some white yarn.
- Cut 5 pieces of yarn about 1 yard long each.
- Layer them together and place a knot in the center.
- Add 2 more knots on each each of the yarn length, about 6 inches apart to finish off your strap.
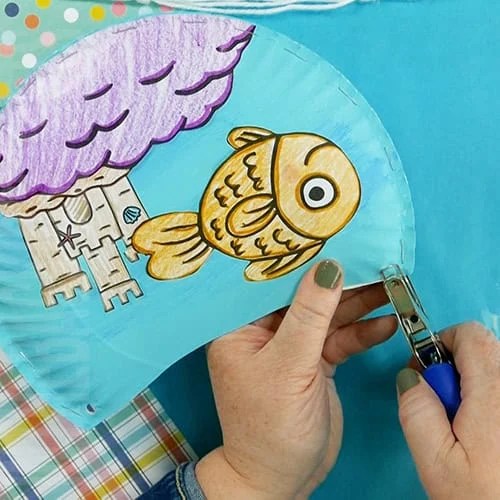
Step 8 (optional): Finish Off Your Goldfish Craft
- Use your hole punch to add a hole to each side of the fish bowl pouch on top.
- Lace the ends of the handle you created into each hole.
- Then tie a knot to keep the handle in place.
- Trim up the ends of the string once handle is secured in place.
Now that you’ve created your fun fish bowl craft, fill the pouch with your favorite treasures or snacks. Maybe you can even fill it with craft supplies for more creations in your future.
Keep the Crafty Fun Going!
Skip the Paint
I know that it’s not always possible to get the paint out. But even without it, you can make this adorable fish bowl craft. Instead of paint, purchase paper plates that are already blue. Or grab your regular paper plate and use crayons or markers to color the background of the fish bowl.
Here are even more Pet Crafts to make
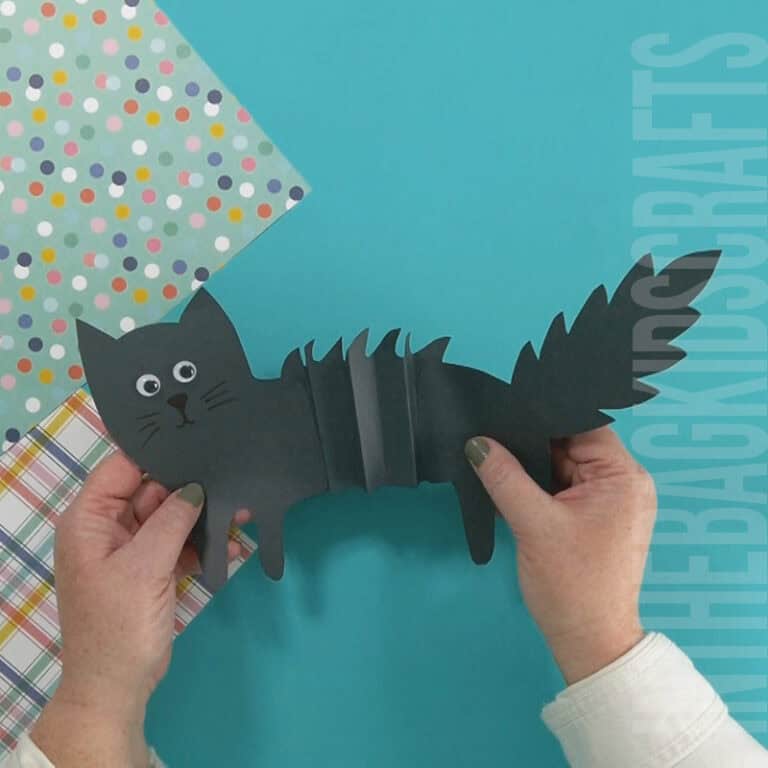
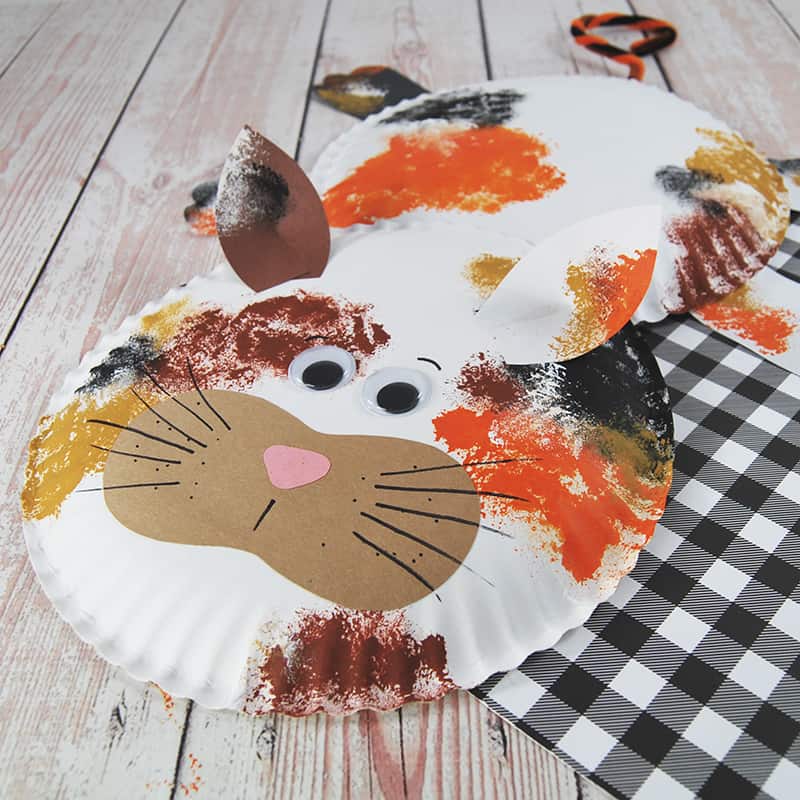
Paper Plate Cat Craft
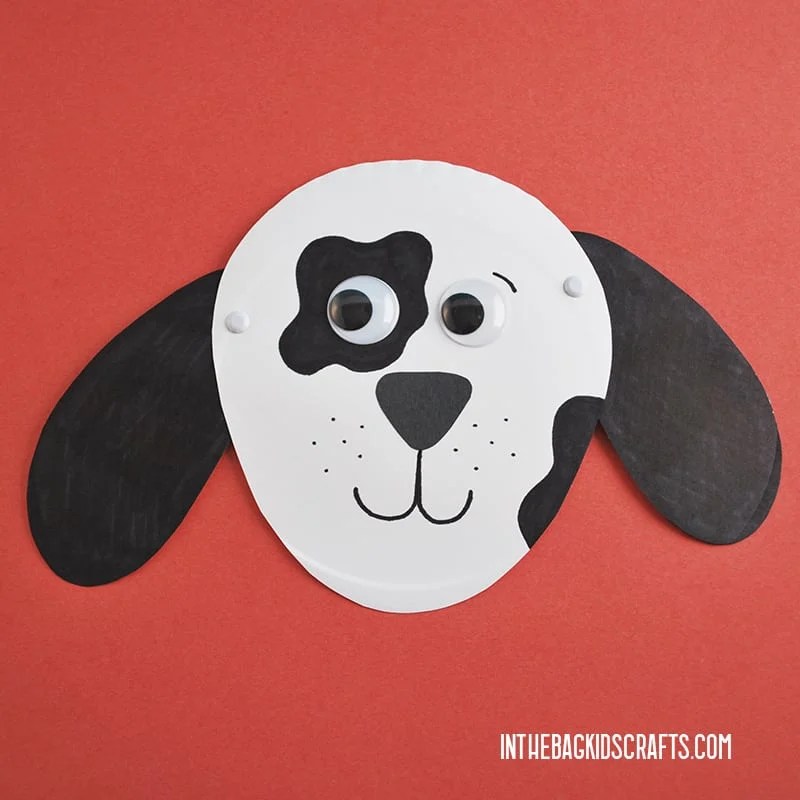
Floppy Eared Puppy Craft
Paper Bunny Craft
Share With Us
Did you make this activity with your kids or students? We’d love to feature them on our social media!
For a chance to have your child’s project featured, simply snap a picture of the completed project and email it to us directly by clicking here or use #inthebagkidscrafts on your social media!