Sheep Craft with Cotton Balls {FREE Template}
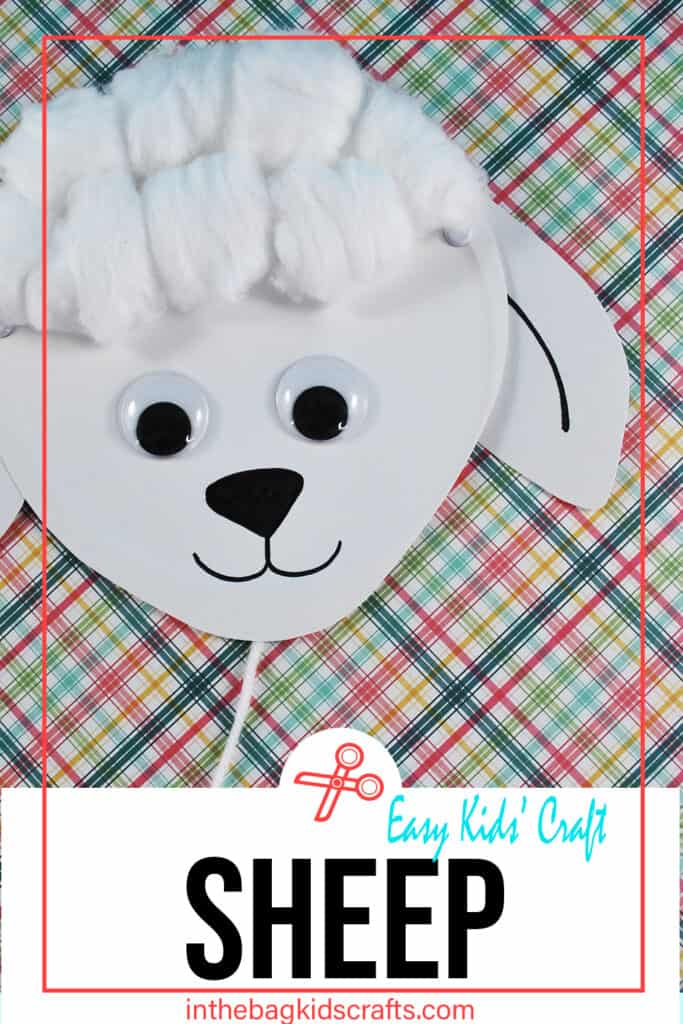
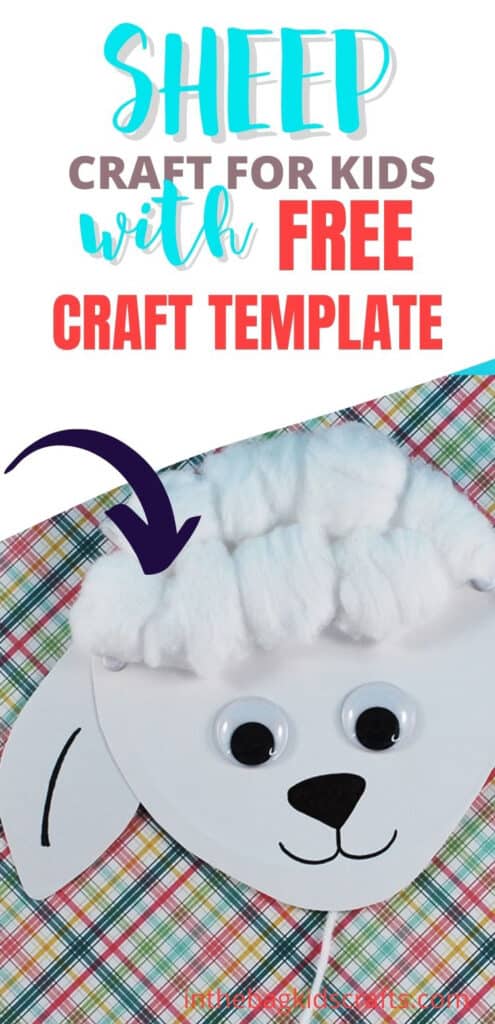
We have made lots of sheep crafts on this site. (They are just so darn cute!) But this is actually our first sheep craft with cotton balls…AND it’s interactive! Use the printable template to make crafting easier. And once the sheep craft is put together, just pull the string, and his ears wiggle. It’s seriously adorable. Don’t you think?
If you enjoy this sheep craft, here are a few more for you to check out…

Save this Cotton Ball Sheep Craft for later. Pin it to your favorite Pinterest board…
All activities require adult supervision. By using this site, you are agreeing to our terms of use. This post contains affiliate links, which means if you make a purchase through these links, I may receive a small commission at no extra cost to you. Click here to read my full disclosure policy.
SUPPLIES FROM THE BAG
- 2 Paper plates (9-inch coated)
- Scissors
- Single hole punch
- Metal brads
- Cotton balls
- Elmer’s glue
- Markers
- White yarn
- 2 Googly eyes (self-adhesive are best)
- Sheep craft template
Have you ever just wanted crafting with your kids to be easier…and with way less mess? I’ve got you! We do things a little bit differently here for just that reason. First of all, we keep things simple…no glitter, no cardboard, no hot glue…you get the picture. Second, we stick to a list of basic supplies that we use like a capsule wardrobe, mixing and matching pieces for amazing results. This list is just 27 items that fit into one bag, and they are all you need to make every single creative project on this site and in our kids’ crafts collections. It’s that easy.
How to Make a Sheep Craft with Cotton Balls
Step 1: Use the Printable Sheep Craft Template
- Print out the sheep craft template
- Use it to cut the head out of one paper plate and the ears out of another.
- Then take your single hole punch and punch the holes where they are marked on the template

Step 2: Add the Cotton
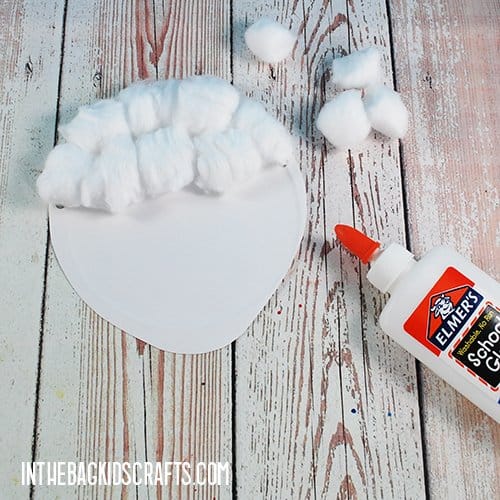
- Glue some cotton balls on to the top of the sheep’s head using the Elmer’s glue.
- Be sure not to cover the holes where you will attach his ears.
Step 3: Add the Sheep Ears
- Attach each of the sheep’s ears using a metal brad.
- *Be sure to put the brad through the second hole on each ear. We will need the other hole later.

Step 4: Give Your Sheep Craft a Smile
- It’s time to add some details to your adorable sheep.
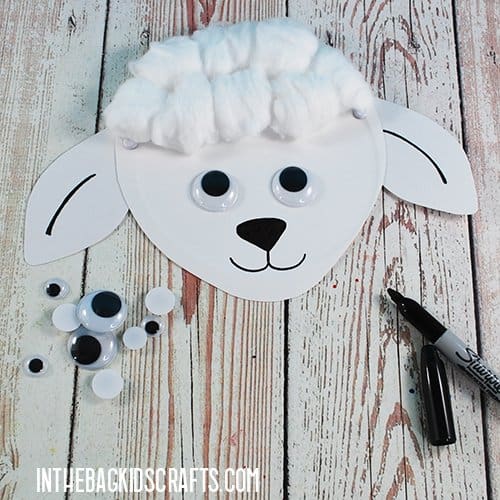
- Using a marker, draw on a nose and mouth.
- Then put the googly eyes in place.
- Finally, use your markers to add whatever other details you like to your sheep craft with cotton balls.
Step 5: Finish Off Your Sheep Craft
- Time to make your sheep’s ears wiggle.
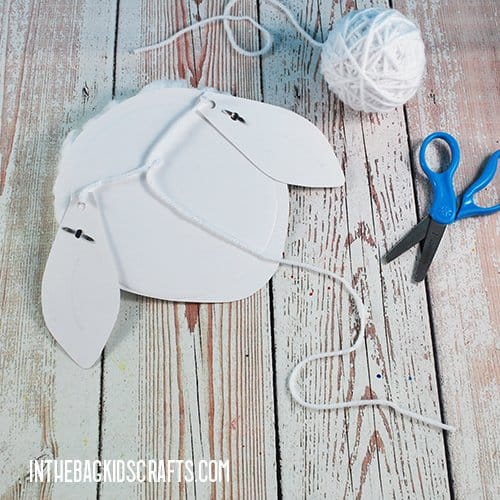
- Cut a piece of yarn about 8 inches long.
- Tie one end to the hole in one of the ears and the other end to the hole in the other ear. The ears should be at the side of the sheep’s head when the yarn is extended.
- Next, cut a piece of yarn about 12 inches long and tie one end to the center of your other string.
- Trim away the excess yarn from the knots.
Turn it into a Sunday School Craft
There are so many wonderful Bible stories that have sheep in them, like the story of the lost sheep. It’s a beautiful story, and if you tell it in your Sunday School class or Junior Church, this would be a fun activity to follow it up. Let all of the kiddo take home their very own sheep to remind them that they are never lost and are so very important to someone. It’s the perfect visual reminder of the story they were taught.
Watch this Sheep Craft with Cotton Balls in action as he wiggles his ears…
To make your sheep’s ears wiggle just pull the string. Isn’t he adorable!?!
Make Even More Farm Animal Crafts
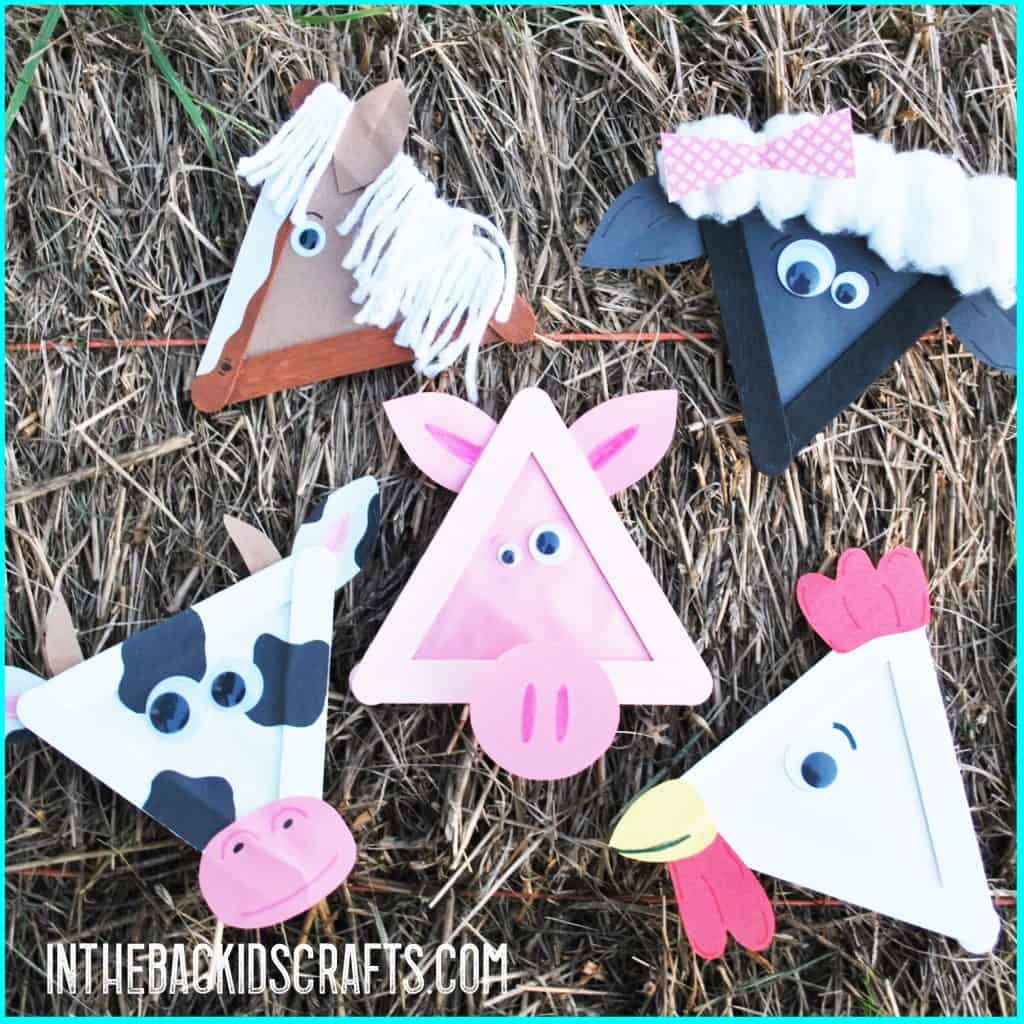
- Popsicle Stick Farm Animals
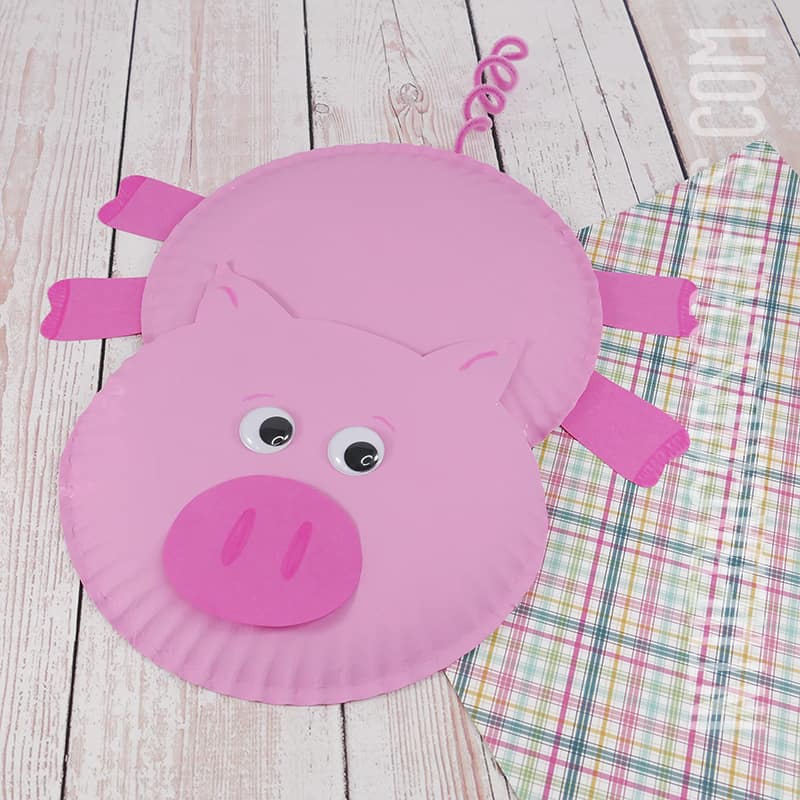
- Paper Plate Cow
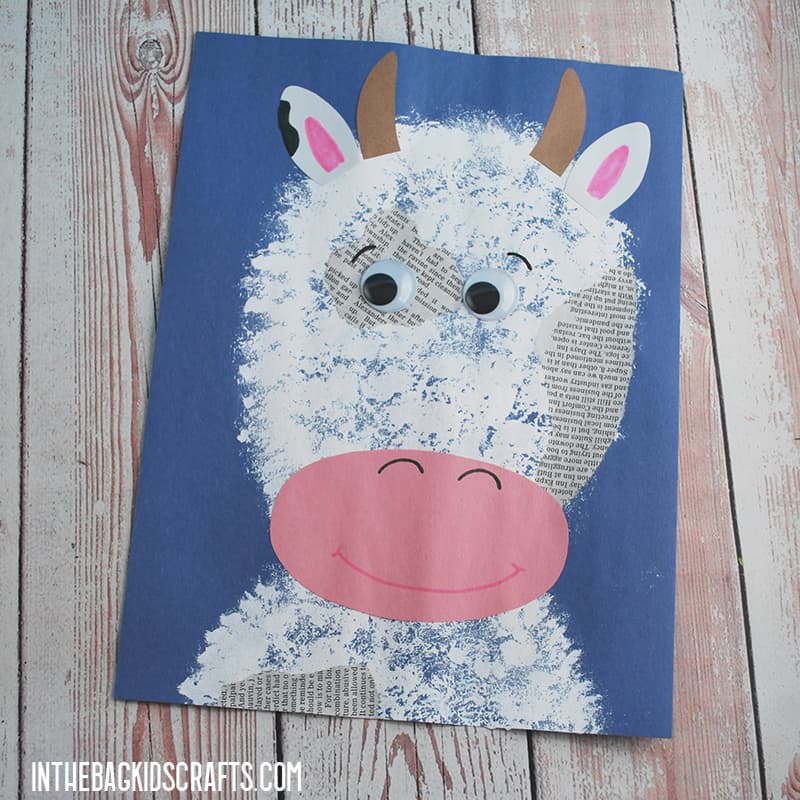
- Painted Cow Craft
- Paper Plate Duck Craft
- Paper Plate Sheep
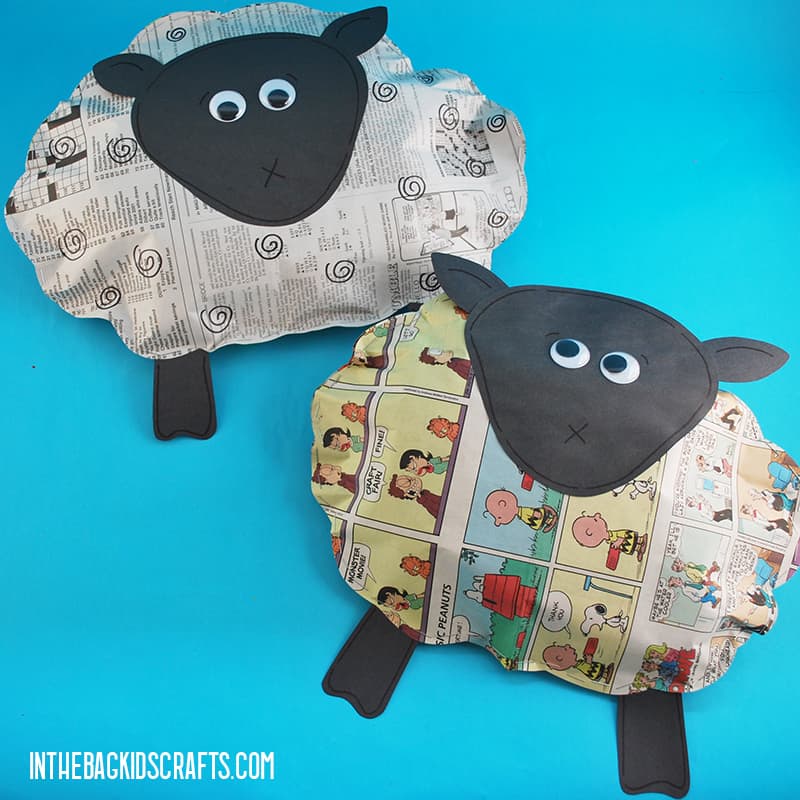
- Fluffy Sheep Craft
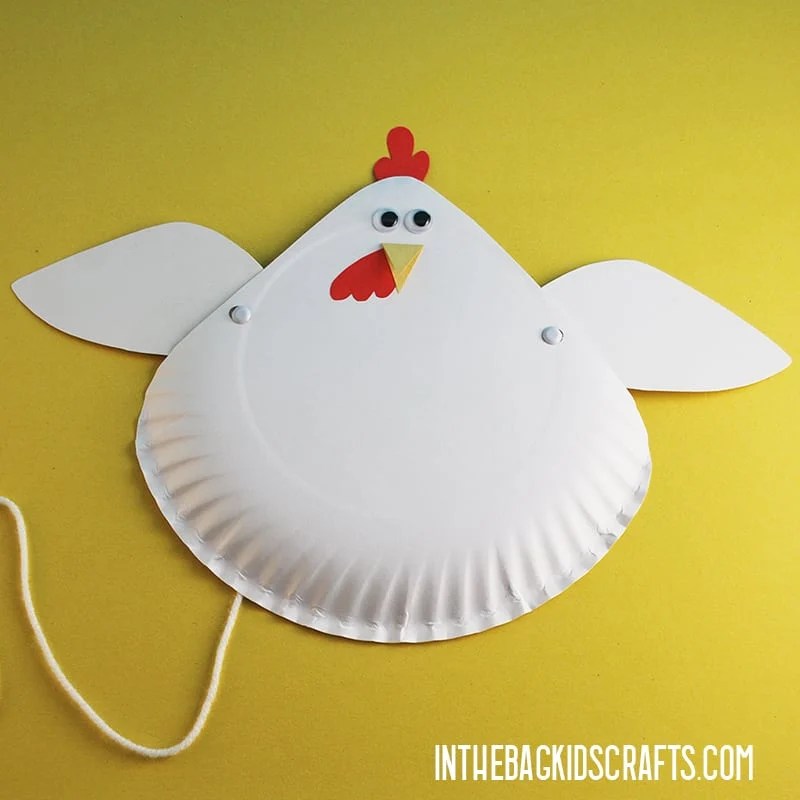
- Rooster Craft
- Horse Craft
- Painted Sheep Craft
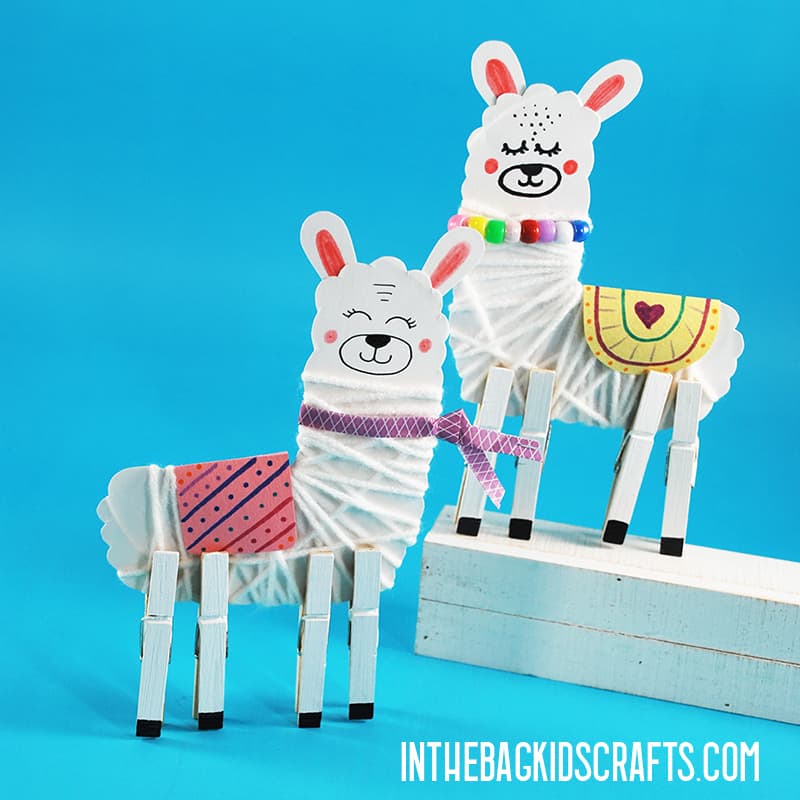
- Llama Craft
Save this Preschool Sheep Craft for later. Pin it to you favorite Pinterest board…
