Spider Web Craft (It’s a Mobile!)
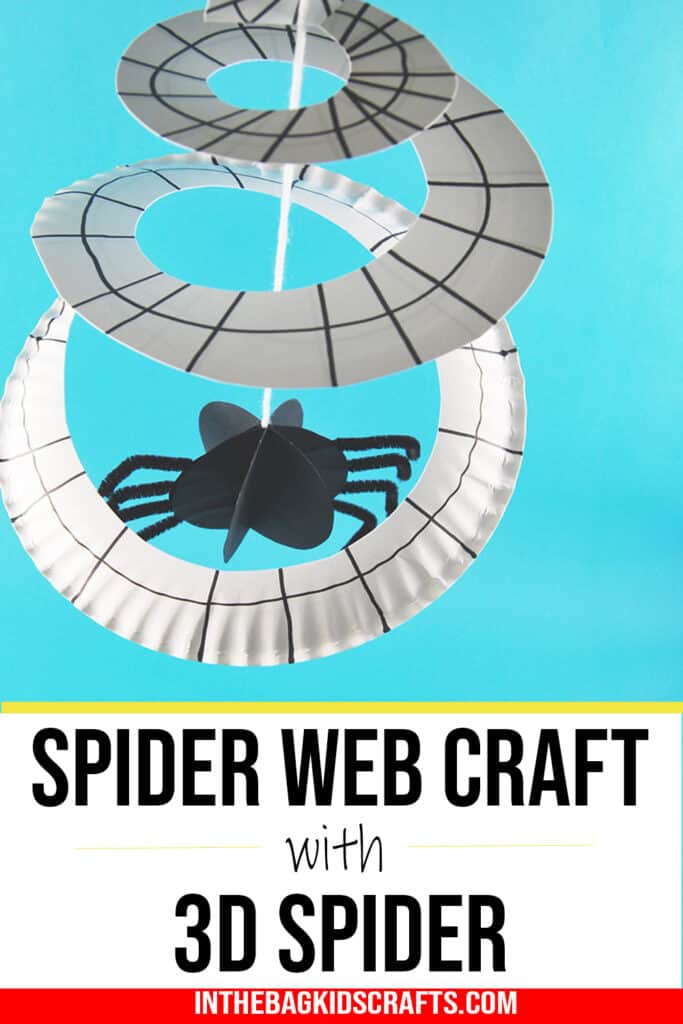
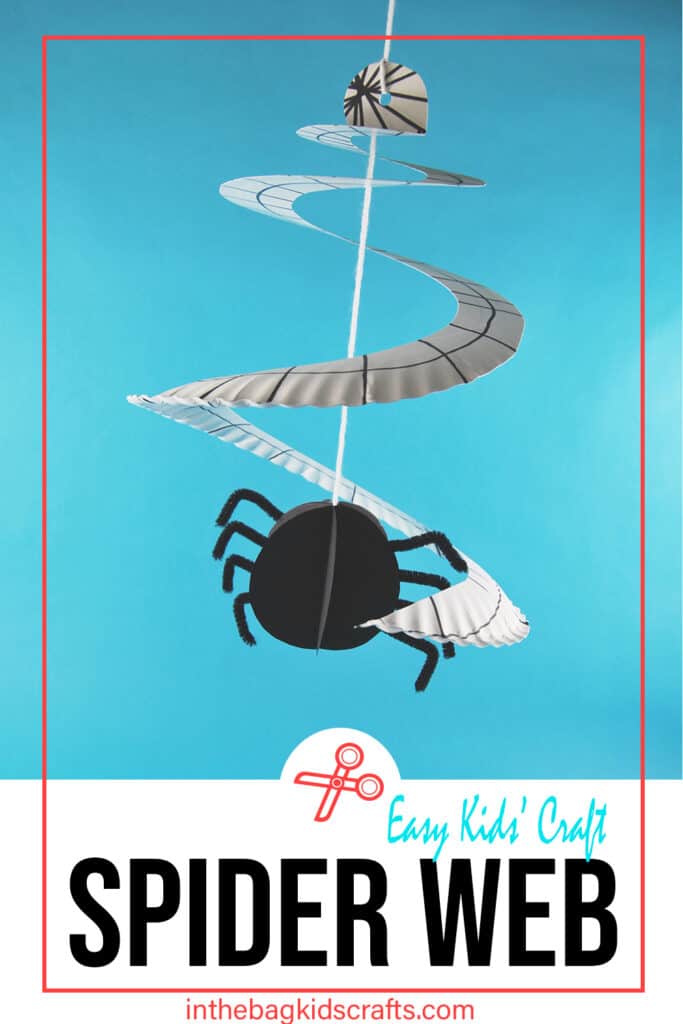
This spider web craft is so fun and simple to make. It starts with just a basic paper plate to make the web. And the spider itself is just paper but comes out 3D (we’ll show you how). You can hang it anywhere once it’s finished. We call it a spider web mobile, and it is quite mesmerizing. This would make a great Halloween craft, but is also great really any time of the year.
If you like this spider web craft, you’re going to love these bug crafts, this ladybug craft, this bugs in the grass craft and this bumblebee craft.
Make even more bug crafts with this super cool paper plate bug crafts collection…
Fun Facts about Spider Webs
- Spiders use their webs to catch bugs for eating.
- Spiders have a design sense and can make their webs very intricately.
- Webs are very shiny, which is better for attracting insects.
- Spiders may replace their webs as often as daily.
- Bigger webs are made to catch larger prey.
- Only parts of the web are actually sticky.
*For more information about spider webs, check out this article by Mental Floss.
All activities require adult supervision. By using this site, you are agreeing to our terms of use. This post contains affiliate links, which means if you make a purchase through these links, I may receive a small commission at no extra cost to you. Click here to read my full disclosure policy.
Combine Reading with Crafting
The best way that I can think of to elevate the creative crafting experience is to combine it with reading a good book. Of course, you’ve heard of Charlotte’s web. It’s an absolute classic. Here are a few of our favorite spider (and spider web) books for kids.


SUPPLIES FROM THE BAG
- Paper plate (9-inch coated)
- Black construction paper
- Scissors
- Glue stick
- Scotch tape
- Black pipe cleaners
- Black Sharpie marker
- White yarn
- Single hole punch
- Spider craft template
You don’t need to be crafty to make crafts with your kids. All you need is the desire…and a system that works. Our approach to crafting makes it so much easier and more accessible, even when life is hectic (and when isn’t it?) We stick to the same master list of craft supplies to make every single one of the craft projects you see on this site. That way, once you fill your bag, you’re ready to craft along.
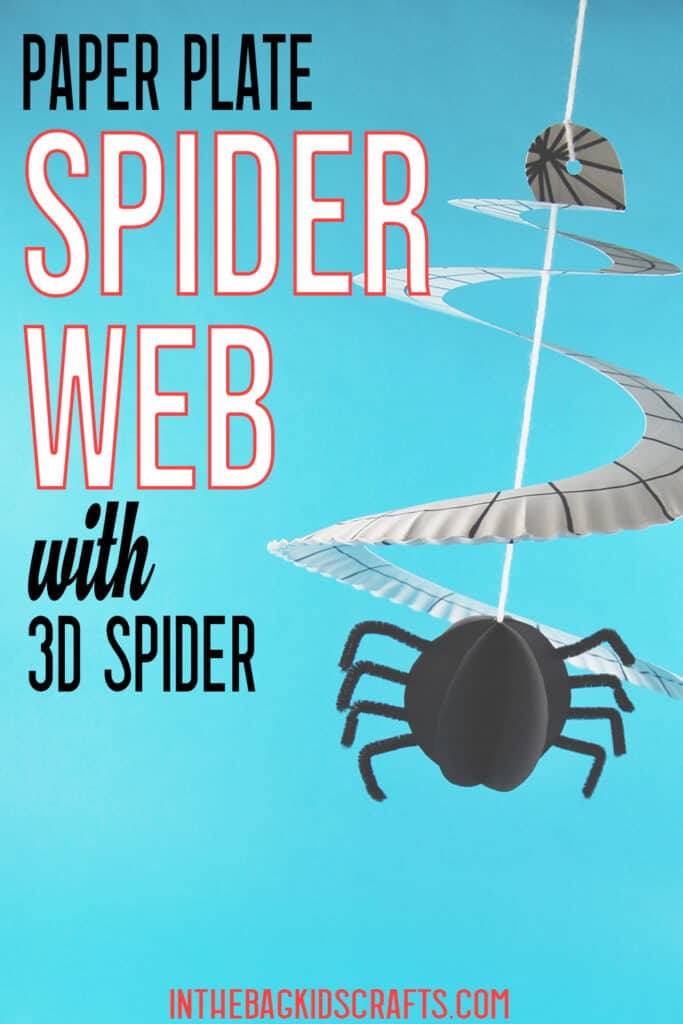
Save this Spider Craft for later. Pin it to your favorite Pinterest board…
How to make a Spider Web Craft
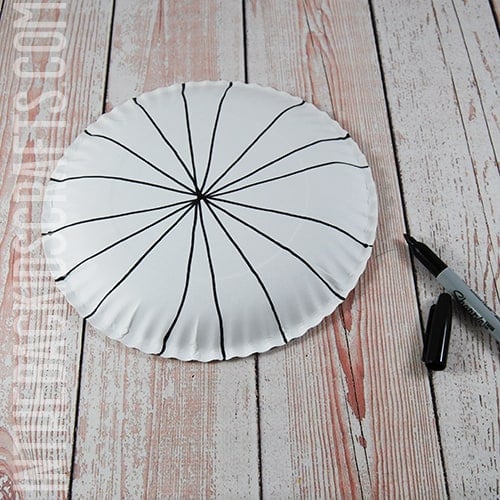
Step 1: Start the Web
- On the bottom of your plate, draw black lines dividing the plate into wedges, like a pizza.
- Flip the plate over and draw lines in the same way on the front side of the plate.
Step 2: Cut a Spiral
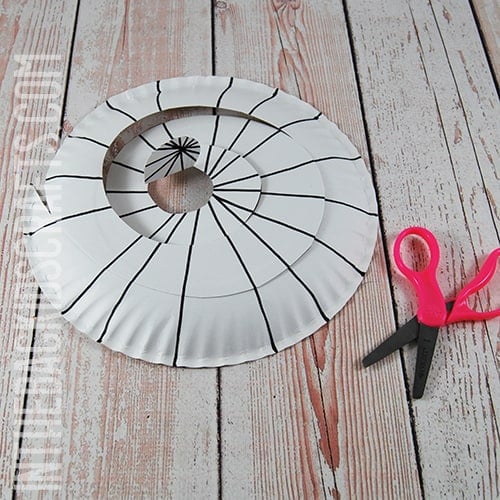
- Now use your scissors to cut the plate into a spiral shape, with the sections being about 1 1/2 inches wide.
- Go all the way to the center and the fold the very center up.
- Optional: Once you have cut the spiral, draw one or 2 spiral lines going around the plate on each side to add more detail to your spider web.
Step 3: Use the Spider Craft Template
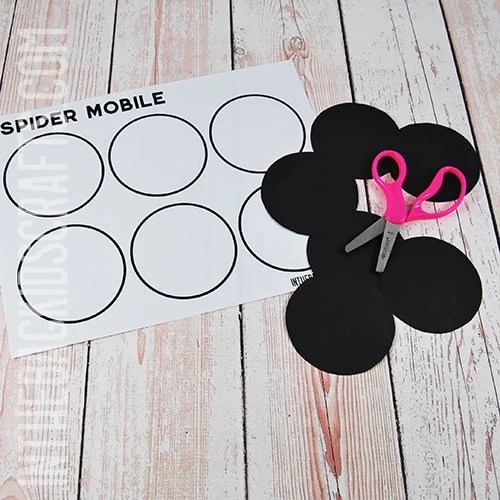
- Download and print the spider craft template.
- Use it to cut the circles for the body of your spider out of black paper (or color of your choice). You’ll need 6 circles all together.
Step 4: Begin Assembly of the Spider
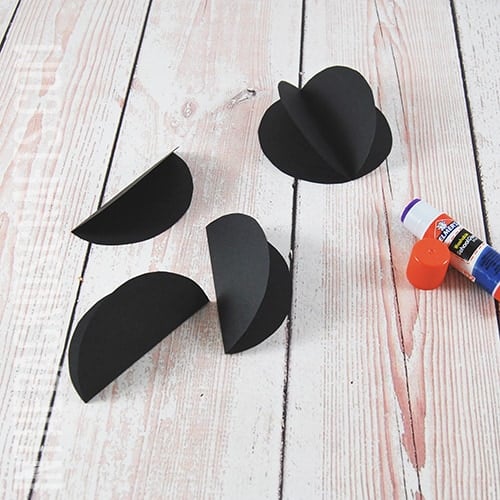
- Fold each of the paper circles in half.
- Use your glue stick to attach 2 of the half circles.
- Then add a third half circle.
- Do the same with the other 3 half circles.
*Do not glue the entire circle together just yet. We’ll do that in a later step.
Step 5: Add the Spider Legs
- Cut 2 black pipe cleaners into 4 pieces each.
- Take one of the sets of 3 connected circles and lay it out flat.
- Tape 4 of the pipe cleaner pieces onto each side to form the legs of your spider.
- Then cut a piece of yarn about 1 yard long and tie a knot in the end.
- Place the knotted end in the center of your circle and tape it down.
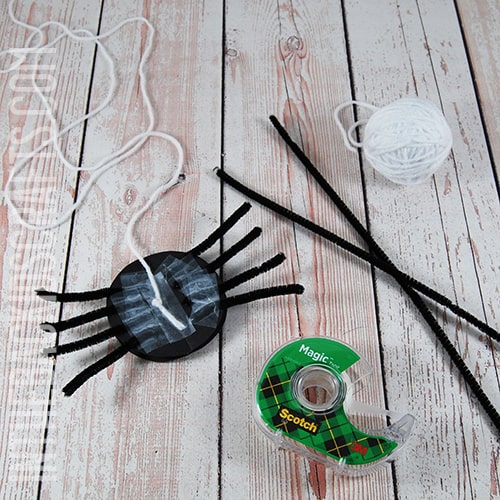
Step 6: Finish the Spider
- Now take the other 3 connected circles and sandwich them on top of the section that you just added the legs to.
- Apply glue generously and connect the 2 halves of your spider.
- Press firmly until the glue takes hold.
- Now shape the legs of your spider.
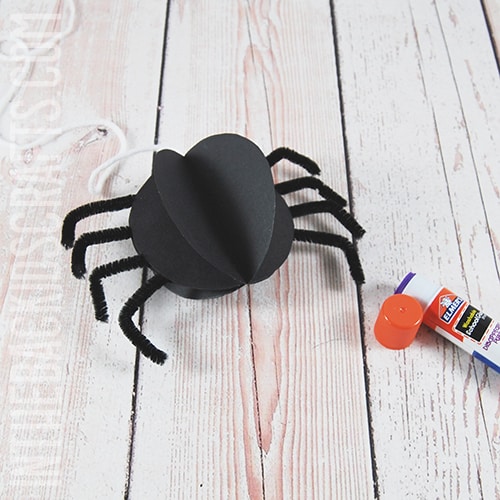
Step 7: Add the Spider to the Web
- It’s time to add your spider to the center of your spider web.
- Punch a hole in the very center of the plate, where you folded it up.
- Lace the end of the yarn through the hole and hold up the entire spider web craft.
- Allow the spider to hang at whatever length you would like. (We chose just at the bottom of the web.) and tie a knot so that it stays at that length.
- Now you’re left with a length of yarn at the top to form into a hanger for your spider web mobile.
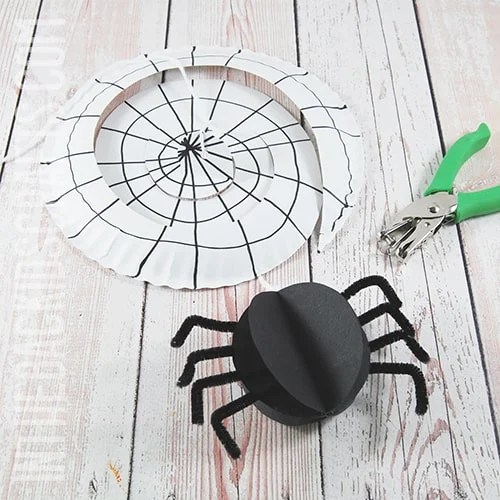
Now that you know how to make this spider web craft, it’s time to make it your own. We used traditional black colors for our web and spider, but you can use whatever colors you like. Maybe your spider is even rainbow colored. Also, you can choose to hang more than one spider from your web. Just be away of how the weight affects the craft while hanging and balance it out. I can’t wait to see what you make!
Save this Paper Plate Craft for later. Pin it to your favorite Pinterest board…
