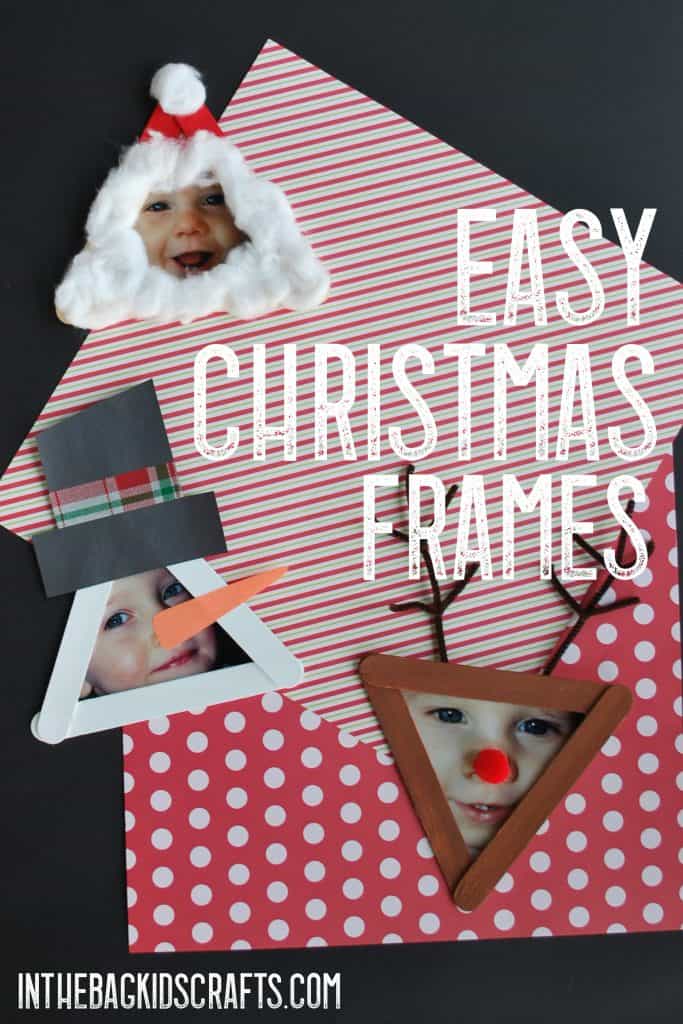
Christmas Picture Frame Crafts
Every preschool classroom I go into is looking for simple Christmas crafts for preschoolers to send home for mom and dad to treasure. These easy DIY Christmas picture frames (that can also be made into ornaments) are just the thing! These are the perfect Christmas gifts for kids to make and share. Who doesn’t love a gift that includes the smiling face of their little cherub? Pick your favorite and dig into your craft bag.
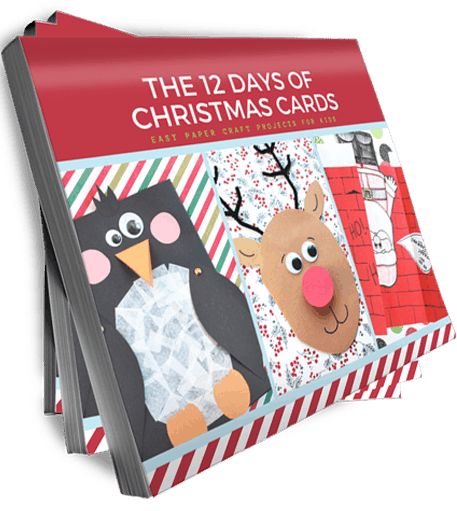
Check out our eBook that brings together the very best Christmas card ideas for kids (12 Days of them!) into one place. Click here to learn more!
This post contains affiliate links, which means if you make a purchase through these links, I may receive a small commission at no extra cost to you. Click here to read my full disclosure policy.
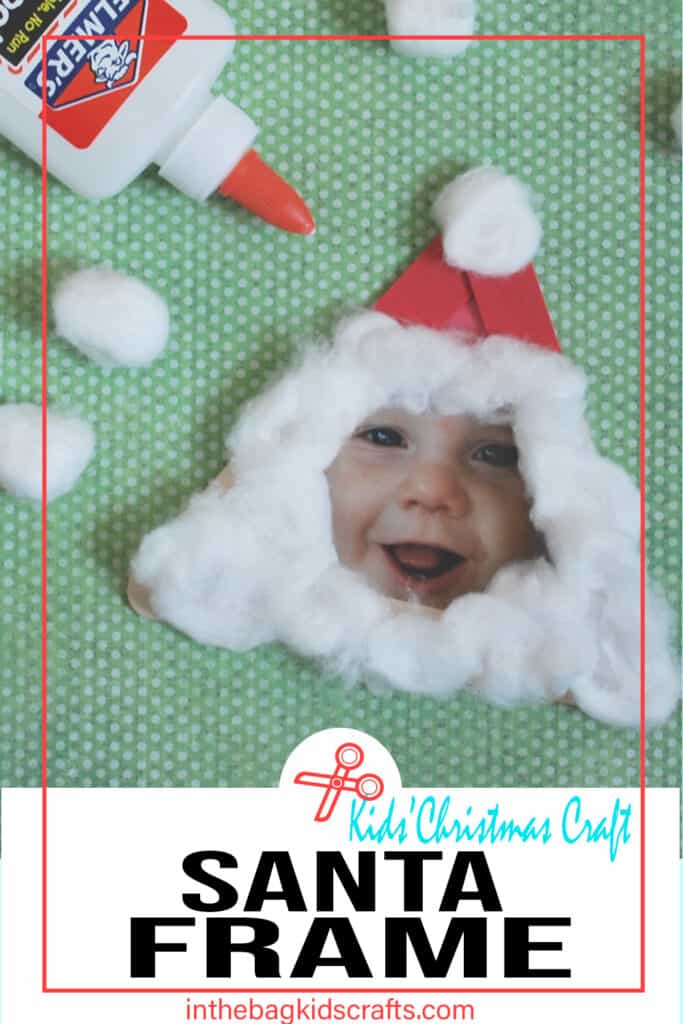
Save these easy Christmas crafts for later. Pin it to your favorite Pinterest board…

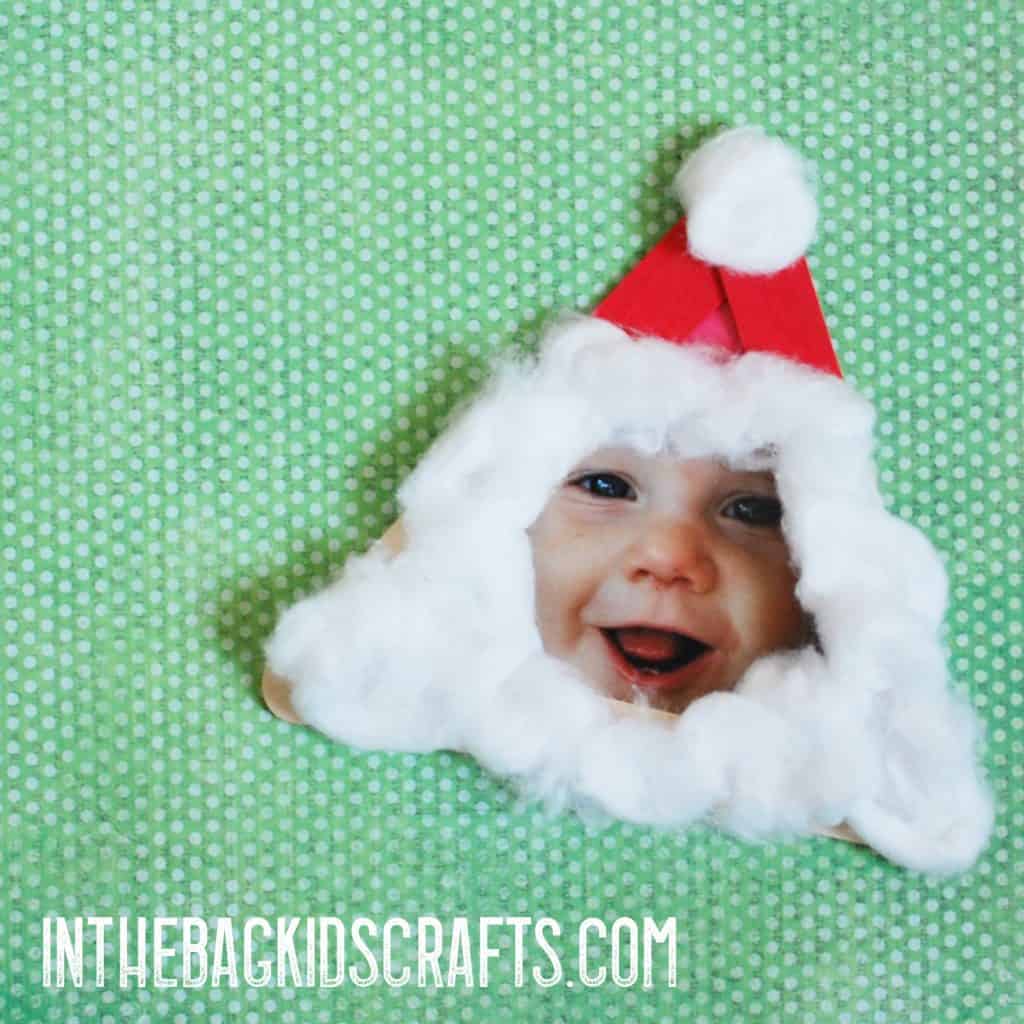
Project 1: Santa Ornament Picture Frame
SUPPLIES FROM THE BAG
- 3 Large popsicle sticks
- Red paint
- Elmer’s glue
- Scrap of red construction paper
- Scissors
- Cotton balls
- Clothespin
- Glue stick
- Small pompom
- Newspaper
- Pipe cleaner (optional)
- Whatever picture you want to put in your frame (not in the bag)
Craft Santa and everything else along with “In the Bag Kids’ Crafts” with ease by filling up your craft bag using the master list of supplies that we stick to for every craft on this site! (Seriously, we do not stray from it). Once you fill your bag, you are ready to craft memories with your family, any time, anywhere with no prep needed. Click here for the list to fill your bag.
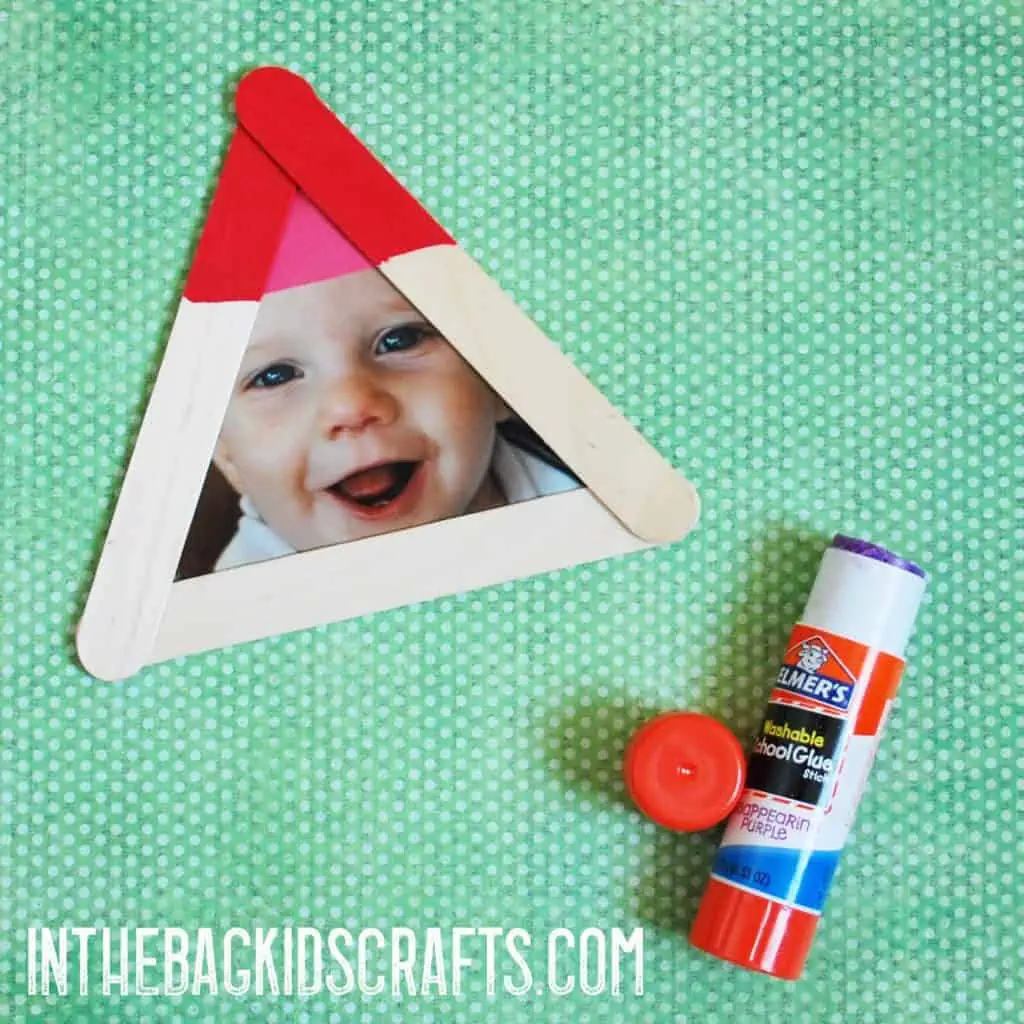
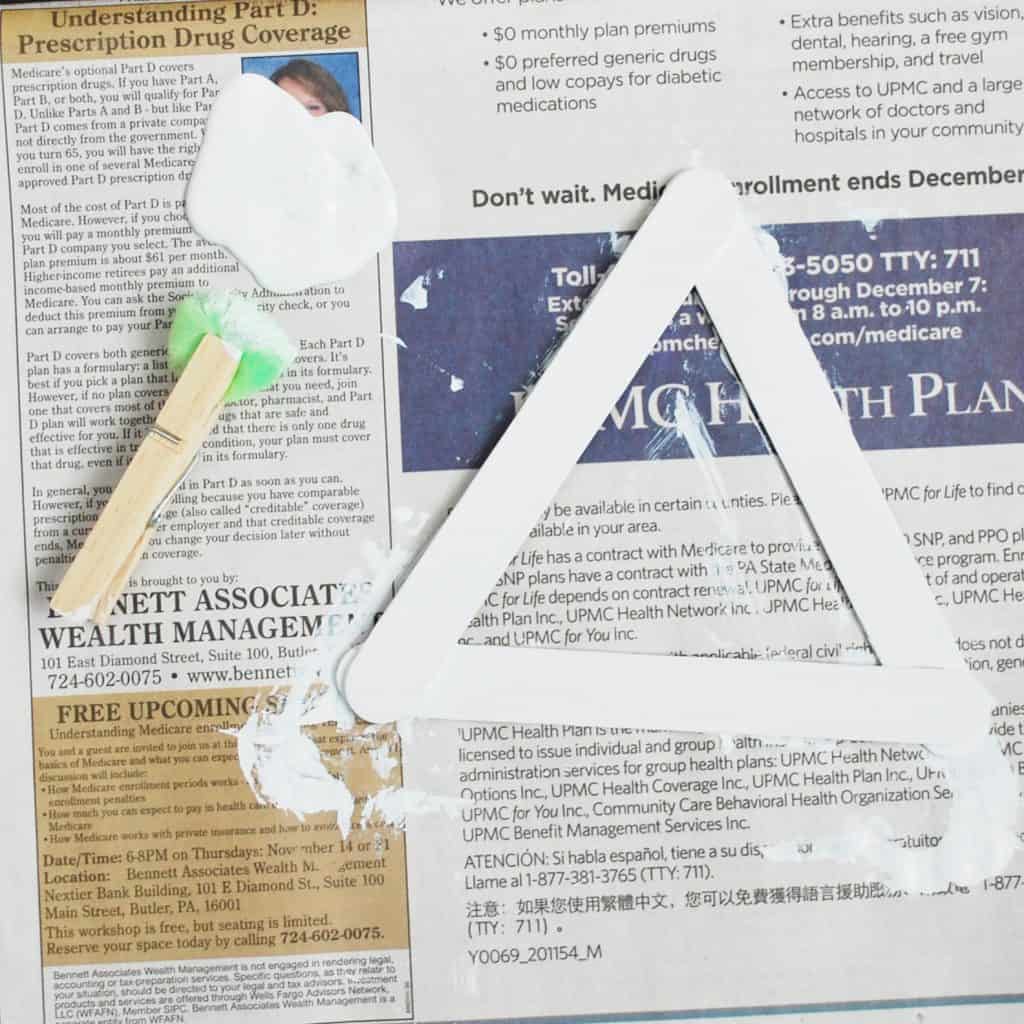
Step 1: Paint the Santa Hat
This is how to make Santa Claus with paper and cotton balls and a few popsicle sticks. He is so adorable! This is such a great Santa craft for preschoolers but will work with other age groups too.
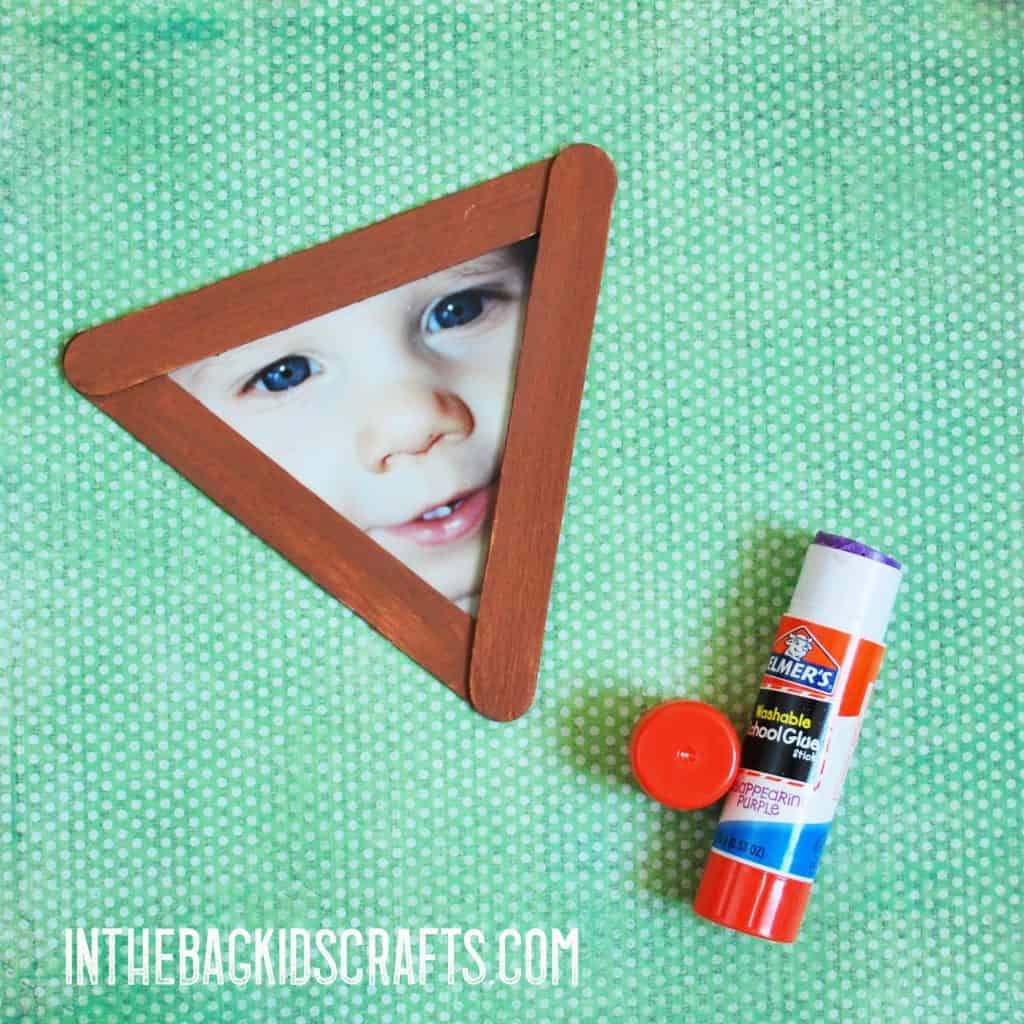
- Glue popsicle sticks into a triangle shape and let the glue dry completely. *You may want to make several triangle frames while you are at it so that you are ready to make more projects in the future without having to complete this step again.
- Place the triangle frame on the newspaper and squeeze out a little red paint.
- Pinch the pompom with the clothespin to form a “paint brush”
- Paint just the top of the triangle (as pictured). Allow the paint to dry.

Step 2: Add the Photo
- Cut a small triangle from the scrap of red construction paper (template available for size, in project 3, if needed)
- Glue the triangle into place to complete Santa’s hat
- Cut your picture to fit in the frame
- Use the glue stick to adhere it to the back of the triangle frame
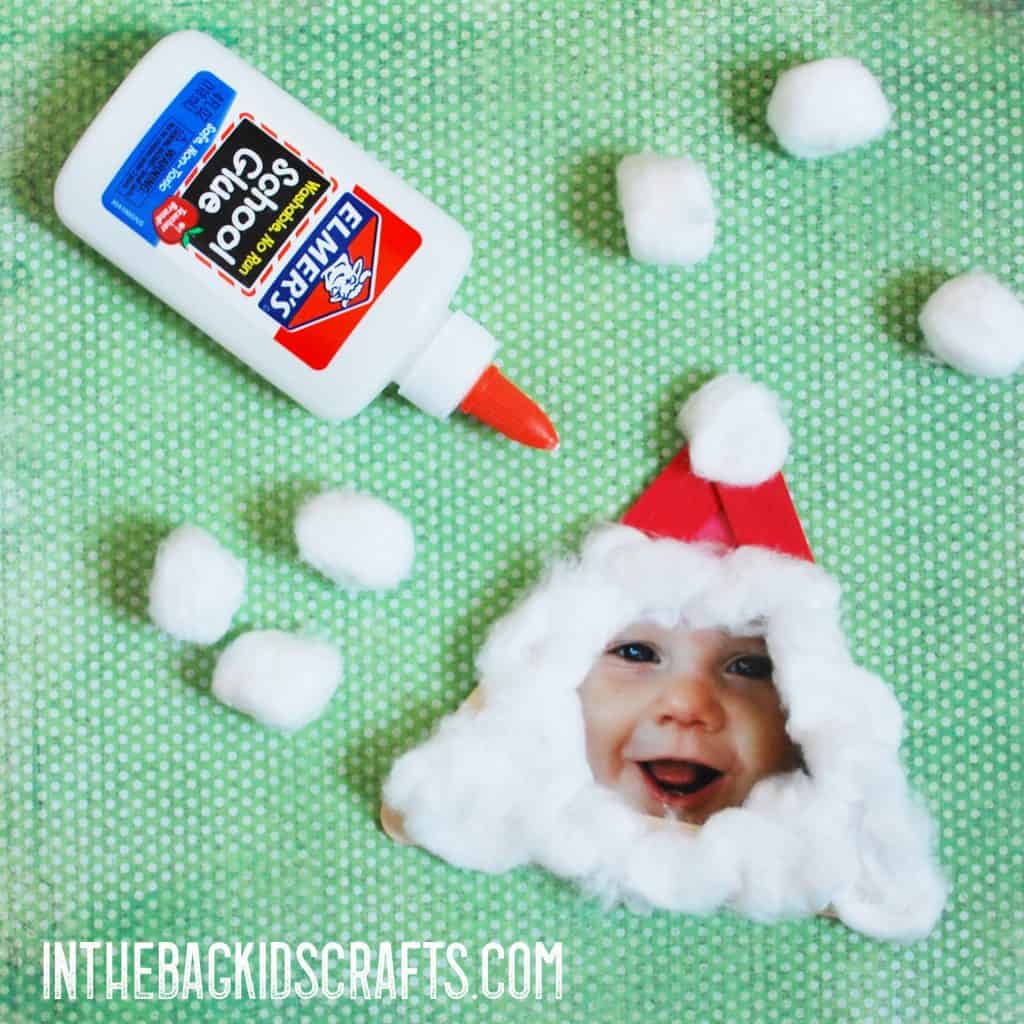
Step 3: Give Santa his Beard
- Puff up the cotton balls by pulling them apart
- Using the Elmer’s glue, affix a small puff of cotton to the top of the Santa hat
- Glue more cotton across the bottom of the Santa hat and all around the frame to form Santa’s beard
- Allow the glue time to dry. And now we have a Santa craft with cotton balls.
Optional Step 4: Add the hanger
- Cut the pipe cleaner in half and bend it into a ‘U’ shape. Using Elmer’s , glue it to the back of the frame at the top to make a hanger for the tree. Let the glue dry.
Save this Santa Claus craft for later. Pin it to your favorite Pinterest board…

When creating projects with your kiddo, like these Christmas picture frames, there are two very important things that you should always do:
Be as hands off as possible! Really, you already know that you can make the craft, and this is about them. Sometimes our adult perfectionist tendencies take over, and we want the craft to turn out just so. But that is not what it is all about. This is about letting your child use their own imaginations and develop skills that will last a lifetime. If they think that Rudolph should have 3 noses, let it be. If that snowman hat is not cut exactly perfectly, so what! By doing the work for them, we are only teaching them that they are not capable. Let’s make sure we are sending the right message.
Praise, praise, praise! Criticism has its place, but that is not now. We want our children to enjoy making things with their hands so that they want to do it again and again. The only way to actually develop skills that last is by doing something, over and over. Praising our children for even trying something (even if something was an epic fail) is so important. That way they want to “get back on the horse” and give it another go. Keep encouraging them. Check out this great list of ways to say “Good job”…
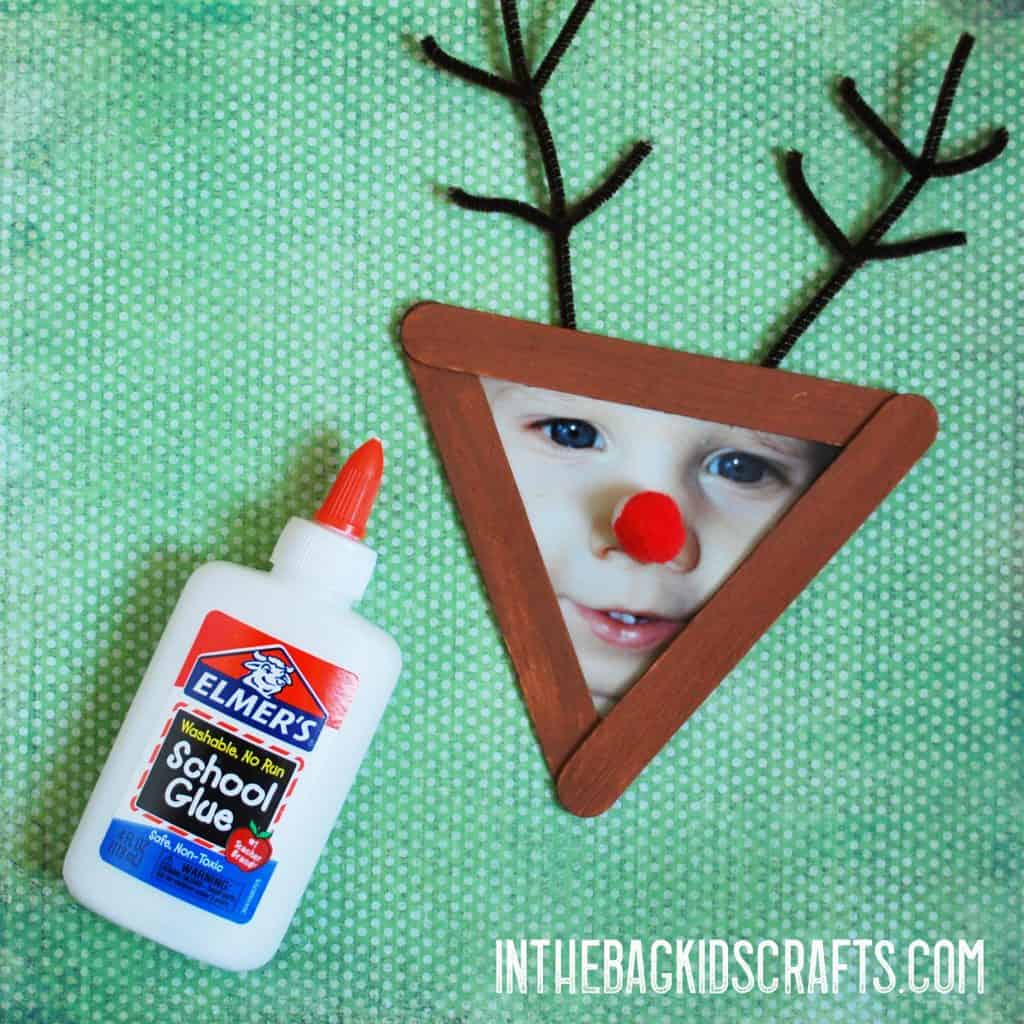
Project 2: Rudolph Ornament Picture Frame
SUPPLIES FROM THE BAG
- 3 Large popsicle sticks
- Brown paint
- Newspaper
- Elmer’s glue
- Clothespin
- Medium pompom (any color)
- Glue stick
- Scissors
- Tape
- 2 Brown pipe cleaners
- Small red pompom
- One more pipe cleaner (optional)
- Photo of your choice for in the frame (not in the bag)
Step 1: Glue and Paint Your DIY Christmas Picture Frames
- Glue the popsicle sticks together into a triangle shape, using the Elmer’s glue, and allow the glue to dry completely. *You may want to make several while you are at it so that you can skip this step for other projects that use a triangle popsicle stick frame.
- Place the frame onto the newspaper and squeeze out a little brown paint.
- Pinch the medium pompom with the clothespin to form a “paint brush” and paint the frame brown.
- Allow the paint to dry before moving on
Step 2: Add the Photo to the Christmas Frame
- Cut the photo to fit in the frame
- Glue the picture to the back of the triangle using the glue stick
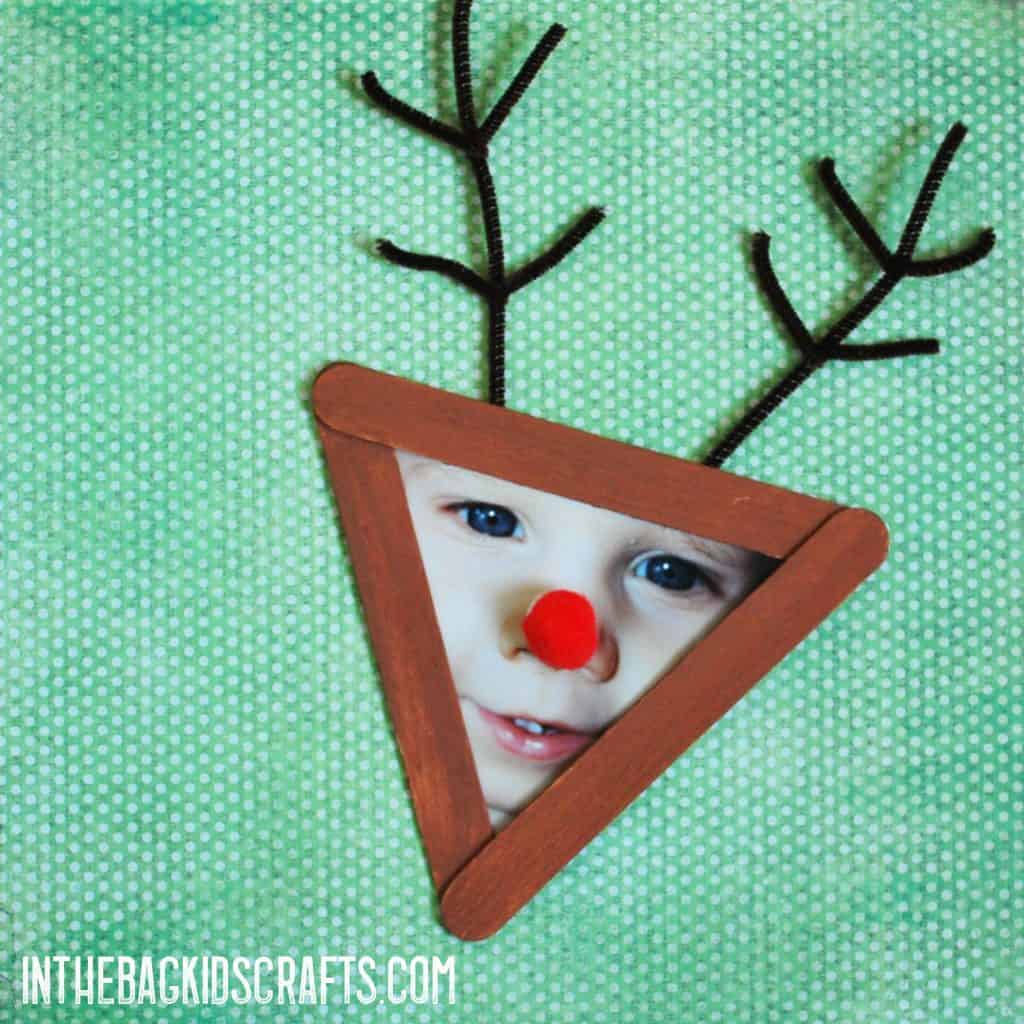
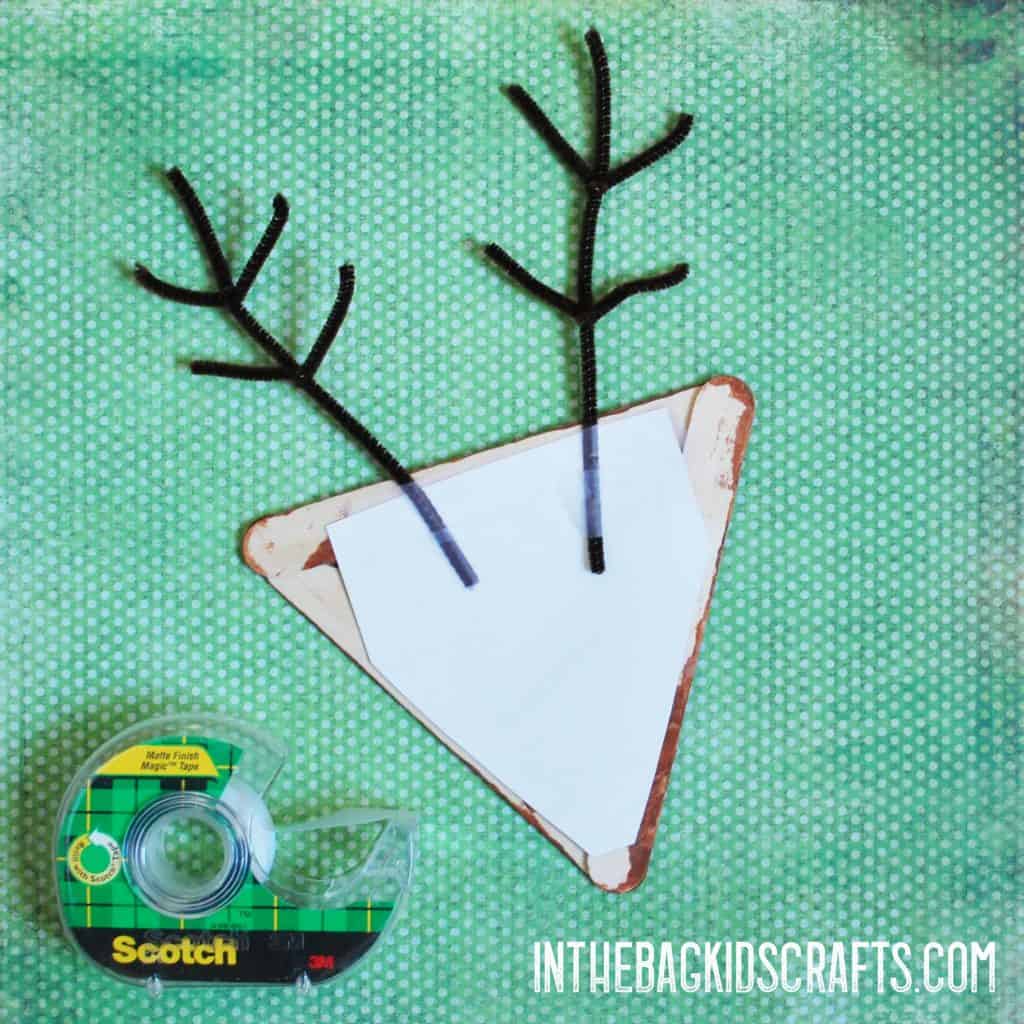
Step 3: Now for the Antlers
- First, cut one of the brown pipe cleaners in half
- Then, cut the other pipe cleaner into 4 equal pieces
- Twist the 2 of the small pieces onto one of the larger pieces to make an antler. Repeat this for the other antler.
- Last, with the triangle upside down, tape the antlers into place.
Step 4: Add Rudolph’s Nose
- Using the Elmer’s, glue the red pompom onto the nose
- Allow the paint to dry thoroughly
Optional Step 5: Give it a Hanger
- If you would like to make this frame into an ornament, cut the remaining pipe cleaner in half
- Fold the pipe cleaner into a U shape and glue it onto the back, at the top, to form a hanger for on the tree
- Allow the glue to dry completely (or just use tape if you have an inpatient little one)
Project 3: Snowman Ornament Picture Frame
SUPPLIES FROM THE BAG
- 3 Large popsicle sticks
- Elmer’s glue
- Black construction paper
- Scrap of orange construction paper
- Glue stick
- Scissors
- Christmas colored washi tape
- Newspaper
- Clothespin
- Medium pompom
- White paint
- Picture of your choice for in the frame (not in the bag)
- Pipe cleaner (optional)
Step 1: Paint the Frame
- And now for the third and final of our Christmas picture frame crafts…Glue the popsicle sticks into a triangle shape using the Elmer’s glue. Allow the glue to dry thoroughly. *You may want to make several triangle frames while you are at it so that you are ready for future crafting.
- Place the frame on the newspaper and squeeze out a small amount of white paint.
- Pinch the pompom with the clothespin to form a “paint brush” and paint the frame white
- Allow the paint to dry completely
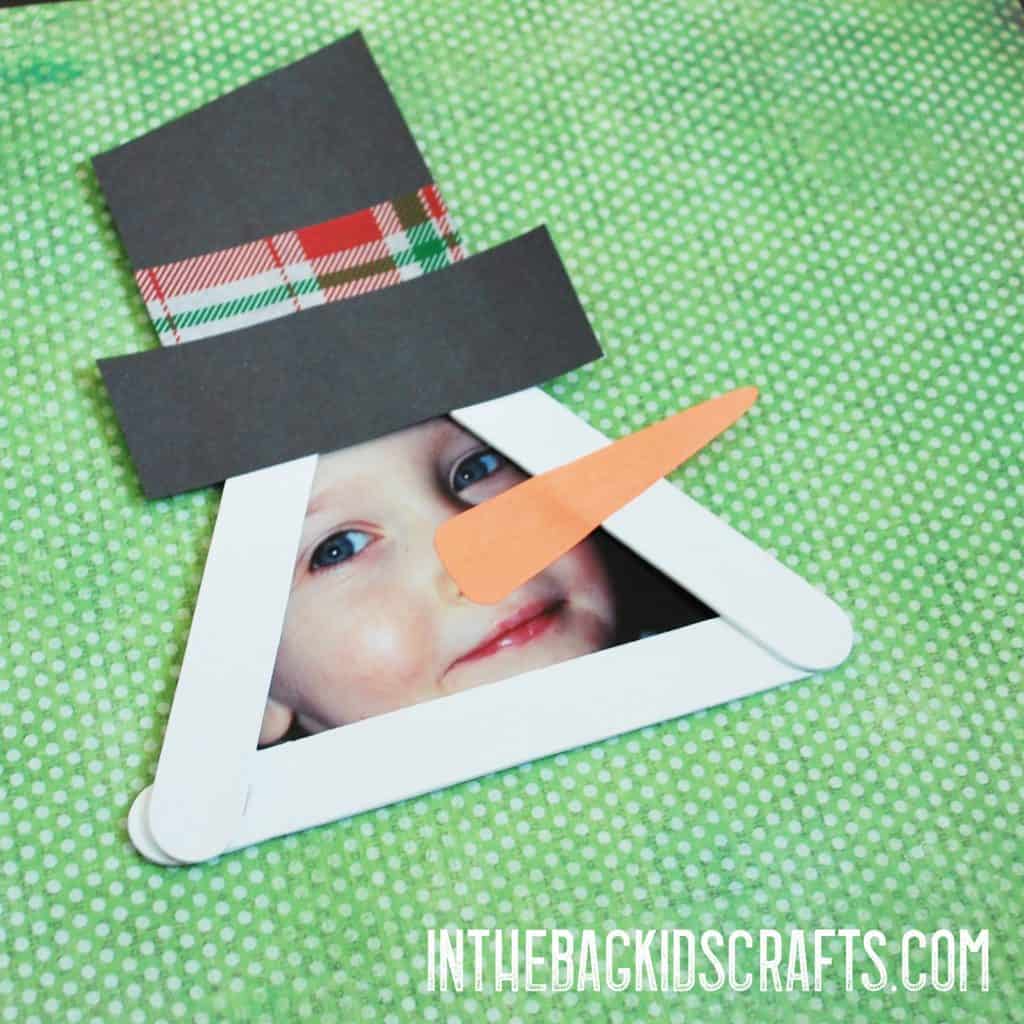
Step 2: Put Together the DIY Christmas Picture Frames
- Cut the photo to fit in the frame
- Cut out the accessory pieces, including the hat and carrot nose (template available below)
- Decorate the hat with a washi tape hat band
- Glue the picture into place on the back of the frame, using the glue stick
- Finally, glue the hat and carrot nose into place

Optional Step 3: Add a Hanger to Your DIY Christmas Frames to Create an Ornament
- Cut the pipe cleaner in half
- Bend it into a skinny ‘U’ shape and glue it onto the back of the picture frame to form a hanger for on the Christmas tree
Now that you have made your Christmas picture frame crafts, I would love to see your finished projects! Share with me at hello@inthebagkidscrafts.com or find me on Instagram and Facebook (check out the links at the bottom of this page).
Wouldn’t these make great DIY Christmas decorations? Just hang them on the wall, the tree, attach to a garland or put magnets on the back and put them on the fridge.
More Christmas gifting ideas…
We have already gone over the possibility of making these Christmas picture frame crafts into ornaments simply by adding a loop of pipe cleaner. But there are other options that will make them the perfect Christmas gifts too. Try adding magnets to the back for instant fridge magnets. Or you can place several in a collection and have them framed together for a piece of art work. If gifting them to a child, add a popsicle stick handle and make them into puppets! The only limit is your imagination, and I would love to hear what you do with your finished Christmas crafts.
And put it all into a pretty holiday packaging:


Check out more of our fun and easy Christmas crafts for kids!
- Christmas Tree Ornament kids craft
- Christmas Manger 3D Card
- Stamped Snowflake Christmas Card
- Santa in the Chimney Christmas Card
Save these DIY Christmas picture frames for later! Pin it to your favorite Pinterest board…
Thanks for crafting with me today! I hope you enjoy you enjoyed making the DIY Christmas picture frames.