Horse Craft for Kids
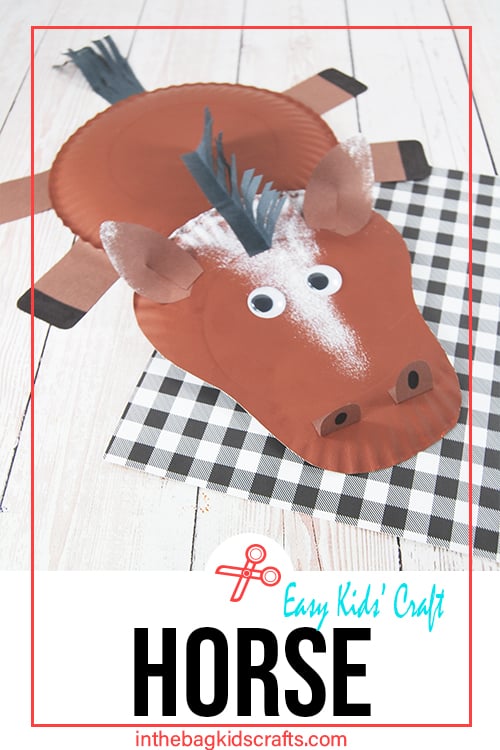
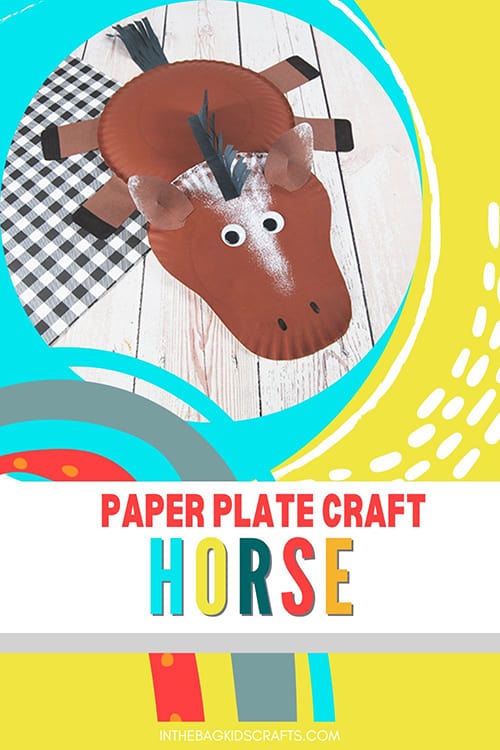
To make this horse craft for kids, you’ll start with a couple of basic paper plates and the add lots of imagination. Of course, it also helps to follow the instructions and grab the craft template for easy crafting…but imagination really is the special ingredient that brings it all together.
And always remember when making crafts with kids that theirs should not look like the model. Let them express themselves…even if it means they want to give the horse 3 eyes and 2 tails. It’s not about turning out a perfect finished product. This is all about the process…exploring, learning, growing and even making lots of mistakes…because that’s how we humans learn best.
And if you like this horse craft, you’re also going to love making this flying horse mobile, this set of popsicle stick farm animals and this paper plate cow craft. And be sure to grab the free printable horse coloring pages too.
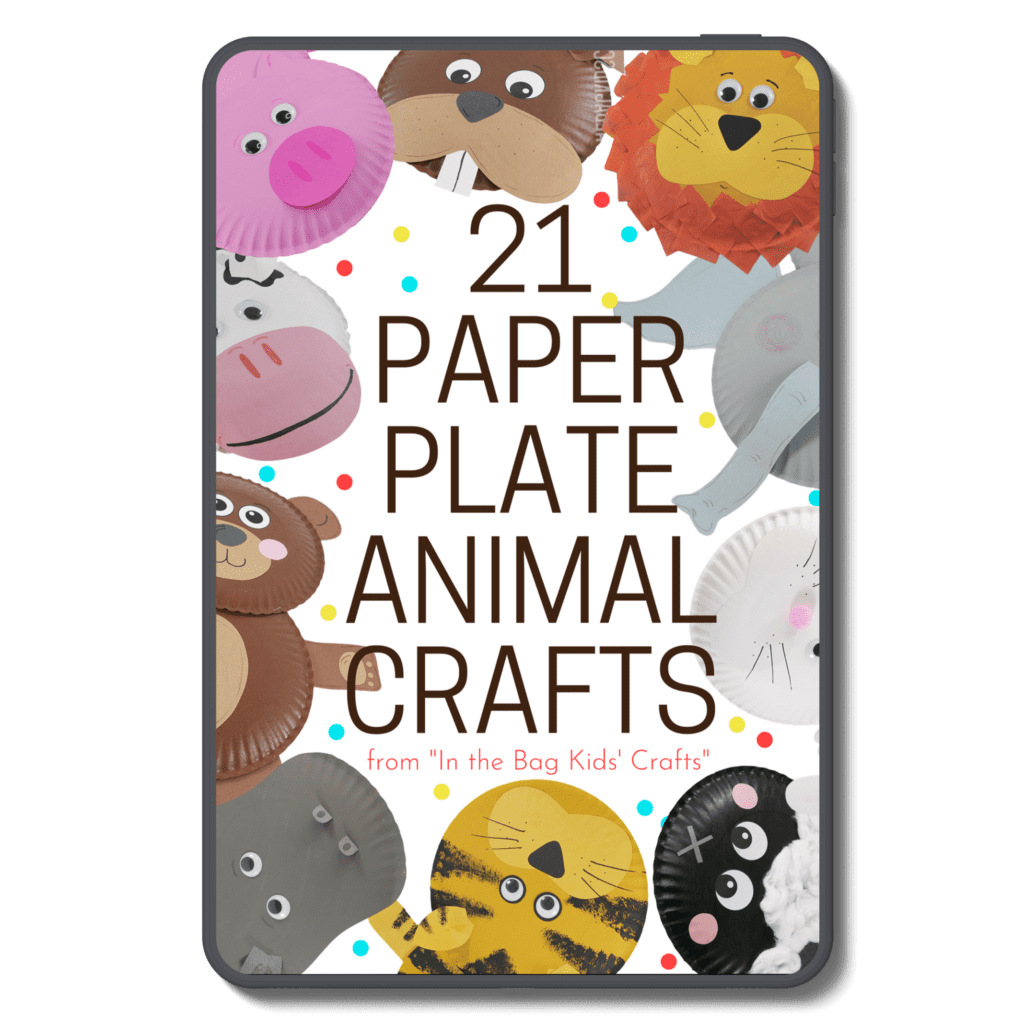
You’re Going to Want to Make EVERY SINGLE Paper Plate Animal Craft in this Collection with Your Kids…
Fun Facts about Horses
- Horses can sleep standing up, but also lay down for a deeper sleep.
- They only sleep about 2 1/2 hourse per day.
- Horses have excellent hearing and vision, being able to see almost 360 degrees.
- Foals (baby horses) can walk and run within just a few hours of being born.
- Horses are very social animals and find safety in a herd.
- They’re very intelligent animals and can even learn tricks and how to communicate their needs with humans.
For more information about horses, check out this article from The Spruce Pets.
All activities require adult supervision. By using this site, you are agreeing to our terms of use. This post contains affiliate links, which means if you make a purchase through these links, I may receive a small commission at no extra cost to you. Click here to read my full disclosure policy.
SUPPLIES FROM THE BAG
- 2 Paper plates (9-inch coated)
- Newspaper
- Paint (colors of your choice)
- Pompoms
- Scissors
- Construction paper
- Glue stick
- Googly eyes (or printable paper eyes)
- Black Sharpie marker
- Horse craft template
Don’t you hate starting to bake something yummy when you realize that you don’t have a key ingredient and need to stop until you can run to the store? So frustrating…Not having everything that you need to make a certain craft that you love can be the same way. But if you have filled your bag using our master list of craft supplies, you’ll always have everything that you need to make the crafts that you see on this site and in our shop…without fail. So…what are you waiting for? Fill your bag and craft along.
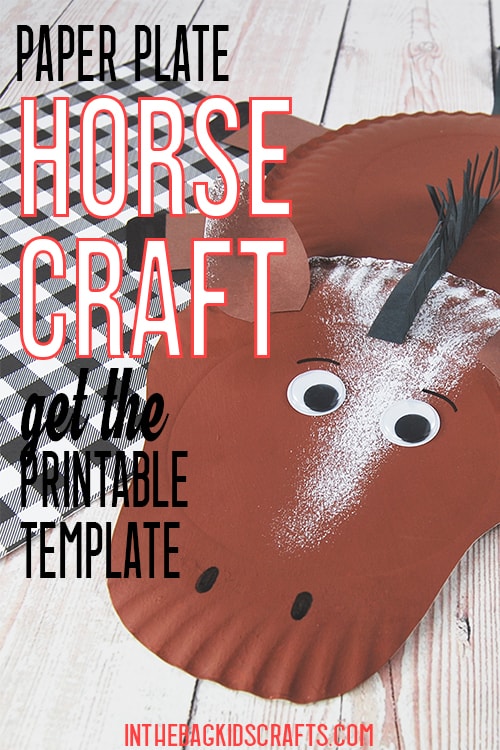
Save this Farm Craft for later. Pin it to your favorite Pinterest board…
How to make a Horse Craft for Kids
Step 1: Paint
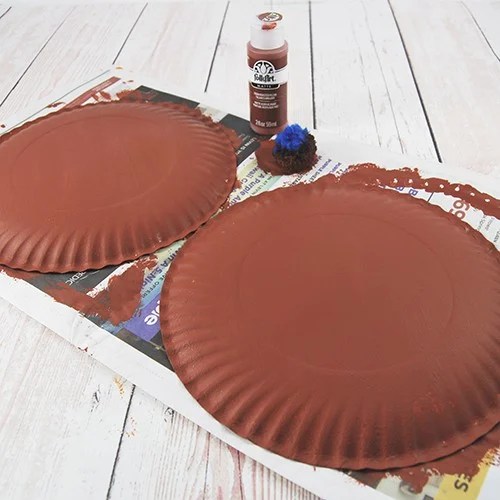
- Lay out some newspaper on your crafting surface.
- Place the paper plates on the newspaper, bottom side up.
- Paint the plates using pompoms.
If you don’t want to mess with paint, you can opt to use crayons or markers for this step instead.
Step 2: Use the Craft Template
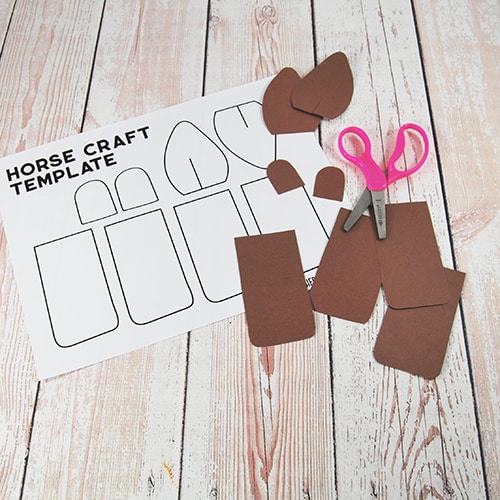
- Download and print the horse craft template.
- Use the template to cut out all of the parts for your horse from construction paper.
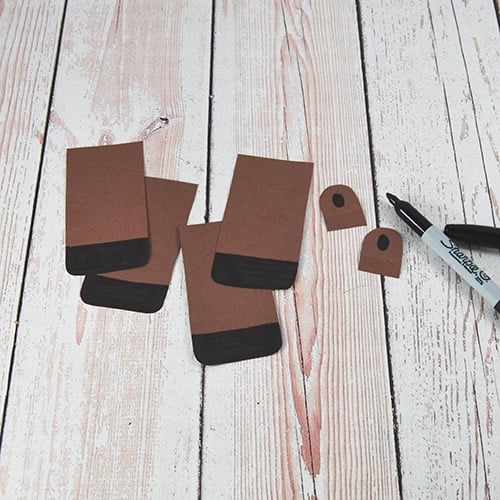
*Not included in the template and optional if you want to add them are little tombstone shapes that would be the nostrils of your horse if you prefer.
Step 3: Shape the Head
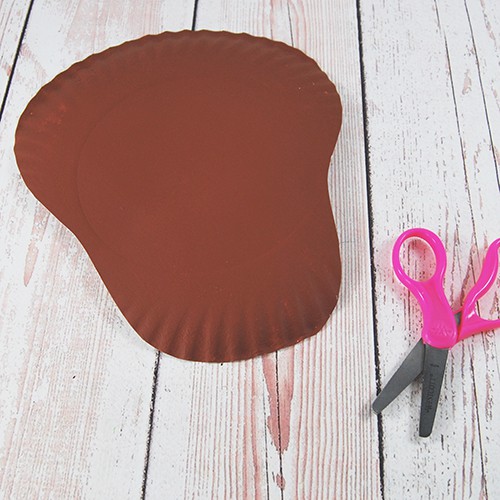
- Once the paint has dried, cut one of the plates into the shape of a horse’s head.
- To make this a little easier, I drew the curves with a black sharpie on the unpainted side of the paper plate before cutting them out.
Step 4 (Optional): Add Details
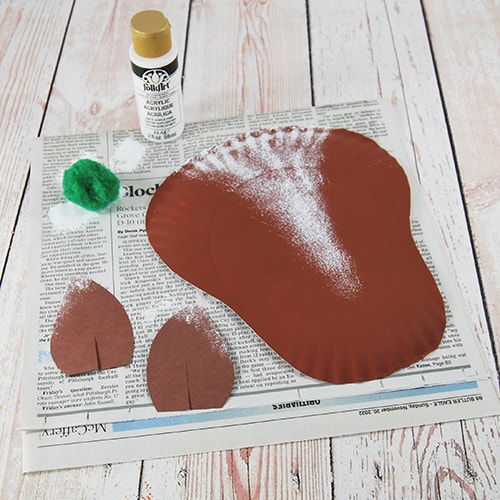
- Place your horses head and any other parts that you want to add painted details to back onto the newspaper.
- Use pompoms again to tap paint any details you want onto your horse.
You can choose to skip this step all together or use crayons or markers instead of paint.
Step 5: Add Hooves
- One each of the horses legs, color the bottom 1/2 inch black for the hooves.
- If you’re making nostrils that stand up, also fold the bottoms and draw on the holes.
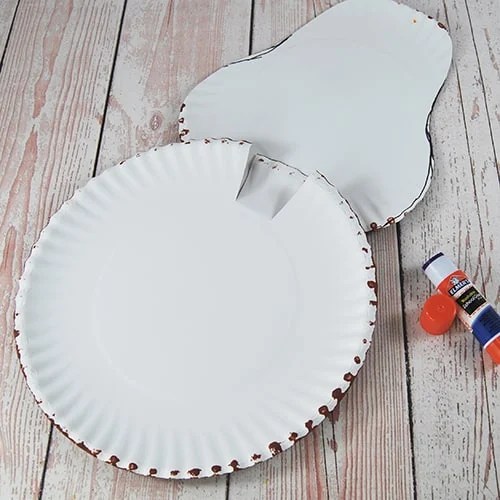
Step 6: Begin Assembly
- Cut a 1 inch tab into the plate that is the body of your horse.
- Bend it up and cover it with glue from your glue stick.
- Attach the head of your horse and press firmly so that the glue takes hold.
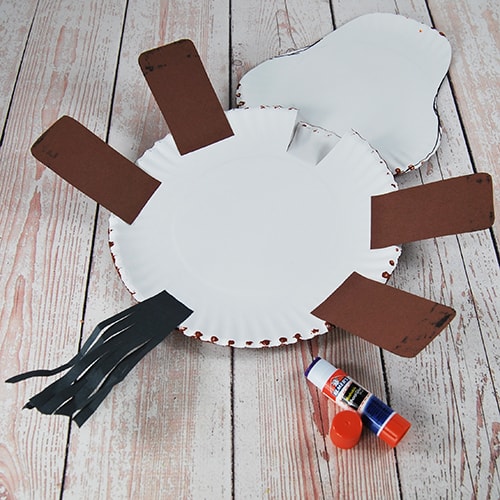
Step 7: Complete Assembly
- Cut long slits into your horses tail and crumple it up a bit.
- Then attach the legs and the tail to the underside of the body of your horse using your glue stick.
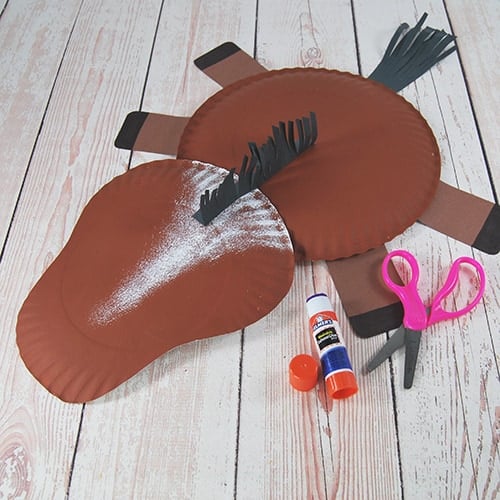
Step 8: Add the Mane
- For the mane, cut a strip of paper that is about 2″ wide and 5″ long.
- Fold a small section lengthwise that will be used to attach it to the body of your hose.
- Snip the section that will be standing up to form the hair of the mane.
- Attach it using your glue stick. It should start on the top of the head and go down onto the body of your horse.
Step 9: Create Your Horse’s Face
- Form the face of your horse by either drawing on nostrils or attaching the 3D paper nostrils that you created earlier.
- Add the googly eyes.
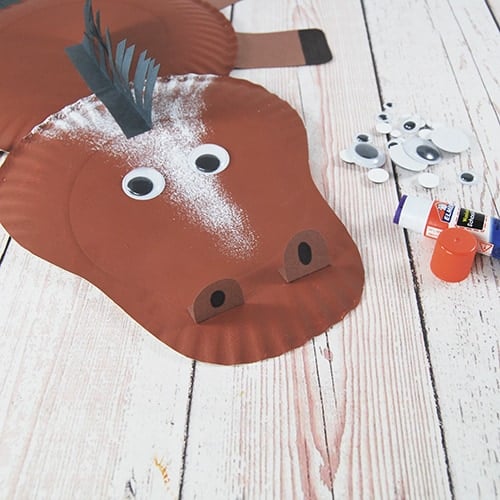
Step 10: Add the Ears
- Take one of the ears and overlap the 2 sides at the slit.
- Secure it in that position with your glue stick.
- Then adhere the ear to the head of your horse craft using the glue stick.
- Repeat this process with the other ear.
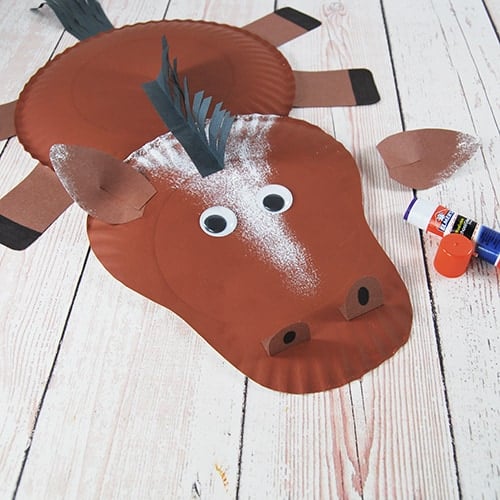
Now that you know how to make this horse craft, it’s time to make it your own. Yours should not look like mine. Change up the colors, give him some wings, add a unicorn horn if you want. Make him traditional horse colors (there are so many types) or go more colorful with unexpected colors for your horse craft. There are no limits. Just use your imagination.
Save this Paper Plate Craft for later. Pin it to your favorite Pinterest board…
