Paper Plate Panda Craft (with FREE Craft Template)
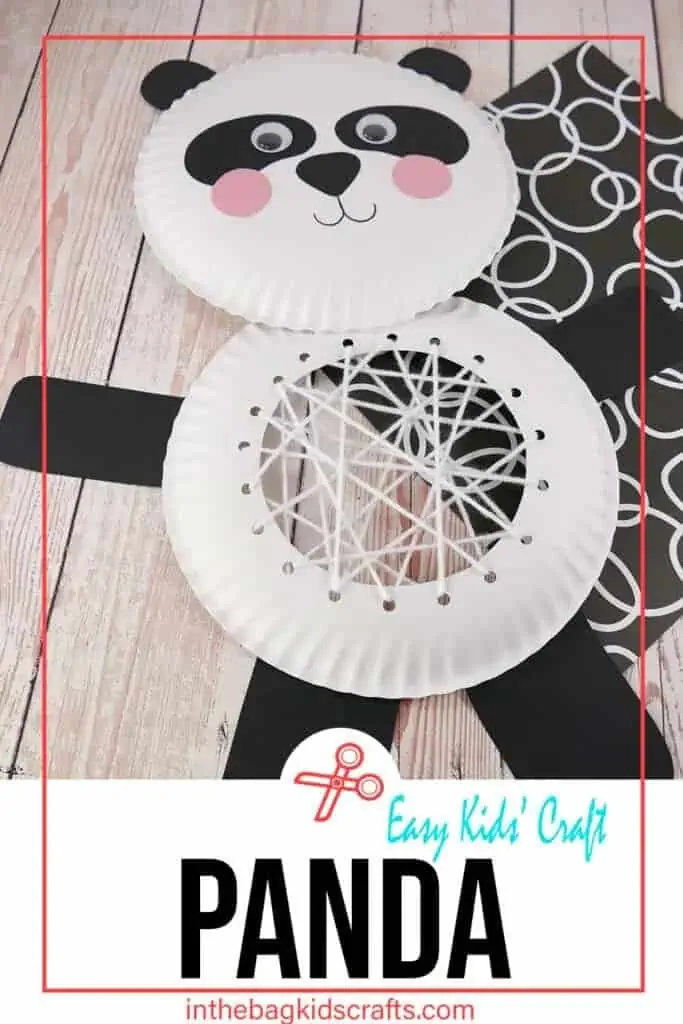
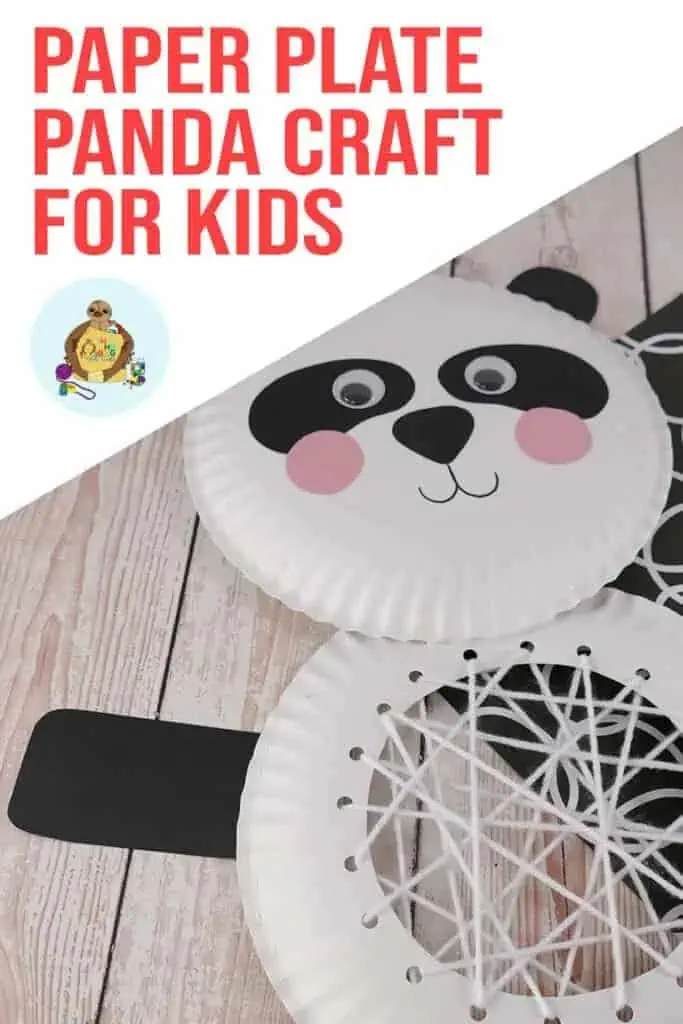
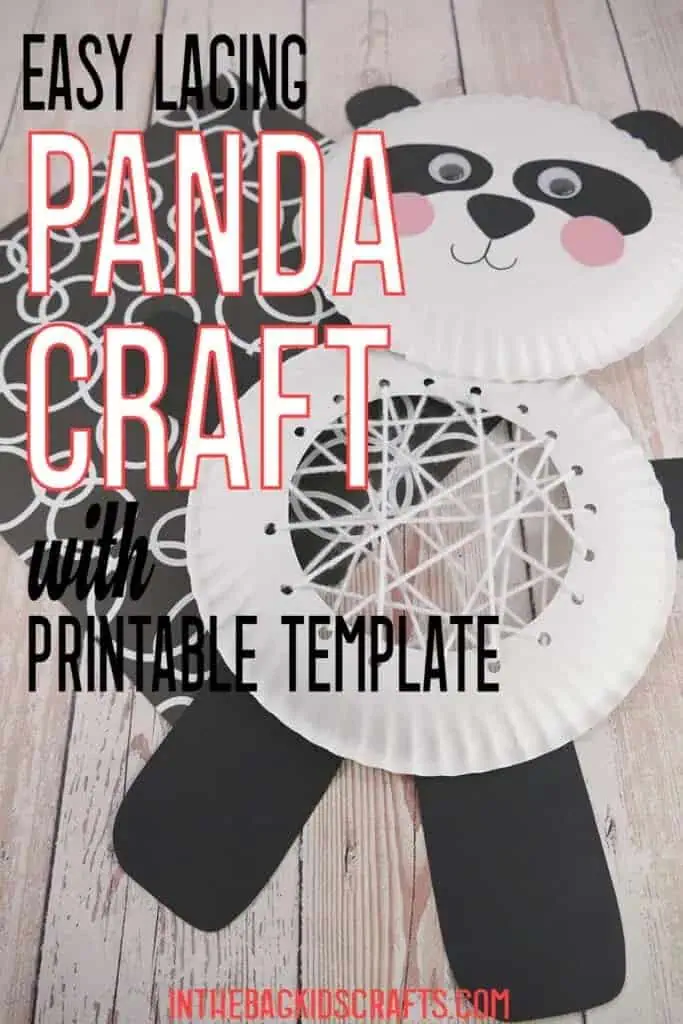
This paper plate panda craft is totally adorable and super easy to make. His lacing tummy makes him extra special and perfect for practicing both fine motor skills and hand eye coordination. With just a little help for cutitng out the parts, this makes a great preschool craft but is also appropriate for kids of any age really.
And if you are enjoy making this bear craft, try these yarn wrapped panda bears, this lacing polar bear or this newspaper panda bear craft too.
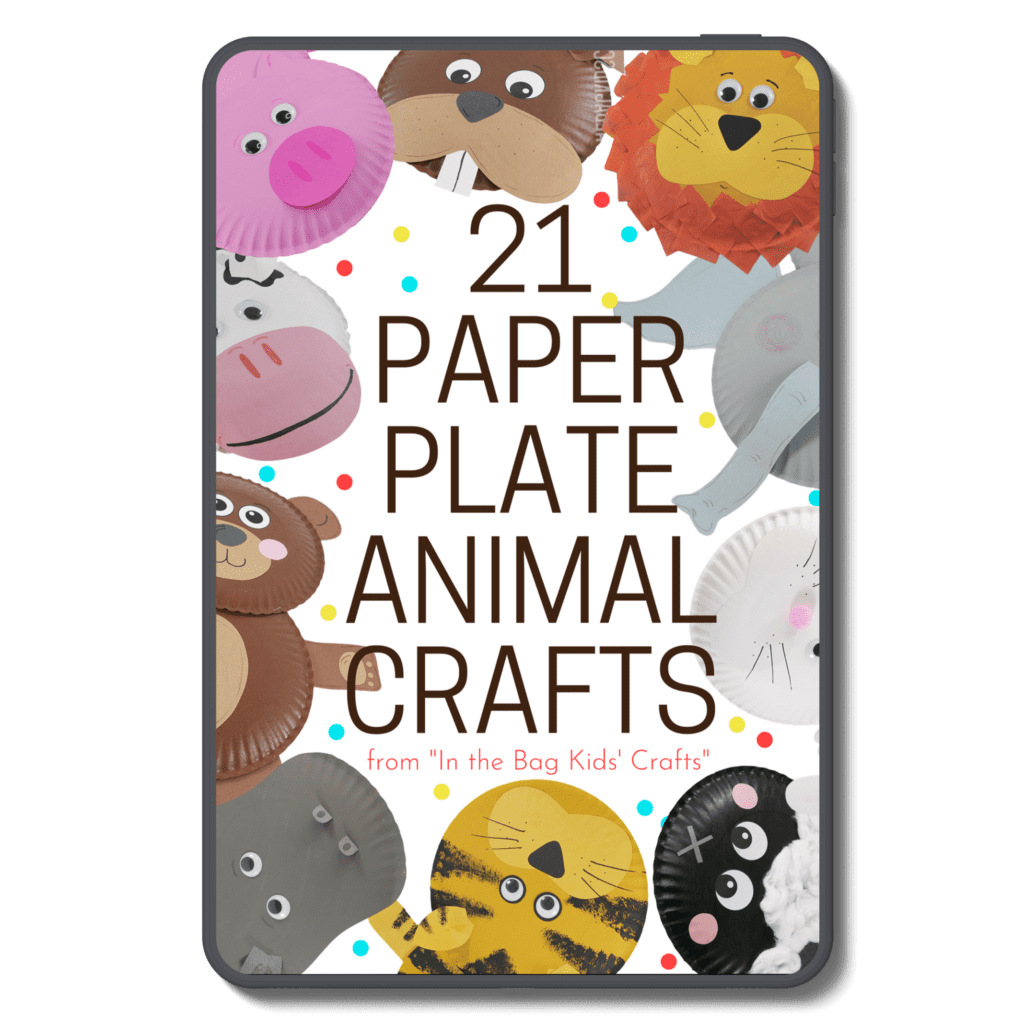
You’re Going to Want to Make EVERY SINGLE Paper Plate Animal Craft in this Collection with Your Kids…
Save this Panda Bear Craft for later. Pin it to your favorite Pinterest board…
Check out these fun facts about pandas
- Bamboo is their main source of food, and they spend lots of their day eating.
- Panda mamas are very protective of their babies and supervise them nearly 100% of the time.
- They are both good swimmers and good climbers.
- Giant pandas don’t hibernate like other bears.
- Fortunately, pandas are no longer considered a critically endangered species and have been downgraded to being only a “vulnerable” species thanks to conservation efforts.
To learn more about pandas, check out this article by National Geographic Kids.
All activities require adult supervision. By using this site, you are agreeing to our terms of use. This post contains affiliate links, which means if you make a purchase through these links, I may receive a small commission at no extra cost to you. Click here to read my full disclosure policy.
SUPPLIES FROM THE BAG
- 2 Paper plates (9-inch coated)
- Glue stick
- Black construction paper
- Scissors
- Single hole punch
- White yarn
- Scotch tape
- Googly eyes (or printable paper eyes)
- Panda craft template
You do not need to make things complicated to be creative. We like to keep things simple around here, while still also making fun crafts that kids will love to make. To achieve this, we stick to a master list of supplies that we use for every single craft you see here on this site and in our shop. It’s just 27 basic items that fit into one bag, and that includes lots of stuff you already have on hand, like scissors, glue, tape…
Once you fill your bag, you’re ready to make all of the wonderful things that you see here…no wait time while you run to the store and get everything that you need. Just pick a craft and start making things. You already have everything that you need withou tall the extra prep. So…what are you waiting for? Fill your bag and craft along!
Our favorite Panda Books for Kids
A great way to elevate the crafting experience is to combine it with reading a fun book about the subject of your craft. Here are some of our favorite kids books about panda bears…


How to Make a Paper Plate Panda Craft
Step 1: Cut and Punch the Holes
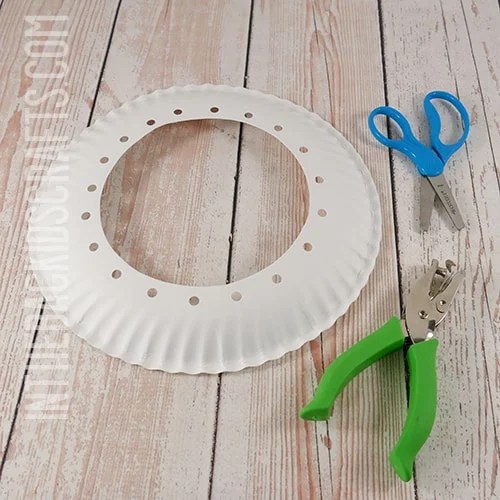
- Fold one of the paper plates gently in half and snip with your scissors in the center.
- Use this starter hole to then cut out center circle of your paper plate.
- Then take your hole punch and punch holes all around the inside of the cut out circle, about 1″ apart.
Step 2: Put the Plates Together
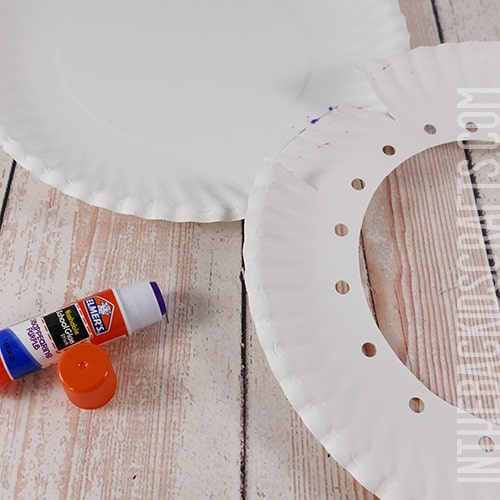
- Cut 2 slits in the outs of the plate with the cut out circle, leaving you with a tab about 2 inches wide and an inch deep.
- Fold this tab down slightly and glue it to your other plate so that the 2 plates are now stacked on top of each other like a snowman.
- Press firmly and hold until the glue sets up.
Step 3: Use the Free Panda Craft Template
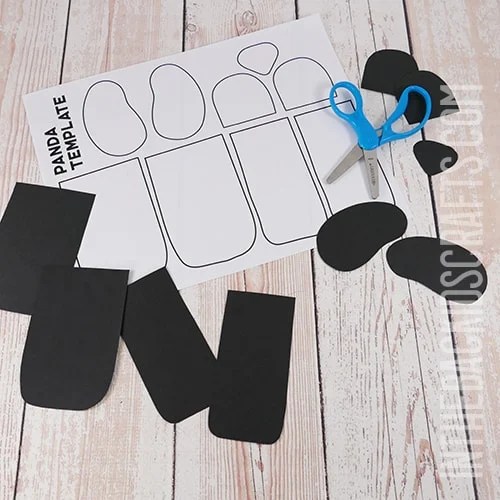
- Print the panda bear craft template.
- Use it to cut out all of the pieces for your panda craft from black construction paper. You will have 2 arms, 2 legs, 2 ears, 2 jelly bean shaped eye patches and a nose when you’re done.
Step 4: Attach the Parts of Your Panda Bear Craft
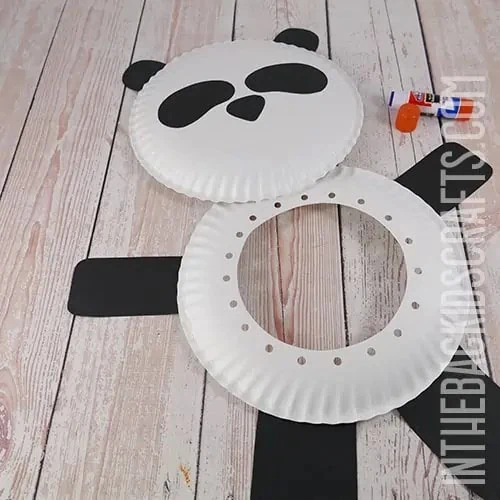
- Turn your paper plates over so that the bottoms are facing up.
- Next, glue the cut out pieces of your paper plate panda craft in place.
- Again press firmly so that the glue can set up, especially when gluing parts onto the smooth or crinkled parts of the paper plates.
Step 5: Make Your Paper Plate Panda Bear Craft Smile
- Now that all of the parts of your bear craft are assembled, fill in the details of his face.
- Add googly eyes. We used 25mm self-adhesive ones. You can also choose to print out the free printable eyes for crafts and use those instead.
- Use a marker to give him a smile and any other details that you would like.
- We decided to also give him some rosy cheeks by cutting little pink circles from scraps of paper and gluing them in place.
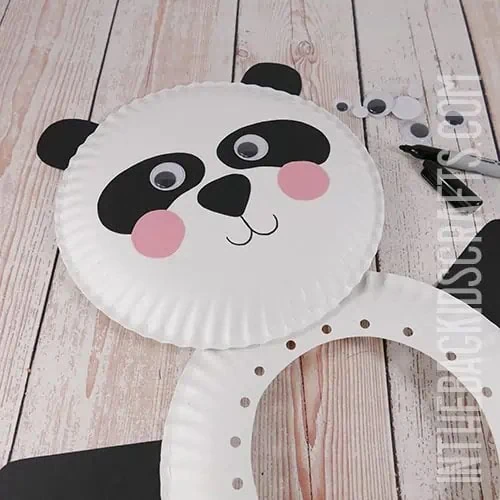
Step 6: Finish Off Your Easy Bear Craft
- To finish off your panda craft, cut a length of white yarn at least a yard long.
- Lace it through one of the holes and secure it in place on the back side with a piece of tape.
- Lace it back and forth through the holes, going across the large center circle, until you are at the end of that piece of yarn.
- Secure the end in place with a piece of tape.
- Repeat this process with other pieces of yarn until the belly is filled in as much as you want.
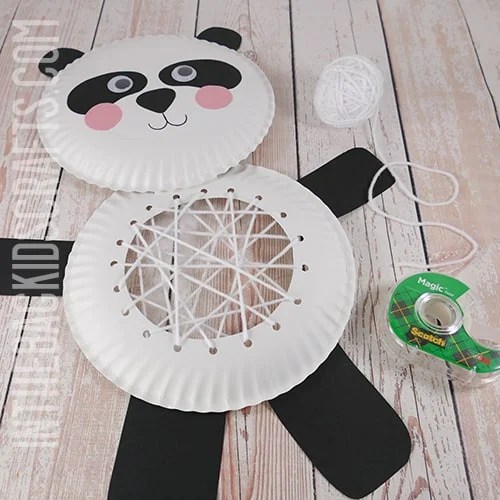
Now that you know how to make a panda craft, it’s time to make it your own. We stuck to traditional colors for ours, but this is your panda bear craft. You can choose whatever colors and patterns you like. Maybe you want your panda to be green with purple arms and legs and yellow eyes. Or maybe he will be polka dotted or plaid. Just go for it! The only limit is your imagination.
Save this Paper Plate Craft for Kids for later. Pin it to your favorite Pinterest board…
