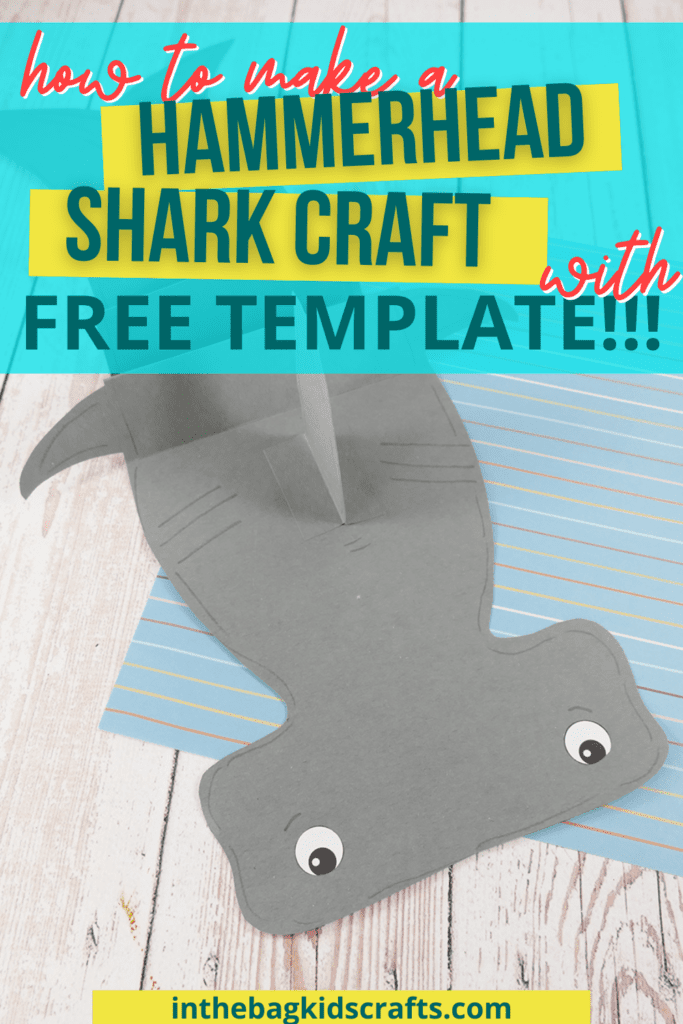
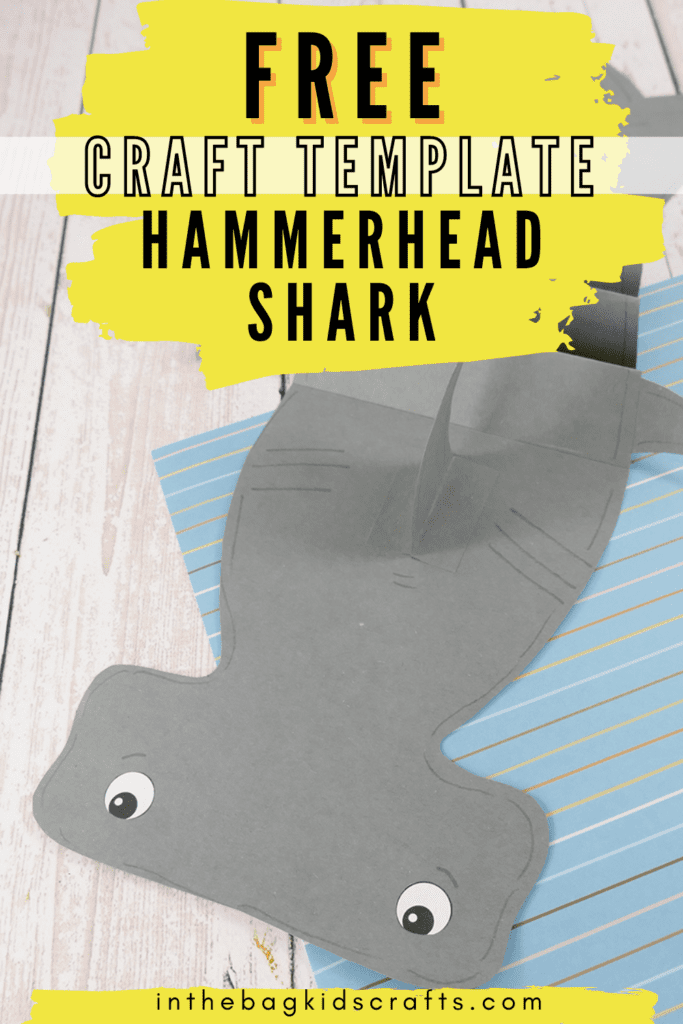
Hammerhead Shark Craft (with FREE Template)
Sharks are amazing creatures, truly majestic in so many ways. And this hammerhead shark craft is extra special. Honestly, this type of shark is so fascinating and unique in it’s look. But I still wouldn’t want to come face to face with it in the ocean. How about you? Let’s learn a little bit more about these strange ocean animals.
Your Kids are Going to Absolutely LOVE This Collection of Under the Sea Animals Paper Plate Crafts…
Fun Facts About Hammerhead Sharks
- The longest hammerhead shark ever recorded was 20 feet long!
- That unique hammer shaped head is called a cephalofoil.
- Because of the placement of their eyes, they can see in 360 degrees.
- They are immune to the venom of some animals that might otherwise cause them harm, like string rays.
- Hammerhead sharks prefer to swim on their sides.
- Though they look scary, they very rarely attack humans.
- Since hammerhead sharks enjoy hanging out in more shallow water, they have been known to get tans, turning from brown to almost black.
To learn more, check out this article from “Kids Love to Know“.
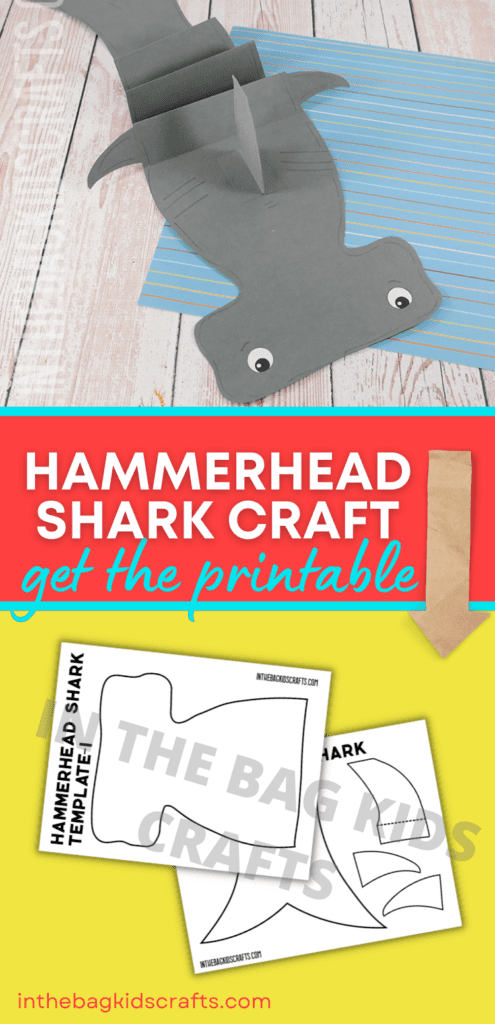
Save this Shark Craft for Kids for later. Pin it to your favorite Pinterest board…
All activities require adult supervision. By using this site, you are agreeing to our terms of use. This post contains affiliate links, which means if you make a purchase through these links, I may receive a small commission at no extra cost to you. Click here to read my full disclosure policy.
If you really want to learn more about sharks (or just want to have a little fun), here are some great books for your kiddos to enjoy:


SUPPLIES FROM THE BAG
- Gray construction paper
- Scissors
- Glue stick
- Markers
- Googly eyes (or printable paper eyes)
- Hammerhead Shark craft template
This craft, like every creation on this site, sticks to the same master list of basic supplies that all fit into one bag. You might think that limiting ourselves to just 27 items would reduce creativity, but it actually does the opposite. It really frees you up to make things without distractions. And…it makes crafting with your kids actually do-able, even when life is hectic. Because once you fill your bag, you’re all set to go. No more extra prep.
Even better, we’ve now created a collection of 100 printable kids’ craft flashcard sets that you can put on a key ring and attach to your craft bag…ideas at your fingertips!
How to Make a Hammerhead Shark Craft
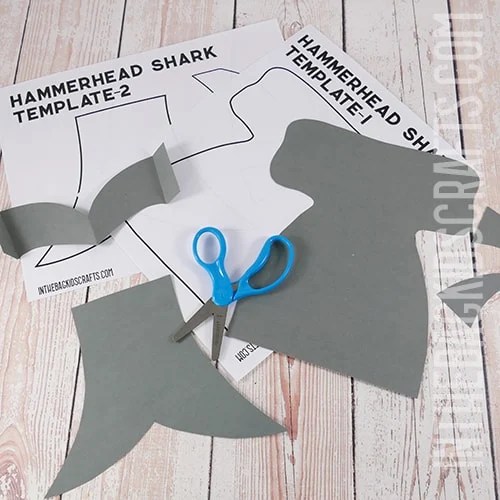
Step 1: Use the Printable Hammerhead Shark Craft Template
- Use the printable hammerhead shark craft template to create the head and tail of your shark.
- Cut it out from gray construction paper.
*If you do not have access to a printer, simply draw the head and tail free-hand and cut them out.
- Next use the printable template to cut out 2 identical side fins from gray construction paper.
- Fold a piece of gray construction paper in half and cut out the dorsal fin of your shark.
- Fold tabs out on the bottom of the fin.
Step 2: Cut Out the Shark Body
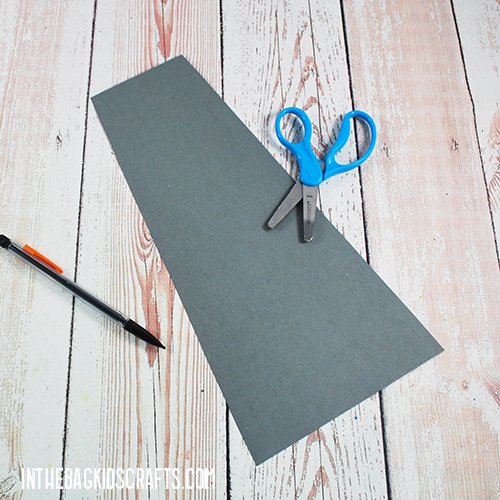
- Get out a piece of gray construction paper.
- Use a pencil to marker the width of the head and tail on either end of the paper.
- Then draw a line on both sides connecting the marks.
- Cut on the line to form the body of your paper shark craft.
Step 3: Accordion Fold
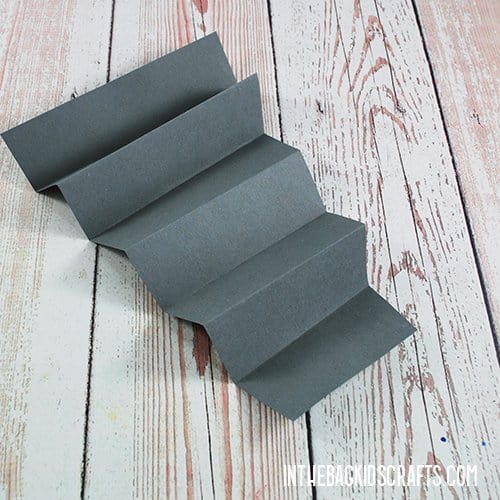
- Fold the body section into an accordion.
- To get the sections even, fold it in half first and then work out from there.
- The accordion fold sections should be about 1″ wide.
Step 4: Put the Shark Craft Activity Together
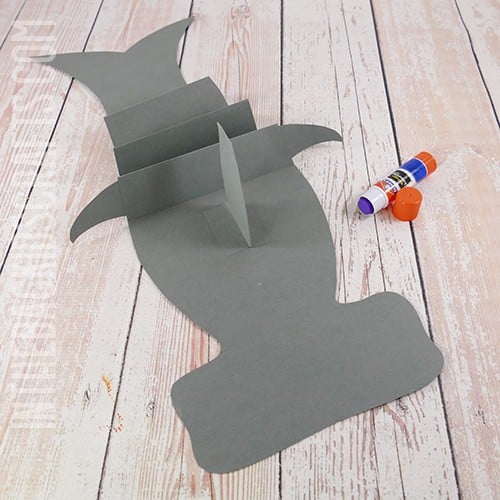
- Use a glue stick to attach the cut out head to the body of your shark craft.
- Then attach the tail.
- Press firmly to be sure the glue takes hold.
- On the first folded section of the shark’s body, attach the cut out side fins.
- Take your cut out dorsal fin and put glue in the middle, leaving the tabs unglued for the moment.
- Then, place glue on the tabs at the bottom of the dorsal fin and put it in place on the back of your shark’s head.
Step 5: Finish the Details of Your Shark Craft
- Place the googly eyes (or printed paper eyes if you prefer) on your shark art and craft. *You might notice that ours are actually placed a little bit forward, but place yours all the way on the ends of each side of the hammer if you want to be more accurate.
- Use markers to add details to your paper hammerhead shark craft. Be sure to add the gills.
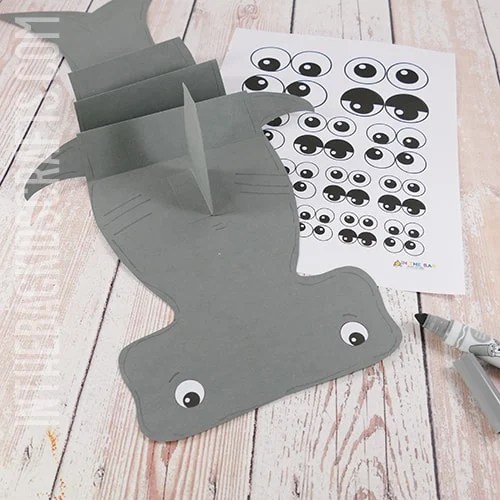
Now that you know how to make a hammerhead shark craft, it’s time to make it your own. We made ours using traditional colors, but you can choose any colors that you like. Your shark doesn’t even need to be all one color. Maybe his body is pink with orange, purple and blue fins? Really…anything goes! Just have fun with it.
Ocean animal crafts are a good idea any time of the year. And why stop at this fun hammerhead shark craft? Give him some friends with these sea animal craft ideas:
- Popsicle stick ocean animals
- Paper plate under the sea animal crafts
- Stuffed newspaper sea turtle
- Paper shark craft
or something a little more “comical” like these baby shark paper bag puppets.
More Paper Crafts for Kids to Try
We love paper crafts so much. You can check out this article for 100 paper craft ideas.
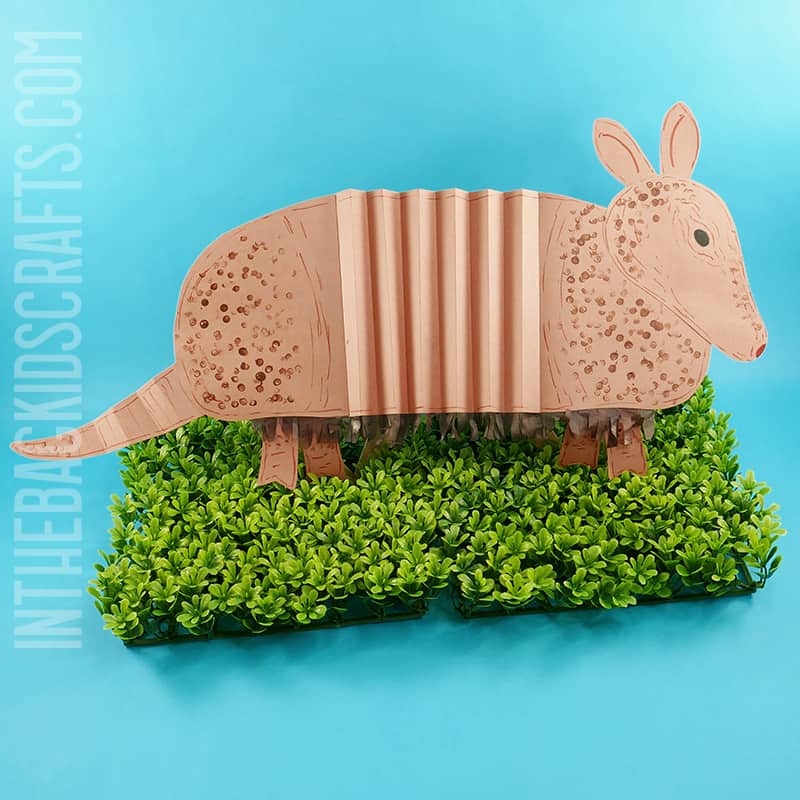
- Armadillo Craft
- Crocodile Craft
- Woodland Animal Crafts
- Elephant Craft
- Lion Craft
- Paper Chain Boredom Buster
- Ice Cream Sundae Craft
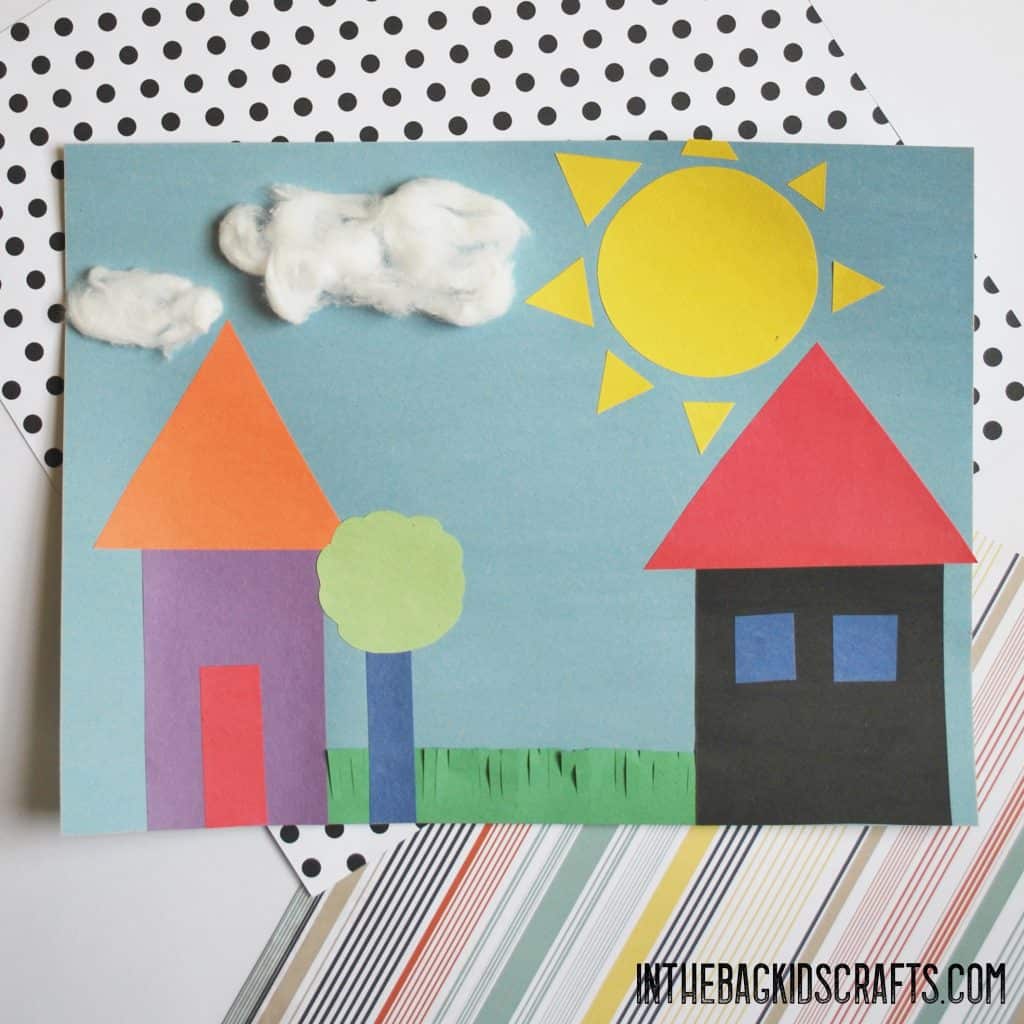
- Shapes Art and Craft
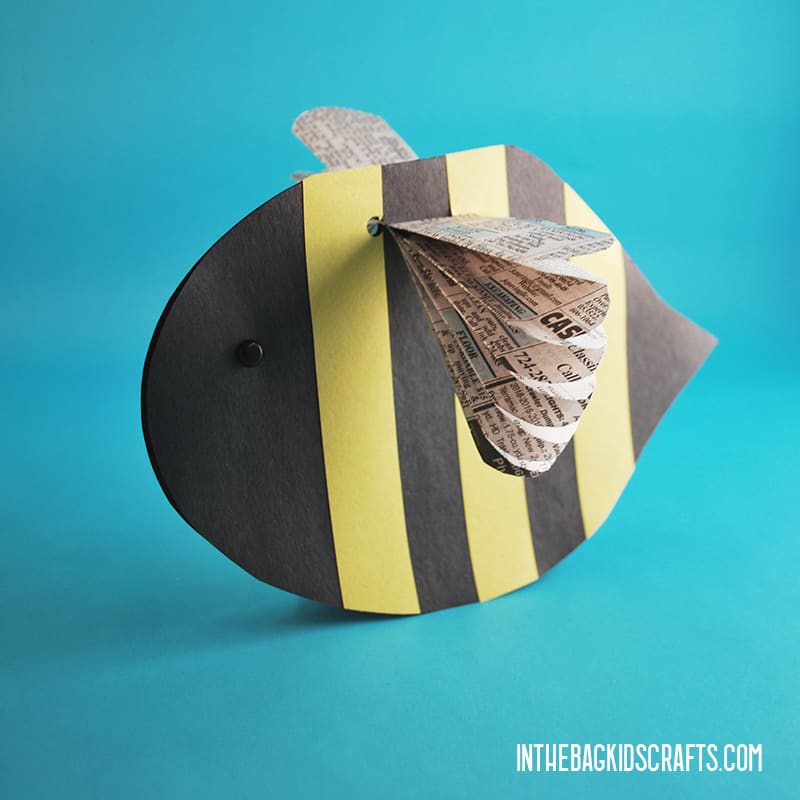
- Bumblebee Craft
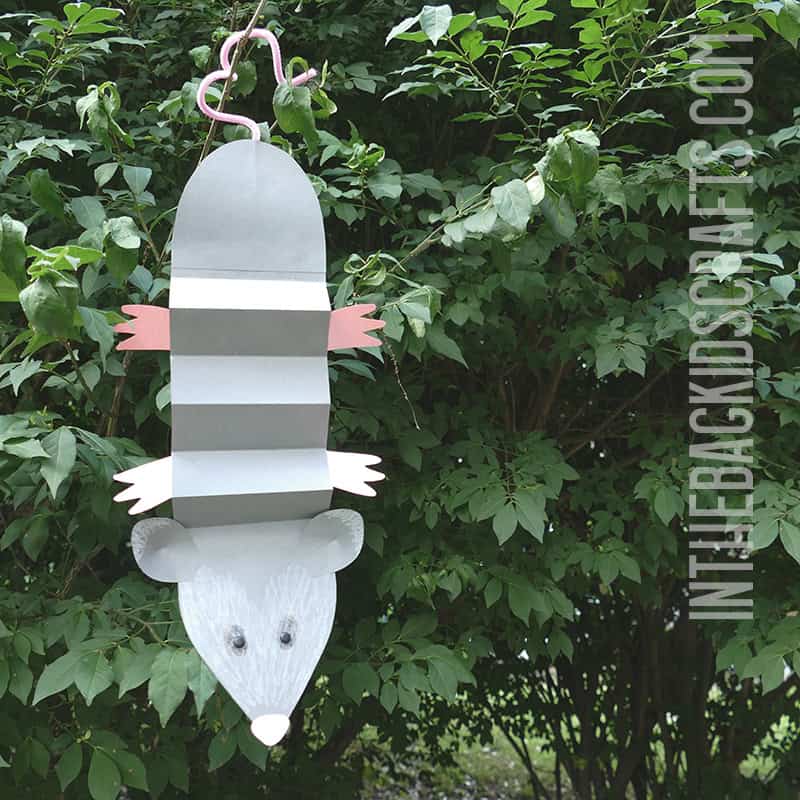
- Paper Possum Craft
- Paper Shark Craft
- Paper Mouse Craft
- Simple Paper Flowers
- Paper Hedgehog Craft
- Life-Sized Sunflower
Here’s another shark craft you’re going to love
Save this Shark Craft for Preschool for later. Pin it to your favorite Pinterest board…
