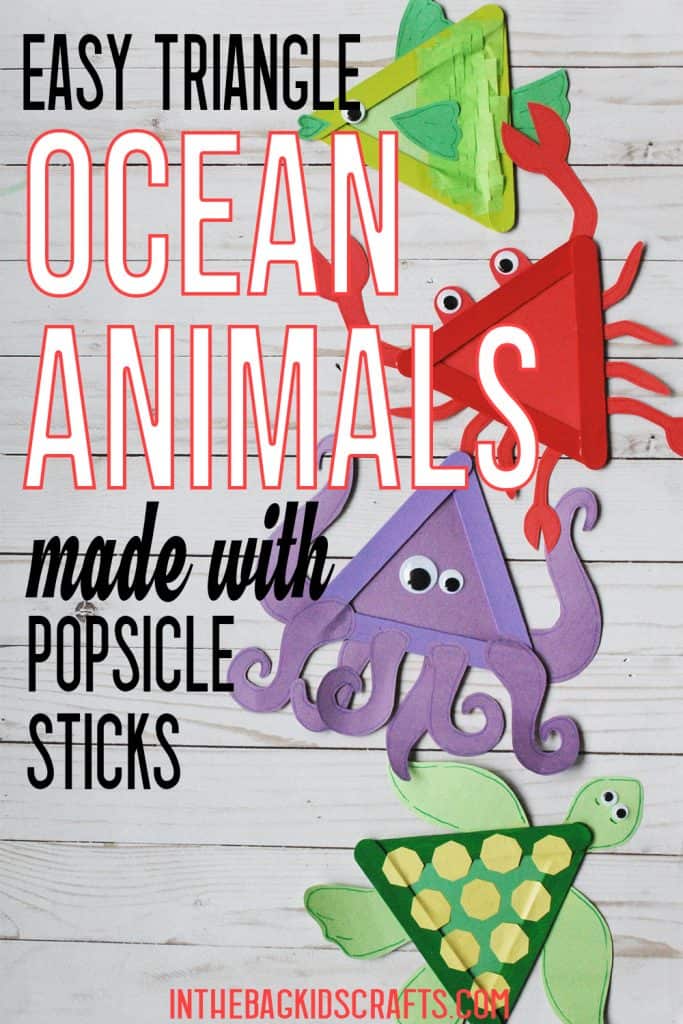
Sea Turtle Craft for Kids
This sea turtle craft for kids is part of a week-long series of ocean animals…only one more to go. They are all so cute! And working through this series is a great way to teach your child about the amazing creatures of the sea and their ecosystem.
Your Kids are Going to Absolutely LOVE This Collection of Under the Sea Animals Paper Plate Crafts…
Save this sea turtle craft for kids for later! Pin it to your favorite Pinterest board…
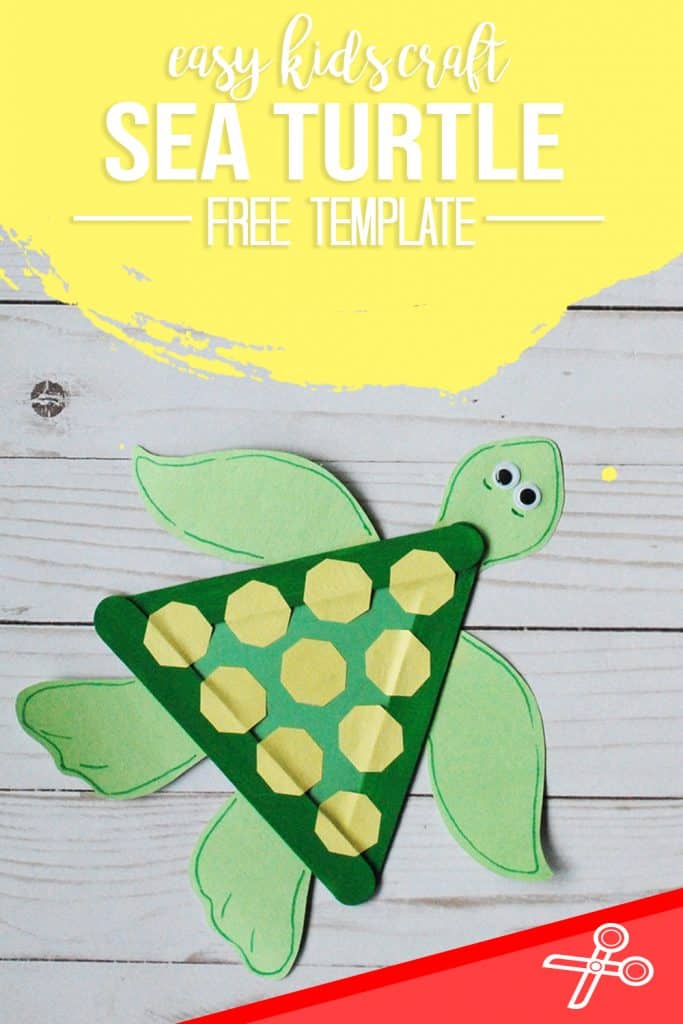
Before we get started, you might want to print out the template for this craft…
SUPPLIES FROM THE BAG
- 3 Large popsicle sticks
- Elmer’s glue
- Dark green paint
- Newspaper
- Glue stick
- Scissors
- Clothespin
- Medium pompom
- Dark green, light green and yellow construction paper
- 2 Small googly eyes
- Markers
- Pencil
- Sea Turtle craft template
This list of supplies is a subset from the MASTER LIST used for every single project here at “In the Bag Kids’ Crafts”. And we use that list to remove many of the barriers that are often keeping us from creating with our kids. When you fill up your bag, you are done with the prep and ready to make any of hundreds of crafts. (And if you don’t see what you’re looking for, just let us know. We will make it happen.) Just think of how much preparation, time and mess we have eliminated for you. Yay!!! Find out what to put in your bag.
Step 1: Make the Triangle
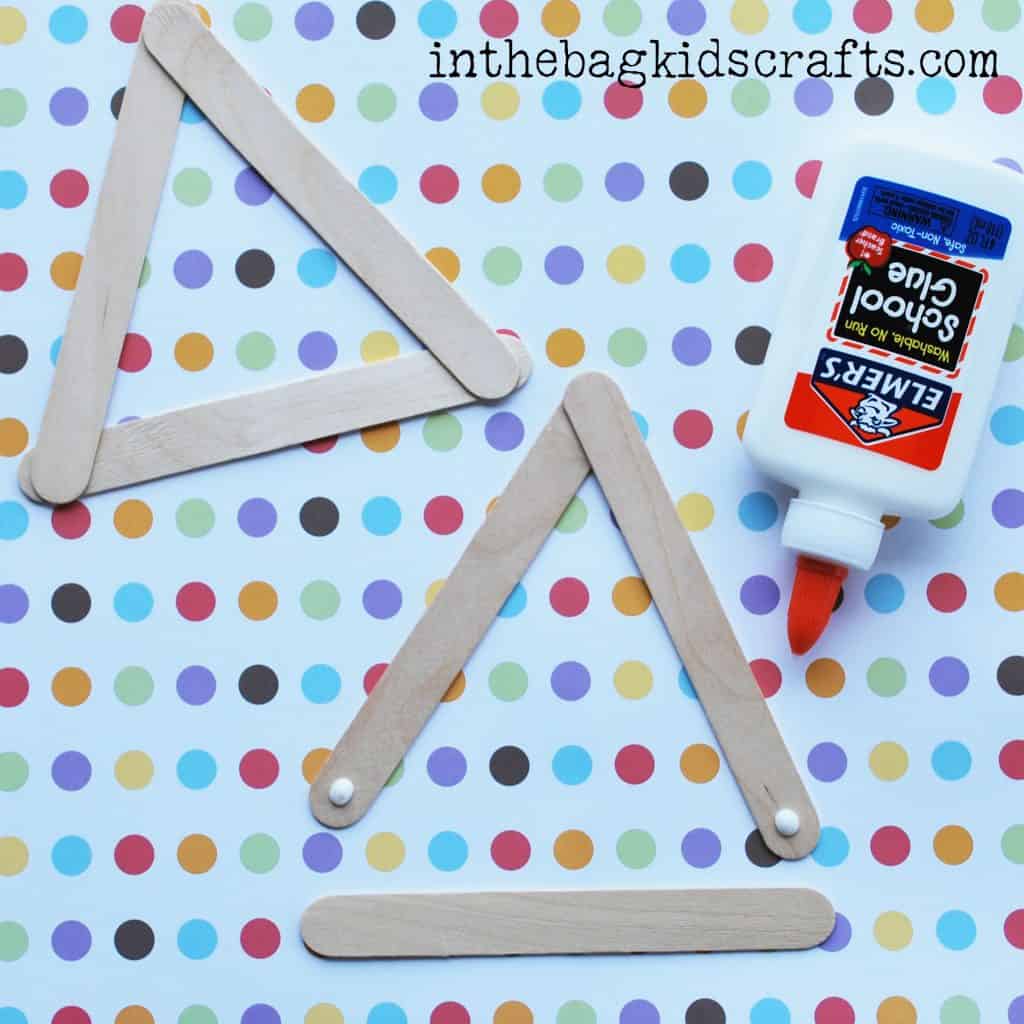
- Glue together 3 large popsicle sticks to form a triangle
- Allow the glue plenty of time to dry
*Tip: You may want to make up the triangle frame the night before to give the glue time to set up. As a matter of fact, make several of the triangle frames while you are at it because, around here, we use them a lot.
Step 2: Paint the Turtle Craft
- Place the triangle frame on the newspaper to minimize the mess
- Squeeze out a bit of dark green paint
- Pinch the pompom with the clothespin to form a “paint brush”
- Now, paint your frame green. *This may take a couple of coats for good coverage.
- Give the paint time to dry (it shouldn’t take long). Maybe you could have a snack together or go outside and play in the yard while you wait. Or just move on to the next step. It may be dry by the time you are done cutting out the parts of your sea animal craft.
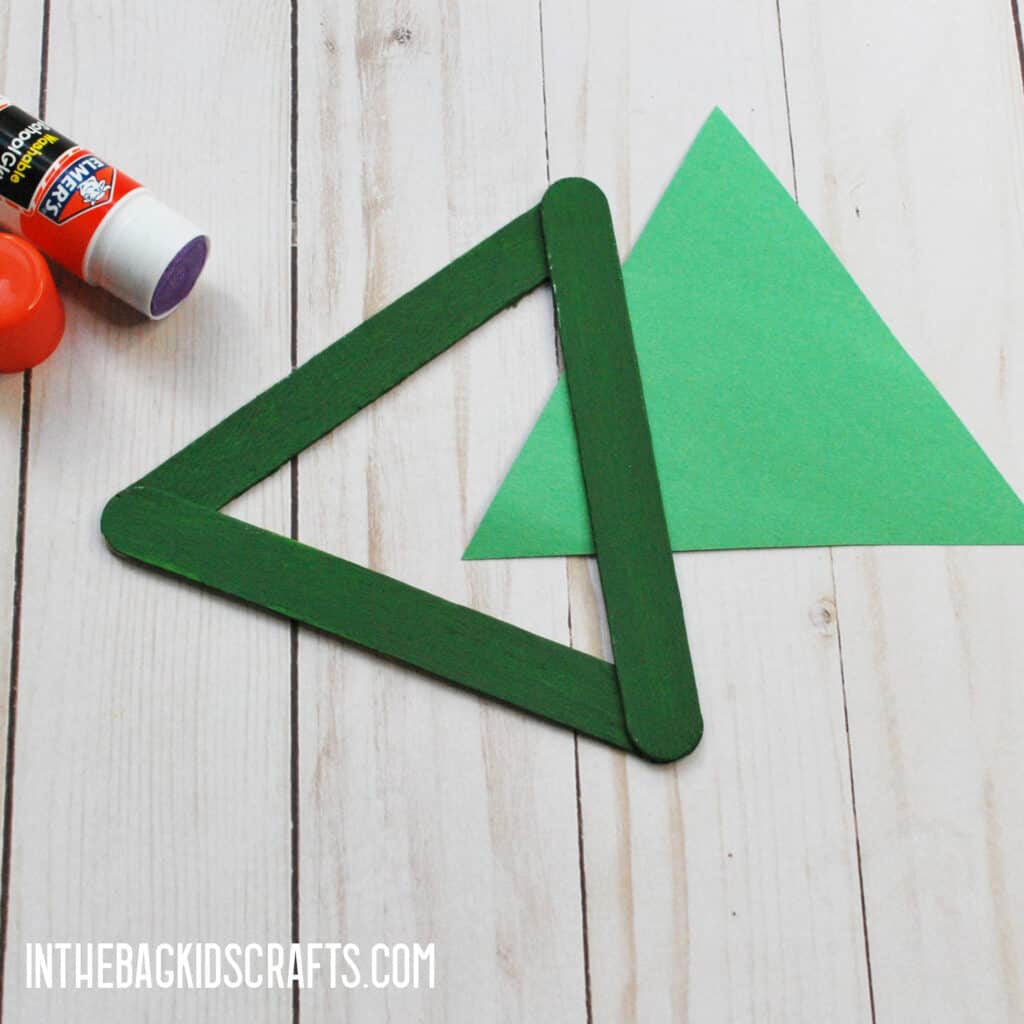
*Tip: After you paint the frame, immediately move it a little bit on the newspaper so that it does not stick. Move it a couple more times during the drying process.
Step 3: Use the Sea Turtle Craft Template
- Print the free template which includes the triangle form.
- Now cut out the paper triangle and use the glue stick to adhere it to the back of the frame.
Step 4: Put Together Your Sea Turtle Craft
- Again, use the free template to cut out the rest of the pieces for your sea turtle. Use the picture as a reference for what colors of construction paper to use.
- Once all of the pieces are cut out, glue them onto the triangle base. The octagons are the details for the back of his shell.
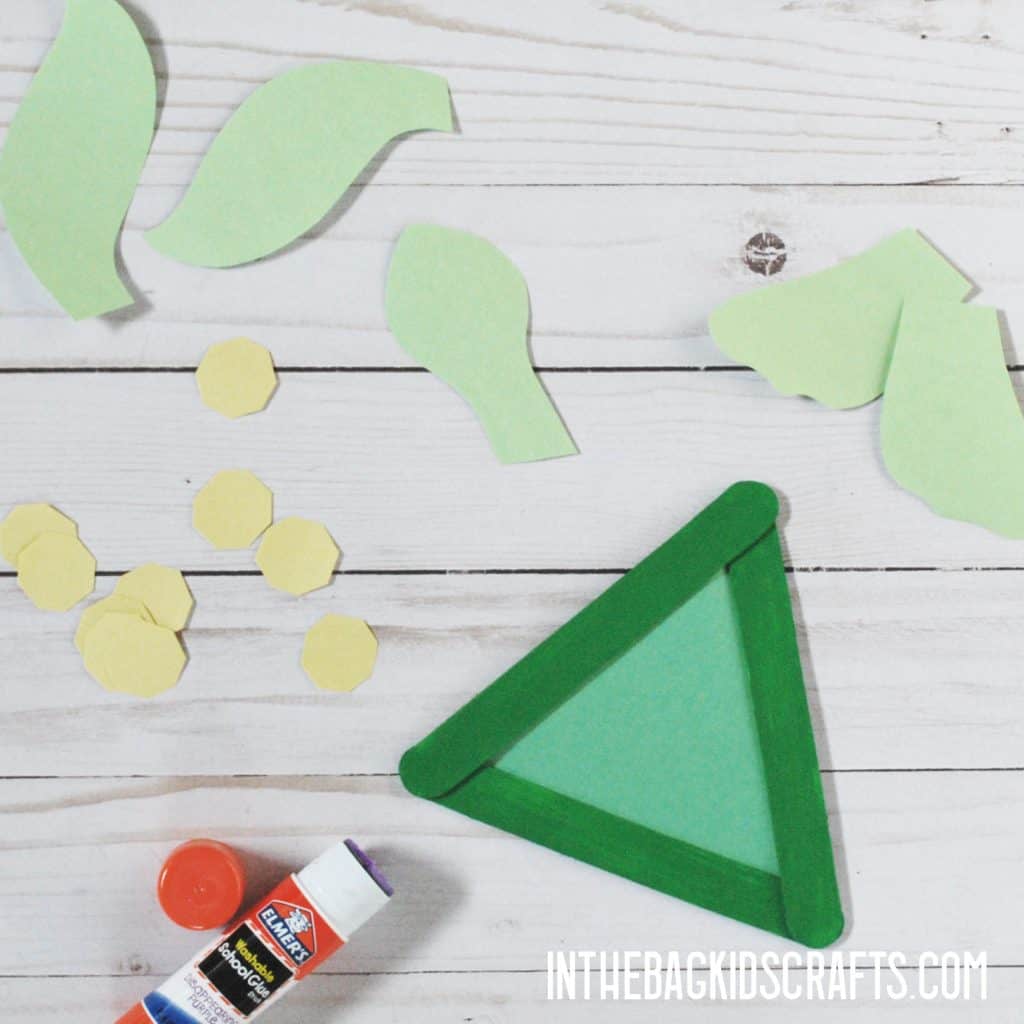

These shapes will be difficult for little ones to cut out. So, precut the pieces and let them handle the rest. For children learning to cut, have them at least cut the large triangle. To make it easier, use a bold marker around the border. Placing the octagons is a great fine motor activity. Encourage your kiddo to “pinch pinch pinch” which picking each piece up, one at a time.
Step 5: Finish Off Your Paper Turtle Craft
- Glue on the 2 small googly
- Last, use the markers to add details as you desire. I traced around the edges and gave him some eyebrows. But you should make it your own and add what you like!
In case you missed the rest of the ocean animal crafts series, check them out here: DOLPHIN, FISH, OCTOPUS, OYSTER, CRAB
