Paper Plate Rabbit Craft for Kids
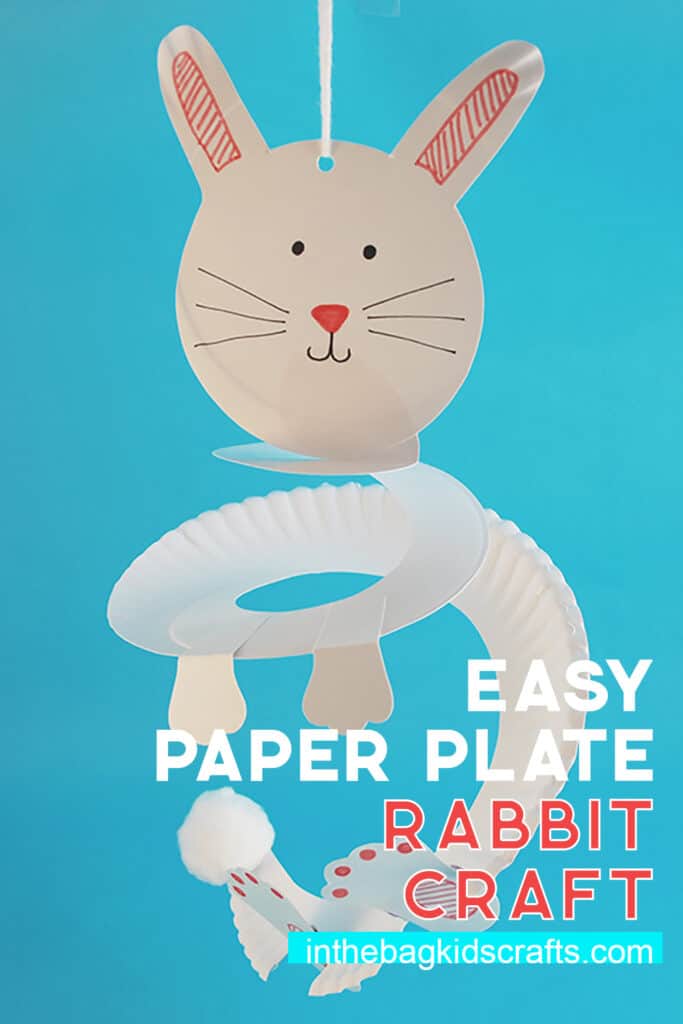
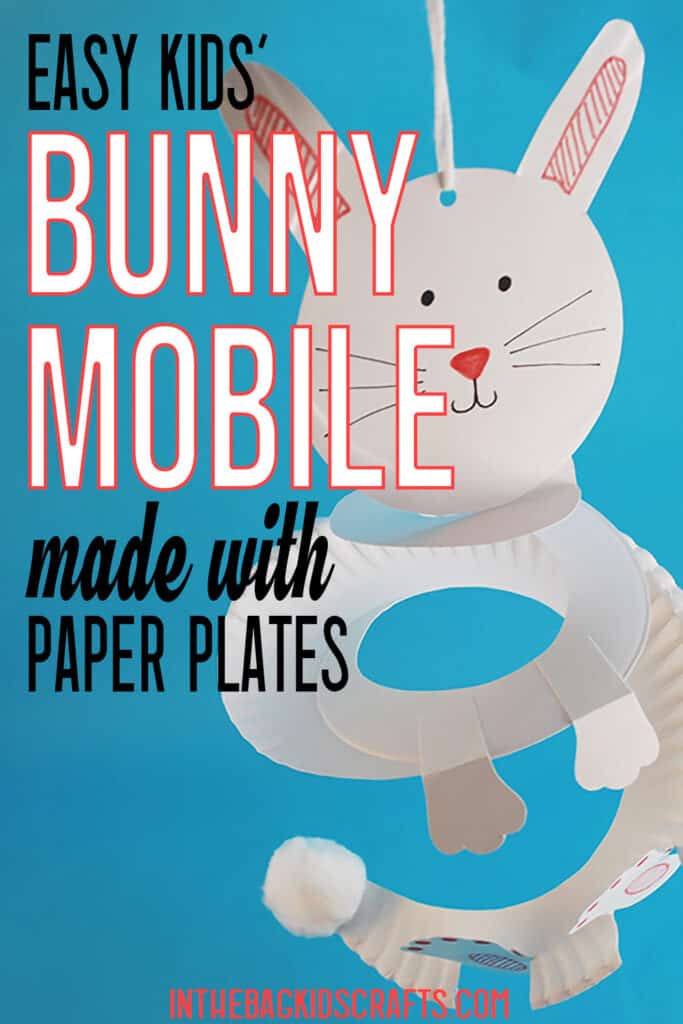
Who knew that something so adorable could come from just a few paper plates? This paper plate rabbit craft is great as an Easter craft or really any time of the year. Hang it somewhere that it can twist and turn to keep the fun going. This easy paper bunny craft is a mobile that brings fun and whimsy to any space.
Save this Paper Plate Rabbit Craft for later. Pin it to your favorite Pinterest board…
All activities require adult supervision. By using this site, you are agreeing to our terms of use. This post contains affiliate links, which means if you make a purchase through these links, I may receive a small commission at no extra cost to you. Click here to read my full disclosure policy.
SUPPLIES FROM THE BAG
- 4 Paper plates (9-inch coated)
- Pencil
- Glue stick
- Scissors
- Single hole punch
- White yarn
- Black Sharpie marker
- Markers
- White pompom or cotton balls
- Bunny template
This list of supplies is taken from the master list that we use for every single creative project here at inthebagkidscrafts.com. We stick to these few basic supplies (27 to be exact) to make the process of crafting with your kids so much easier, while still keeping it so much fun! Find out what to put in your bag now.
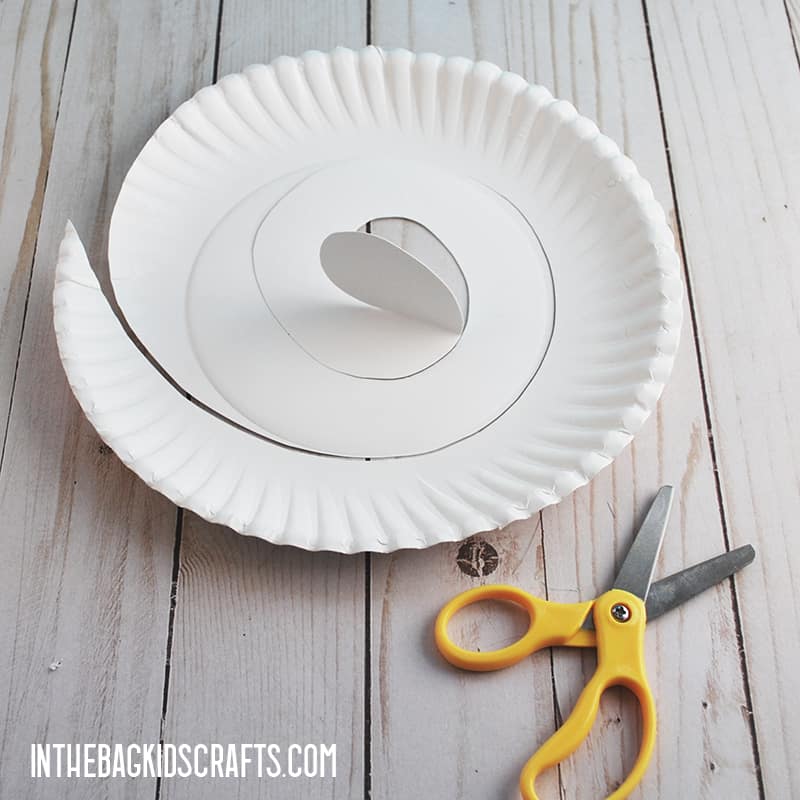
Step 1: Cut a Spiral
- Starting anywhere on the outside of your plate, cut a spiral shape moving inward.
- The spiral should be about 1 1/2 inches thick and stop when there is a round section still left in the center.
- Fold up the round middle at a 90 degree angle. This is what you will attach your bunny craft head to in a few steps.
- You can also take the extra step of smoothing any sharp edges of the spiral.
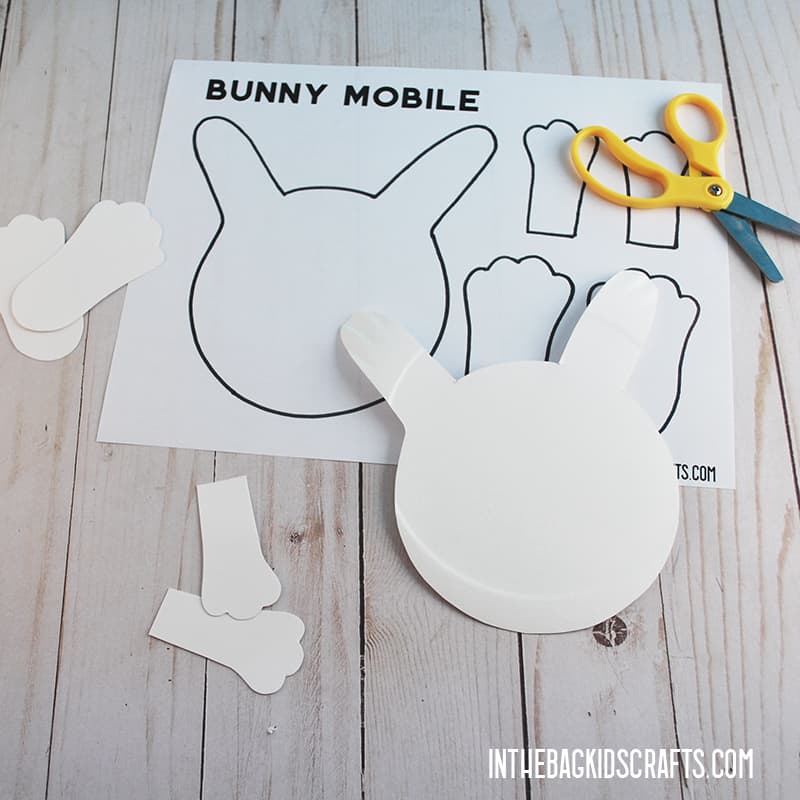
Step 2: Use the Bunny Template
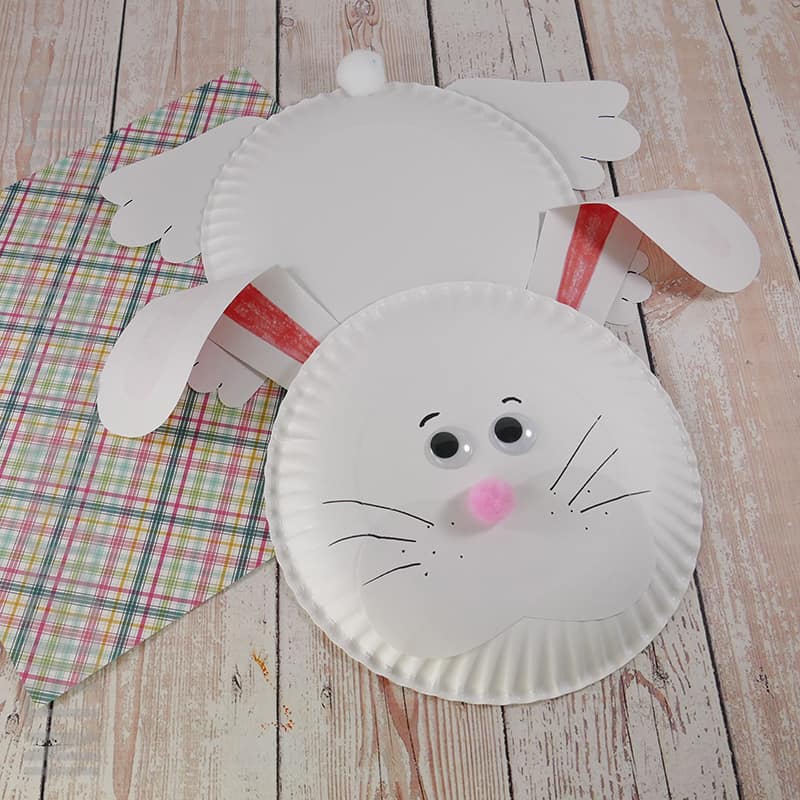
- Print the bunny craft template and cut out the pieces.
- Trace the bunny head onto one of the remaining paper plates and cut it out.
- Then trace the feet onto another plate and the front paws onto another plate. Cut those pieces out also. *We are using paper plates instead of paper to give the rabbit craft more stability.
*If you do not have access to a printer, study the pictures of the bunny craft pieces and draw them free-hand onto the plates. Then cut them out.
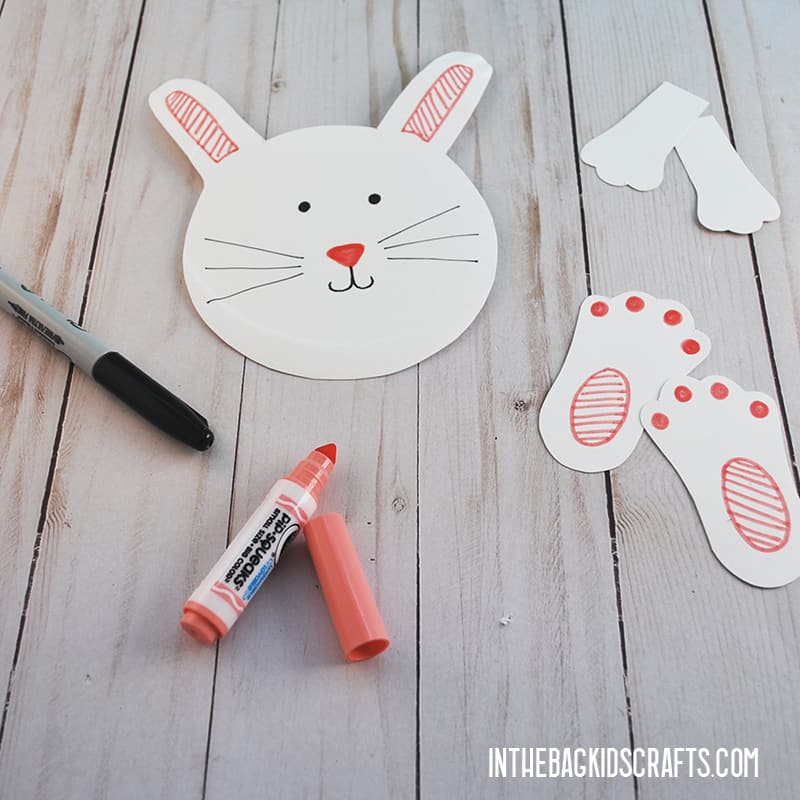
Step 3: Add Some Details to the Bunny Paper Plate Craft
- Draw a face on your bunny craft head using the black Sharpie and other markers. Also add details to the ears.
- Draw on the pink pads of the large back paws.
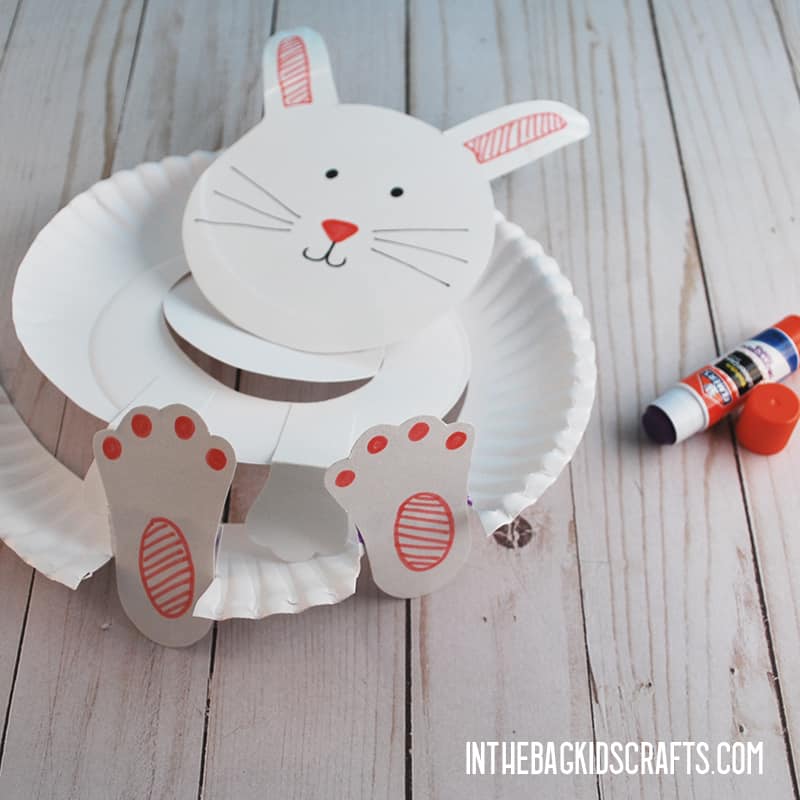
Step 4: Put Together Your Rabbit Craft
- Now use your glue stick to attach the head of the rabbit craft to the spiral cut paper plate. Glue it to the piece that you folded up in the center of the paper plate.
- Give the glue just a minute to set up before moving the paper plate craft too much.
- Fold the tab on the each of the front paws and then glue the tab in place on your paper plate rabbit craft. *Do not do this while the paper plate is lying flat on a surface. Instead, pick it up by the head and let the spiral hang down so that you can find the best place to glue his little paws in place.
- To place the back paws, use this same technique of holding up the paper plate so that the spiral cascades downward.
- Once you decide where you would like to place his back paws, make a pencil mark on each side.
- For each back thumper, cut 2 small slits in the paper plate and fold the piece up. This is what you will glue the paw to. Do this for each foot.
- Trim away any of the folded up paper plate that is showing outside of the paw if you would like.
Step 5: Add a Hanger to Your Easy Bunny Craft
- We will want to hang up this paper plate rabbit craft so that it looks like a twirling mobile.
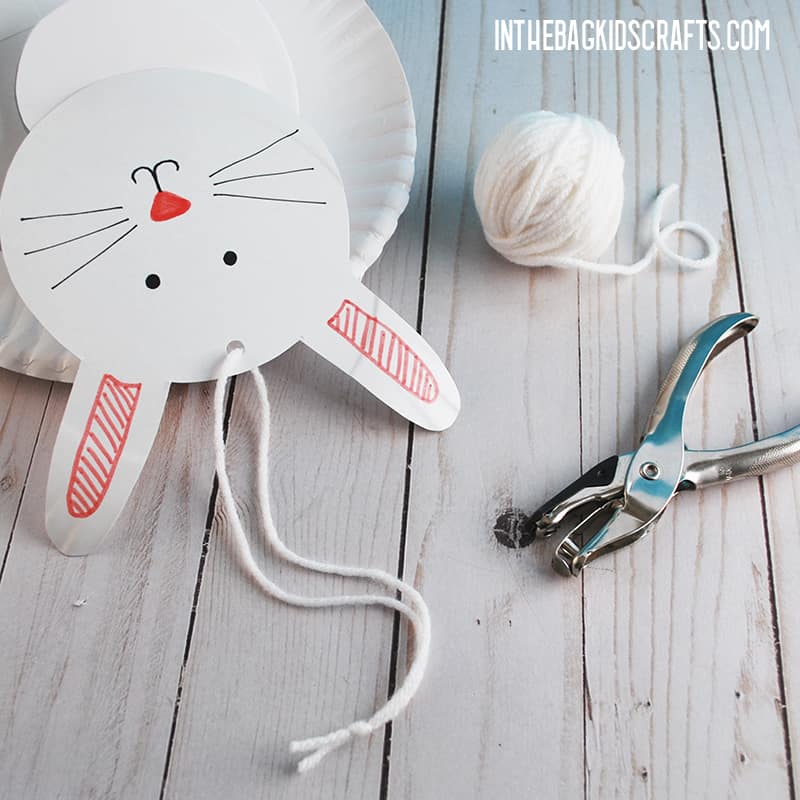
- To do that, use the single hole punch to put a hole right in the middle at the top of the bunny’s head.
- Then cut a piece of yarn about 8 inches long.
- Thread it through the hole and tie a knot at the end.
Step 6: Give Your Paper Plate Rabbit Craft a Finishing Touch
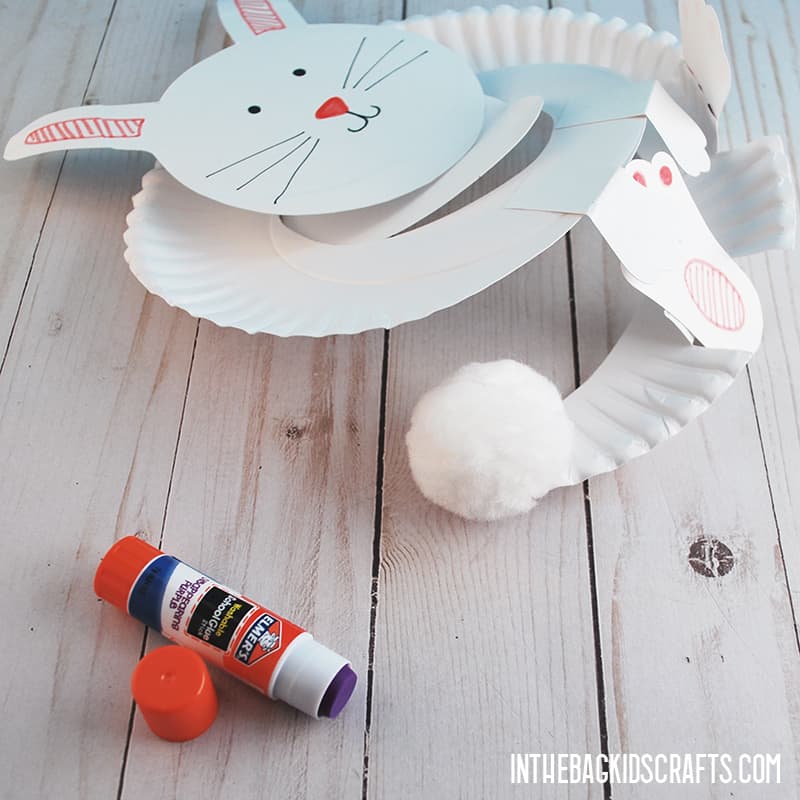
- As an finishing touch to your cute bunny craft, glue a white pompom to the very end of the spiral cut paper plate.
- *If you do not have a large white pompom, fluff up some cotton balls and glue them in place.
- *Also, if you cannot get the pompom or cotton to stick by using the glue stick, pull out your Elmer’s glue. Just be sure to give it some time to dry before moving the craft.
See the Easy Paper Bunny Craft in motion:
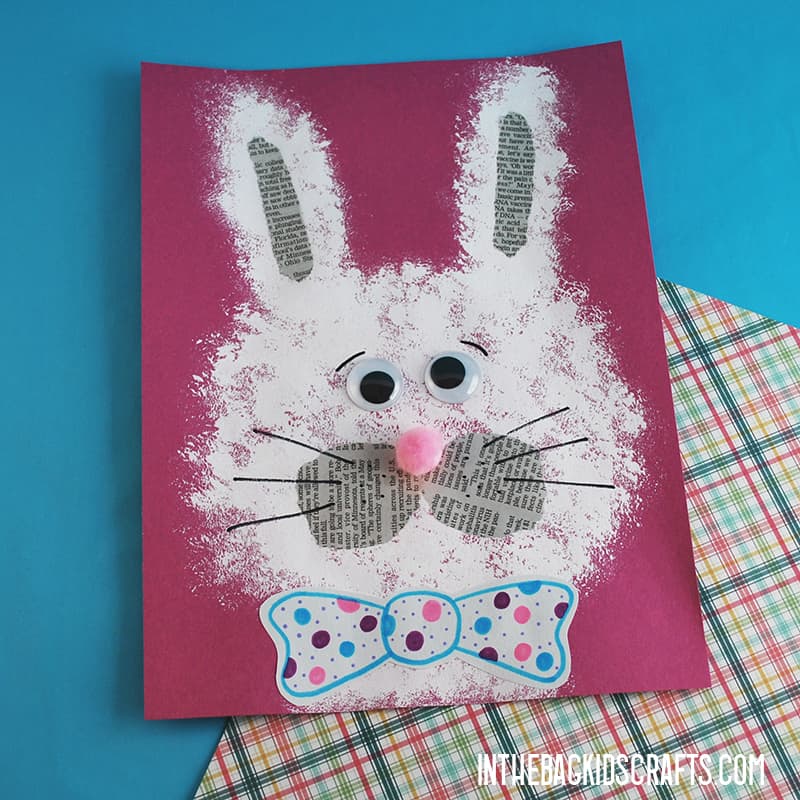
I love how this paper bunny rabbit craft twists and turns in the breeze. The pictures that you see here are just one version of this craft. It is a starting place. You should feel free to use your imaginations to make it your own. Change up the details, add a bow tie, give him some rosy cheeks…whatever you want. The only limit is your imagination.
Try These Easter Crafts Too
- Popsicle Stick Easter Characters
- Easter Basket
- Bunny Wreath
- Squish Paint Eggs
- Easter Chick
- Popsicle Stick Ducky
- Popsicle Stick Easter Eggs
- Fluffy Bunny
- Popsicle Stick Bunnies
Save this Paper Rabbit Craft for later. Pin it to your favorite Pinterest board…
