Mickey Crafts {from Recycled Newspaper}
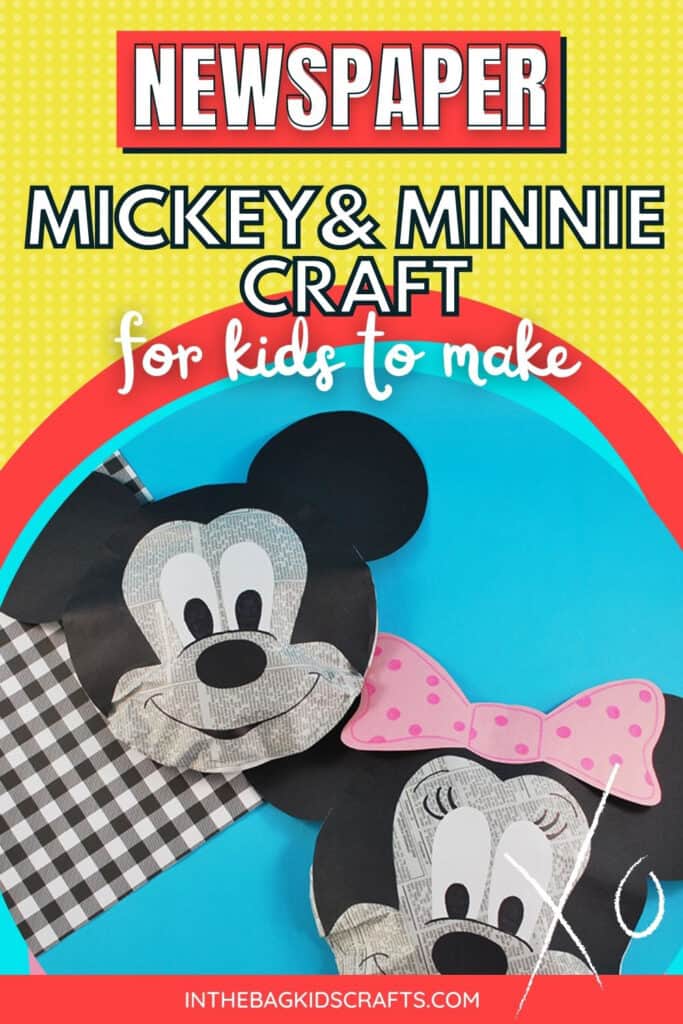
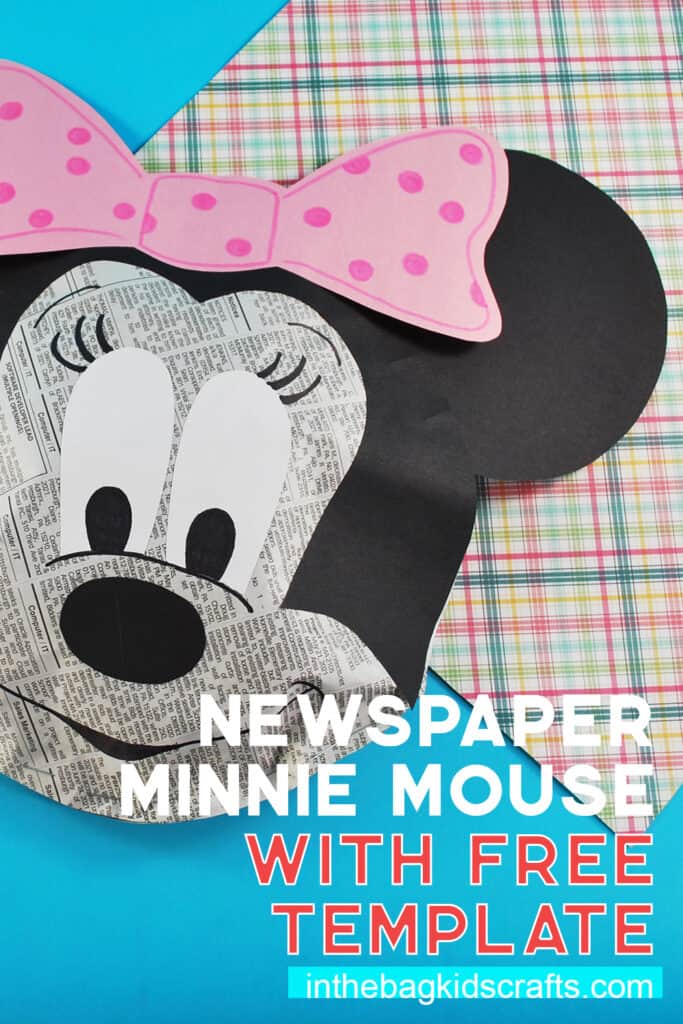
These Mickey Crafts are more than just another Disney craft because today we will use recycled newspaper to make these adorable creations. And I say Mickey crafts, but really, what is Mickey without Minnie. So, there is also a template to make her signature hair bow too. That is really all you need to make a slight tweak to this craft, along with some long eyelashes. Be sure to grab the free printable craft template to make crafting with your kids even easier.
This is not the only Disney craft we have made around here. You may also like our Cinderella collection, these Disney character bookmarks or our Mickey & Minnie pouches. Do a search for “Disney” to see even more.
Make Even More Crafts with Your Kids (You’ll be so happy you did)
Save this Disney Craft for later. Pin it to your favorite Pinterest board…
All activities require adult supervision. By using this site, you are agreeing to our terms of use. This post contains affiliate links, which means if you make a purchase through these links, I may receive a small commission at no extra cost to you. Click here to read my full disclosure policy.
SUPPLIES FROM THE BAG
- Newspaper
- Scissors
- Black and white construction paper (plus pink for Minnie)
- Glue stick
- Stapler with staples
- Markers
- Mickey Mouse craft template
It only takes a few basic supplies to make these Mickey crafts, and you already have them on hand if you have filled your bag using our master list of craft supplies. You see, we stick to just 27 basic supplies (many of which you already have in your house, like tape, glue and scissors) to make every single one of the creative projects you find on this site and in our collection of kids’ crafts ebooks.
Seem strange? You won’t think so once you realize it frees you of constantly going back and forth to the store or not actually getting around to craft with your kids because you haven’t prepped the craft (I mean, who has time to cut out all of those fancy cardboard creations that kids are board with after 5 minutes any way.) So, what are you waiting for? Fill you bag today!
Mickey Crafts Instructions
Step 1: Trace
- Locate a section of newspaper that is mostly text without many pictures or large ads. Or use the comics for a more colorful look. *Do not use the obituaries…it’s just in bad taste.
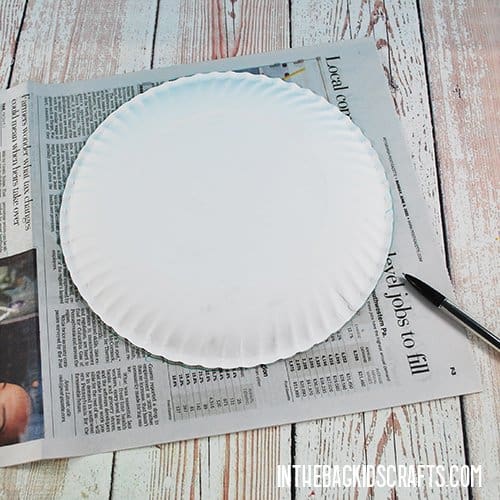
- Find something round to trace onto your newspaper. We used the 9-inch paper plates that we keep in our kids’ craft bag.
- Layer 2 pieces of newspaper (or just keep it folded)
- Trace around your plate with a pencil or marker
Step 2: Cut
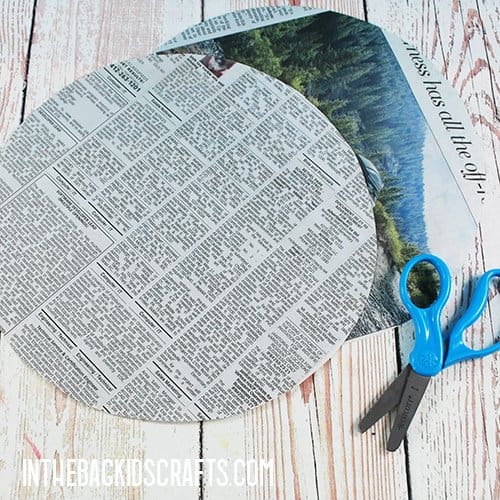
- Cut out your circle through the 2 layers of newspaper so that you have identical circles.
Step 3: Use the Printable Craft Template
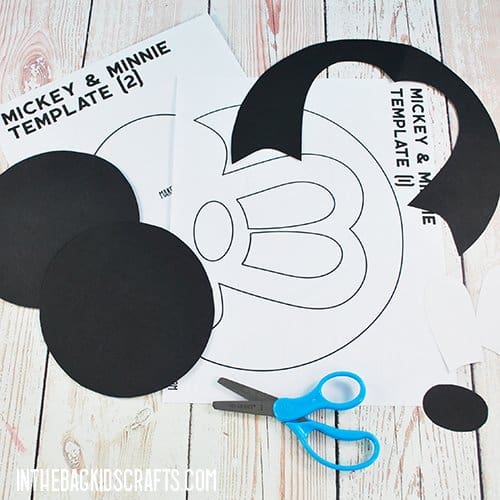
- Print the free mickey craft template.
- Use it to cut out the pieces of your Disney craft project, with the ears, nose and head piece out of black construction paper and the eyes out of white construction paper.
- There is also a Minnie hair bow template that you can use to cut a bow out of pink or red construction paper.
Step 4: Add the Ears
- Place Mickey’s ears between the 2 layers of newspaper.
- Secure them in place with a few staples.
- Then staple around the rest of the outside of the newspaper circle, but leave a section, about 5-6 inches wide, unstapled at the bottom. This is where you will place the stuffing later.
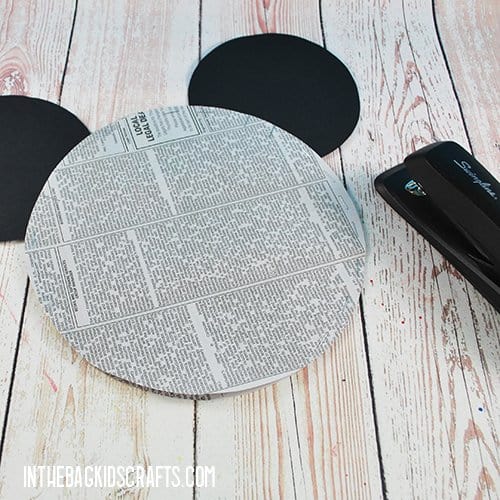
Step 5: We Start to See Mickey
- Use your marker to add eyeballs to the cut out eyes.
- Then glue the template pieces in place.
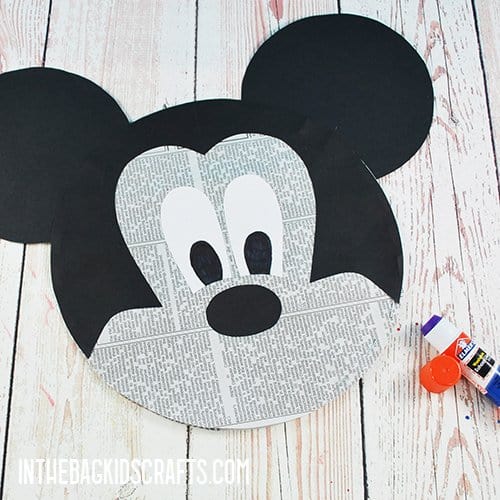
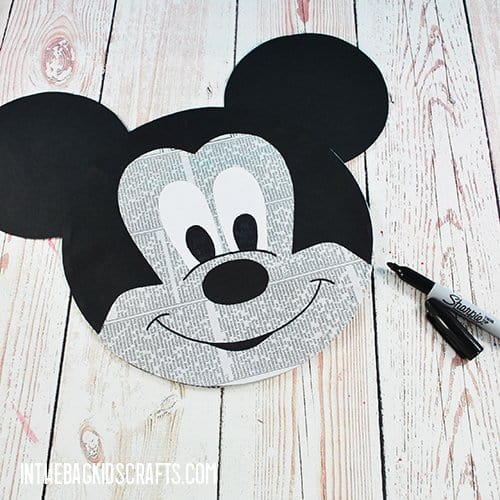
Step 6: Draw on the Smile
- Use your markers to add details to your Mickey Mouse craft. We only used our black Sharpie to give him a mouth and a curve under his eyes, but you can add whatever details you like and add colors too.
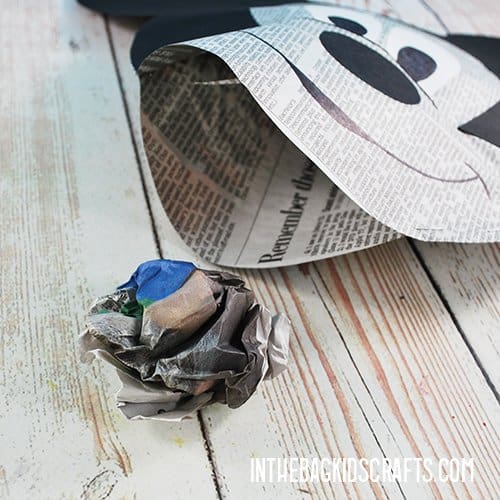
Step 7: Stuff It with Newspaper
- Tear some strips of newspaper and crumple them up.
- Stuff them one at a time into the opening that you left in Mickey’s face.
- Fill up the cavity until it is puffy but not over-gilled.
Step 8: Close Up Your Mickey Mouse Craft
- Now staple the opening closed.
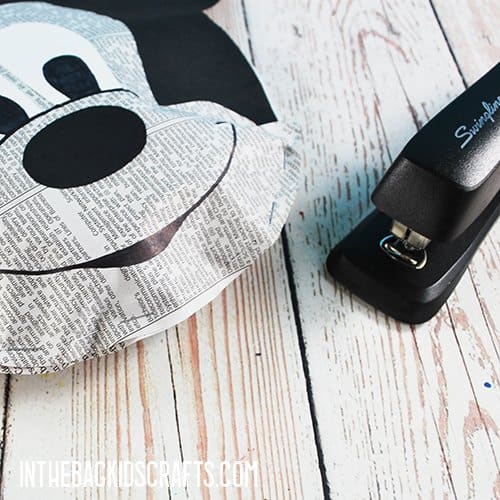
To Make Minnie:
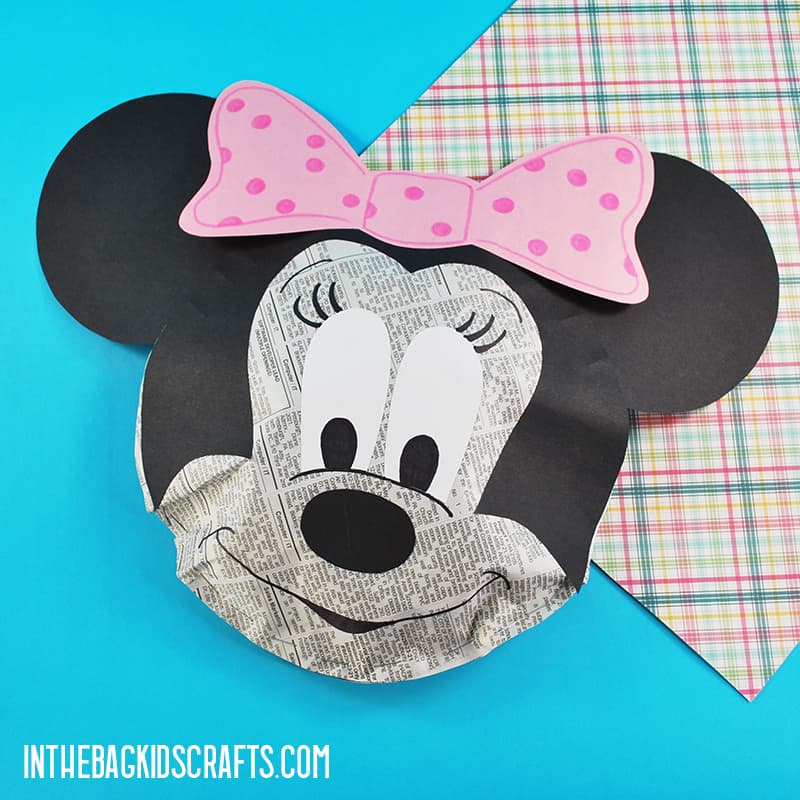
To make the Minnie craft we just need to make a couple of adjustments. First of all, give her some eyelashes. You can also add a little color to the cheeks if you like. Finally, she needs her classic bow on top of her head. This is included in the printable craft templates.
More Cartoon Crafts for you to try
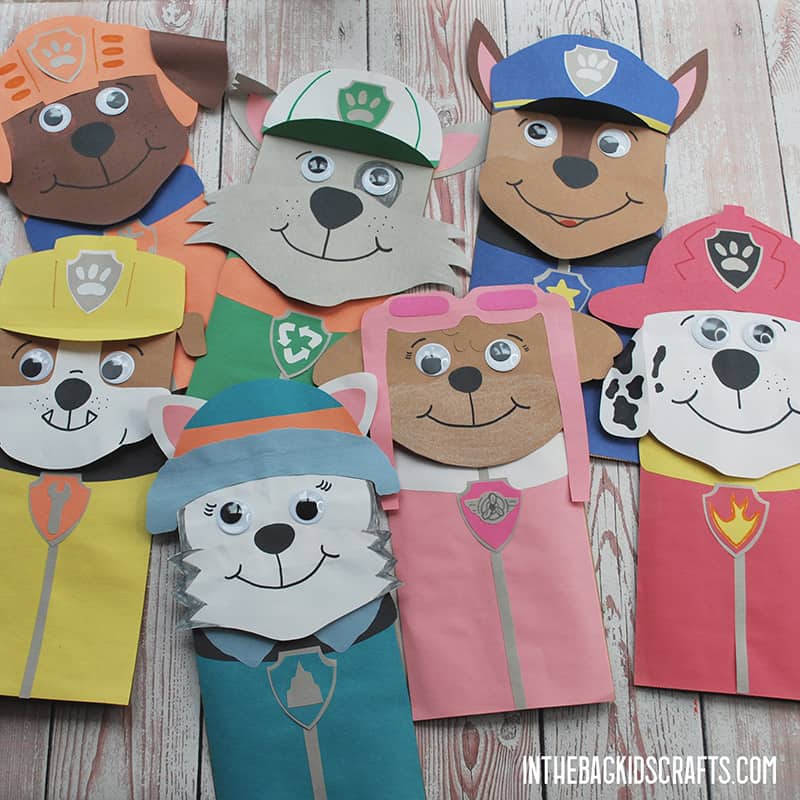
- Paw Patrol Puppets
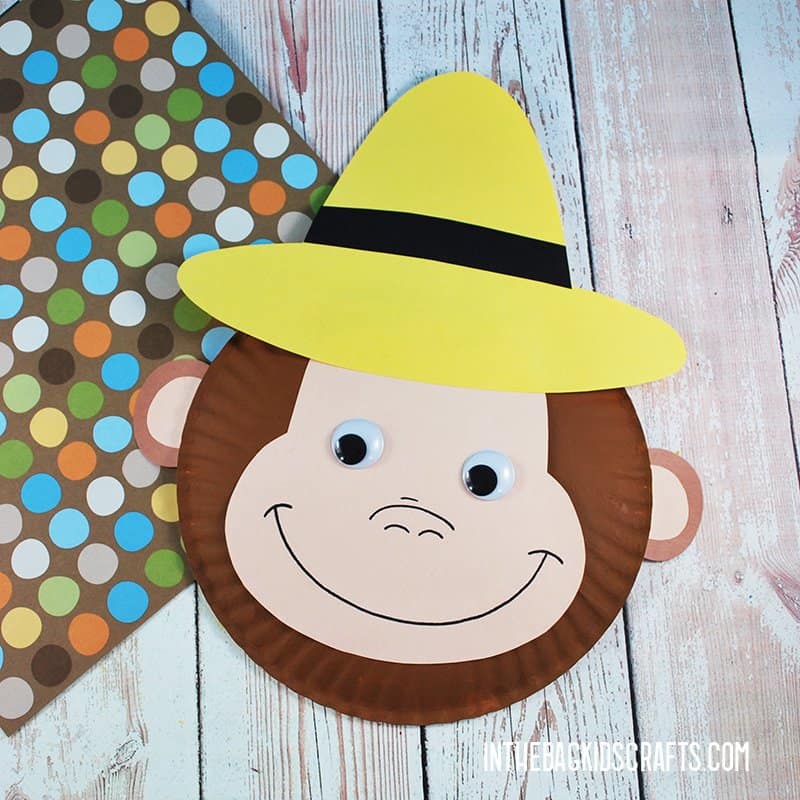
- Curious George Craft
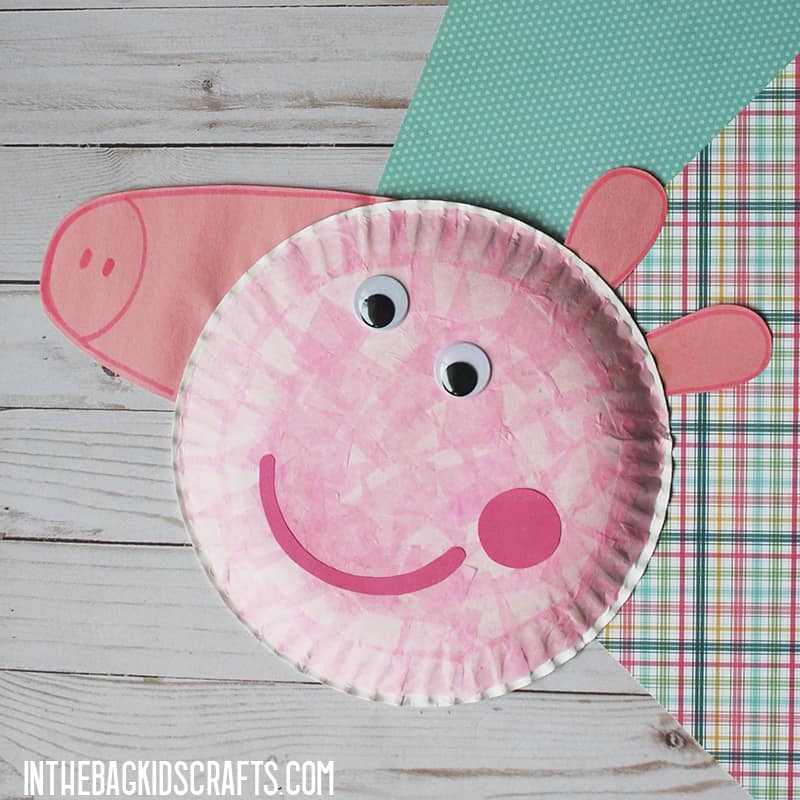
- Peppa Pig Craft
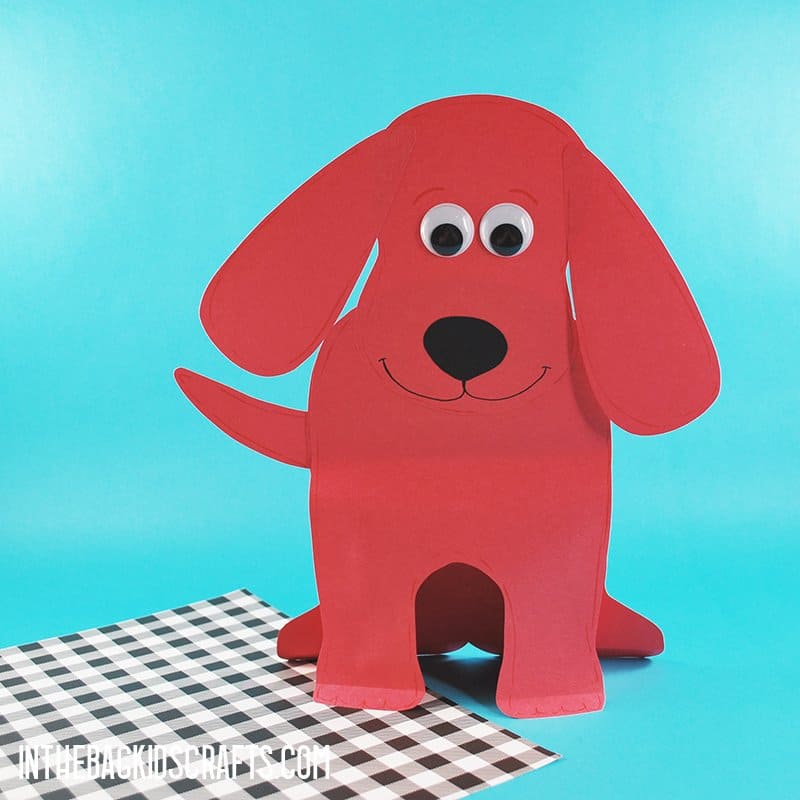
- Clifford the Big Red Dog
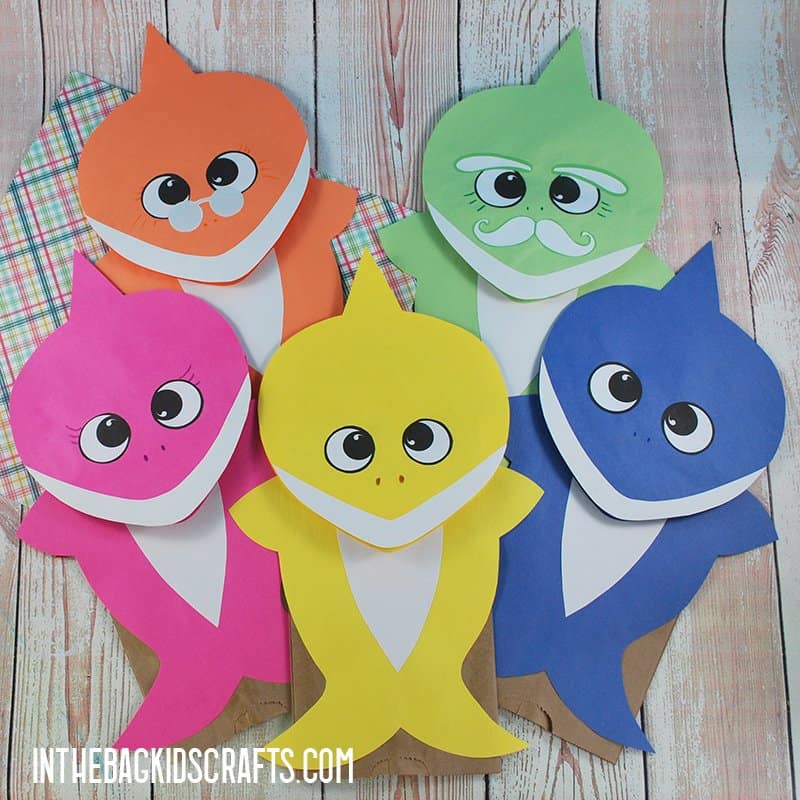
- Baby Shark Puppets
- Minnie Mouse Pouch
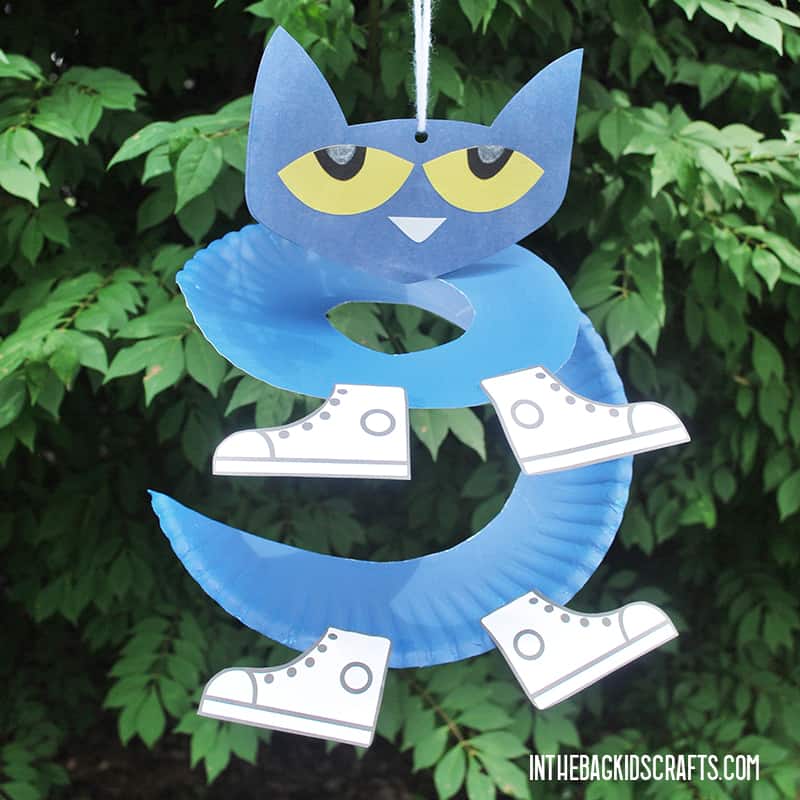
- Pete the Cat Mobile
- Cruella Devil Craft
- Popsicle Stick Dalmatian Crafts
- Horton Hears a Who
Enjoy this Reading of Mickey & Friends “A Perfect Picnic”
Save this Mickey Mouse Craft for later. Pin it to your favorite Pinterest board…
