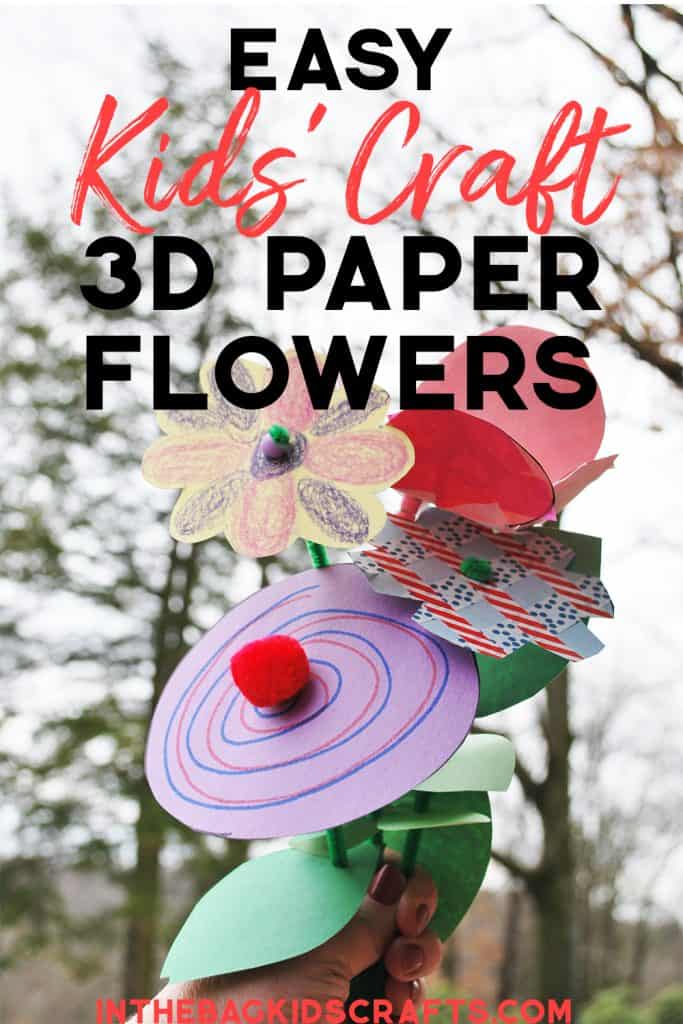
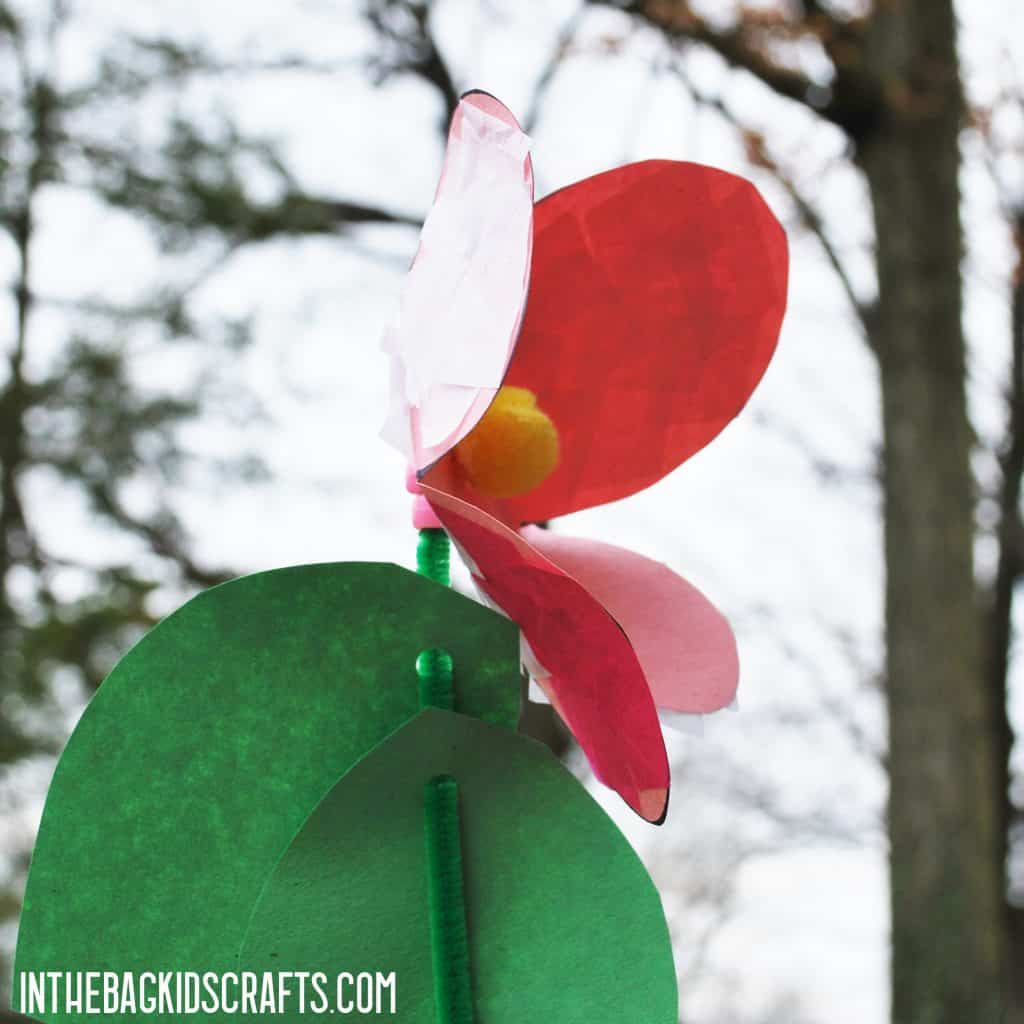
Simple Paper Flowers
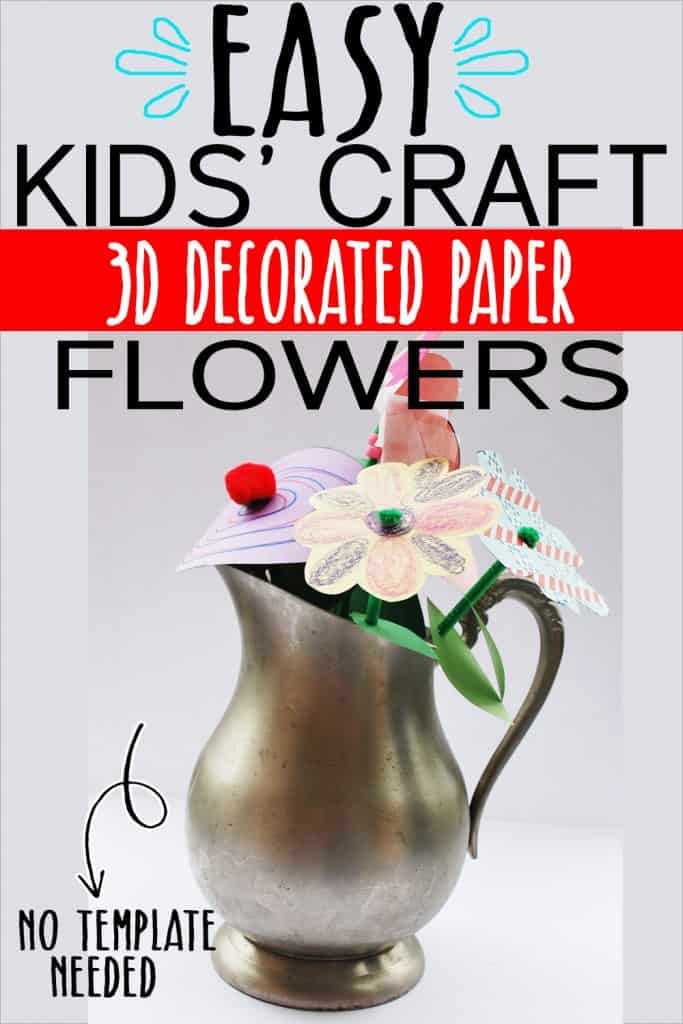
These simple paper flowers are one of the easiest and fastest crafts you will ever make with your kids. If you have 5 minutes, you can make a flower. So, make LOTS…a whole bouquet. A beautiful and unique collection of 3D paper flowers makes a great gift for someone you love. You can even save them to give to mom this Mother’s Day.
Having trouble finding time in this hectic world to find time to just relax and create with your kiddos? Here are a few ideas…
SUPPLIES FROM THE BAG
- Construction paper (color of choice for top of flower)
- Scissors
- Markers
- Hole punch
- Green pipe cleaner
- Scraps of green construction paper
- Miscellaneous items from the bag as desired
Check out this Facebook Live video with all of the step by step instructions and some great tips!
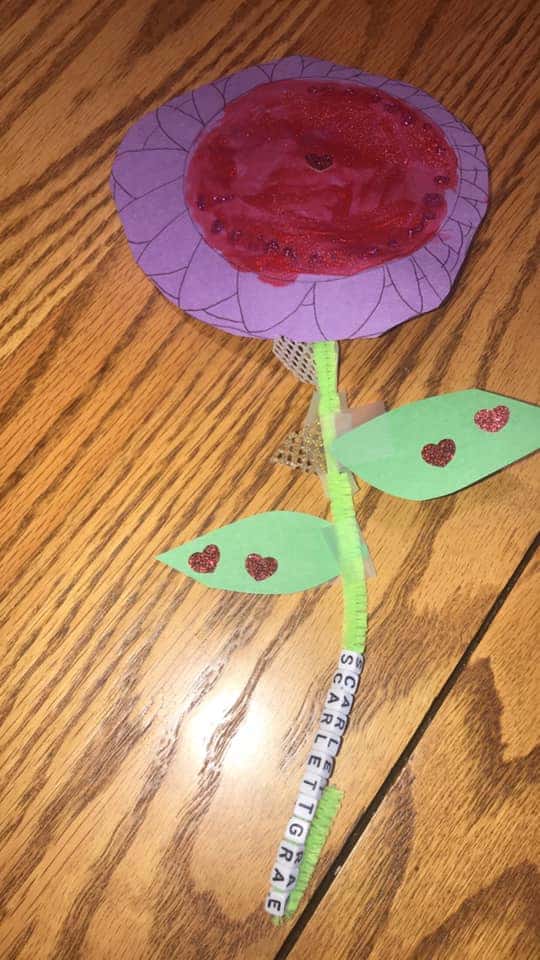
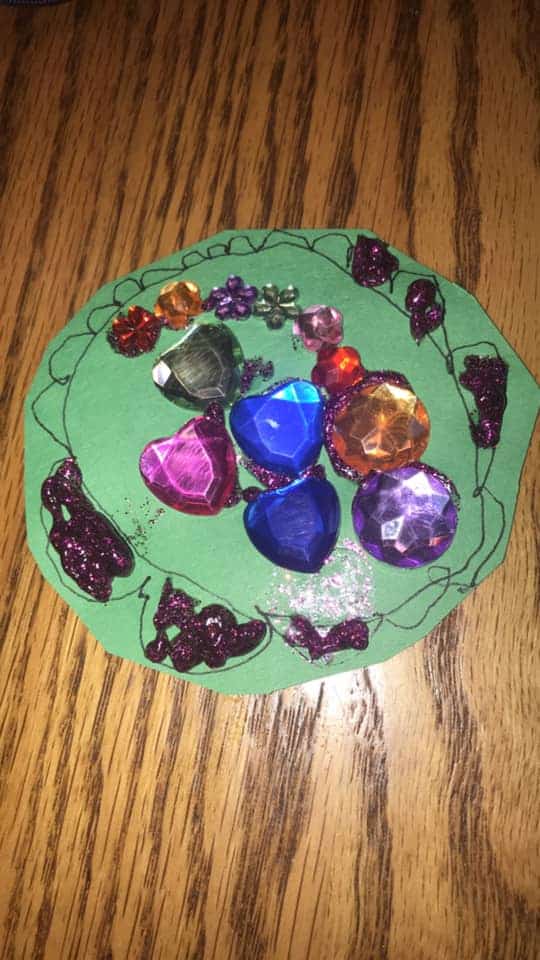
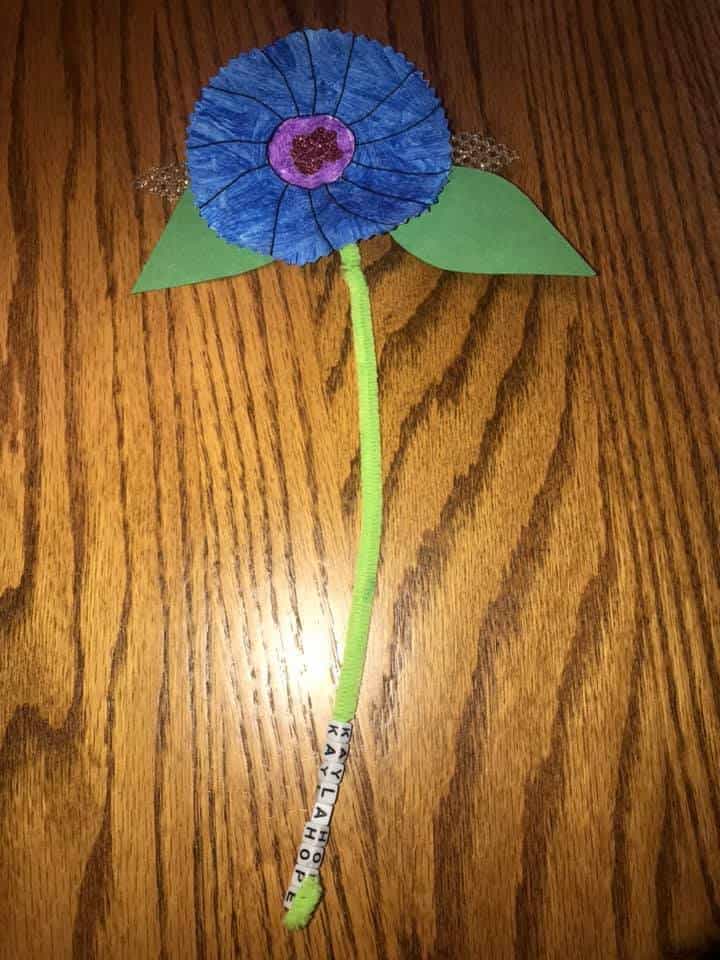
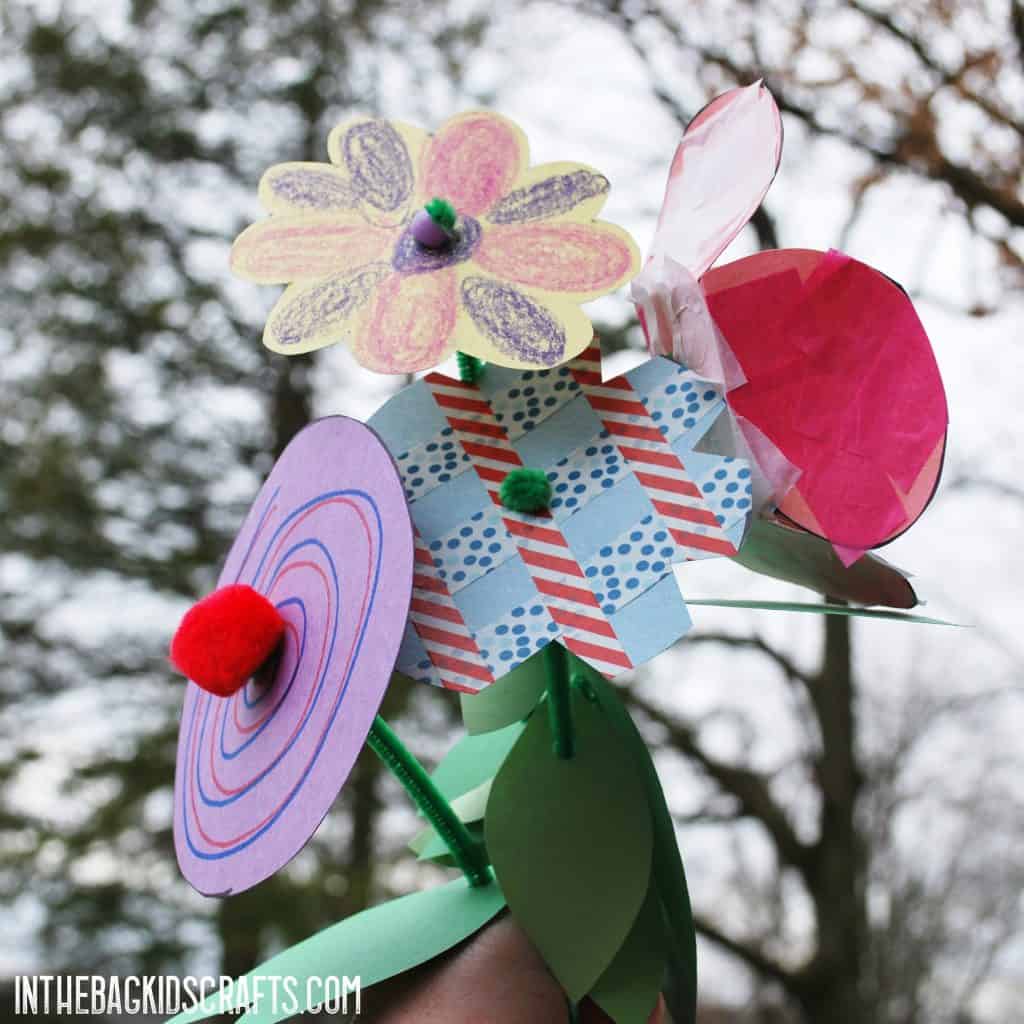
Here are some of the flowers that my friends made during that Facebook Live session. I would love to see what you make too! Send pics to hello@inthebagkidscrafts.com or share them to the “In the Bag Kids’ Crafts” Facebook group.
How to Make Paper Flowers
Step 1: Cut out the flower
- On a piece of construction paper, draw the top of a flower. It can be any shape and size that you want, even a simple circle.
- Cut out the shape that you have drawn.

If you are working with a little one who does not yet use scissors, help them to draw the shape and then cut it out for them. And if you are creating with a preschooler who is just learning to cut simple shapes, make your flower a large circle. This is the perfect opportunity to practice both drawing basic shapes and using scissors.
As always, please only help as much as your kiddo absolutely needs and not more. It is okay for them to cut a circle that is not perfect. Help them to understand how to best understand how to hold the scissors, to keep their elbows down by their sides and where to place their helper hand as they manipulate the circle while cutting it out. Remember: “The only source of knowledge is experience.” -Albert Einstein.
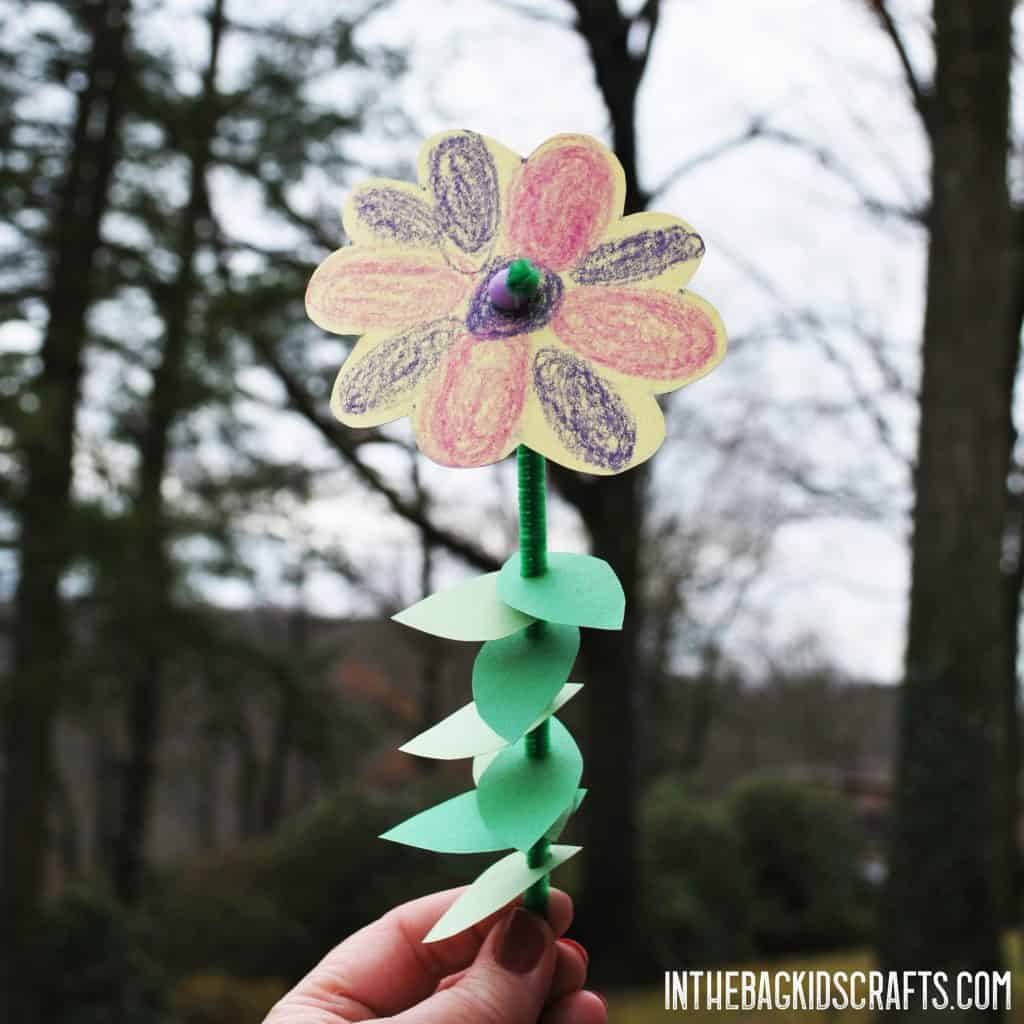
Step 2: Decorate the flower
- Use the markers to draw details on your flower head.
- Now add whatever else you want to the flower to pretty it up. Use anything from your craft bag.
Here are a few ideas, but please encourage your kiddo to use his/her imagination and make the flower as unique as they are!
*In case you are new around here, let me fill you in with what we mean by “in the bag”. It is our mission to make crafting with your kids actually do-able, even when life is crazy busy, and you don’t seem to have a spare minute in the day. Now you will have the time. All you need to do is take a minute to prep your craft bag using our free master list of supplies.
Once your bag is filled, you will be ready to make EVERY single creation on this site because they all come from that same list! And, whala, crafting made simple…You’re welcome. Finally something that you don’t have to put a lot of time and effort into and just enjoy doing with your family. Even clean-up is easier since you can just put everything back in the bag…yay! Find out what to put in your bag…
Step 3: Add the stem
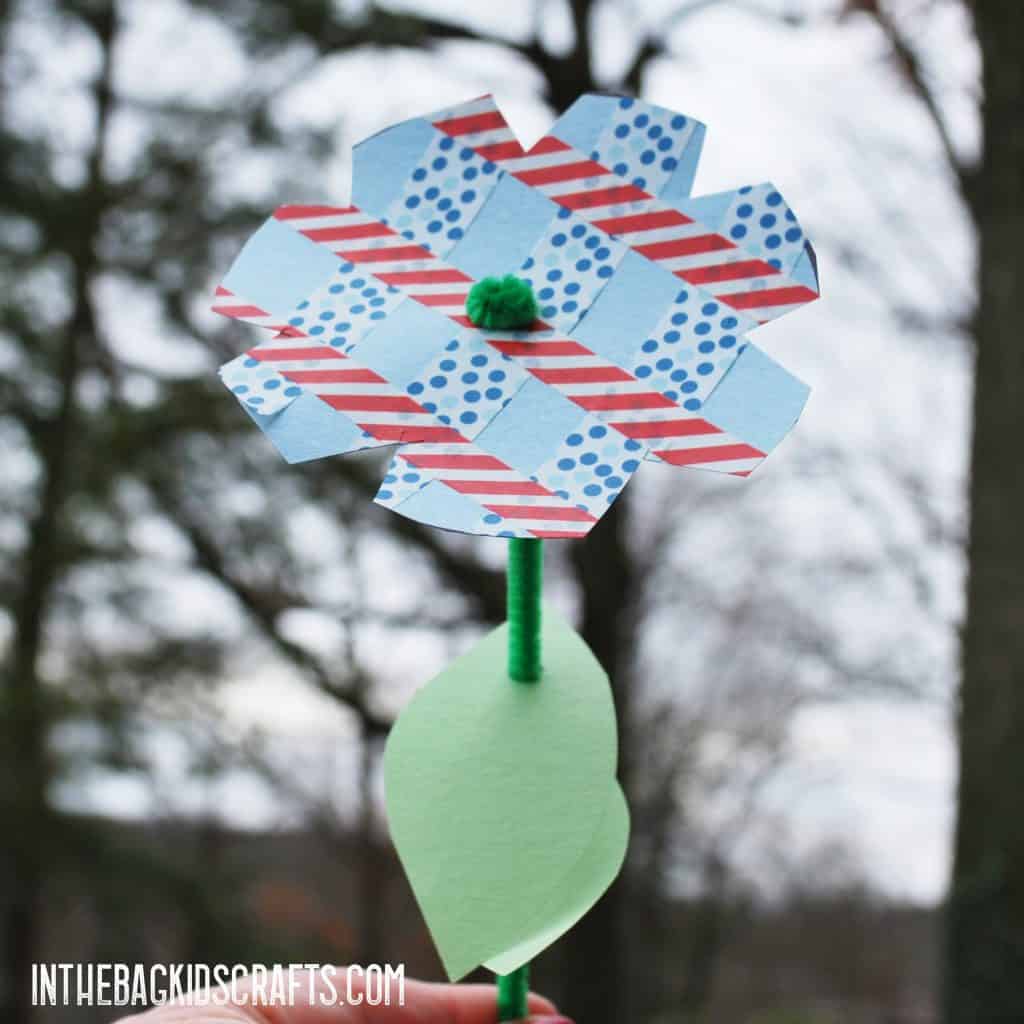
- First, cut a small slit in the middle of the flower top.
- Then lace the green pipe cleaner through the cut hole and make small twists in the pipe cleaner on top of and under the flower head to secure it in place.
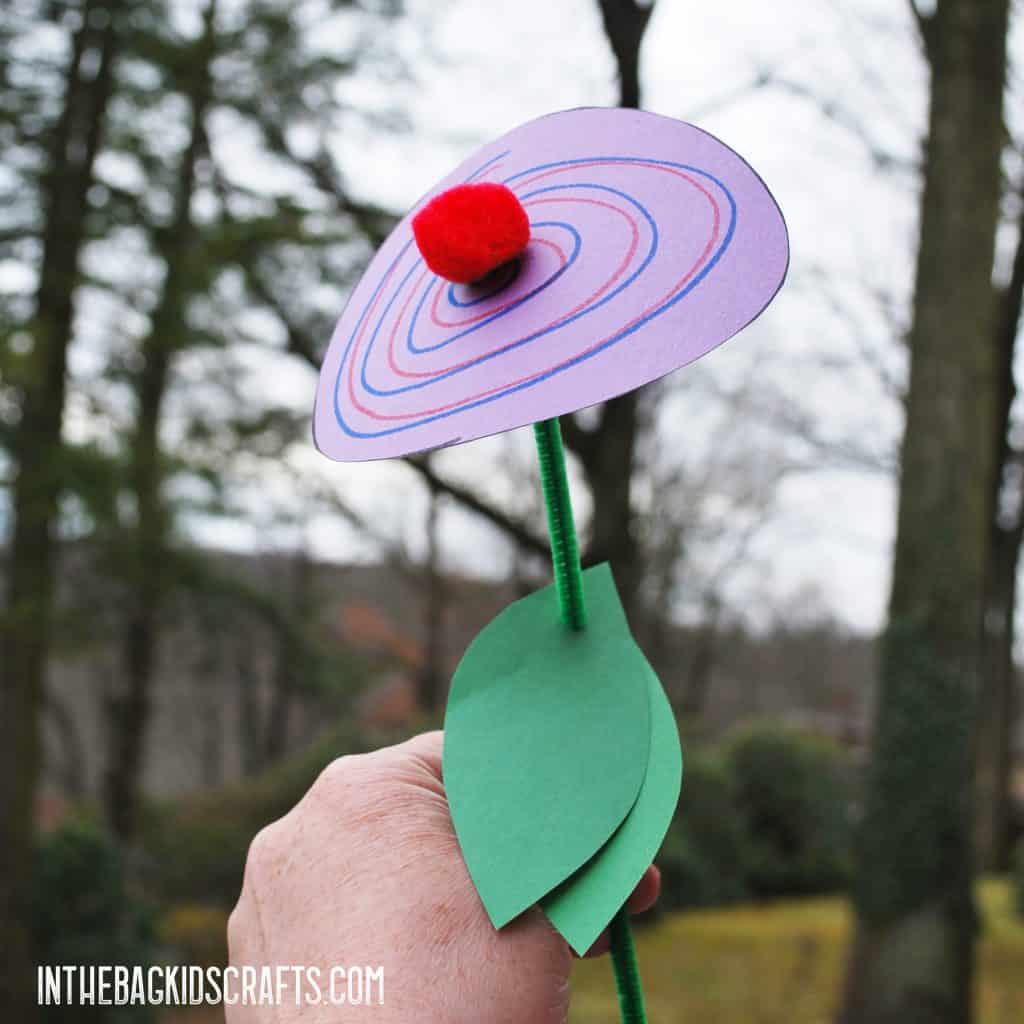
- Add beads, pompoms, etc. as desired.
- Cut leaves (you choose the size) out of the scraps of green construction paper and punch a hole in the end of each.
- Last, lace the leaves onto the pipe cleaner stem.
Happy Crafting!
Love,

More Paper Crafts for Kids to Make
We love paper crafts so much. You can check out this article for 100 paper craft ideas.

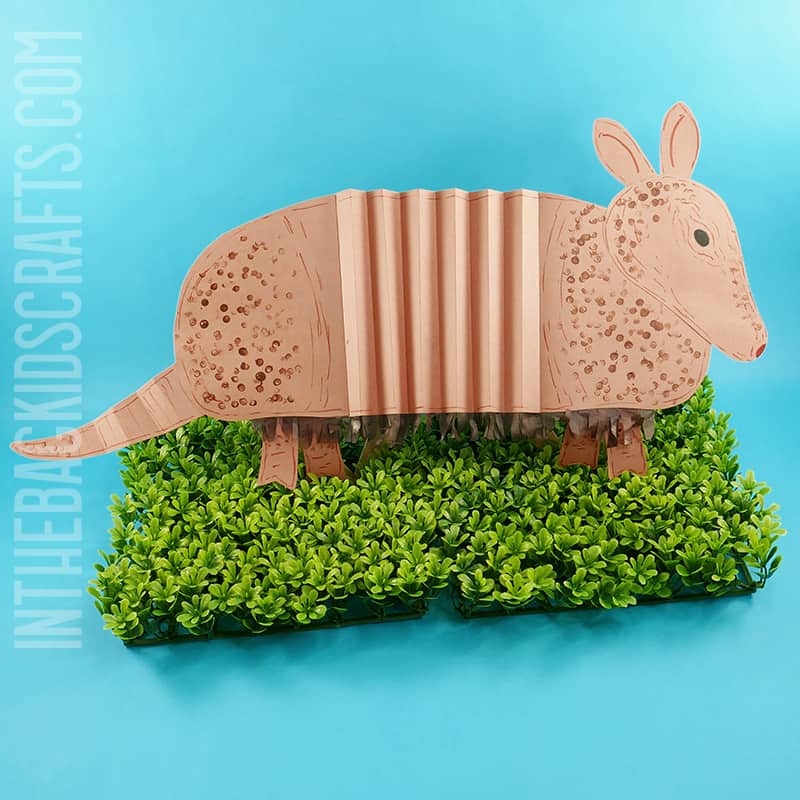

- Armadillo Craft
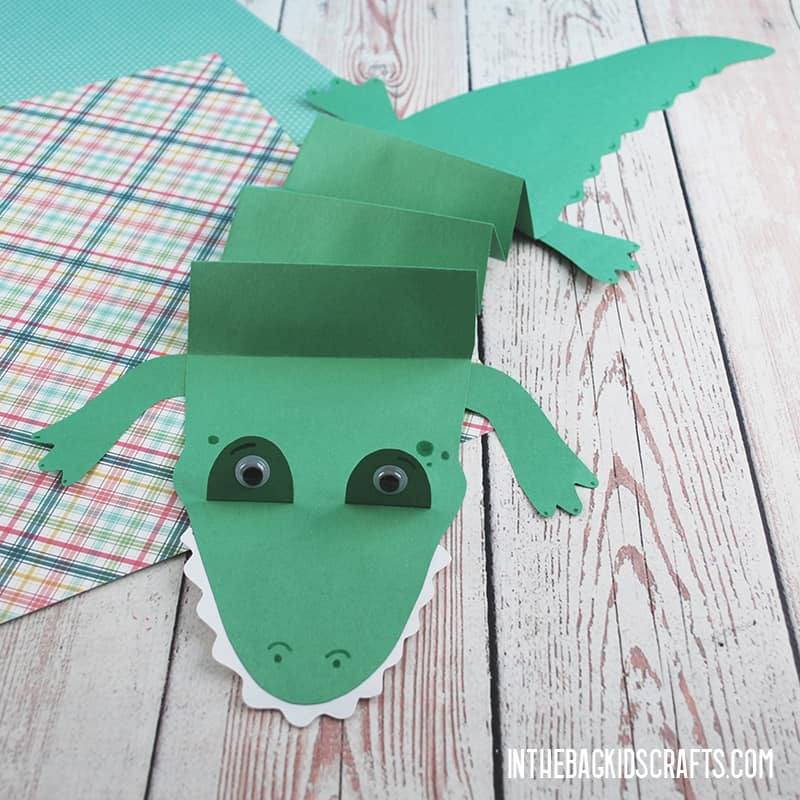
- Crocodile Craft
- Woodland Animal Crafts
- Elephant Craft
- Lion Craft
- Paper Chain Boredom Buster
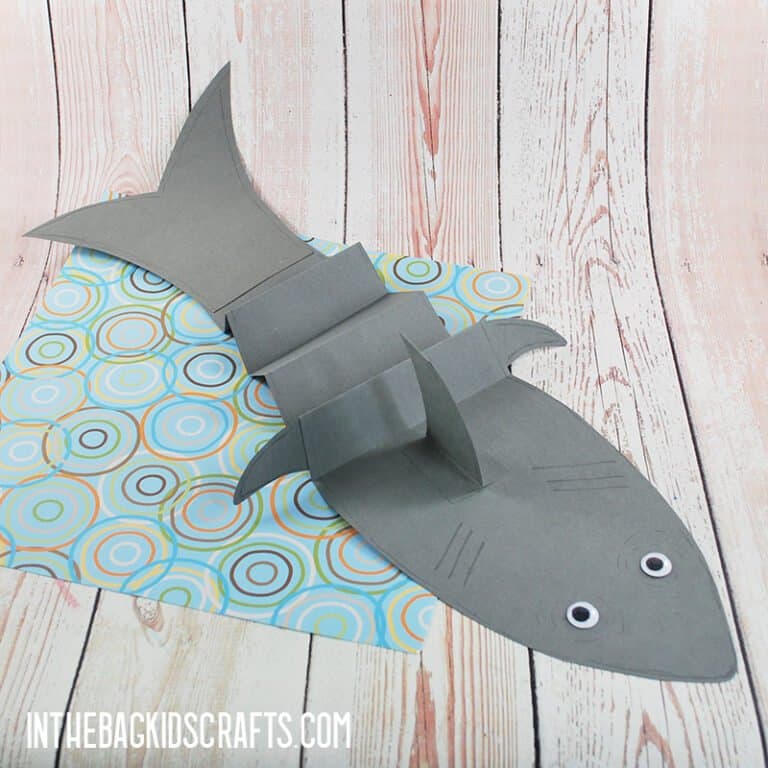
- Paper Hammerhead Shark Craft
- Ice Cream Sundae Craft
- Shapes Art and Craft
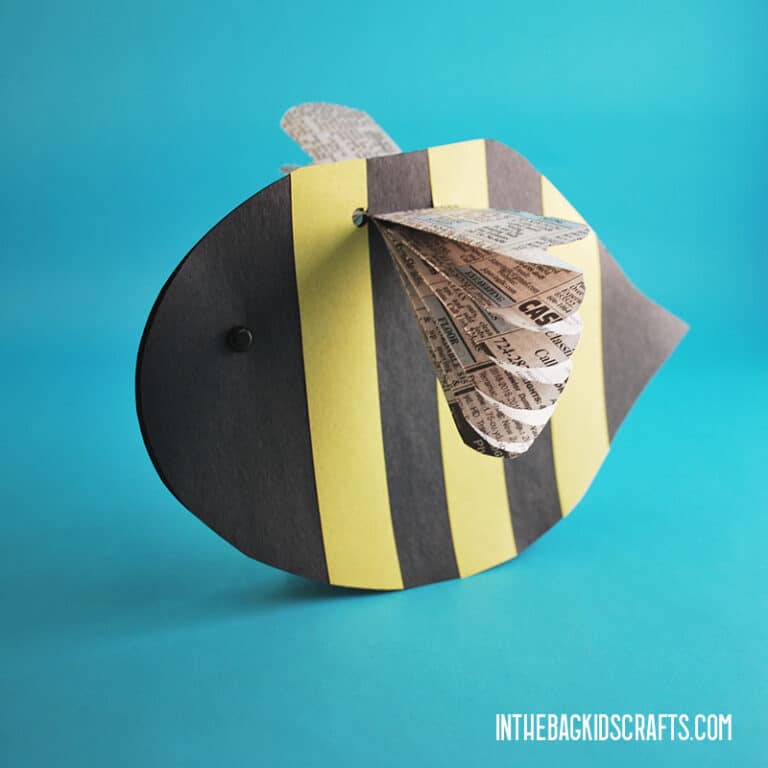
- Bumblebee Craft
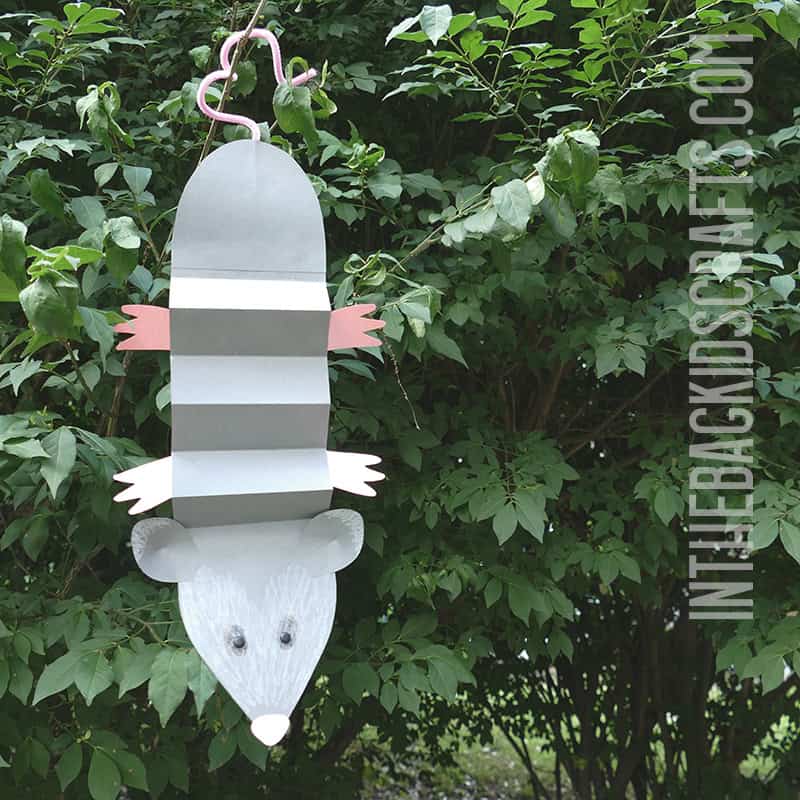
- Paper Possum Craft
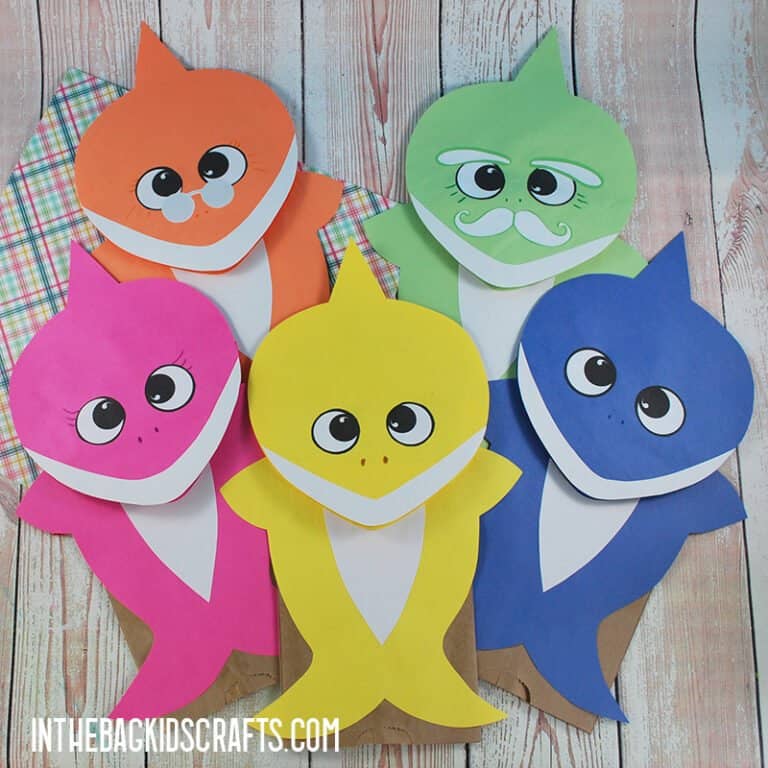
- Paper Shark Craft
- Paper Mouse Craft
- Paper Hedgehog Craft
- Life-Sized Sunflower
Like this craft? Save it for later! Pin it to your favorite Pinterest board…