Rabbit Craft (with Free Craft Template)
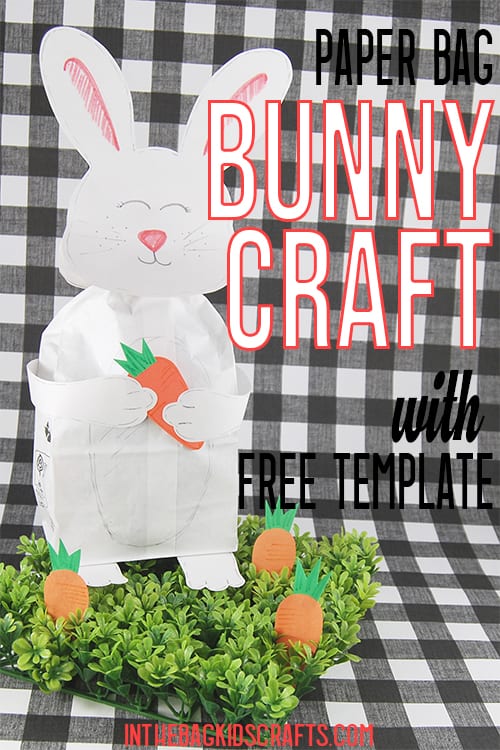
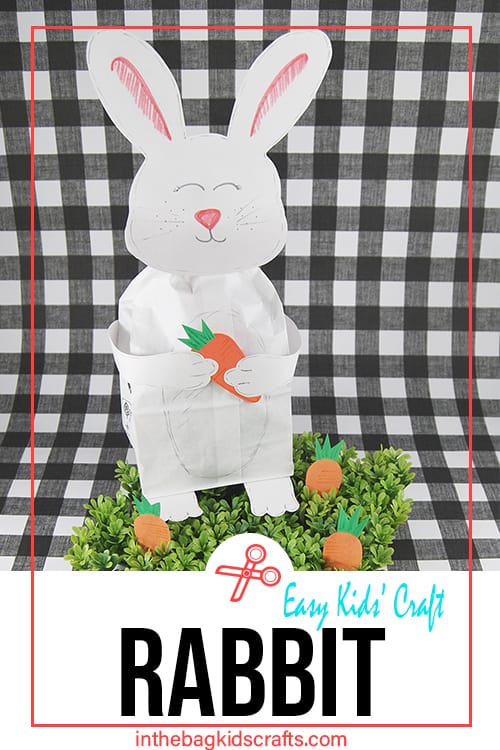
This adorable rabbit craft starts with a paper lunch bag and really comes to life with some creativity. It’s the perfect Spring craft or Easter craft and is great for elementary aged kids since this project is a little more challenging than other simpler crafts. Use the free craft template for easy crafting (keep scrolling to get your free template).
This is the perfect time of year to make these beautiful paper plate bird crafts and learn about our feathery friends…
When is the best time to make a bunny craft? Any time! Of course, this would make a perfect Easter craft or Spring craft, but you can really make a sweet little rabbit any time. I promise it will make you smile.
If you enjoy this rabbit craft, you are going to love making these other bunny crafts:
- Lacing bunny
- Popsicle stick bunny
- Yarn wrapped bunnies
- Bunny silhouettes
- Bunny wreath
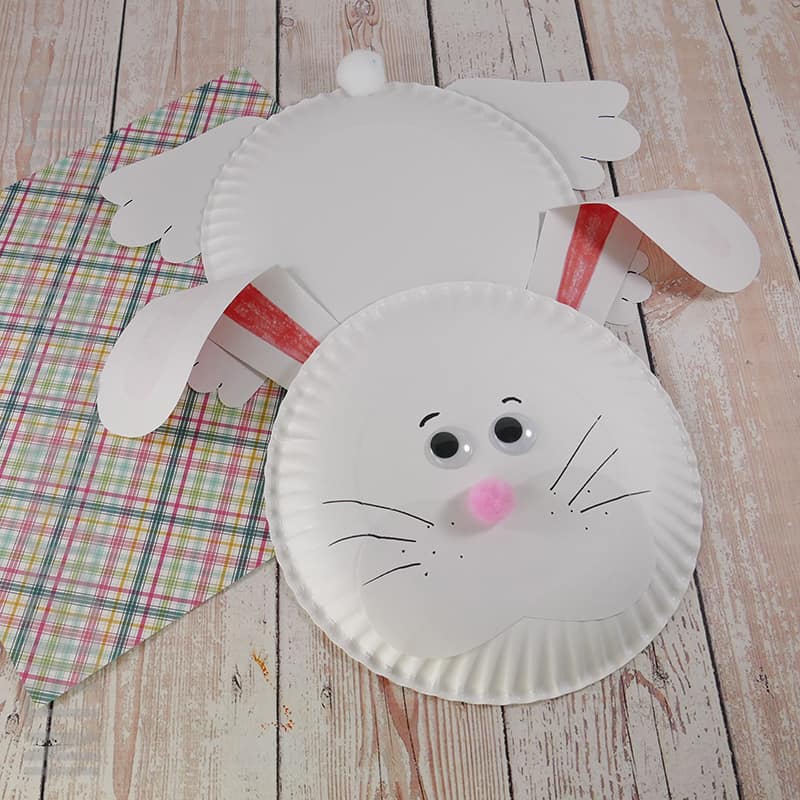
- Paper bunny
- Painted bunny
- Bunny pouches
- Paper bag bunny
- Fluffy bunny
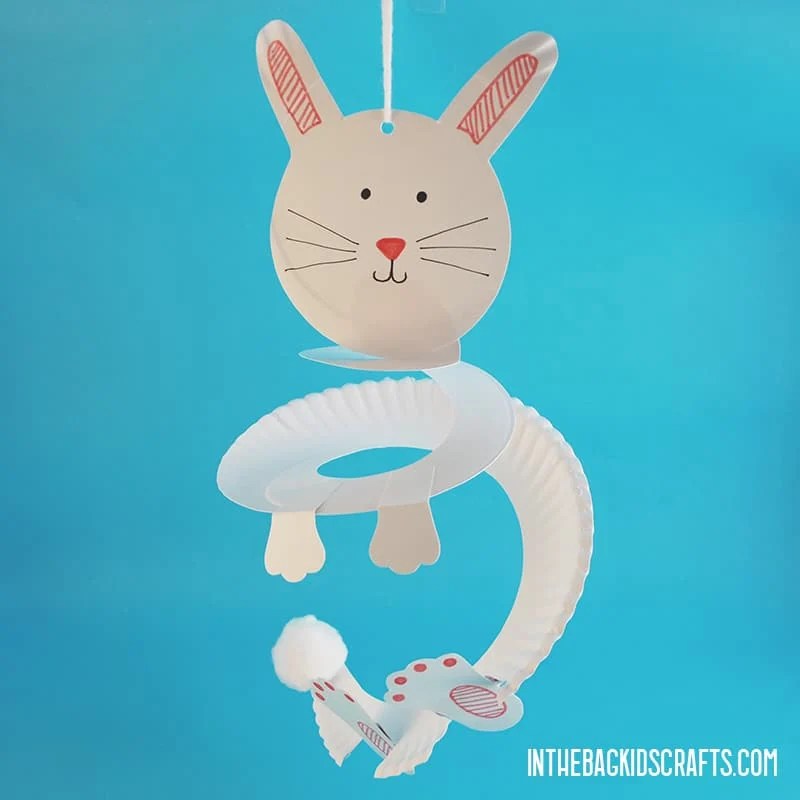
- Bunny mobile
Fun Facts about Rabbits
- Rabbits need more than just carrots to live on. They actually prefer greens, like clover, weeds and grass.
- The Flemish Giant Rabbit can get as big as 2.5 feet long and 22 pounds.
- Baby rabbits are called kittens.
- When a bunny is happy it will do a hop and twirl in the air, called a binky.
- Rabbits groom themselves like cats.
For more fun information about bunnies, check out this article from National Geographic Kids.
All activities require adult supervision. By using this site, you are agreeing to our terms of use. This post contains affiliate links, which means if you make a purchase through these links, I may receive a small commission at no extra cost to you. Click here to read my full disclosure policy.
SUPPLIES FROM THE BAG
- White paper lunch bag
- White construction paper
- Scissors
- Newspaper
- Tape
- Glue stick
- Pencil
- Markers
- Bunny craft template
Just like every craft on this site, this adorable bunny craft uses supplies from the master list that we stick to for every single creative project you see here. It’s 27 basic items that fit into one bag. This approach really does make crafting with your kids so much easier…and actually doable…even when life is hectic. What are you waiting for? Fill your bag and start crafting some memories today.
Save this Bunny Craft for later. Pin it to your favorite Pinterest board…
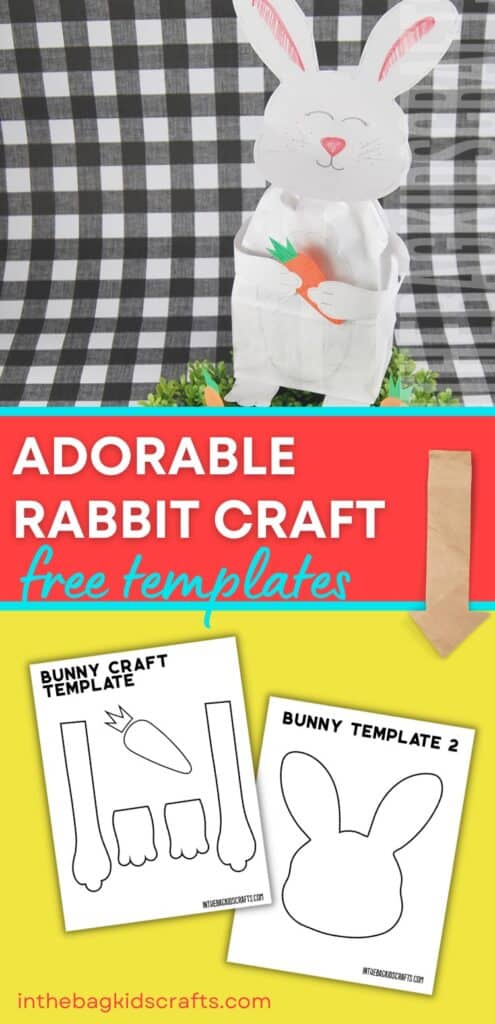
How to make a Rabbit Craft
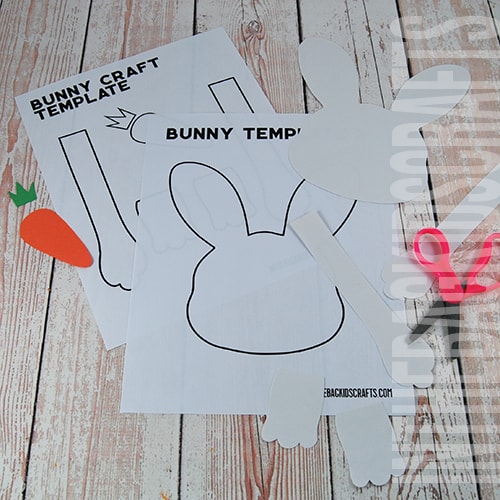
Step 1: Use the Rabbit Craft Template
- Download and print the bunny craft template.
- Use it to cut out all of the parts fro your bunny from white construction paper (except the carrot).
Step 2: Decorate the Parts
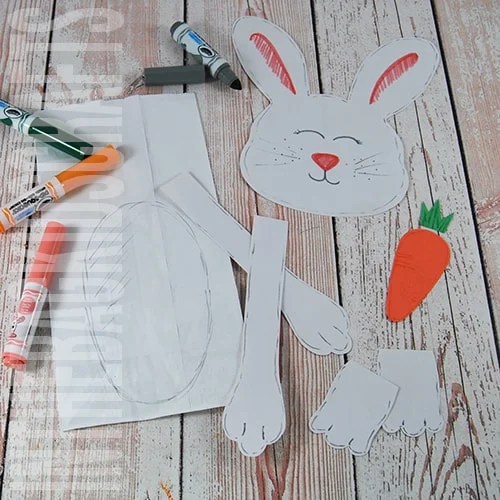
- Now that you have all of the parts cut out, it’s time to decorate them.
- Use your markers to draw on the face of your bunny and add any other details you would like to the head.
- Then add details to the arms and feet.
- Fold the top 1 to 2 inches of the paper bag down and then draw the tummy of your bunny. Add any details you would like.
- Glue the carrot together and use markers to add highlights.
*If you only have brown paper lunch bags, just paint the front of the bag white or cut a piece of white construction paper to glue to the front of the bag.
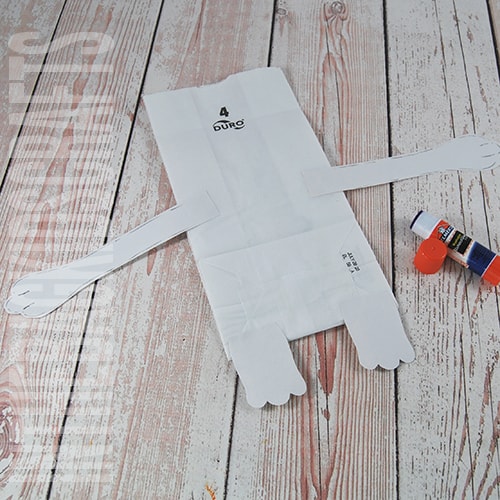
Step 3: Add the Arms and Legs
- Turn the paper bag over to the back.
- Glue the feet in place so that they come out from the bottom of the bag. Be sure to have any drawn on details facing front.
- Adhere the arms so that they are coming straight out from the sides of the bag, about half way up. Be sure to have the details facing backward so that they are seen when the arms are circled around to the front of the body in step 6.
Step 4: Stuff the Bunny
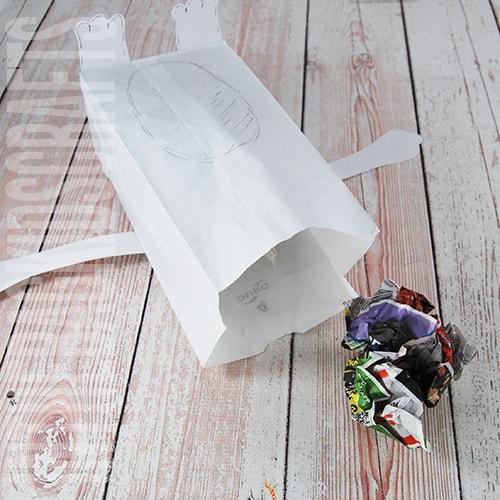
- Fully open up your lunch bag.
- Tear strips of newspaper and crumple them into balls.
- Place the newspaper balls one at a time into the paper bag until it is filled but not over-stuffed.
Step 5: Add the Rabbit Head
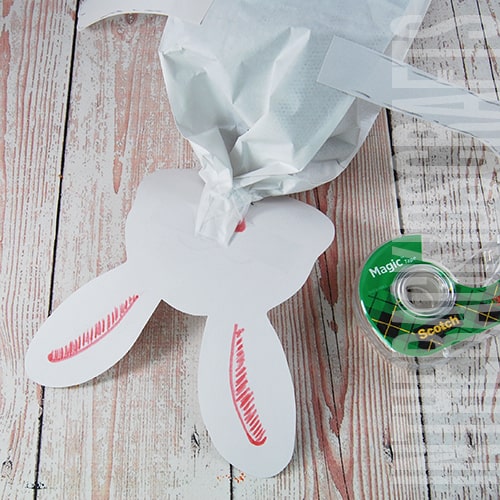
- Pinch the top of the bag shut and put some tape around it.
- Then tape the head of your bunny in place.
Step 6: Give Him a Carrot
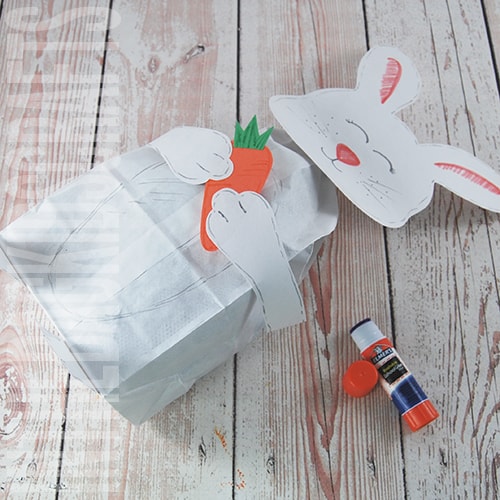
- Now that your rabbit craft is assembled, wrap the arms around to the front and glue the carrot into his hands.
*To make this an Easter craft, replace the carrot with a decorated paper egg or a basket instead. Just make it from some construction paper.
Step 7 (Optional): Finish Off the Bunny Craft
- It you’d like to finish off the back of your bunny craft, cut out another bunny head shape and trim off the ears.
- Use the glue stick to adhere the back of the head over the scrunched up top of the paper bag.
- Then give him a fluffy white pompom tail.
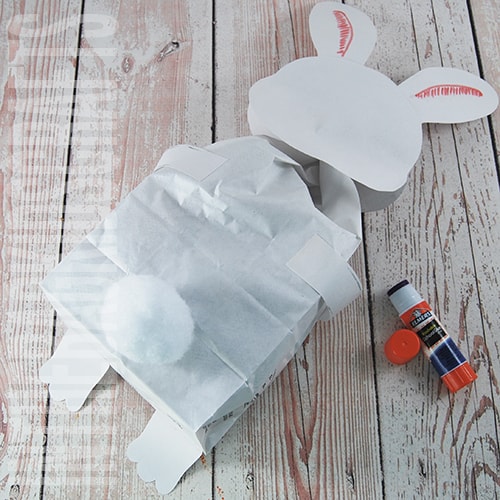
Now that you know how to make this bunny craft, it’s time to make it your own. We’ve created a white rabbit craft, but your rabbit can be any color(s) you want. It can look like your pet rabbit at home…maybe brown or black and white. Or your rabbit can be rainbow colored…or pink with orange polka dots…or whatever you like. And you can also make anything for him to hold also. The only limit is your imagination.
Enjoy this Bunny Craft video tutorial too…
Try These Easter Crafts Too
- Popsicle Stick Easter Characters
- Easter Basket
- Bunny Wreath
- Squish Paint Eggs
- Easter Chick
- Popsicle Stick Ducky
- Popsicle Stick Easter Eggs
- Fluffy Bunny
- Popsicle Stick Bunnies
Save this Easter Craft for later. Pin it to your favorite Pinterest board…
